OpenAI時隔6年再次推出開源模型gpt-oss系列,本次gpt-oss系列包含兩個模型gpt-oss-120b與gpt-oss-20b。由于模型原生支持一種新的量化技術MXFP4,所以模型的部署所需的顯存也顯著的降低。
- openai/gpt-oss-20b 只需要大概16GB的顯存
- openai/gpt-oss-120b 需要大概>=60GB的顯存
這讓本地部署成為可能,接下來跟著我一起看一下如何在本地使用vllm對gpt-oss-20b進行推理并且支持工具調用吧!
顯卡信息
NVIDIA?H20 96G VRAM
環境準備
安裝uv
pip install uv創建虛擬環境
uv venv --python 3.12 --seed
source .venv/bin/activate
安裝依賴
uv pip install --pre vllm==0.10.1+gptoss \--extra-index-url https://wheels.vllm.ai/gpt-oss/ \--extra-index-url https://download.pytorch.org/whl/nightly/cu128 \--index-strategy unsafe-best-match下載模型
安裝modelscope
pip install modelscope下載gpt-oss-20b
modelscope download --model 'openai-mirror/gpt-oss-20b' --exclude 'metal/*'vllm服務
準備vllm 服務配置
model:  /data/.cache/modelscope/models/openai-mirror/gpt-oss-20b
served_model_name: gpt-oss
host: 0.0.0.0
port: 8000
tensor-parallel-size: 1
gpu-memory-utilization: 0.9
api-key: yor-api-key
disable-fastapi-docs: true
注意model這一行需要找到你自己的modelscope模型下載到本機的地址,或者在下載模型時使用--local_dir 指定下載路徑。
你可以使用以下命令找到你的模型地址
modelscope scan-cache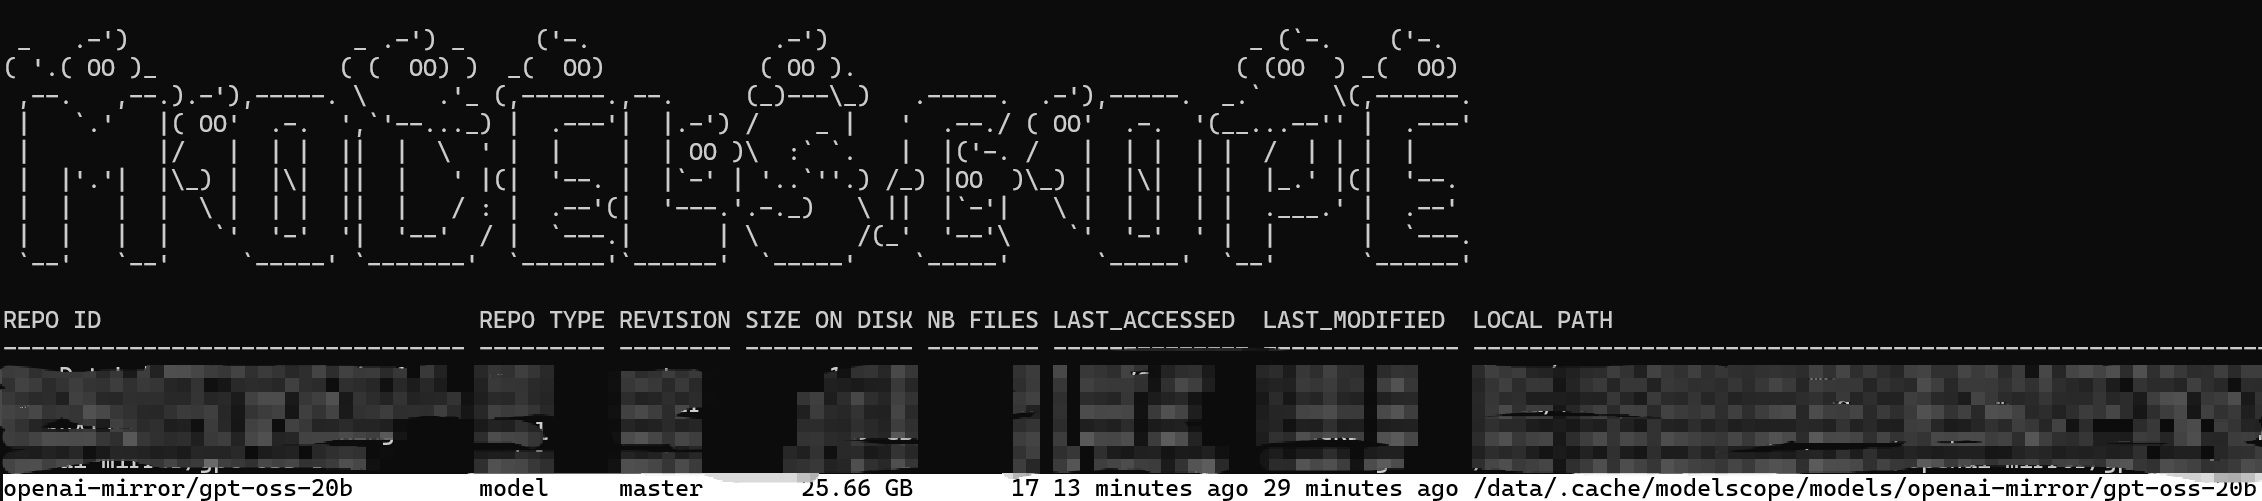
api-key改成你想要設置的api-key
將文件保存成 gpt-oss-config.yml
啟動服務
vllm serve --config gpt-oss-config.yml工具調用
工具調用可以使用openai python sdk調用
使用openai python sdk
pip install openai
import json
from openai import OpenAI
from openai.types.responses import ResponseFunctionToolCallclient = OpenAI(base_url="http://{你的vllm服務器地址}/v1",api_key="{vllm服務設置的api-key}",
)# 定義工具
tools = [{"type": "function","name": "get_weather","description": "Get current weather in a given city","parameters": {"type": "object","properties": {"city": {"type": "string"}},"required": ["city"],},}
]messages = [{"role": "user", "content": "上海現在天氣怎么樣?"}]def fetch_response(messages):response = client.responses.create(model="gpt-oss",input=messages,tools=tools,)return response# 工具函數
def get_weather(city: str):return f"The weather in {city} is sunny."response = fetch_response(messages)
for item in response.output:if isinstance(item, ResponseFunctionToolCall):print(f"正在調用工具: `{item.name}` 參數 {item.arguments}")messages.append(item.model_dump())tool_result = get_weather(**json.loads(item.arguments))messages.append({"type": "function_call_output","call_id": item.call_id,"output": tool_result,})response = fetch_response(messages)print(response.output_text)
將以上的python代碼保存成tool_use.py文件并運行:
uv run tool_use.py


)


