官方文檔
一、后端
1.安裝基礎依賴
pip install --upgrade "langgraph-cli[inmem]"
2.下載模版項目
在終端運行
langgraph new ./example --template new-langgraph-project-python
這里是在當前文件夾下新建文件夾example,里面是下載的langgraph模版項目文件

顯示這樣就是成功。如果失敗,說明網絡問題。
3.安裝項目依賴
cd example
pip install -e .
4.配置項目環境變量
將.env.example文件修改為.env,這樣就是環境變量文件了,重要的key都放在這里,和代碼文件隔離
填寫LANGSMITH_API_KEY,需要去langsmith注冊賬號,獲取key
5.部署后端服務
langgraph dev
就會看到

6.核心代碼
是src.agent.graph.py
"""LangGraph single-node graph template.Returns a predefined response. Replace logic and configuration as needed.
"""from __future__ import annotationsfrom dataclasses import dataclass
from typing import Any, Dict, TypedDictfrom langgraph.graph import StateGraph
from langgraph.runtime import Runtime# 上下文參數
class Context(TypedDict):"""Context parameters for the agent.Set these when creating assistants OR when invoking the graph.See: https://langchain-ai.github.io/langgraph/cloud/how-tos/configuration_cloud/"""my_configurable_param: str# 狀態參數,定義輸入參數
@dataclass
class State:"""Input state for the agent.Defines the initial structure of incoming data.See: https://langchain-ai.github.io/langgraph/concepts/low_level/#state"""changeme: str = "example"# 一個節點,接收state和runtime,返回output
async def call_model(state: State, runtime: Runtime[Context]) -> Dict[str, Any]:"""Process input and returns output.Can use runtime context to alter behavior."""return {"changeme": "output from call_model. "f"Configured with {runtime.context.get('my_configurable_param')}"}# 定義圖
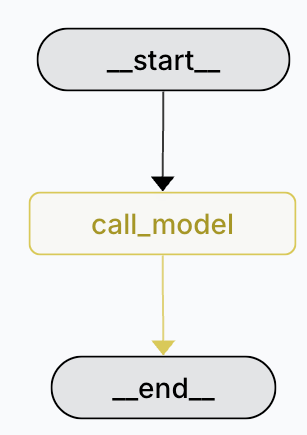
graph = (StateGraph(State, context_schema=Context).add_node(call_model).add_edge("__start__", "call_model").compile(name="New Graph")
)圖形化后是
二、前端
官方文檔
前置條件,在本地或者云端已經部署了langgraph的服務
然后本地安裝前端項目,并啟動
git clone https://github.com/langchain-ai/agent-chat-ui.gitcd agent-chat-uipnpm install
啟動前端
pnpm dev
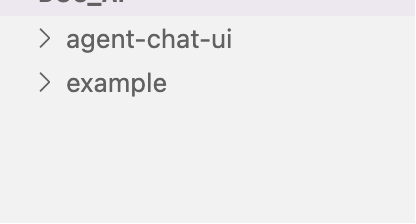
這樣本地就有兩個項目了
如果沒有pnpm,就安裝
brew install pnpm
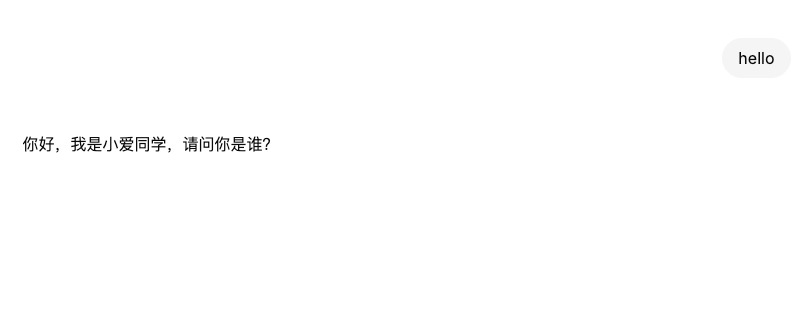
三、最終效果
因為前端的顯示是消息,所以要修改示例代碼,我的簡易代碼
from typing import Annotatedfrom typing_extensions import TypedDictfrom langgraph.graph import StateGraph, START, END
from langgraph.graph.message import add_messagesclass State(TypedDict):# Messages have the type "list". The `add_messages` function# in the annotation defines how this state key should be updated# (in this case, it appends messages to the list, rather than overwriting them)messages: Annotated[list, add_messages]def call_llm(state: State) -> State:return {"messages": [{"role": "assistant","content": "你好,我是小愛同學,請問你是誰?"}]}graph_builder = StateGraph(State)graph_builder.add_node("call_llm", call_llm)graph_builder.add_edge(START, "call_llm")
graph_builder.add_edge("call_llm", END)graph = graph_builder.compile()
四、本地客戶端訪問langgraph服務
官方文檔
代碼
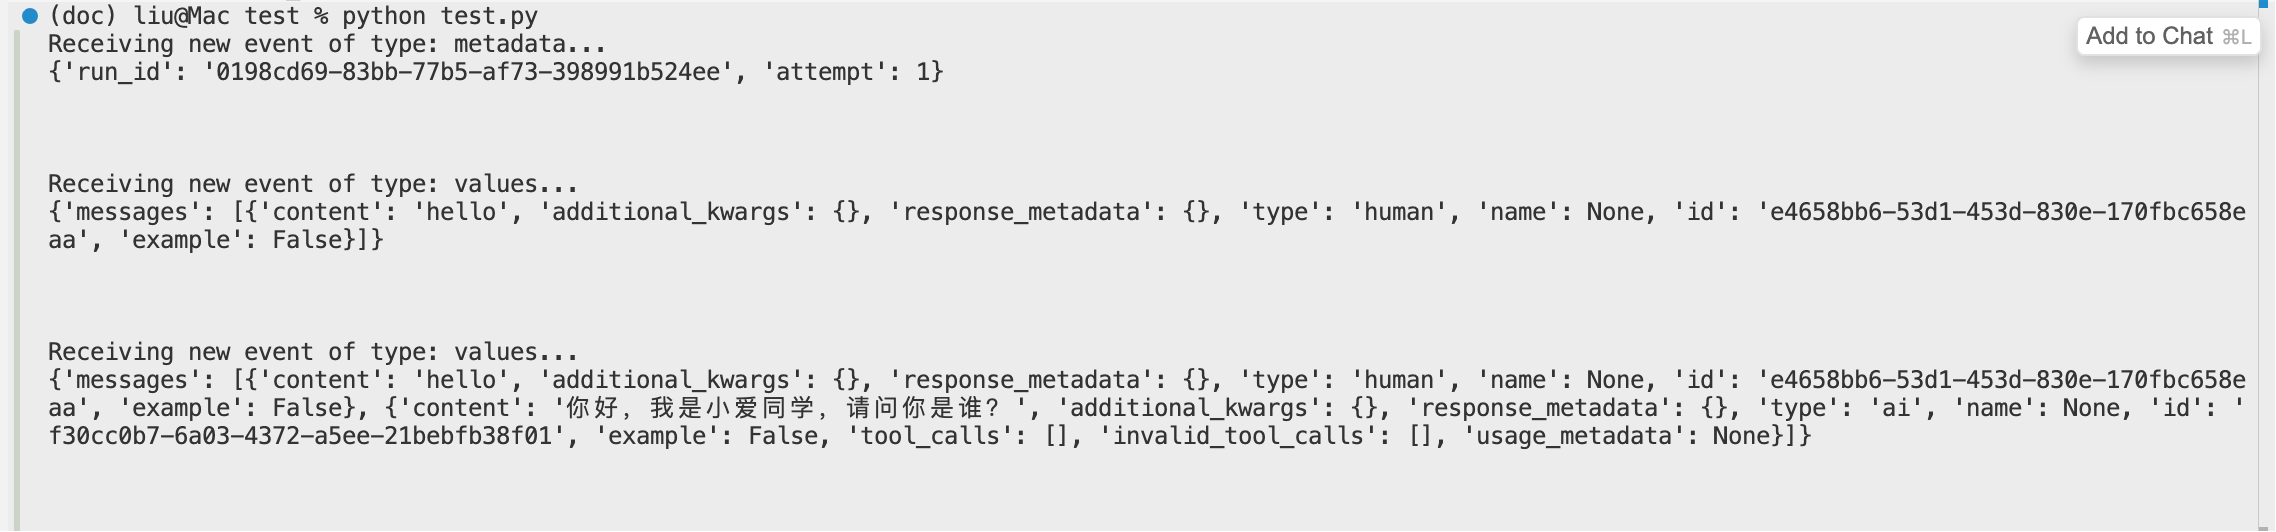
from langgraph_sdk import get_client
import asyncioclient = get_client(url="http://localhost:2024")async def main():async for chunk in client.runs.stream(None,  # Threadless run"agent", # Name of assistant. Defined in langgraph.json.input={"messages": [{"role": "human","content": "hello",}],},):print(f"Receiving new event of type: {chunk.event}...")print(chunk.data)print("\n\n")asyncio.run(main())
效果


)


