? ? ? ? 項目使用到 MLIR,通過了解 triton 對 MLIR 的使用,體會到 MLIR 在較大項目中的使用方式,匯總一下。
1. Triton 概述
? ? ? ? OpenAI Triton 是一個開源的編程語言和編譯器,旨在簡化 GPU 高性能計算(HPC) 的開發,特別是針對深度學習、科學計算等需要高效并行計算的領域。
既允許開發者編寫高度優化的代碼,又不必過度關注底層硬件細節。這樣,通過簡化高性能計算,可以加速新算法的實現和實驗。傳統 GPU 編程(如 CUDA)需要深入理解硬件架構和復雜的優化技術,而 Triton 旨在提供更高層次的抽象,降低開發門檻,但是設計 triton 語言及其編譯器本身,門檻卻非常高。
Triton 是基于 Python 的 DSL(領域特定語言),Triton 提供類似 Python 的語法,允許用戶用簡潔的代碼表達并行計算邏輯,然后通過編譯器優化為高效的 GPU 代碼。其中,這些優化是自動化的。自動處理線程調度、內存合并(memory coalescing)、共享內存分配等底層優化,減少手動調優的工作量。Triton 在模塊化與可擴展性方面下了不少功夫,它支持用戶自定義內核(kernels)和優化策略,同時提供標準化的高性能算子庫(如矩陣乘法、卷積等)。同時,Triton 可與 PyTorch 等深度學習框架集成,支持直接調用 Triton 內核。
在理念上,Triton 使用多級并行計算模型,借鑒 CUDA 的線程層次(thread blocks/grids),但通過更高層次的抽象(如 triton.program_id)簡化編程。針對數據的局部性做優化,自動利用 GPU 的共享內存(shared memory)和寄存器,優化內存訪問模式。Triton 把 LLVM 編譯框架融合了進來,Triton 編譯器將高級代碼轉換為優化的 PTX(NVIDIA GPU 的中間表示),同時結合了機器學習驅動的自動調優(auto-tuning)。在其前端,Triton 借助形式化程序語義,通過靜態分析和程序變換確保代碼的正確性和性能可預測性。
2. 基于預編譯的包安裝 triton
triton 通常跟 pytorch 一起使用;
2.1 安裝 pytorch
安裝一個基于 cuda 12.8 的 pytorch:
$ pip3 install torch torchvision torchaudio --index-url https://download.pytorch.org/whl/cu128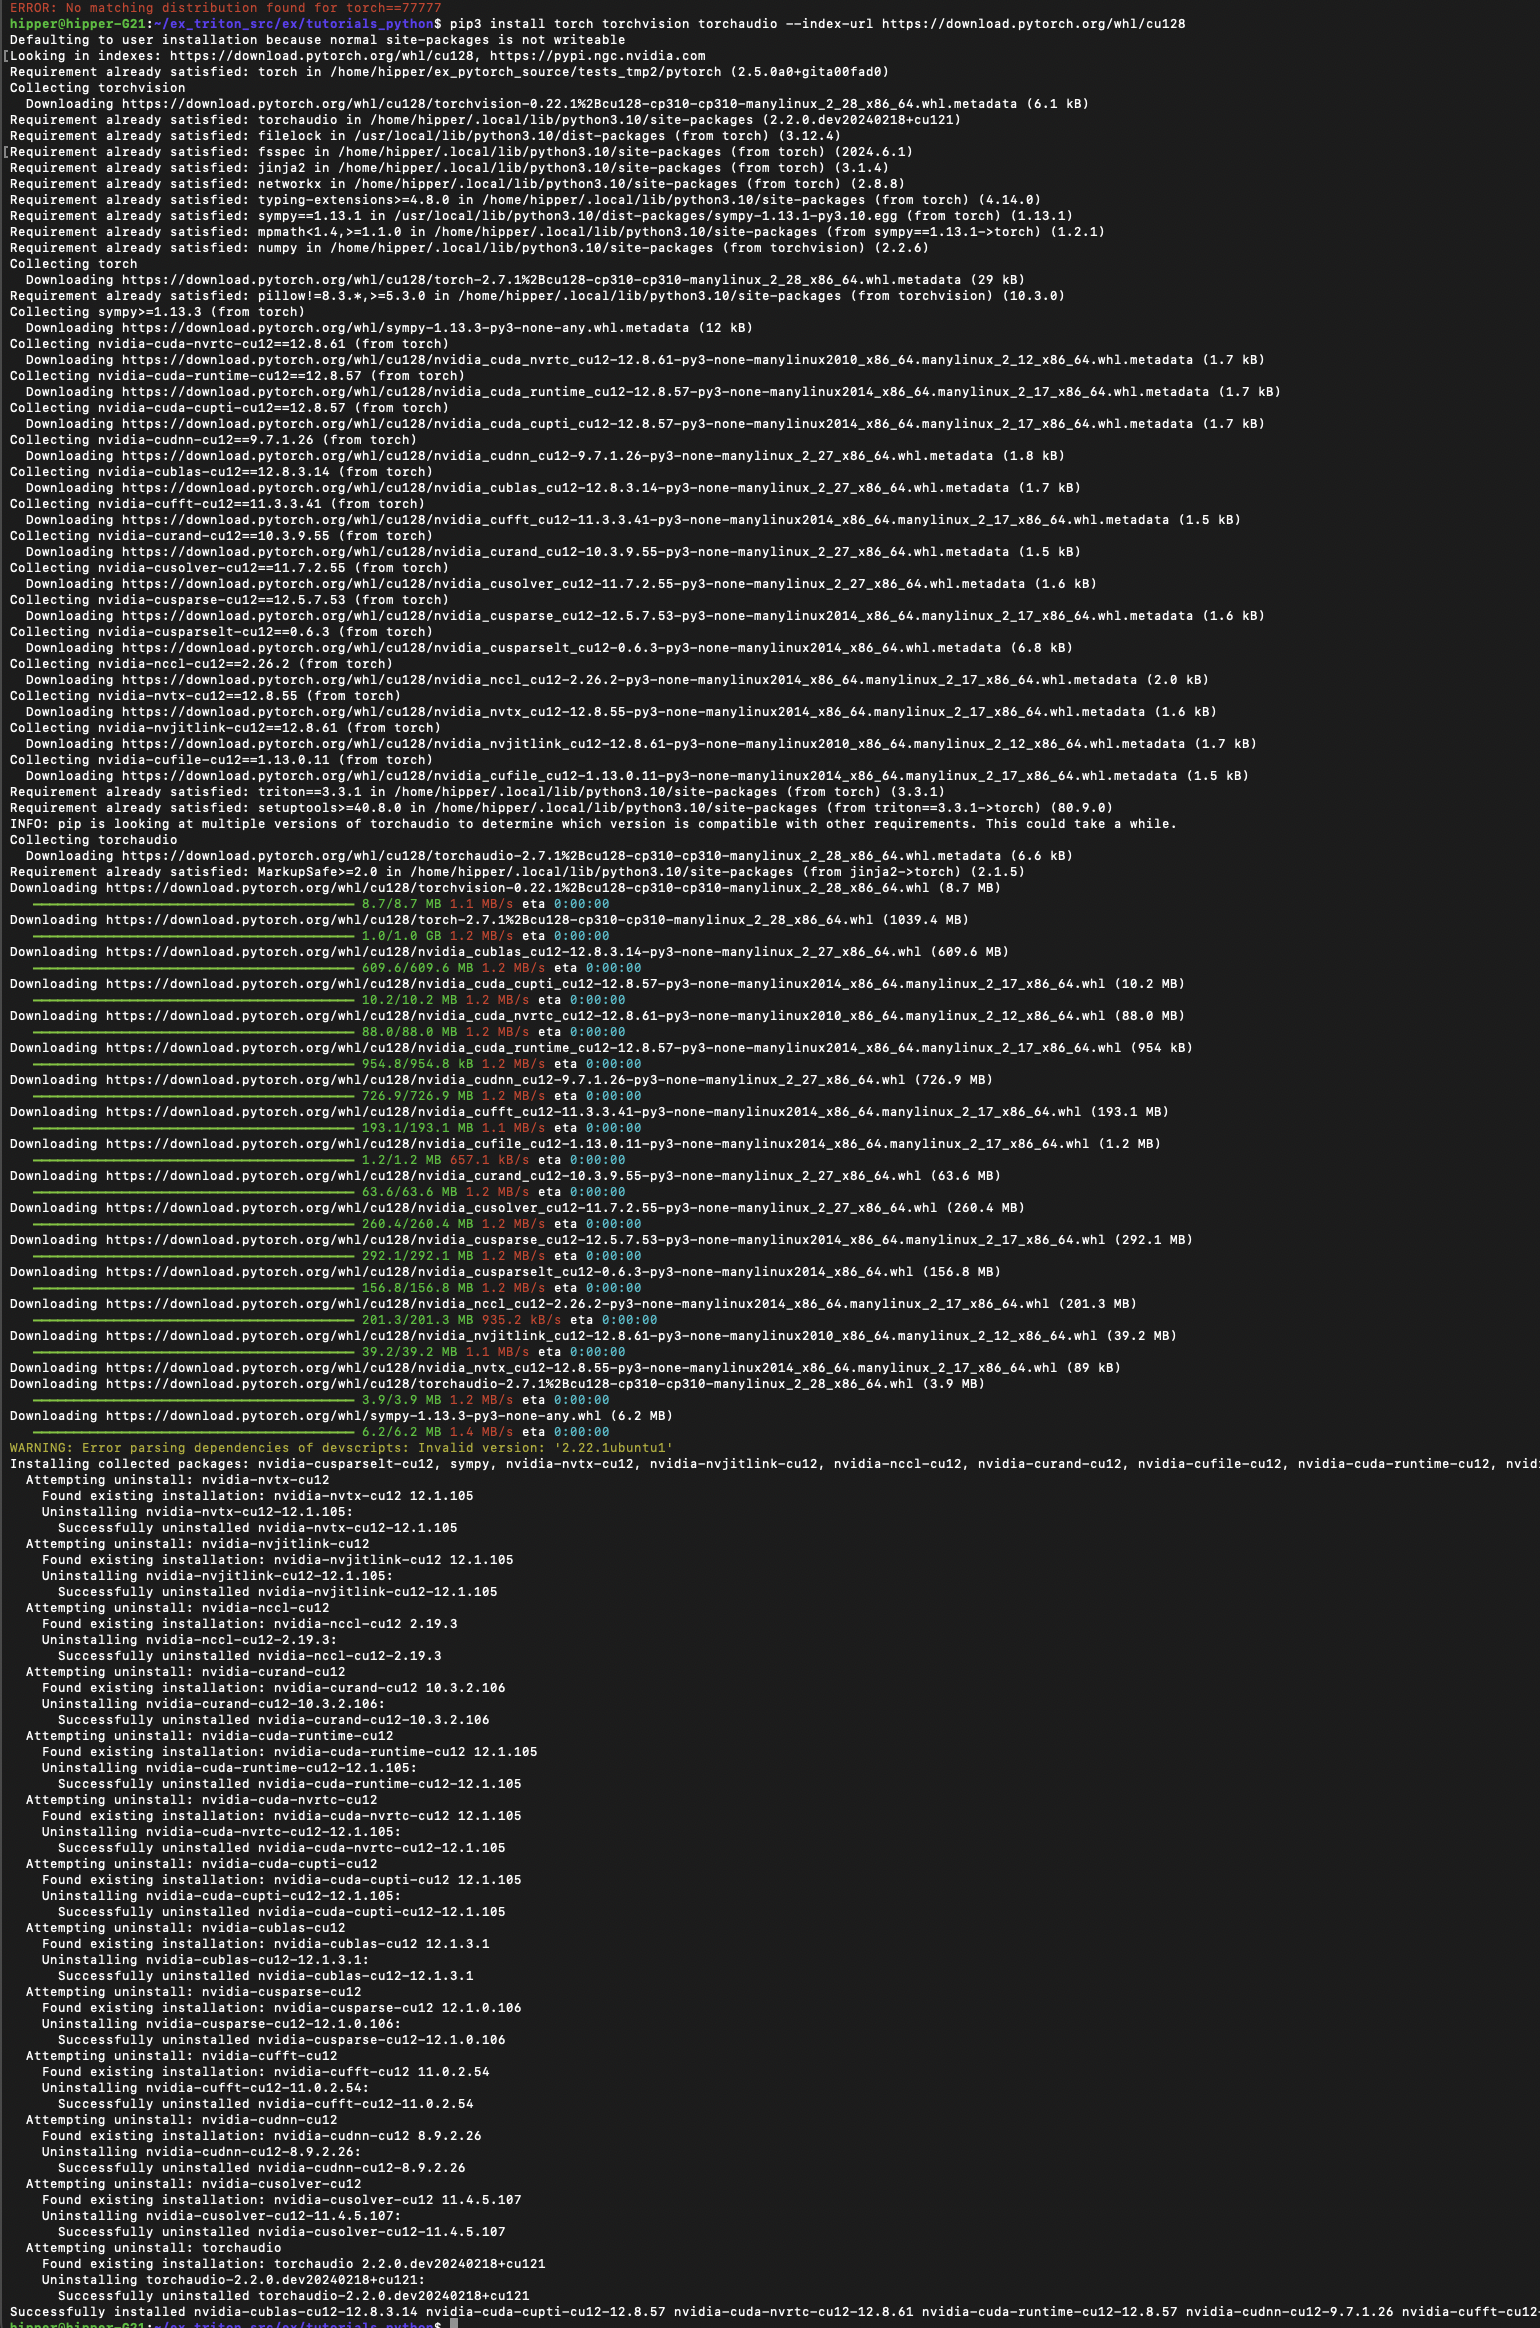
需要下載 幾個 GB 的包,網絡好的話會比較快,或者下班前、睡覺前安裝;
驗證安裝:
![]()
2.2 安裝triton
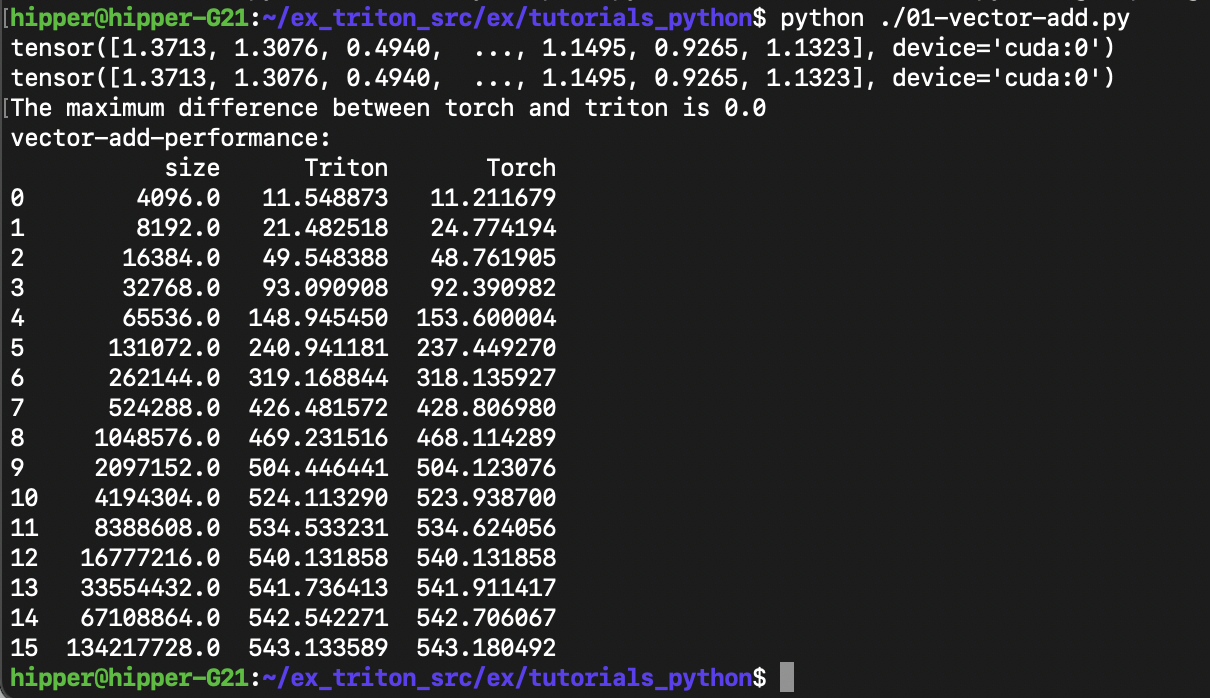
pip install triton驗證安裝: 跑一個 tutorial 01:
$ wget https://triton-lang.org/main/_downloads/763344228ae6bc253ed1a6cf586aa30d/tutorials_python.zip
$ unzip ........$ python ./01-vector-add.py
運行結果應該如下:
3.? 通過 example 了解 triton
3.1 01-vector-add.py 的源碼
"""
Vector Addition
===============In this tutorial, you will write a simple vector addition using Triton.In doing so, you will learn about:* The basic programming model of Triton.* The `triton.jit` decorator, which is used to define Triton kernels.* The best practices for validating and benchmarking your custom ops against native reference implementations."""# %%
# Compute Kernel
# --------------import torchimport triton
import triton.language as tlDEVICE = triton.runtime.driver.active.get_active_torch_device()@triton.jit
def add_kernel(x_ptr,  # *Pointer* to first input vector.y_ptr,  # *Pointer* to second input vector.output_ptr,  # *Pointer* to output vector.n_elements,  # Size of the vector.BLOCK_SIZE: tl.constexpr,  # Number of elements each program should process.# NOTE: `constexpr` so it can be used as a shape value.):# There are multiple 'programs' processing different data. We identify which program# we are here:pid = tl.program_id(axis=0)  # We use a 1D launch grid so axis is 0.# This program will process inputs that are offset from the initial data.# For instance, if you had a vector of length 256 and block_size of 64, the programs# would each access the elements [0:64, 64:128, 128:192, 192:256].# Note that offsets is a list of pointers:block_start = pid * BLOCK_SIZEoffsets = block_start + tl.arange(0, BLOCK_SIZE)# Create a mask to guard memory operations against out-of-bounds accesses.mask = offsets < n_elements# Load x and y from DRAM, masking out any extra elements in case the input is not a# multiple of the block size.x = tl.load(x_ptr + offsets, mask=mask)y = tl.load(y_ptr + offsets, mask=mask)output = x + y# Write x + y back to DRAM.tl.store(output_ptr + offsets, output, mask=mask)# %%
# Let's also declare a helper function to (1) allocate the `z` tensor
# and (2) enqueue the above kernel with appropriate grid/block sizes:def add(x: torch.Tensor, y: torch.Tensor):# We need to preallocate the output.output = torch.empty_like(x)assert x.device == DEVICE and y.device == DEVICE and output.device == DEVICEn_elements = output.numel()# The SPMD launch grid denotes the number of kernel instances that run in parallel.# It is analogous to CUDA launch grids. It can be either Tuple[int], or Callable(metaparameters) -> Tuple[int].# In this case, we use a 1D grid where the size is the number of blocks:grid = lambda meta: (triton.cdiv(n_elements, meta['BLOCK_SIZE']), )# NOTE:#  - Each torch.tensor object is implicitly converted into a pointer to its first element.#  - `triton.jit`'ed functions can be indexed with a launch grid to obtain a callable GPU kernel.#  - Don't forget to pass meta-parameters as keywords arguments.add_kernel[grid](x, y, output, n_elements, BLOCK_SIZE=1024)# We return a handle to z but, since `torch.cuda.synchronize()` hasn't been called, the kernel is still# running asynchronously at this point.return output# %%
# We can now use the above function to compute the element-wise sum of two `torch.tensor` objects and test its correctness:torch.manual_seed(0)
size = 98432
x = torch.rand(size, device=DEVICE)
y = torch.rand(size, device=DEVICE)
output_torch = x + y
output_triton = add(x, y)
print(output_torch)
print(output_triton)
print(f'The maximum difference between torch and triton is 'f'{torch.max(torch.abs(output_torch - output_triton))}')# %%
# Seems like we're good to go!# %%
# Benchmark
# ---------
#
# We can now benchmark our custom op on vectors of increasing sizes to get a sense of how it does relative to PyTorch.
# To make things easier, Triton has a set of built-in utilities that allow us to concisely plot the performance of our custom ops.
# for different problem sizes.@triton.testing.perf_report(triton.testing.Benchmark(x_names=['size'],  # Argument names to use as an x-axis for the plot.x_vals=[2**i for i in range(12, 28, 1)],  # Different possible values for `x_name`.x_log=True,  # x axis is logarithmic.line_arg='provider',  # Argument name whose value corresponds to a different line in the plot.line_vals=['triton', 'torch'],  # Possible values for `line_arg`.line_names=['Triton', 'Torch'],  # Label name for the lines.styles=[('blue', '-'), ('green', '-')],  # Line styles.ylabel='GB/s',  # Label name for the y-axis.plot_name='vector-add-performance',  # Name for the plot. Used also as a file name for saving the plot.args={},  # Values for function arguments not in `x_names` and `y_name`.))
def benchmark(size, provider):x = torch.rand(size, device=DEVICE, dtype=torch.float32)y = torch.rand(size, device=DEVICE, dtype=torch.float32)quantiles = [0.5, 0.2, 0.8]if provider == 'torch':ms, min_ms, max_ms = triton.testing.do_bench(lambda: x + y, quantiles=quantiles)if provider == 'triton':ms, min_ms, max_ms = triton.testing.do_bench(lambda: add(x, y), quantiles=quantiles)gbps = lambda ms: 3 * x.numel() * x.element_size() * 1e-9 / (ms * 1e-3)return gbps(ms), gbps(max_ms), gbps(min_ms)# %%
# We can now run the decorated function above. Pass `print_data=True` to see the performance number, `show_plots=True` to plot them, and/or
# `save_path='/path/to/results/' to save them to disk along with raw CSV data:
benchmark.run(print_data=True, show_plots=True)
3.2 01-vector-add.py 源碼分析
? ? 業務邏輯從 Line: 86 開始:torch.manual_seed(0)
首先,設置隨機函數的種子;
接著,定義了兩個一維的 tensor 變量 x 和 y,并隨機了其元素的值;
然后,使用 pytorch 的 + 算符計算了兩個 tensor 的逐元素和:?output_torch = x + y;
接下來,調用自定義 add 函數,使用 triton kernel 計算了兩個 tensor 的逐元素和。
從 add 函數開始逐行注釋一下:
@triton.jit
def add_kernel(x_ptr,y_ptr,output_ptr,n_elements,BLOCK_SIZE: tl.constexpr,):pid = tl.program_id(axis=0)# 相當于 cuda 中 blockId.x,axis=0 是指 x方向block_start = pid * BLOCK_SIZE#當前block 在獲取數據時的起始偏移offsets = block_start + tl.arange(0, BLOCK_SIZE)#本 block 覆蓋的偏移范圍mask = offsets < n_elements#offsets 的范圍中,其值小于 n_el... 的話,mask 為true,否則為faulsex = tl.load(x_ptr + offsets, mask=mask)# mask 為true的話,取值y = tl.load(y_ptr + offsets, mask=mask)output = x + y#相加tl.store(output_ptr + offsets, output, mask=mask)#mask 為 true的話,存回 DRAMdef add(x: torch.Tensor, y: torch.Tensor):output = torch.empty_like(x)# 定義一個shape 跟x一樣的tensor 變量。# 接下來檢查 x,y,output 躺在的設備是否相同。assert x.device == DEVICE and y.device == DEVICE and output.device == DEVICE# 獲取 output 這個 tensor 的元素個數,存在 n_elements 中。n_elements = output.numel()# 接下來兩行代碼將在正文中做一些解釋:grid = lambda meta: (triton.cdiv(n_elements, meta['BLOCK_SIZE']), )add_kernel[grid](x, y, output, n_elements, BLOCK_SIZE=1024)return output
grid = lambda meta: (triton.cdiv(n_elements, meta['BLOCK_SIZE']), )
逐條說明這句的要件:
這是一個動態計算網格大小的 lambda 函數
meta 參數是一個字典,包含內核的編譯時常量(這里是 BLOCK_SIZE)
triton.cdiv 是 Triton 提供的向上取整除法函數,確保所有元素都被處理
grid 計算結果是一個元組,表示網格的維度(這里是1D網格)
lambda meta 的設計目標:
允許內核在不同塊大小下復用,無需硬編碼網格大小
使內核更加靈活,可以自動適應不同輸入大小
add_kernel[grid](x, y, output, n_elements, BLOCK_SIZE=1024)
工作方式:
[grid] 部分指定了網格計算函數
Triton 運行時會首先調用 grid({'BLOCK_SIZE': 1024}) 獲取實際網格大小,然后啟動相應數量的線程塊。
然后到了 triton kernel 的函數頭:
@triton.jit
def add_kernel(x_ptr,
y_ptr,
output_ptr,
n_elements,
BLOCK_SIZE: tl.constexpr,
):
tl.constexpr 的作用:
標記 BLOCK_SIZE 為編譯時常量,在編譯時而非運行時確定值
允許 Triton 編譯器根據編譯時常量進行優化(如循環展開)
函數體就不展開了,結合cuda 的編程方式,可以體會到很強的映射關系。
4. Triton 的 lambda meta 處理過程
? ? ? ? Triton 的 lambda meta 語法不是原生 Python 語法,而是一種由 Triton 編譯器專門設計的領域特定語言(DSL)擴展。其工作原理大致分為語法解析階段、編譯處理階段、代碼生成階段:
4.1. 語法解析階段
當 Triton 遇到 kernel[grid](args) 這種語法時:
step1:? 裝飾器攔截
? ? ? ? @triton.jit 裝飾器將 Python 函數標記為 Triton 內核
觸發 Triton 的定制化解析流程
step2:? AST 轉換
? ? ? ? Triton 使用 Python 的抽象語法樹(AST)解析器獲取代碼結構
對 AST 進行轉換,將特殊語法節點轉換為 Triton 內部表示
step3:? Lambda Meta 處理
? ? ? ? 識別 grid = lambda meta: ... 這種特殊模式
提取 lambda 函數體用于后續的網格計算
4.2. 編譯時處理機制
網格計算 Lambda 的特殊處理
step1:? 元參數字典構建
meta = {
'BLOCK_SIZE': 1024,? # 從內核調用傳入
# 其他可能的編譯時常量...
}
step2:? 符號化執行
Triton 編譯器對 lambda 體進行符號化分析
將 meta['BLOCK_SIZE'] 替換為實際值(如1024)
計算 triton.cdiv(n_elements, BLOCK_SIZE)
step3:? 延遲執行設計
不像普通 Python lambda 立即執行,Triton 在編譯時捕獲 lambda 表達式,在代碼生成階段才實際計算網格大小
4.3. 代碼生成階段
?step1:? 網格維度確定
調用 grid(meta) 獲取具體網格形狀,生成對應的 CUDA 網格啟動配置
step2:? 內核參數綁定
將 Python 參數(x,y,output)綁定到設備指針,并處理 tl.constexpr 參數的特殊傳遞
step3:? PTX 生成
最終生成類似如下的設備代碼結構:
define void @add_kernel(..., i32 %n_elements) {%pid = call i32 @llvm.nvvm.read.ptx.sreg.ctaid.x()%block_start = mul i32 %pid, 1024  // BLOCK_SIZE內聯...
}
然后可以基于llvm內部后端模塊生成PTX
5. triton lambda meta 與 python lambda 的對比
| 特性 | Python Lambda | Triton Lambda Meta |
| 執行時機 | 運行時立即執行 | 編譯時延遲執行 |
| 參數類型 | 常規 Python 對象 | 特殊 meta 字典 |
| 可用操作 | 完整 Python 語法 | 受限的 Triton DSL 子集 |
| 優化方式 | 無特別優化 | 常量傳播、循環展開等優化 |
| 返回值使用 | 直接使用返回值 | 用于配置內核啟動參數 |
6. 設計原理深度解析
? ? ? ? 這種元編程范式,允許在編譯時基于參數動態生成代碼,以便實現"一次編寫,多配置生成"的效果。
其中用到了編譯時常量傳播
# 用戶代碼
grid = lambda meta: (triton.cdiv(n, meta['SIZE']),)
實際效果相當于
grid_size = (n + 1023) // 1024 # 當SIZE=1024時如上所述,對其解析涉及到多階段編譯:
階段1:解析Python AST,識別Triton特殊結構
階段2:處理lambda meta,確定并行參數
階段3:生成優化后的設備代碼
? ? ? ? 這種類型系統集成,其中,tl.constexpr 類型提示幫助編譯器區分運行時變量(如n_elements)、編譯時常量(如BLOCK_SIZE)
7. 使用常數特性實現性能優化
一些常用的 GPU 編程優化技巧,基于 meta 參數的常數性質,得到了實施。
? ? ? ? 基于 BLOCK_SIZE 的編譯時已知性可以至少完成如下三種常用優化:
(1.) 支持完全展開內存加載/存儲等循環體
(2.) 支持寄存器分配(若非已知,則需要使用數組的方式,在 global mem 或shared mem上分配空間)
offsets = block_start + tl.arange(0, BLOCK_SIZE)
# 可能被優化為寄存器數組而非內存操作
(3.) 用于邊界檢查的省略
當 n_elements % BLOCK_SIZE == 0 時
可以省略不必要的 mask 計算和相關分支檢查代碼的生成,自動進行性能優化
? ? ? ? 這種設計最終幫助 Triton 在保持 Python 前端簡潔性的同時,能夠生成與手工優化 CUDA 代碼相媲美的高性能GPU代碼。

)


)
)

為何要引入核函數?為何對缺失數據敏感?)

)
)


-- 計算機視覺的遷移學習)

)


)