文章目錄
- TIF圖像轉JPG
- TIF標簽轉PNG
- 圖像重疊裁剪
- 圖像重命名
- 數據集轉COCO格式
- 數據集轉VOC格式
遙感圖像不同于一般的自然圖像,由于波段數量、圖像位深度等原因,TIF圖像數據不能使用簡單的格式轉換方法。本文以Potsdam數據集為例,制作能夠直接用于深度學習的數據集。
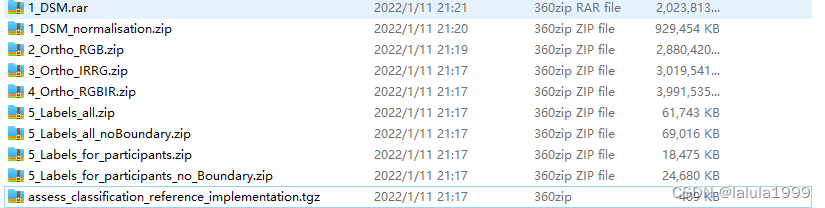
Potsdam數據集的內容如下:
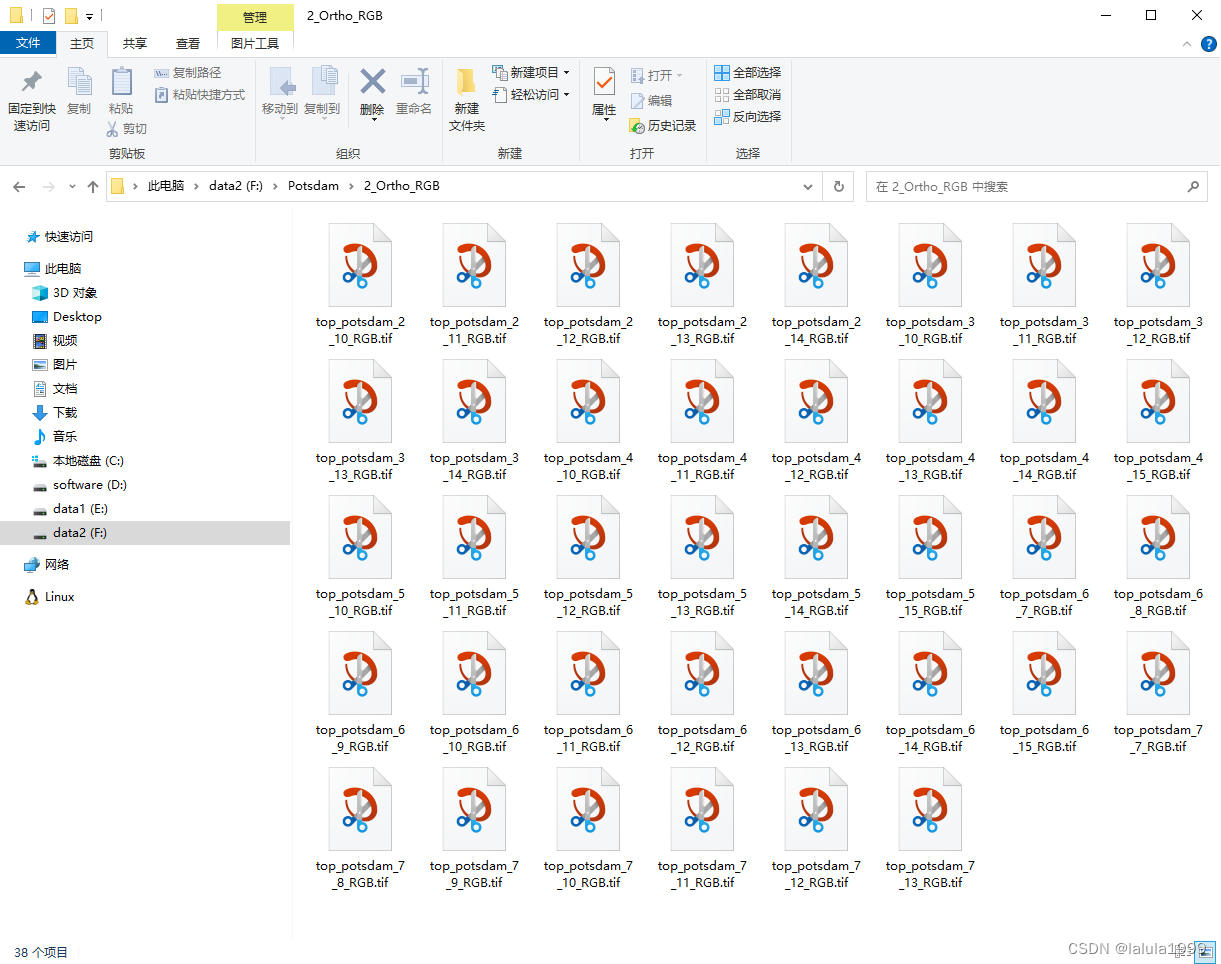
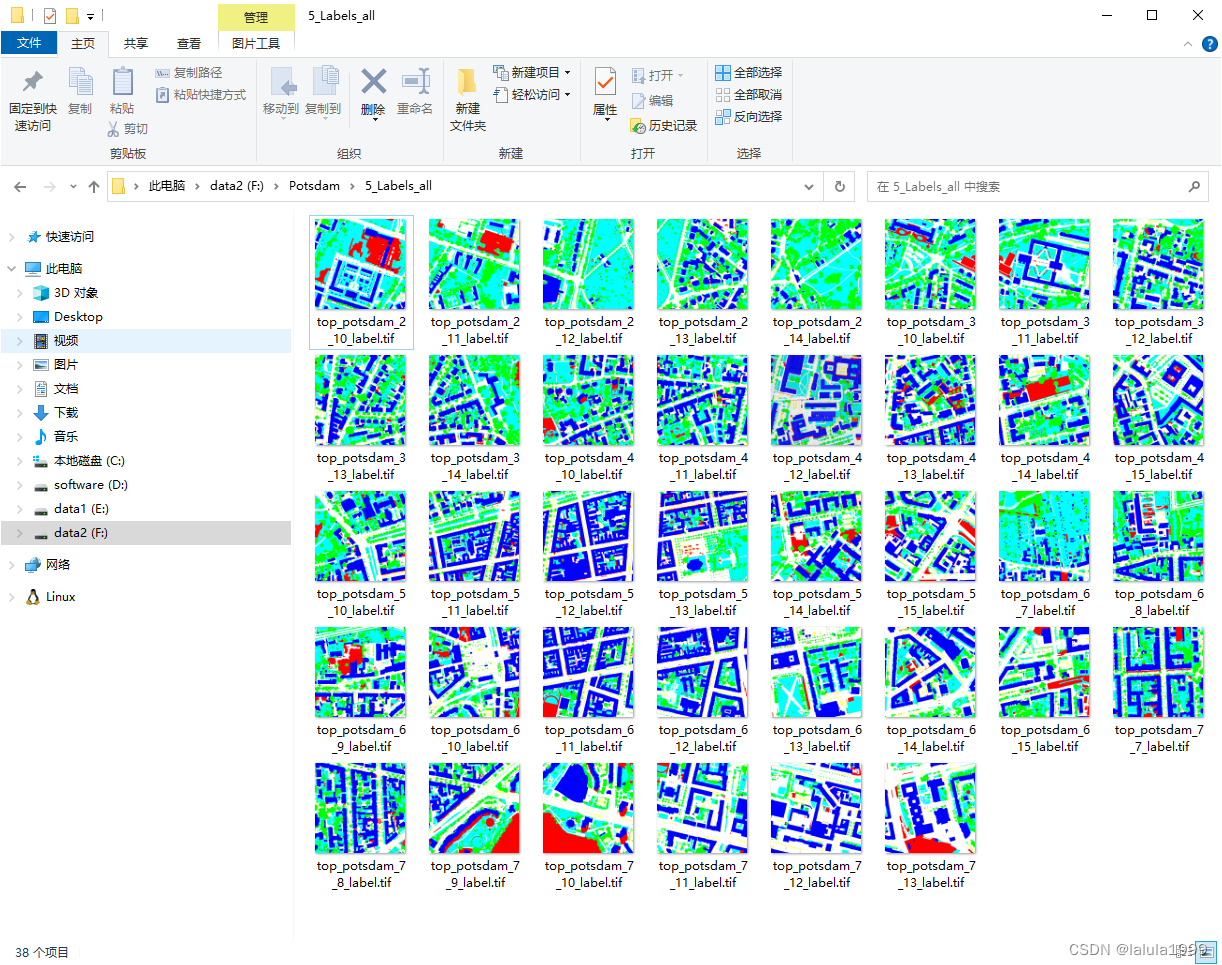
本文使用2_Ortho_RGB(圖像數據RGB通道順序)和5_Labels_all(標簽數據)作為示例進行數據集制作。
TIF圖像轉JPG
TIF轉JPG借鑒了文章怎么讀取tif格式的衛星遙感數據,并將數據輸入到神經網絡模型中進行訓練
# -*- coding: UTF-8 -*-
import numpy as np
import os
from PIL import Image
from osgeo import gdaldef readTif(imgPath, bandsOrder=[1, 2, 3]):"""讀取GEO tif影像的前三個波段值,并按照R.G.B順序存儲到形狀為【原長*原寬*3】的數組中:param imgPath: 圖像存儲全路徑:param bandsOrder: RGB對應的波段順序,如高分二號多光譜包含藍B,綠g,紅R,近紅Nir外四個波段,RGB對應的波段為3,2,1:return: R.G.B三維數組"""dataset = gdal.Open(imgPath, gdal.GA_ReadOnly)cols = dataset.RasterXSizerows = dataset.RasterYSizedata = np.empty([rows, cols, 3], dtype=float)for i in range(3):band = dataset.GetRasterBand(bandsOrder[i])oneband_data = band.ReadAsArray()data[:, :, i] = oneband_datareturn datadef stretchImg(imgPath, resultPath, lower_percent=0.5, higher_percent=99.5):"""#將光譜DN值映射至0-255,并保存:param imgPath: 需要轉換的tif影像路徑(***.tif):param resultPath: 轉換后的文件存儲路徑(***.jpg):param lower_percent: 低值拉伸比率:param higher_percent: 高值拉伸比率:return: 無返回參數,直接輸出圖片"""RGB_Array = readTif(imgPath)band_Num = RGB_Array.shape[2]JPG_Array = np.zeros_like(RGB_Array, dtype=np.uint8)for i in range(band_Num):minValue = 0maxValue = 255# 獲取數組RGB_Array某個百分比分位上的值low_value = np.percentile(RGB_Array[:, :, i], lower_percent)high_value = np.percentile(RGB_Array[:, :, i], higher_percent)temp_value = minValue + (RGB_Array[:, :, i] - low_value) * (maxValue - minValue) / (high_value - low_value)temp_value[temp_value < minValue] = minValuetemp_value[temp_value > maxValue] = maxValueJPG_Array[:, :, i] = temp_valueoutputImg = Image.fromarray(np.uint8(JPG_Array))outputImg.save(resultPath)def Batch_Convert_tif_to_jpg(imgdir, savedir):# 檢查保存目錄是否存在,如果不存在則創建if not os.path.exists(savedir):os.makedirs(savedir)# 獲取文件夾下所有tif文件名稱,并存入列表file_name_list = os.listdir(imgdir)for name in file_name_list:# 獲取圖片文件全路徑img_path = os.path.join(imgdir, name)# 獲取文件名,不包含擴展名filename = os.path.splitext(name)[0]savefilename = filename + ".jpg"# 文件存儲全路徑savepath = os.path.join(savedir, savefilename)stretchImg(img_path, savepath)print(f"Converted {filename} to jpg format.")print("Done!")# 主函數,首先調用
if __name__ == '__main__':imgdir = r"F:\Potsdam\2_Ortho_RGB"  # tif文件所在的【文件夾】savedir = r"F:\Potsdam\jpg"  # 轉為jpg后存儲的【文件夾】Batch_Convert_tif_to_jpg(imgdir, savedir)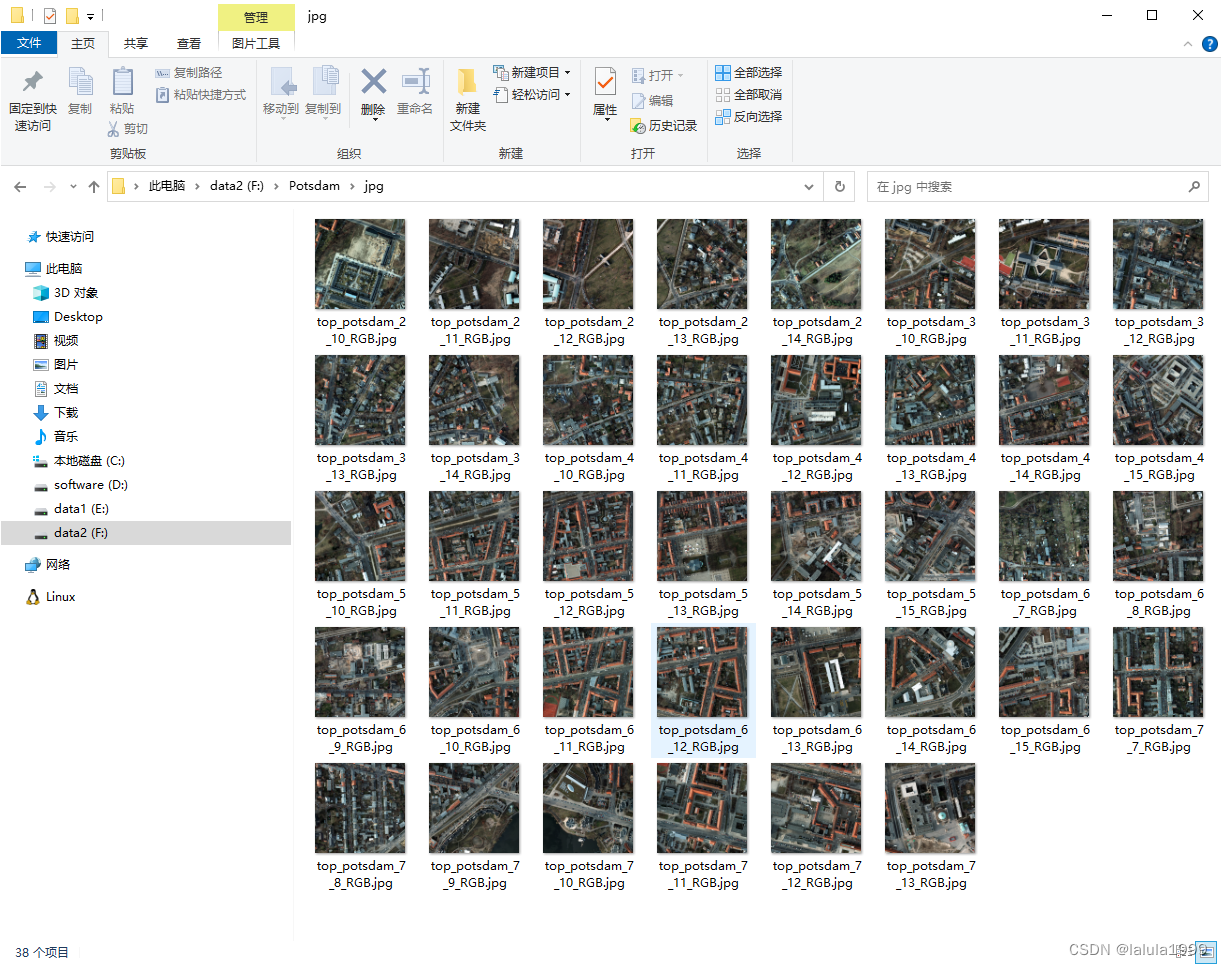
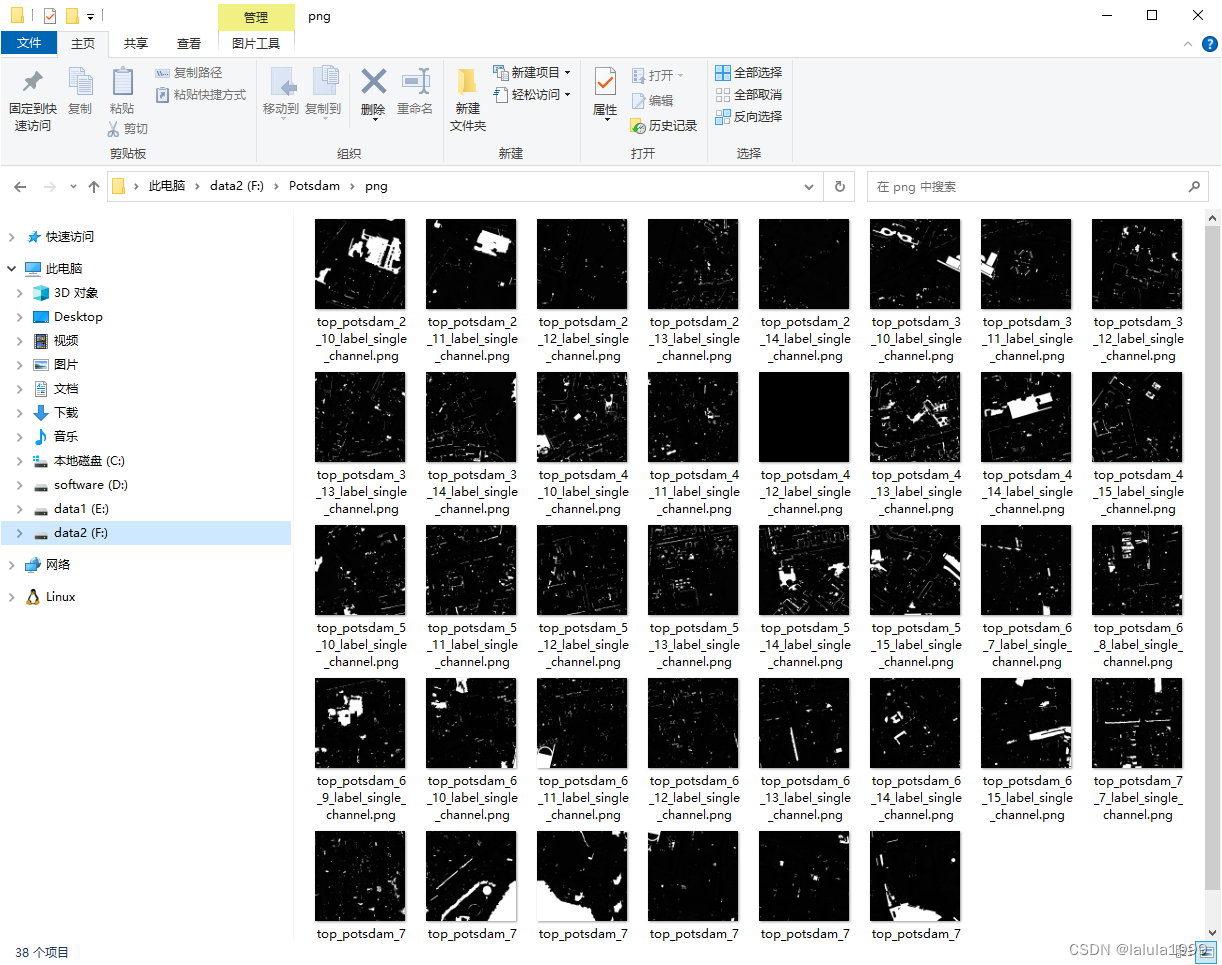
TIF標簽轉PNG
如果標簽圖像是單通道的,那么可以簡單地進行格式轉換以適應深度學習模型的輸入要求。然而,當標簽圖像以RGB格式存在時,則需要使用RGB字典進行映射。
import os
from PIL import Image
import numpy as npdef rgb_to_single_channel(rgb_image_path, output_path, rgb_dict):"""將RGB圖像轉換為單通道圖像,使用指定的RGB字典來映射類別標簽。:param rgb_image_path: RGB圖像的路徑:param output_path: 轉換后圖像的保存路徑:param rgb_dict: RGB字典,鍵是RGB元組,值是對應的類別標簽"""# 讀取RGB圖像rgb_image = Image.open(rgb_image_path)# 將圖像轉換為numpy數組rgb_array = np.array(rgb_image)# 創建一個空的單通道圖像數組single_channel_array = np.zeros((rgb_array.shape[0], rgb_array.shape[1]), dtype=np.uint8)# 將RGB值轉換為單一的標量值for rgb, label in rgb_dict.items():# 將圖像中的每個像素的RGB值與rgb_dict中的RGB元組進行比較# 如果匹配,則將對應的類別標簽賦給單通道圖像的對應像素single_channel_array[np.all(rgb_array == rgb, axis=-1)] = label# 將單通道數組轉換為圖像并保存single_channel_image = Image.fromarray(single_channel_array, mode='L')single_channel_image.save(output_path)def convert_tif_to_png(image_folder, output_folder, rgb_dict):"""將指定文件夾中的所有TIFF圖像轉換為PNG格式,并保存到另一個文件夾中。如果圖像是單通道圖像,則直接轉換為PNG。如果圖像是RGB圖像,則使用rgb_to_single_channel函數進行轉換。:param image_folder: 包含TIFF圖像的文件夾路徑。:param output_folder: 保存轉換后的PNG圖像的文件夾路徑。:param rgb_dict: RGB字典,用于rgb_to_single_channel函數。"""# 檢查輸出文件夾是否存在,如果不存在則創建它if not os.path.exists(output_folder):os.makedirs(output_folder)# 遍歷圖像文件夾中的所有文件for filename in os.listdir(image_folder):filepath = os.path.join(image_folder, filename)# 檢查文件是否為TIFF格式if filename.endswith('.tif'):try:# 打開TIFF圖像image = Image.open(filepath)# 檢查圖像是否為單通道圖像if image.mode == 'L':# 如果是單通道圖像,直接轉換為PNGoutput_filename = os.path.splitext(filename)[0] + '.png'output_filepath = os.path.join(output_folder, output_filename)image.save(output_filepath, 'PNG')print(f"Converted {filename} to png format.")else:# 如果是RGB圖像,使用rgb_to_single_channel函數進行轉換output_filename = os.path.splitext(filename)[0] + '_single_channel.png'output_filepath = os.path.join(output_folder, output_filename)rgb_to_single_channel(filepath, output_filepath, rgb_dict)print(f"Converted {filename} to single channel png format.")except Exception as e:print(f"Error converting {filename}: {str(e)}")# 指定圖像文件夾和輸出文件夾
image_folder = r"F:\Potsdam\5_Labels_all"
output_folder = r"F:\Potsdam\png"# 定義RGB字典
rgb_dict = {(255, 255, 255): 1,  # 不透水路面 Impervious surfaces (RGB: 255, 255, 255)(0, 0, 255): 2,      # 建筑物 Building (RGB: 0, 0, 255)(0, 255, 255): 3,    # 低植被 Low vegetation (RGB: 0, 255, 255)(0, 255, 0): 4,      # 樹木 Tree (RGB: 0, 255, 0)(255, 255, 0): 5,    # 汽車 Car (RGB: 255, 255, 0)(255, 0, 0): 255       # 背景 Clutter/background (RGB: 255, 0, 0)
}# 調用函數進行轉換
convert_tif_to_png(image_folder, output_folder, rgb_dict)
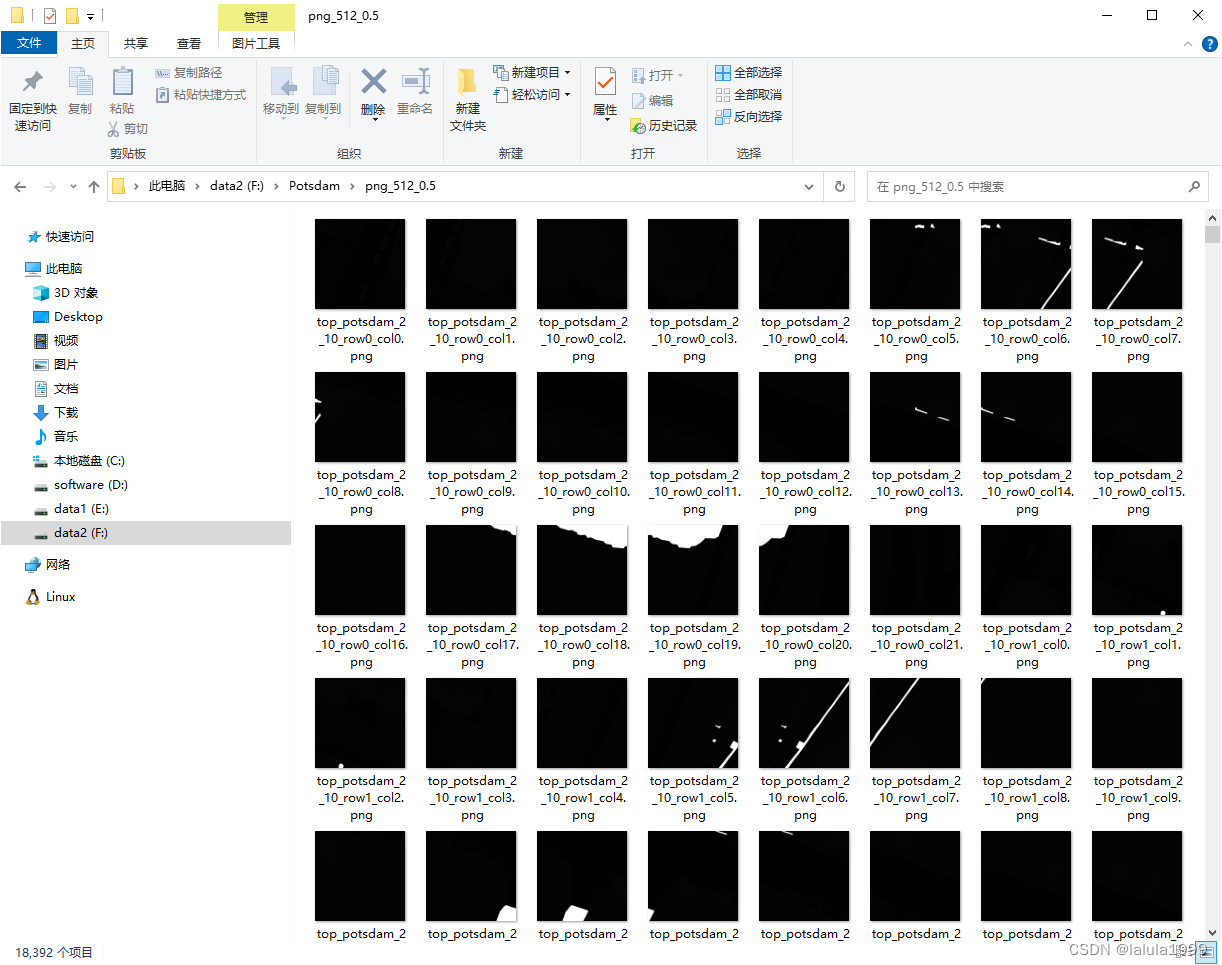
圖像重疊裁剪
由于遙感圖像數據集的珍貴性,我們可以使用重疊裁剪的方式擴充數據集數量,當然也可以設置為0不重疊。
import os
from PIL import Imagedef crop_images(image_path, save_path, subimage_size, overlap_ratio):"""將圖像裁剪成指定大小的子圖像,并允許設置子圖像之間的重疊比例。只有完全覆蓋原始圖像的子圖像才會被保存。:param image_path: 原始圖像路徑:param save_path: 保存子圖像的路徑:param subimage_size: 子圖像大小(寬度和高度):param overlap_ratio: 子圖像之間的重疊比例,范圍在0到1之間"""# 確保保存路徑存在os.makedirs(save_path, exist_ok=True)# 遍歷圖像路徑中的所有文件for filename in os.listdir(image_path):# 檢查文件是否為圖像格式if filename.lower().endswith(('.png', '.jpg', '.jpeg', '.bmp', '.tif')):# 打開圖像img = Image.open(os.path.join(image_path, filename))width, height = img.size# 計算子圖像的步長,包括重疊部分step = int(subimage_size * (1 - overlap_ratio))# 計算需要劃分的行列數num_rows = (height // step) + (1 if height % step > 0 else 0)num_cols = (width // step) + (1 if width % step > 0 else 0)# 遍歷并保存每個子圖片for row in range(num_rows):for col in range(num_cols):# 計算子圖像的左上角和右下角坐標left = col * steptop = row * stepright = left + subimage_sizebottom = top + subimage_size# 檢查子圖像是否完全覆蓋原始圖像if right <= width and bottom <= height:# 裁剪子圖像sub_img = img.crop((left, top, right, bottom))# 構建子圖像的文件名base_name, ext = os.path.splitext(filename)sub_filename = f"{base_name}_row{row}_col{col}{ext}"# 保存子圖像sub_img.save(os.path.join(save_path, sub_filename))print(f"{filename} cropping complete.")crop_images(r'F:\Potsdam\jpg',r'F:\Potsdam\jpg_512_0.5',512, 0.5)crop_images(r'F:\Potsdam\png',r'F:\Potsdam\png_512_0.5',512, 0.5)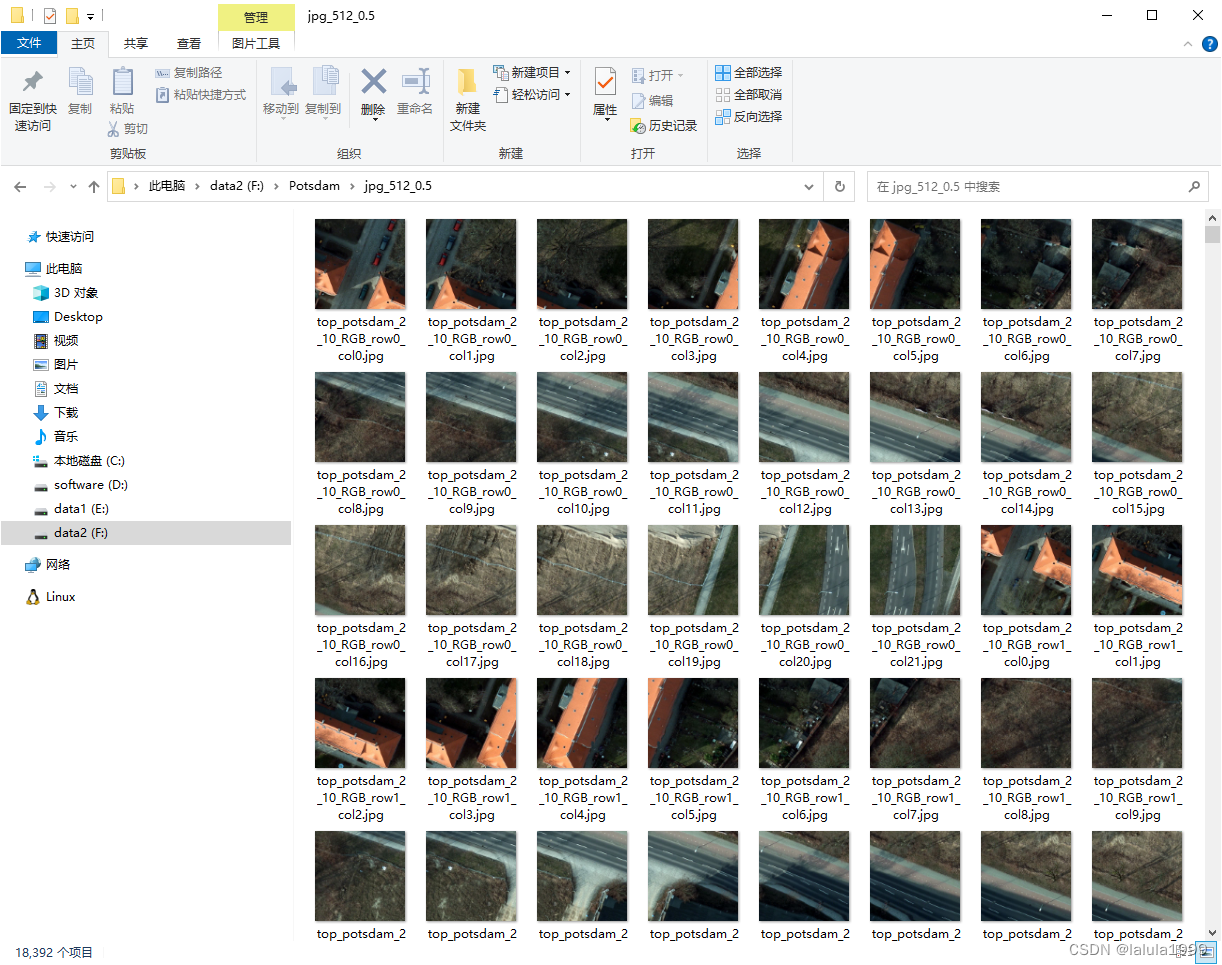
圖像重命名
在構建遙感圖像數據集的過程中,會遇到圖像集和相應的標簽集在文件命名上的不一致問題。這種不一致性會導致無法直接將數據集用于深度學習模型的訓練,因為模型通常需要圖像和標簽數據具有完全匹配的文件名,以確保它們可以正確地配對。
import osdef rename(directory, str):# 檢查目錄是否存在if not os.path.exists(directory):print("path error!")return# 獲取目錄下所有文件files = os.listdir(directory)# 循環處理每個文件for file in files:if file.endswith(('.png', '.jpg', '.jpeg', '.bmp', '.tif')):# 檢查文件名中是否包含if str in file:# 構建新的文件名new_file_name = file.replace(str, '')# 舊文件路徑old_file_path = os.path.join(directory, file)# 新文件路徑new_file_path = os.path.join(directory, new_file_name)try:# 重命名文件os.rename(old_file_path, new_file_path)print(f" {file} rename {new_file_name}")except Exception as e:print(f" {file} error:{e}")# 指定路徑
jpg_directory_path = r"F:\Potsdam\jpg_512_0.5"
png_directory_path = r"F:\Potsdam\png_512_0.5"
jpg_str="_RGB"
png_str="_label_single_channel"# 執行重命名操作
rename(jpg_directory_path, jpg_str)
rename(png_directory_path, png_str)
數據集轉COCO格式
某些深度學習模型是根據公共自然圖像數據集格式進行數據集格式處理,這里給出COCO數據集的格式轉化。
import os
import json
import shutil
import random
from PIL import Image# 原始JPG圖片路徑
jpg_path = r'F:\Five-Billion-Pixels\jpg_512'
# 原始PNG標簽路徑
png_path = r'F:\Five-Billion-Pixels\png_24_512'
# COCO數據集路徑
coco_path = r'F:\Five-Billion-Pixels\coco-stuff'# 確保COCO數據集路徑存在
if not os.path.exists(coco_path):os.makedirs(coco_path)# 創建COCO數據集的目錄結構
annotations_path = os.path.join(coco_path, 'annotations')
images_path = os.path.join(coco_path, 'images')
train_images_path = os.path.join(images_path, 'train2017')
val_images_path = os.path.join(images_path, 'val2017')
train_annotations_path = os.path.join(annotations_path, 'train2017')
val_annotations_path = os.path.join(annotations_path, 'val2017')os.makedirs(annotations_path, exist_ok=True)
os.makedirs(images_path, exist_ok=True)
os.makedirs(train_images_path, exist_ok=True)
os.makedirs(val_images_path, exist_ok=True)
os.makedirs(train_annotations_path, exist_ok=True)
os.makedirs(val_annotations_path, exist_ok=True)# 獲取JPG圖片列表
jpg_images = [f for f in os.listdir(jpg_path) if f.lower().endswith('.jpg')]# 隨機劃分數據集
random.shuffle(jpg_images)
split_index = int(len(jpg_images) * 0.8)  # 80%的數據用于訓練,20%的數據用于驗證
train_images = jpg_images[:split_index]
val_images = jpg_images[split_index:]# 復制圖像和標簽到對應的目錄
def copy_images_and_labels(image_list, src_image_path, src_label_path, dst_image_path, dst_label_path):for image_name in image_list:# 復制圖像shutil.copy(os.path.join(src_image_path, image_name), os.path.join(dst_image_path, image_name))# 復制標簽label_name = image_name.replace('.jpg', '.png')shutil.copy(os.path.join(src_label_path, label_name), os.path.join(dst_label_path, label_name))# 復制訓練集圖像和標簽
copy_images_and_labels(train_images, jpg_path, png_path, train_images_path, train_annotations_path)# 復制驗證集圖像和標簽
copy_images_and_labels(val_images, jpg_path, png_path, val_images_path, val_annotations_path)
數據集轉VOC格式
某些深度學習模型是根據公共自然圖像數據集格式進行數據集格式處理,這里給出VOC數據集的格式轉化。
import os
import shutil
import randomdef create_voc_dataset(image_folder, label_folder):# 定義 VOC 數據集的主目錄和子目錄voc_root = 'VOCdevkit'voc_dataset = 'VOC2012'voc_images = os.path.join(voc_root, voc_dataset, 'JPEGImages')voc_labels = os.path.join(voc_root, voc_dataset, 'SegmentationClassAug')voc_image_sets = os.path.join(voc_root, voc_dataset, 'ImageSets', 'Segmentation')# 創建 VOC 數據集所需的目錄結構os.makedirs(voc_images, exist_ok=True)os.makedirs(voc_labels, exist_ok=True)os.makedirs(voc_image_sets, exist_ok=True)# 遍歷圖像文件夾中的所有圖像文件for root, dirs, files in os.walk(image_folder):for filename in files:if filename.endswith('.jpg'):# 構建圖像文件的完整路徑image_path = os.path.join(root, filename)# 構建 VOC 數據集中的圖像路徑voc_image_path = os.path.join(voc_images, filename)# 將圖像復制到 VOC 數據集目錄shutil.copy(image_path, voc_image_path)print('圖像已復制')# 遍歷標簽文件夾中的所有標簽文件for root, dirs, files in os.walk(label_folder):for filename in files:if filename.endswith('.png'):# 構建標簽文件的完整路徑label_path = os.path.join(root, filename)# 構建 VOC 數據集中的標簽路徑voc_label_path = os.path.join(voc_labels, filename)# 將標簽復制到 VOC 數據集目錄shutil.copy(label_path, voc_label_path)print('標簽已復制')# 獲取圖像文件夾中的所有文件名(不含擴展名)image_filenames = [os.path.splitext(filename)[0] for root, dirs, files in os.walk(image_folder) for filename in files if filename.endswith('.jpg')]# 隨機打亂文件名列表random.shuffle(image_filenames)# 計算訓練集和驗證集的分割點split_index = int(len(image_filenames) * 0.8)# 分割訓練集和驗證集train_files = image_filenames[:split_index]val_files = image_filenames[split_index:]# 生成 train.txt 文件train_file_path = os.path.join(voc_image_sets, 'train.txt')with open(train_file_path, 'w') as train_file:for filename in train_files:train_file.write(filename + '\n')# 生成 val.txt 文件val_file_path = os.path.join(voc_image_sets, 'val.txt')with open(val_file_path, 'w') as val_file:for filename in val_files:val_file.write(filename + '\n')# 打印成功提示信息print('train.txt 和 val.txt 已成功創建。')# 提供圖像文件夾和標簽文件夾的路徑
image_folder = r'F:\WHDLD\Images'
label_folder = r'F:\WHDLD\Labels'# 調用函數創建 VOC 數據集
create_voc_dataset(image_folder, label_folder)


)
)
)


 . name () 與 typeid() . raw_name () 測試數據類型的區別)


)


