偶然間發現了這個項目,分享出來。
【分享】基于百度腦圖,并使用Vue二次開發的用例腦圖編輯器組件
- 1 項目地址
- 2 項目簡介
- 3 項目部署
- 3.1 安裝node和npm
- 3.2 項目下載
- 3.3 修改npm鏡像源
- 3.4 部署
- 4 項目中使用
1 項目地址
基于百度腦圖,并使用Vue二次開發的用例腦圖編輯器組件
2 項目簡介
- 基于百度腦圖,并使用Vue二次開發的用例腦圖編輯器組件;
- 底層基礎(因為需要協同修改,已經整體挪到項目中):百度腦圖;
- 改造為 vue 組件:
fudax/vue-mindeditor; - 補充部分用例需要用的功能
MeYoung/Case_Minder_Vue; - 采用
Vue 全家桶 + Element UI + webpack開發
3 項目部署
3.1 安裝node和npm
因為是vue2開發的,vue2的一般16以下,vue3的一般需要18以上
- 安裝 NVM 運行以下命令安裝 NVM;
curl -o- https://raw.githubusercontent.com/nvm-sh/nvm/v0.39.7/install.sh | bash
- 加載 NVM 到當前終端:
source ~/.bashrc
- 安裝 Node.js 14 使用 NVM 安裝指定版本:
nvm install 14
- 驗證安裝:
node --version npm --version
3.2 項目下載
- 下載項目到本地(Ubuntu24.04);
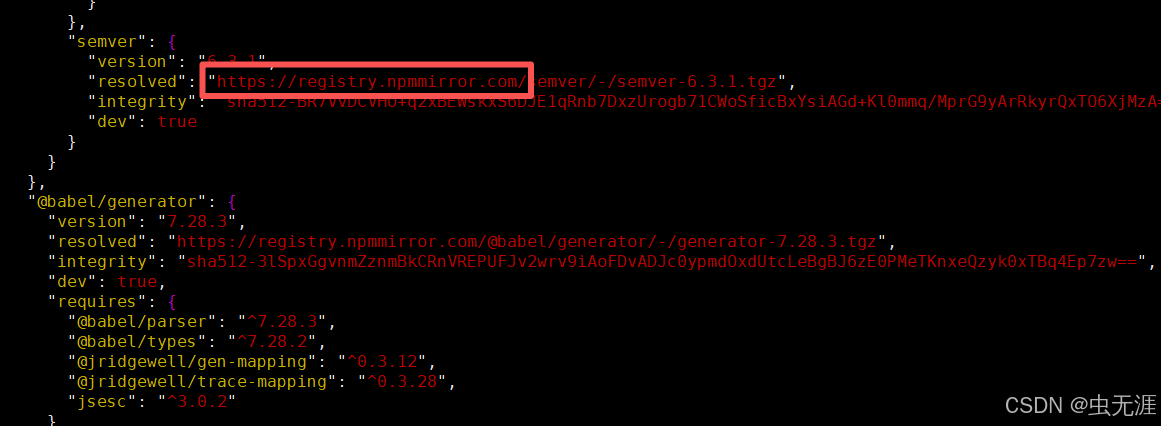
- 解壓后,修改項目中的依賴組件文件
package-lock.json;
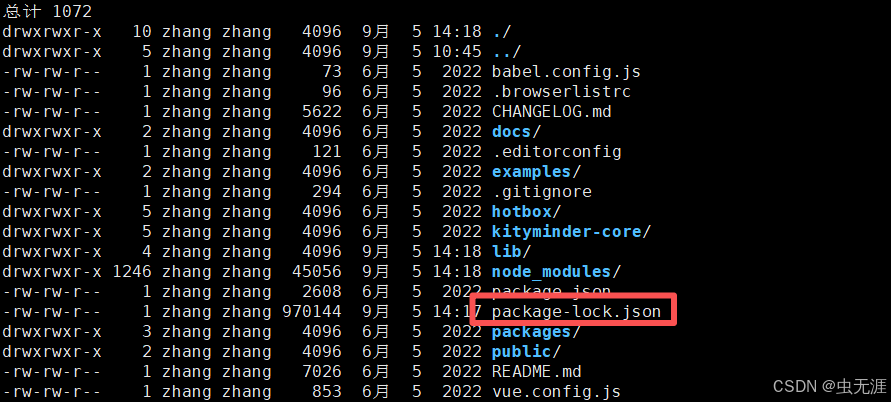
- 打開后,修改里邊所有依賴的下載鏈接以淘寶鏡像源:
https://registry.npmmirror.com
3.3 修改npm鏡像源
- 使用 npm 全局安裝 nrm,建議通過淘寶鏡像加速安裝:
# 使用淘寶鏡像安裝
npm install -g nrm --registry=https://registry.npmmirror.com# 或直接安裝(若網絡通暢)
npm install -g nrm
- 權限問題處理:若報錯權限不足,可嘗試以下方式:
# 方法1:使用 sudo
sudo npm install -g nrm# 方法2:配置用戶級 npm 目錄(推薦)
mkdir ~/.npm-global
npm config set prefix '~/.npm-global'
echo 'export PATH=~/.npm-global/bin:$PATH' >> ~/.bashrc
source ~/.bashrc
npm install -g nrm
- 查看可用鏡像源:
nrm ls
- 切換鏡像源(如淘寶源):
nrm use taobao
- 添加/刪除自定義源(如企業私有源):
nrm add private http://your-registry-urlnrm del private
3.4 部署
- 進入到項目根目錄:
npm i # 安裝依賴
npm run lib && npm run serve # 本地運行
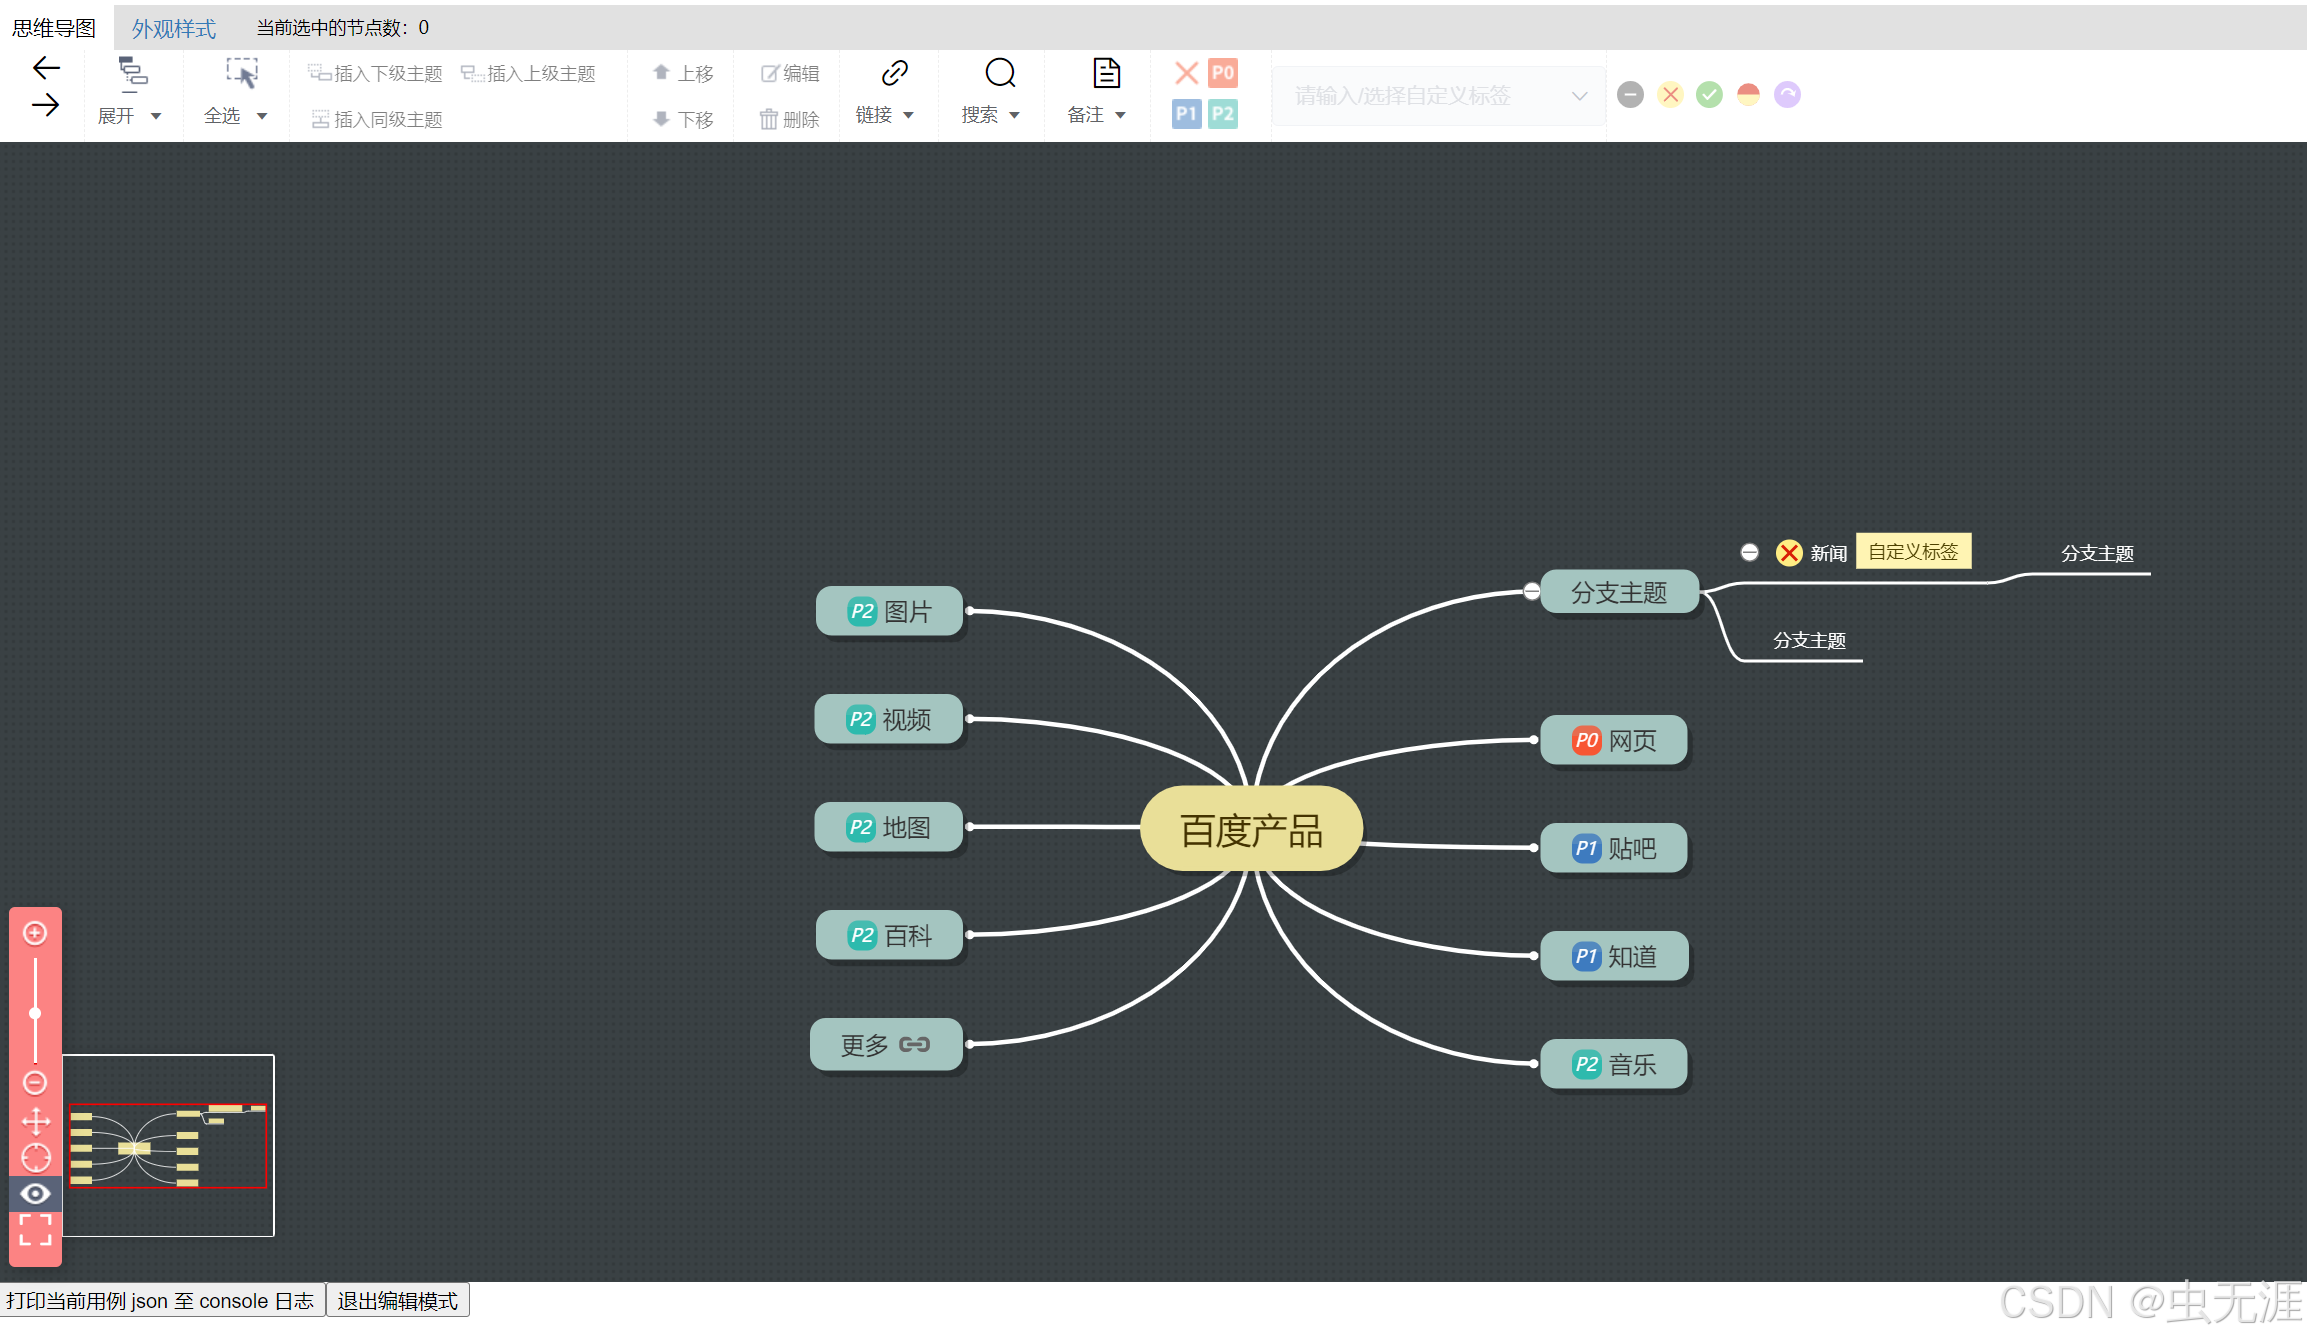
- 啟動后如下:

- 瀏覽器輸入對應的網址即可:
4 項目中使用
- 安裝本組件:
npm --registry=https://registry.npm.taobao.org install vue-testcase-minder-editor
- 在 main.js 中:
import 'vue-testcase-minder-editor/lib/VueTestcaseMinderEditor.css'
import VueTestcaseMinderEditor from 'vue-testcase-minder-editor'Vue.use(VueTestcaseMinderEditor)
- 本組件依賴 vuex 進行部分全局配置管理。如果沒有用 vuex ,可直接在 main.js 加入下面代碼。
Vue.use(Vuex)
const store = new Vuex.Store({modules: {caseEditorStore: VueTestcaseMinderEditor.caseEditorStore}
})
- 如果有,可以仿照下面代碼,動態注冊對應 module :
const store = new Vuex.Store({...})// 動態注冊用例編輯器項目的 store 模塊到項目中
store.registerModule('caseEditorStore', {...VueTestcaseMinderEditor.caseEditorStore
})
- 在頁面的 .vue 文件中:
<template><VueTestcaseMinderEditor :initJson="initJson"  // 初始化數據,加載腦圖時自動更新。同時也會監聽數據變化,數據一更新就重新加載ref="minderEditor"    // 組件應用名稱:allowEditPriority="true"  // 是否允許增刪改優先級,實時更新狀態:allowEditLabel="true"     // 是否允許增刪改標簽,實時更新狀態:allowEditResult="true"    // 是否允許增刪改測試結果,實時更新狀態:allowEditNode="true">     // 是否允許增刪改節點內容,實時更新狀態</VueTestcaseMinderEditor>
</template>
...<scripts>export default {...data() {return {// 測試數據,實際可不必引入initJson: {'data': {'id': 2,'text': 'Design project','image': 'https://testerhome.com/uploads/user/avatar/6109.jpg','imageSize': { 'width': 200, 'height': 200 }}}}},methods: {// 示例方法,實際可根據需要綁定到其他元素事件中,比如 v-on:click="logCurrentData"logCurrentData: function(event) {console.log("編輯器中的最新用例內容:", this.$refs.minderEditor.getJsonData())}}
}
<scripts>
- 完整示例可查看
examples下面的2個文件。

——深度學習的數學原理)


】哈希表——242.有效的字母異位詞、349.兩個數組的交集、202.快樂數、1.兩數之和)


 用戶手冊)


)


