目錄
一、實驗
1.環境
2.K8S 1.26版本部署HELM
3.K8S 1.26版本 部署KubeSphere
4.安裝KubeSphere DevOps
二、問題
1.如何安裝Zadig
2.擴展插件Zadig安裝失敗
3.calico 如何實現不同node通信
4.如何清除docker占用的磁盤空間
5.如何強制刪除資源
6.namespace刪除不了
7.job如何實現刪除資源
8.containerd容器使用ctr命令如何實現鏡像操作
一、實驗
1.環境
(1)主機
表1 主機
| 主機 | 架構 | 版本 | IP | 備注 |
| master1 | K8S master節點 | 1.26.0 | 192.168.204.190 | |
| node1 | K8S node節點 | 1.26.0 | 192.168.204.191 |
(2)Termius連接

(3)master節點查看集群
1)查看node
kubectl get node2)查看node詳細信息
kubectl get node -o wide

2.K8S 1.26版本部署HELM
(1)查閱
https://github.com/helm/helm/tagsHELM版本與K8S集群兼容

(2)策略
當前K8S 集群為1.26.0版本,HELM 3.11.x 版本可以兼容。
所以選擇3.11.0版本。
(3)下載
https://get.helm.sh/helm-v3.11.0-linux-amd64.tar.gzTermius使用SFTP傳輸

(4)解壓
tar -zxvf helm-v3.11.0-linux-amd64.tar.gz
mv linux-amd64/helm /usr/local/bin/helm
helm version

(5)命令補全
source <(helm completion bash)

3.K8S 1.26版本 部署KubeSphere
(1)查閱
https://docs.kubesphere.com.cn/v4.0/02-quickstart/01-install-ks-core/v1.26.x支持安裝

(2)安裝
helm upgrade --install -n kubesphere-system --create-namespace ks-core https://charts.kubesphere.io/main/ks-core-0.4.0.tgz

完整安裝過程:
[root@master1 opt]# helm upgrade --install -n kubesphere-system --create-namespace ks-core https://charts.kubesphere.io/main/ks-core-0.4.0.tgz
Release "ks-core" does not exist. Installing it now.
NAME: ks-core
LAST DEPLOYED: Wed May 22 11:57:23 2024
NAMESPACE: kubesphere-system
STATUS: deployed
REVISION: 1
TEST SUITE: None
NOTES:
Please wait for several seconds for KubeSphere deployment to complete.1. Make sure KubeSphere components are running:kubectl get pods -n kubesphere-system2. Then you should be able to visit the console NodePort:Console: http://192.168.204.190:308803. To login to your KubeSphere console:Account: adminPassword: "P@88w0rd"NOTE: Please change the default password after login.For more details, please visit https://kubesphere.io.
(3)查看pod
kubectl get pods -n kubesphere-system
(4) 訪問
http://192.168.204.190:30880
(5)輸入初始賬戶及密碼
賬戶: admin
密碼: P@88w0rd
(6)修改密碼

(7)進入系統
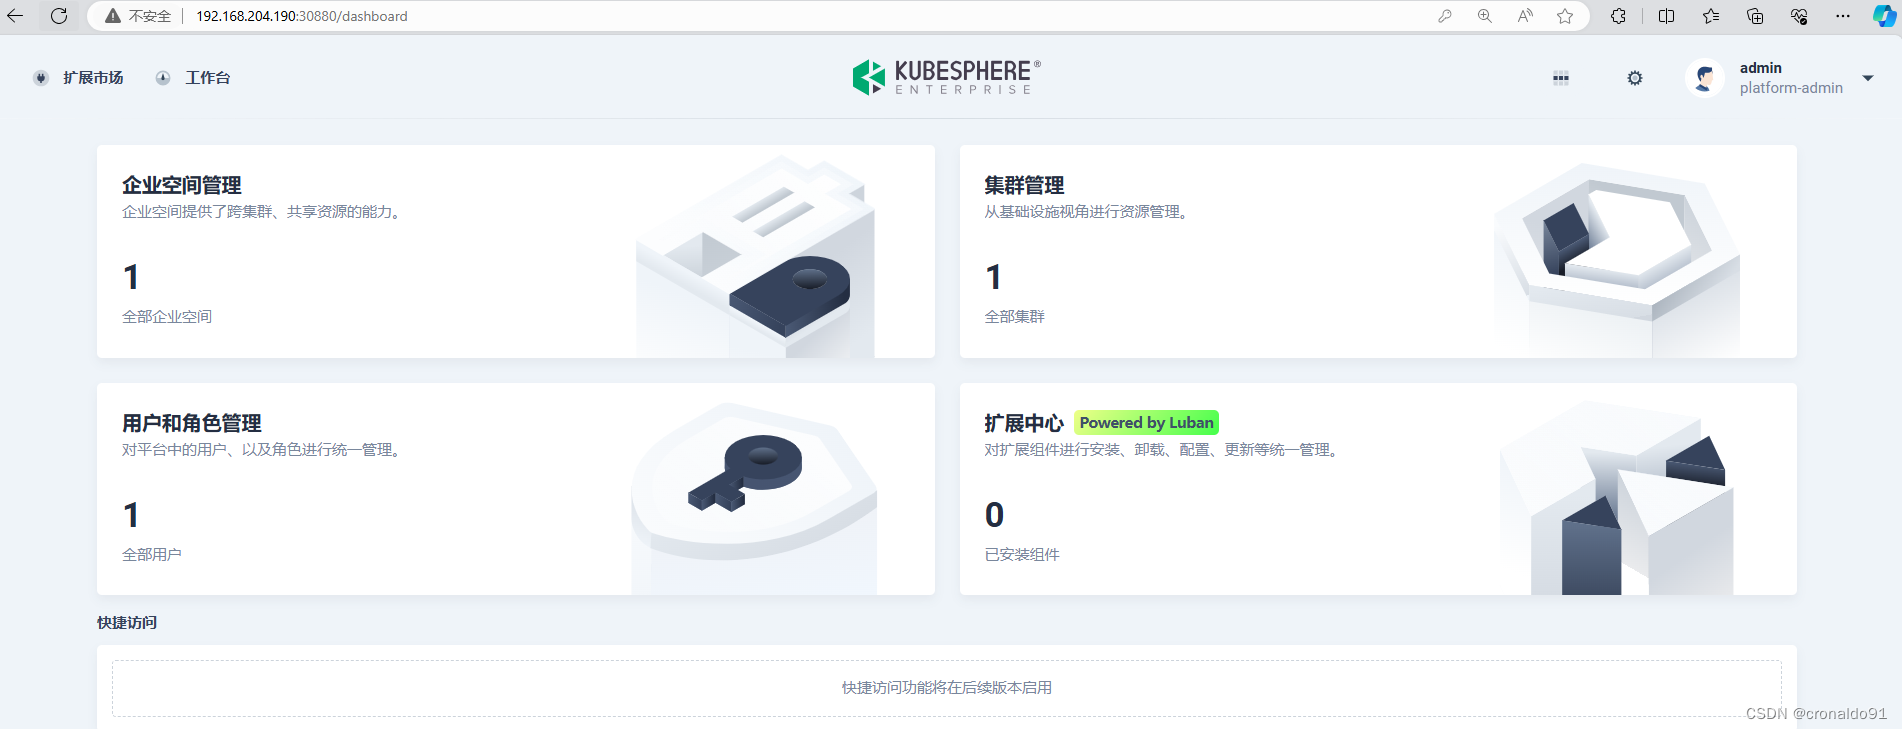
(8) 集群管理

(9)擴展中心

(10)搜索市場
關鍵字“CI/CD”

4.安裝KubeSphere DevOps
(1) 查閱
KubeSphere 擴展市場
https://kubesphere.com.cn/marketplace/extensions/devops/
其他方式安裝
https://www.kubesphere.io/zh/docs/v3.4/quick-start/minimal-kubesphere-on-k8s/(2)同步云賬戶?
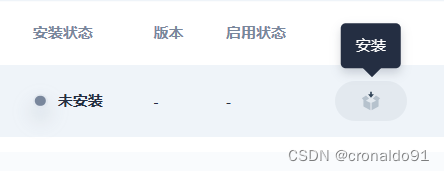
(3)安裝
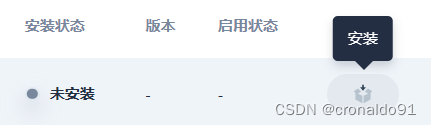
KubeSphere DevOps版本支持情況
Kubernetes 版本>=1.19.0-0KubeSphere 版本>=4.0.0-0
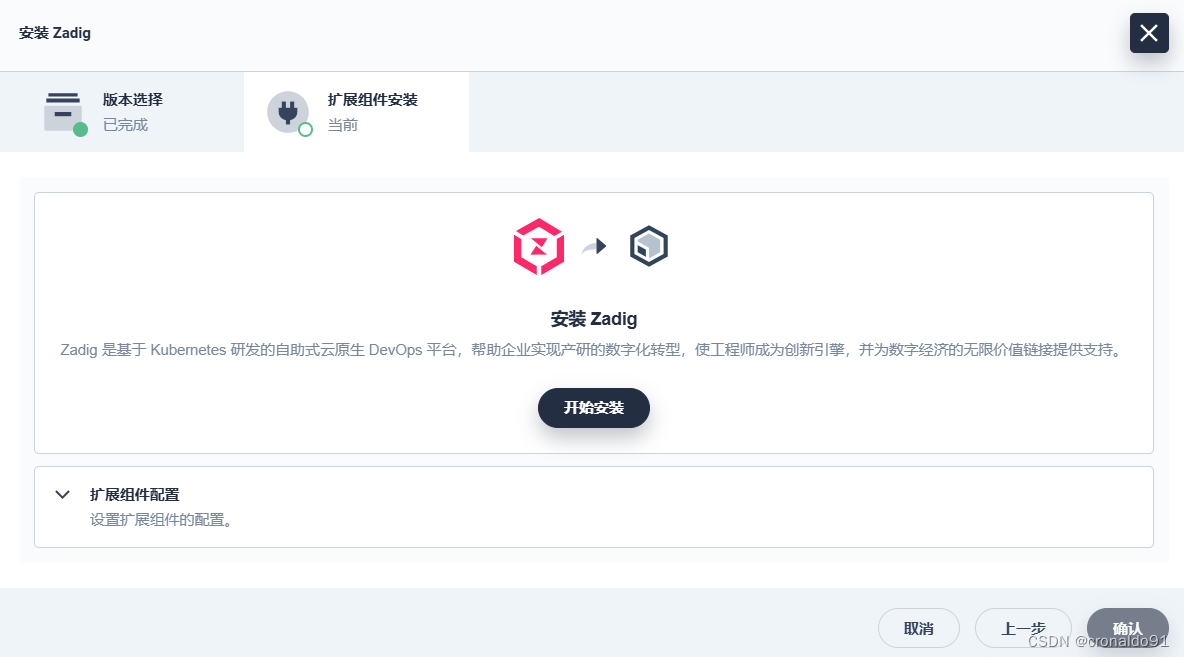
(4)下一步

(5)開始安裝

安裝中
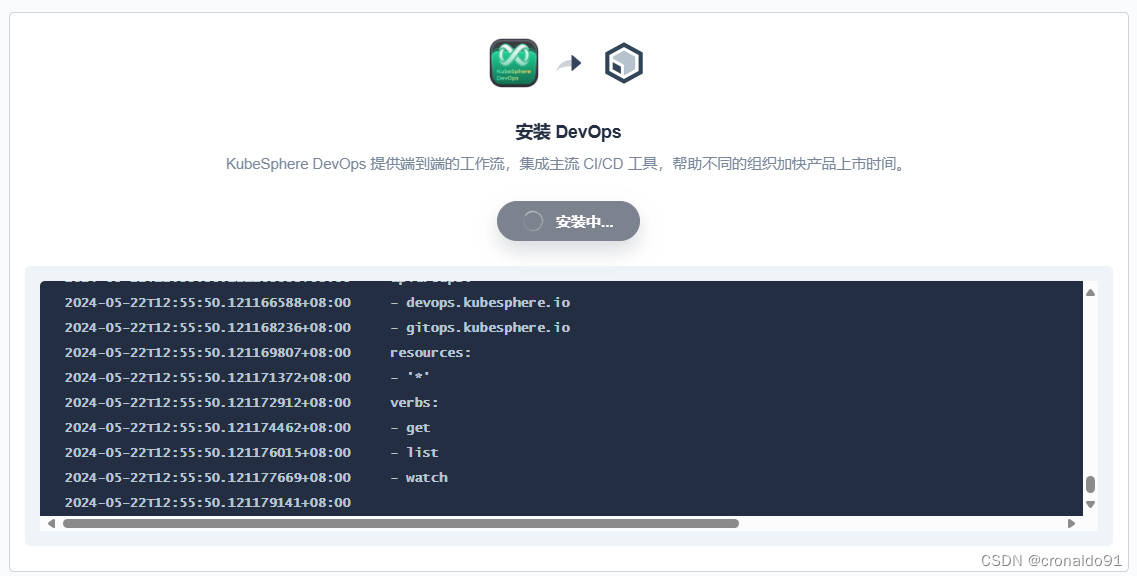
成功

(6)下一步

(7)集群選擇
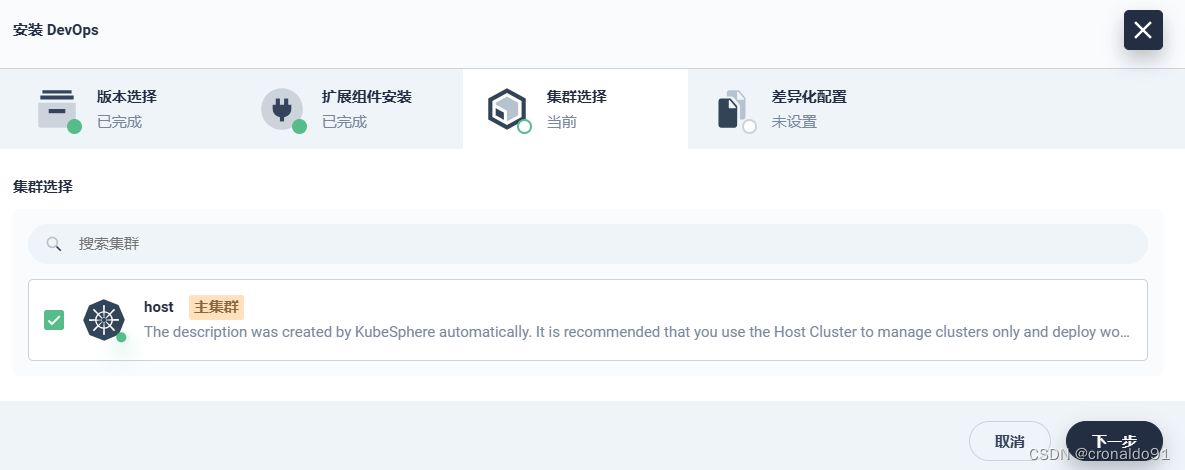
(8)確認
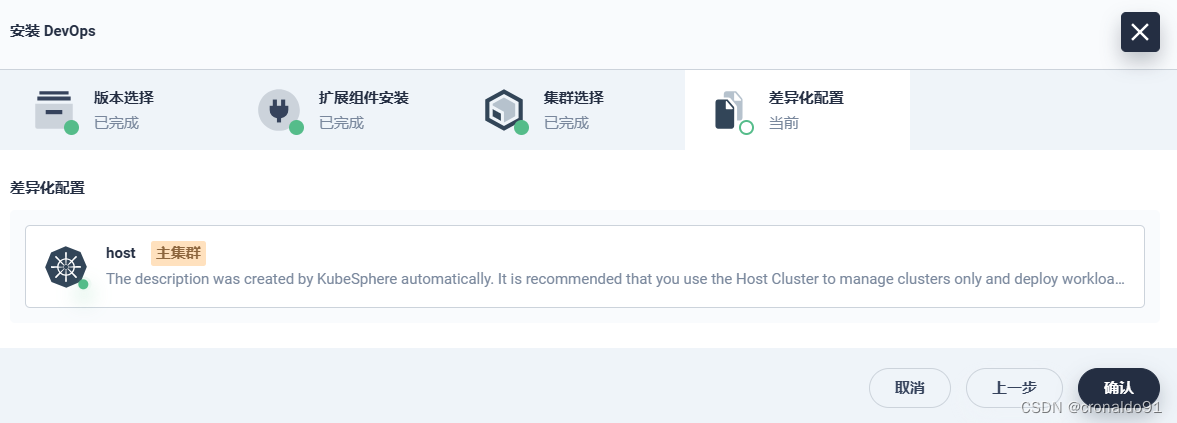
(9)安裝成功

(10)查看集群

二、問題
1.如何安裝Zadig
(1) 查閱
Kubesphere擴展市場
https://kubesphere.com.cn/marketplace/extensions/zadig/
Zadig版本支持情況
Kubernetes 版本>=1.16.0-1.26.0KubeSphere 版本>=4.0.0-0
(2)Zadig主頁
https://koderover.com/zadig(3)腳本方式安裝
https://docs.koderover.com/zadig/Zadig%20v2.0.0/install/helm-deploy/(4)Kubesphere安裝Zadig
官方腳本安裝
curl -LO https://github.com/koderover/zadig/releases/download/v2.0.0/install_quickstart.sh
chmod +x ./install_quickstart.sh

(8)申明變量
export IP=192.168.204.190
export PORT=30090
(9)安裝
./install_quickstart.sh這里安裝過程預計持續 10 分鐘左右

2.擴展插件Zadig安裝失敗
(1)報錯

(2)原因分析
查看日志
2024-05-22T12:18:54.721997147+08:00 client.go:482: [debug] Ignoring delete failure for "zadig-post-upgrade" batch/v1, Kind=Job: jobs.batch "zadig-post-upgrade" not found
(3)解決方法
查閱相關問題
https://github.com/koderover/zadig/issues/2417先卸載

然后重新安裝
?
下一步

開始安裝
安裝中

依然報錯
2024-05-22T12:39:41.303302680+08:00 upgrade.go:442: [debug] warning: Upgrade "zadig" failed: post-upgrade hooks failed: 1 error occurred:
2024-05-22T12:39:41.303305360+08:00 	* job failed: BackoffLimitExceeded
2024-05-22T12:39:41.303306374+08:00
2024-05-22T12:39:41.303307165+08:00
2024-05-22T12:39:41.327312921+08:00 Error: UPGRADE FAILED: post-upgrade hooks failed: 1 error occurred:
2024-05-22T12:39:41.327345989+08:00 	* job failed: BackoffLimitExceeded
2024-05-22T12:39:41.327352567+08:00
2024-05-22T12:39:41.327356487+08:00
2024-05-22T12:39:41.327363940+08:00 helm.go:84: [debug] post-upgrade hooks failed: 1 error occurred:
2024-05-22T12:39:41.327368417+08:00 	* job failed: BackoffLimitExceeded
2024-05-22T12:39:41.327371965+08:00
2024-05-22T12:39:41.327375169+08:00
2024-05-22T12:39:41.327380602+08:00 UPGRADE FAILED
這時可以采用腳本安裝。
?查看腳本(HELM為3.6.1版本)與master1節點沖突

node1節點部署

如報錯顯示訪問超時,需要網絡好時再執行
Error: UPGRADE FAILED: post-upgrade hooks failed: timed out waiting for the condition
3.calico 如何實現不同node通信
(1)查看
calico網絡插件
kubectl -n kube-system get po -owide | grep calico-node
可以看到有兩個容器網段分別分配給了master1和node1
kubectl get ipamblocks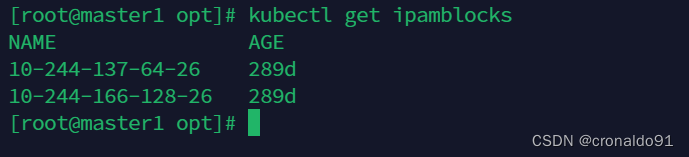
(2)查看具體信息
kubectl get ipamblocks 10-244-137-64-26 -oyaml
kubectl get ipamblocks 10-244-166-128-26 -oyaml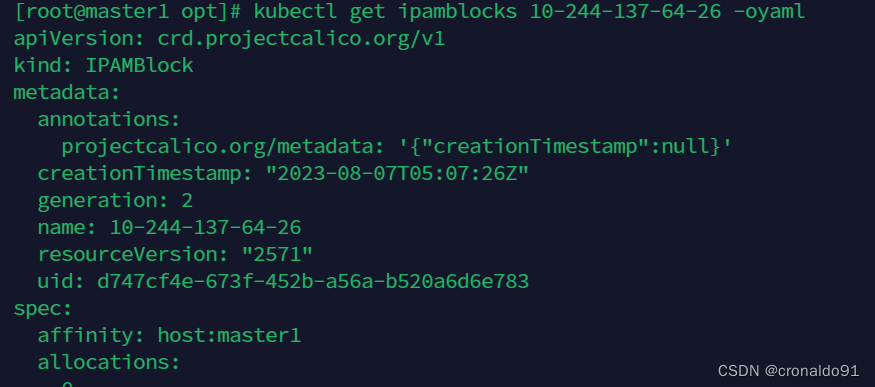

(3)查看路由表
查看master1路由表(目標地址為10.244.66.128/26的請求會被通過網卡tunl0轉發到192.168.204.191,也就是node1上;master1節點本機上的POD IP,則會直接被路由到對應的calico網卡。)
route -n
?查看node1路由表(node01上也可以看到類似的路由條目,目標地址為10.244.137.64/26的請求會被通過網卡tunl0轉發到192.168.204.190,也就是master1上)
route -n
4.如何清除docker占用的磁盤空間
(1)查詢
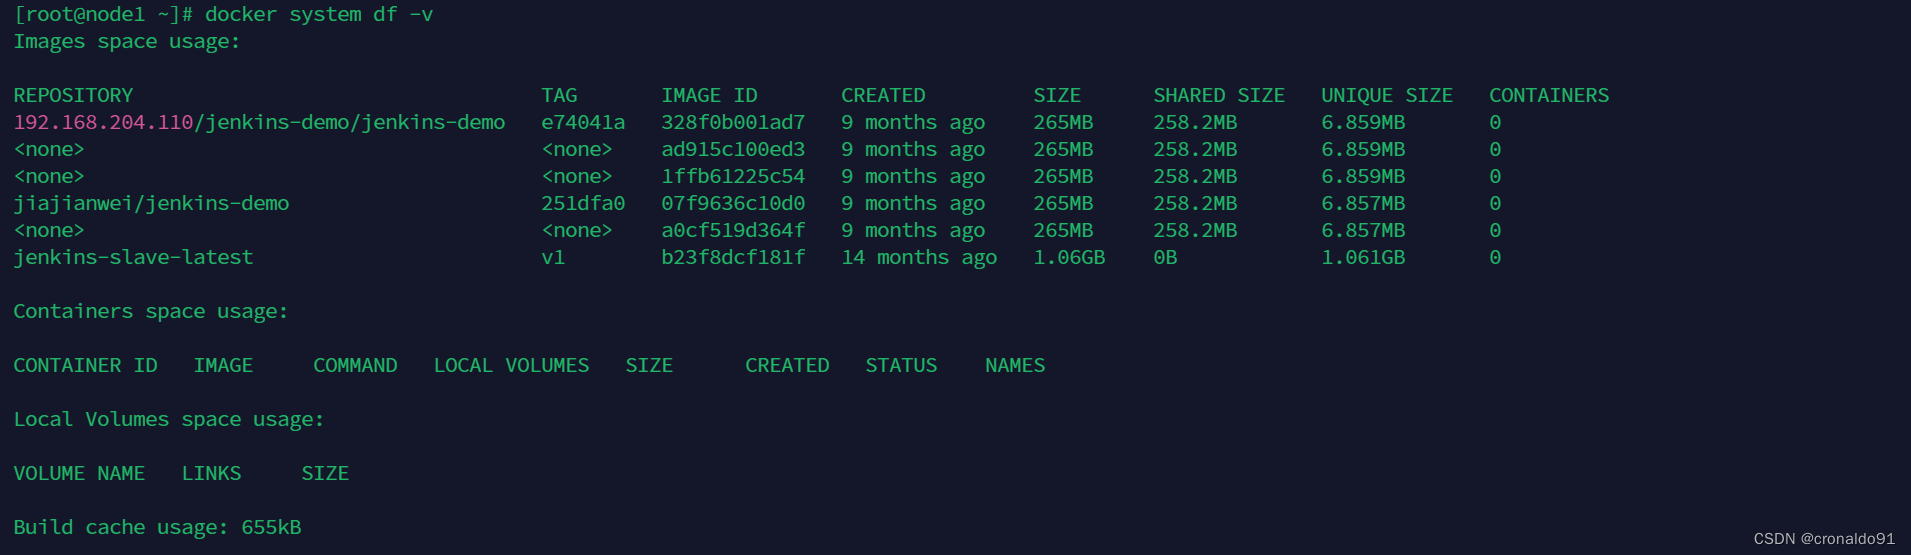
master1節點查看docker占用磁盤空間
docker system dfdocker system df -v
node1節點查看docker占用磁盤空間


(2)清除
master1節點僅刪除停止運行的容器
docker container prune
noder1節點僅刪除停止運行的容器

5.如何強制刪除資源
(1)刪除pod
命令
kubectl delete pod <your-pod-name> -n <name-space> --force --grace-period=0刪除
kubectl delete --all pods -n zadig --force --grace-period=0
kubectl delete --all pods -n argocd --force --grace-period=0
kubectl delete --all pods -n extension-devops --force --grace-period=0
kubectl delete --all pods -n extension-zadig --force --grace-period=0
(2)刪除pv、pvc
kubectl patch pv xxx -p '{"metadata":{"finalizers":null}}'
kubectl patch pvc xxx -p '{"metadata":{"finalizers":null}}'
6.namespace刪除不了
(1)報錯
kubesphere-devops-system 一直為Terminating
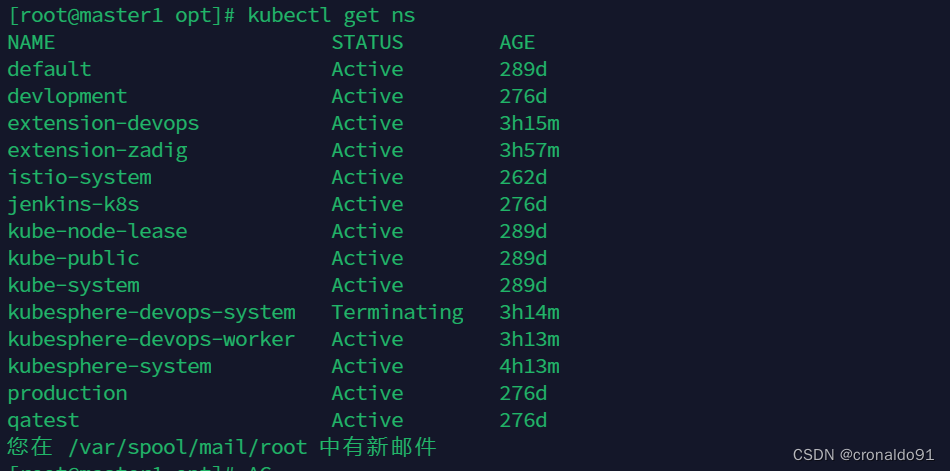
(2)原因分析
選擇一個Terminating namespace,并查看namespace 中的finalizer。
kubectl get namespace kubesphere-devops-system -o yaml
顯示如下:
spec:finalizers:- kubernetes
(3)解決方法
導出json格式到文件
kubectl get namespace kubesphere-devops-system -o json >tmp.json 編輯tmp.josn,刪除finalizers 字段的值
25 "spec": { #從此行開始刪除26 "finalizers": [27 "kubernetes"28 ]29 }, # 刪到此行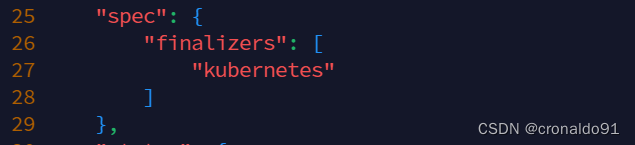
開啟proxy(執行該命令后,當前終端會被卡住)
kubectl proxy 打開新的一個窗口,執行以下命令
curl -k -H "Content-Type: application/json" -X PUT --data-binary @tmp.json http://127.0.0.1:8001/api/v1/namespaces/kubesphere-devops-system/finalize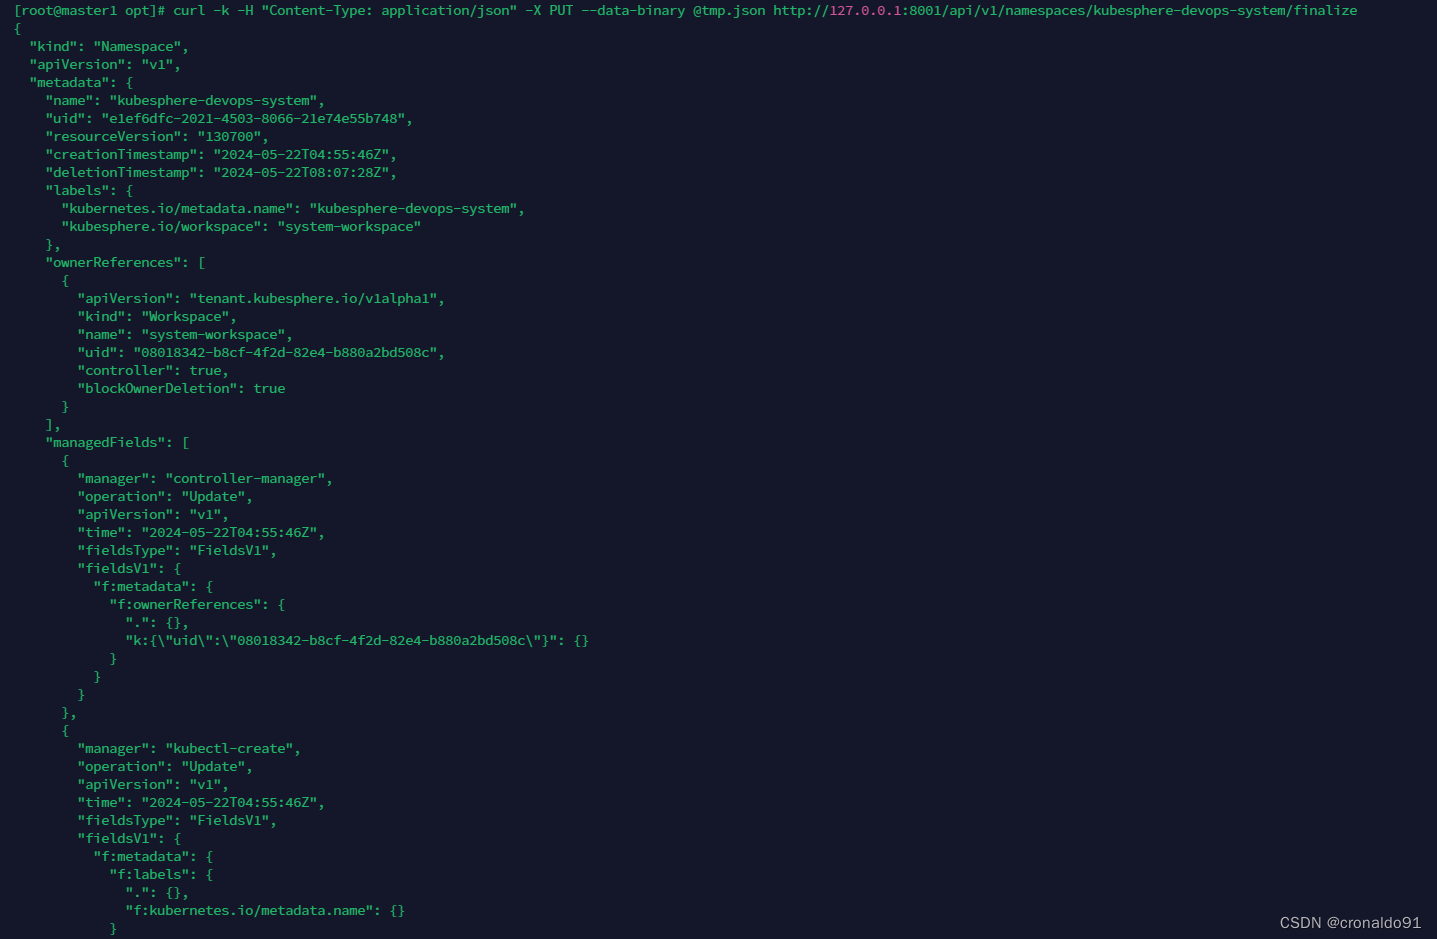
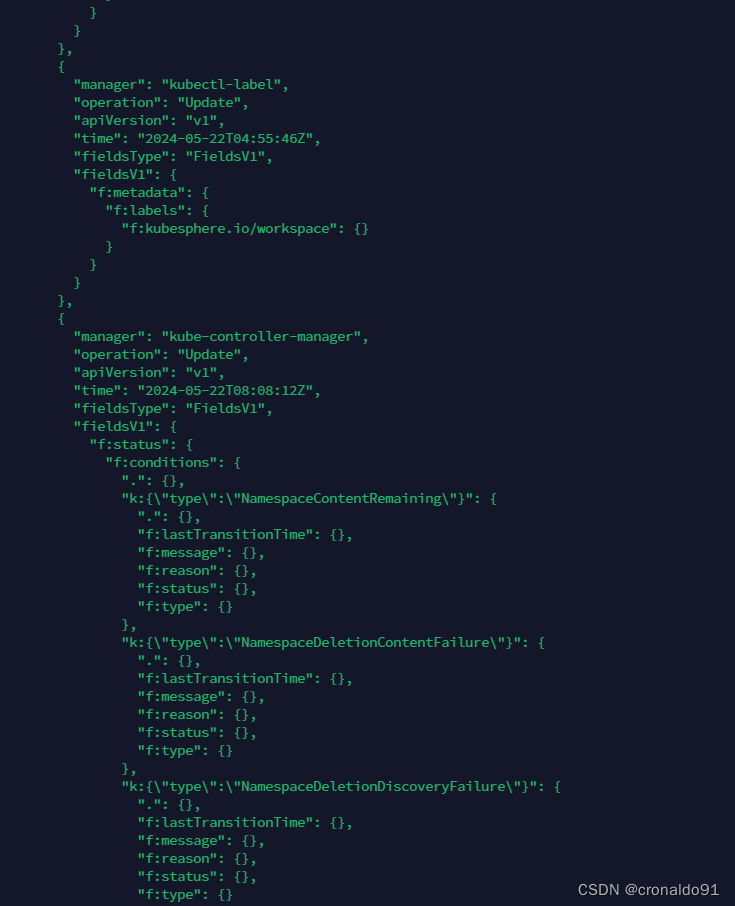
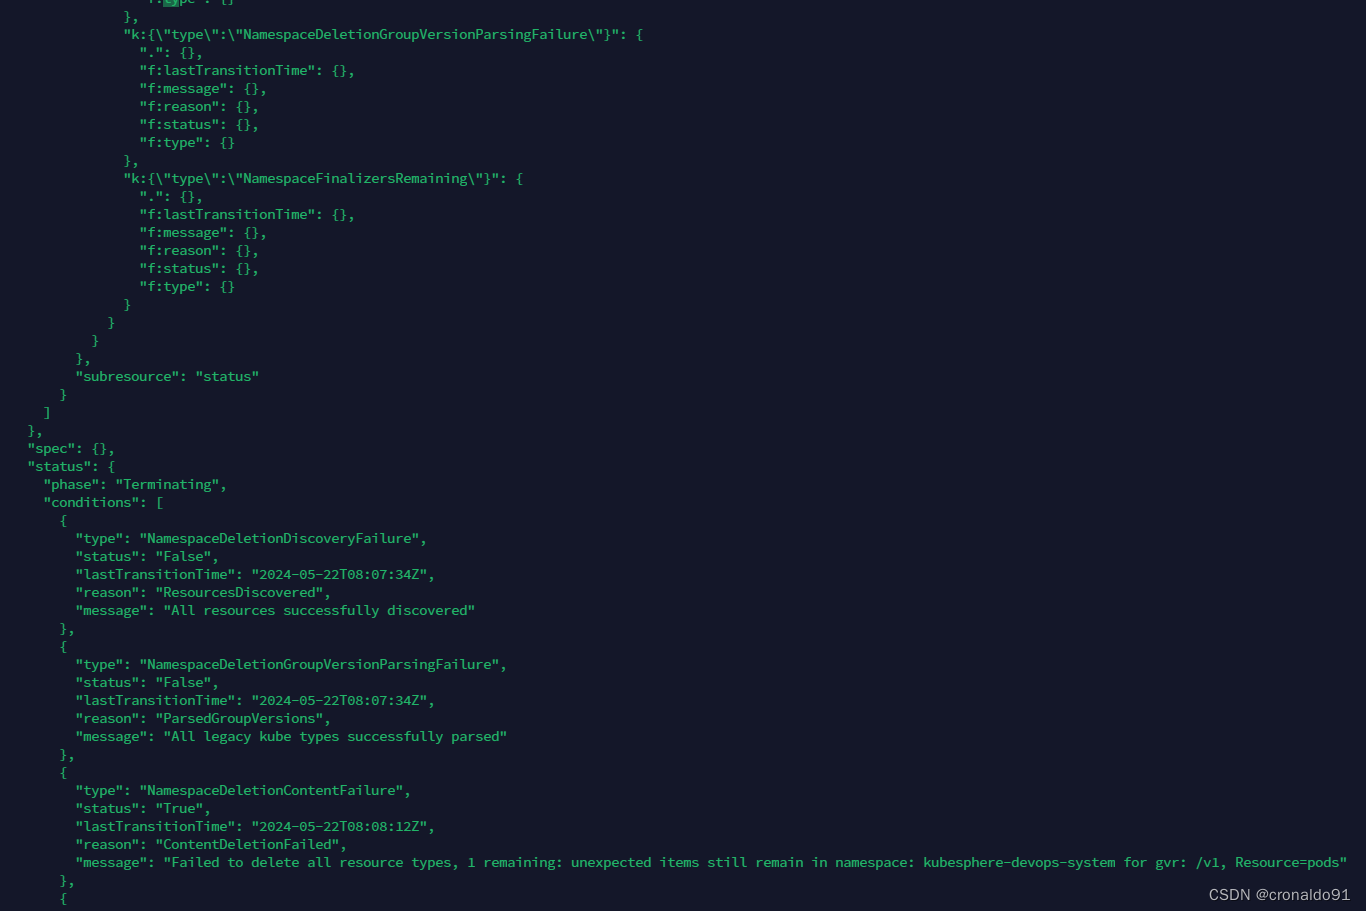

確認處于Terminating 狀態的namespace已經被刪除

7.job如何實現刪除資源
(1)查看狀態
目前為已完成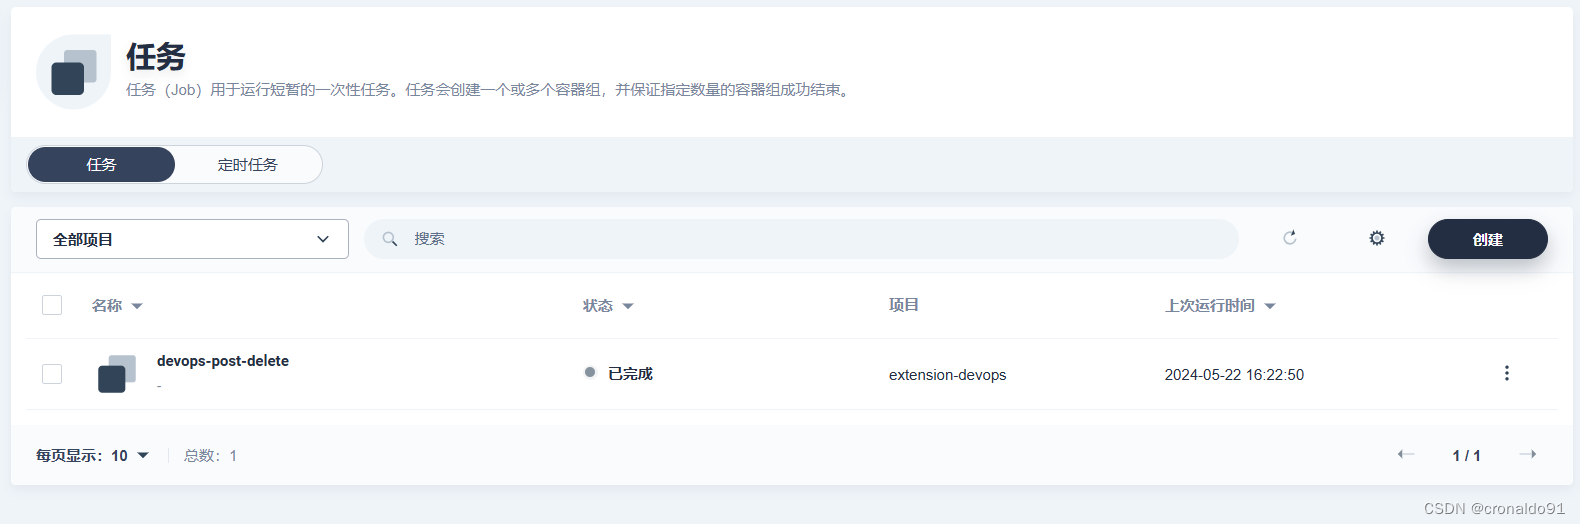
(2)查看YAML

kind: Job
apiVersion: batch/v1
metadata:name: devops-post-deletenamespace: extension-devopslabels:controller-uid: 0e83e553-482f-4755-834a-9c0f07d4c5b9job-name: devops-post-deleteannotations:batch.kubernetes.io/job-tracking: ''helm.sh/hook: post-deletehelm.sh/hook-delete-policy: 'before-hook-creation,hook-succeeded'helm.sh/hook-weight: '1'revisions: >-{"1":{"status":"completed","succeed":1,"desire":1,"uid":"0e83e553-482f-4755-834a-9c0f07d4c5b9","start-time":"2024-05-22T15:52:49+08:00","completion-time":"2024-05-22T16:22:50+08:00"}}
spec:parallelism: 1completions: 1backoffLimit: 6selector:matchLabels:controller-uid: 0e83e553-482f-4755-834a-9c0f07d4c5b9template:metadata:creationTimestamp: nulllabels:controller-uid: 0e83e553-482f-4755-834a-9c0f07d4c5b9job-name: devops-post-deletespec:containers:- name: post-delete-jobimage: 'kubesphere/kubectl:v1.27.4'command:- /bin/bash- '-c'- |if kubectl get ns argocd; thenkubectl delete ns argocdfiif kubectl get ns kubesphere-devops-system; thenkubectl delete ns kubesphere-devops-systemfiif kubectl get ns kubesphere-devops-worker; thenkubectl delete ns kubesphere-devops-workerfiresources: {}terminationMessagePath: /dev/termination-logterminationMessagePolicy: FileimagePullPolicy: IfNotPresentrestartPolicy: NeverterminationGracePeriodSeconds: 30dnsPolicy: ClusterFirstsecurityContext: {}schedulerName: default-schedulercompletionMode: NonIndexedsuspend: false
8.containerd容器使用ctr命令如何實現鏡像操作
(1)幫助命令
[root@node1 ~]# ctr images --help
NAME:ctr images - manage imagesUSAGE:ctr images command [command options] [arguments...]COMMANDS:check                    check existing images to ensure all content is available locallyexport                   export imagesimport                   import imageslist, ls                 list images known to containerdmount                    mount an image to a target pathunmount                  unmount the image from the targetpull                     pull an image from a remotepush                     push an image to a remotedelete, del, remove, rm  remove one or more images by referencetag                      tag an imagelabel                    set and clear labels for an imageconvert                  convert an imageOPTIONS:--help, -h  show help
(2)拉取
ctr images pull ghcr.io/dexidp/dex:v2.30.2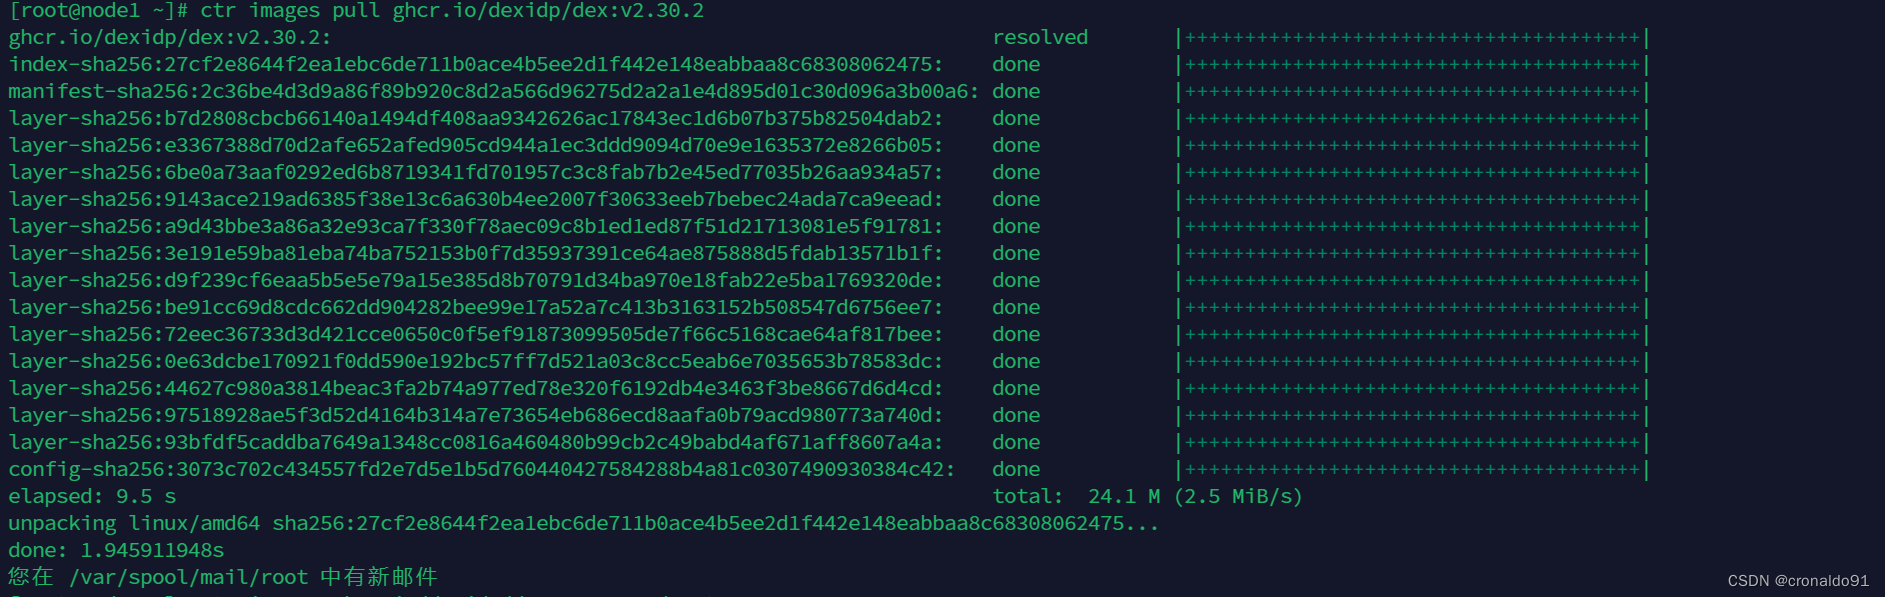
(3) 查看
crictl images list
或
ctr images list
或
ctr i ls -q


(4)導出
ctr image export dev.tar.gz ghcr.io/dexidp/dex:v2.30.2
(5)刪除
1)查詢
ctr image list | grep  ghcr.io/dexidp/dex:v2.30.22)刪除
ctr image delete  ghcr.io/dexidp/dex:v2.30.2

(6)導入
1)導入
ctr image import  dev.tar.gz2)查詢
ctr image list | grep  ghcr.io/dexidp/dex:v2.30.2

)

![[4]CUDA中的向量計算與并行通信模式](http://pic.xiahunao.cn/[4]CUDA中的向量計算與并行通信模式)


)


