Nginx 、Tomcat (默認端口8080)》》compose
services:nginx:image: nginx:latestcontainer_name: nginxrestart: alwaysports:- 80:80- 8080:8080volumes:# 文件夾會自動創建,但nginx.conf是文件,需要提前創建,否則 會自動創建nginx.conf文件夾- ./conf/nginx.conf:/etc/nginx/nginx.conf- ./html:/usr/share/nginx/htmltomcat1:image: tomcat:latestcontainer_name: tomcat1tomcate2:image: tomcat:latestcontainer_name: tomcat2nginx的配置文件
worker_processes  2;events {worker_connections  1024;
}http {upstream httpd {server tomcat1:8080 weight=10;server tomcat2:8080 weight=10;}include       mime.types;default_type  application/octet-stream;sendfile        on;server {listen       80;#  為了模擬域名訪問,  需要在訪問的客戶端 host 加   IP  service.zen.comserver_name  service.zen.com;#charset koi8-r;#access_log  logs/host.access.log  main;location / {proxy_pass http://httpd;}}}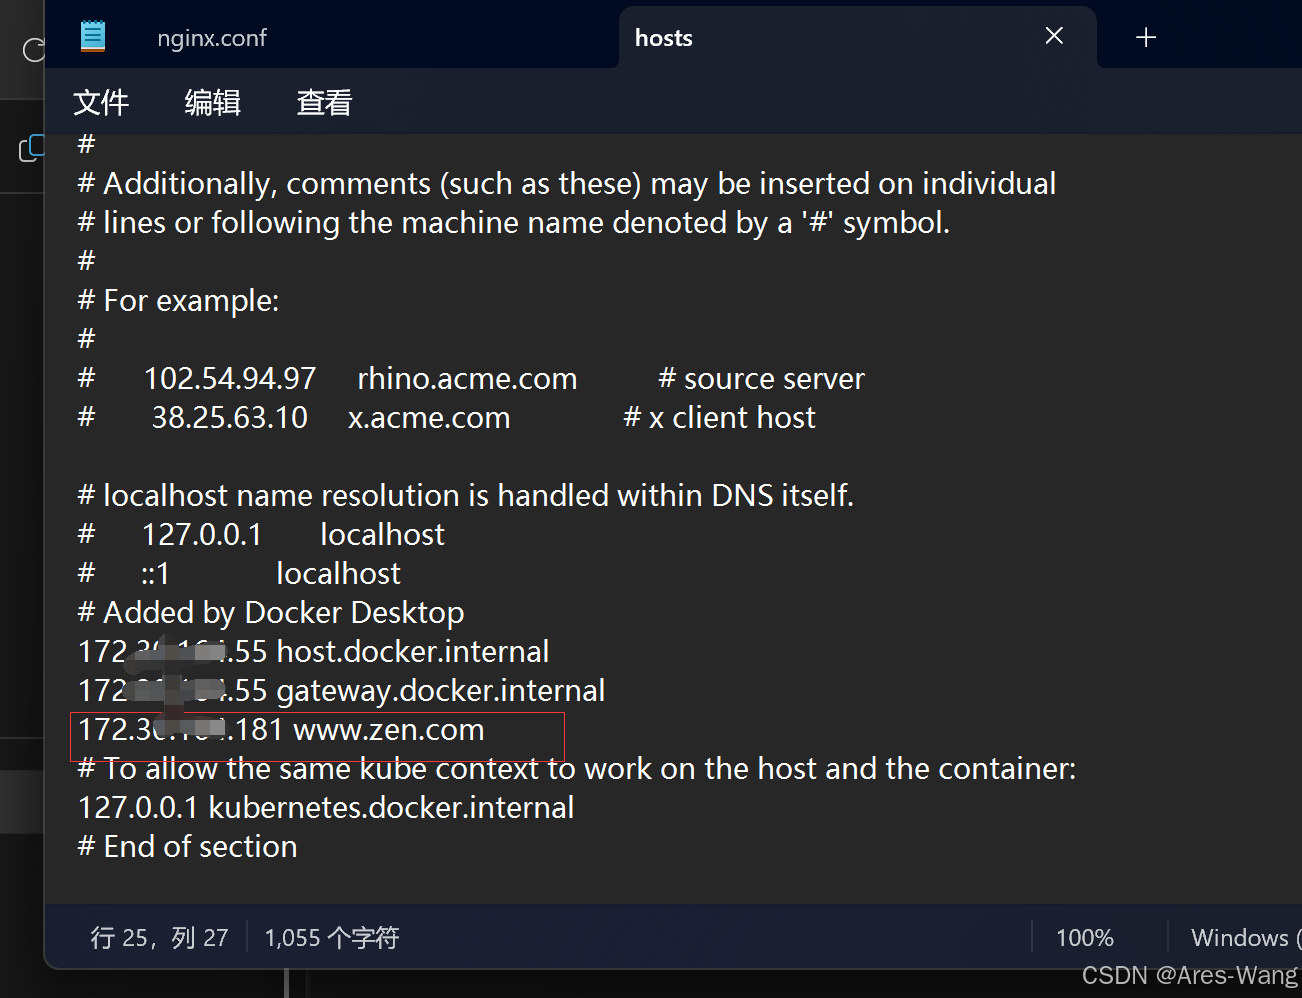
運行 compose
#  運行 compose
docker compose up -d# 查看運行的容器進程
docker ps# 因tomcat 拉取 阿里云的, 阿里云是處理過的 ,保留核心的內容了
# 進入tomcat 容器
docker exec -it tomcat容器ID   /bin/bash
# 阿里云拉取的 tomcat   /usr/local/tomcat/webapps  是空的 阿里云把內容 存在 webapps.dist文件夾里了
cp -r  webapps.dist/* webapps/


)


)


)


)

之安裝master節點組件(kube-apiserver))
