文章目錄
- Available Plugins
- 開源項目中的使用
- 插件介紹
- maven-jar-plugin
- maven-assembly-plugin
- maven-shade-plugin
- Shade 插件 - 標簽
- artifactSet
- relocations
- filters
- 完整配置
Available Plugins
https://maven.apache.org/plugins/index.html
Maven 是一個開源的軟件構建工具,它支持多種插件,用于幫助開發人員更方便地管理構建過程中所需的各種資源。以下是一些常用的 Maven 插件:
- Maven-clean-plugin:用于清除項目目錄中的垃圾文件和臨時文件。
- Maven-compile-plugin:用于編譯項目源代碼,生成目標代碼。
- Maven-dependency-plugin:用于管理項目依賴關系,可以自動下載依賴庫,并解決依賴沖突。
- Maven-jar-plugin:用于打包項目,生成 JAR 文件。
- Maven-javadoc-plugin:用于生成項目 Javadoc 文檔。
- Maven-install-plugin:用于安裝項目依賴庫,可以將依賴庫安裝到本地倉庫中。
- Maven-deploy-plugin:用于部署項目,可以將項目打包成可執行的包,并上傳到遠程倉庫中。
- Maven-site-plugin:用于生成項目網站,可以自動生成 HTML 文檔,并上傳到遠程倉庫中。
- Maven-scm-plugin:用于管理項目版本,可以與版本控制系統集成,實現代碼的版本控制。
- Maven-release-plugin:用于發布項目,可以將項目打包成可執行的包,并上傳到遠程倉庫中,同時發布版本更新信息。
這些插件可以幫助開發人員更方便地管理構建過程中所需的各種資源,提高軟件構建的效率和質量。
開源項目中的使用
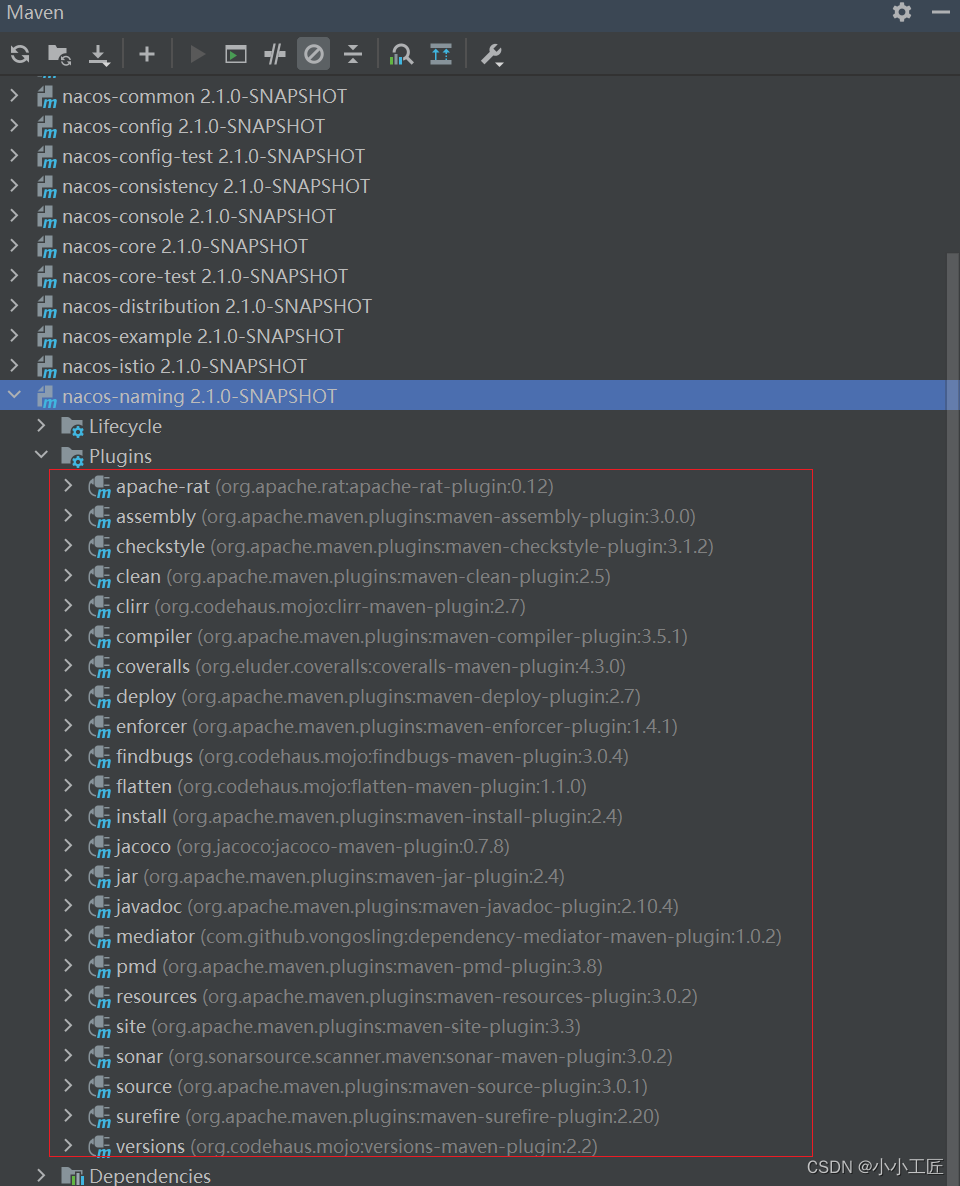
我們來看下nacos這個開源項目的plugin是如何使用的。 不得不說還是非常豐富的 。
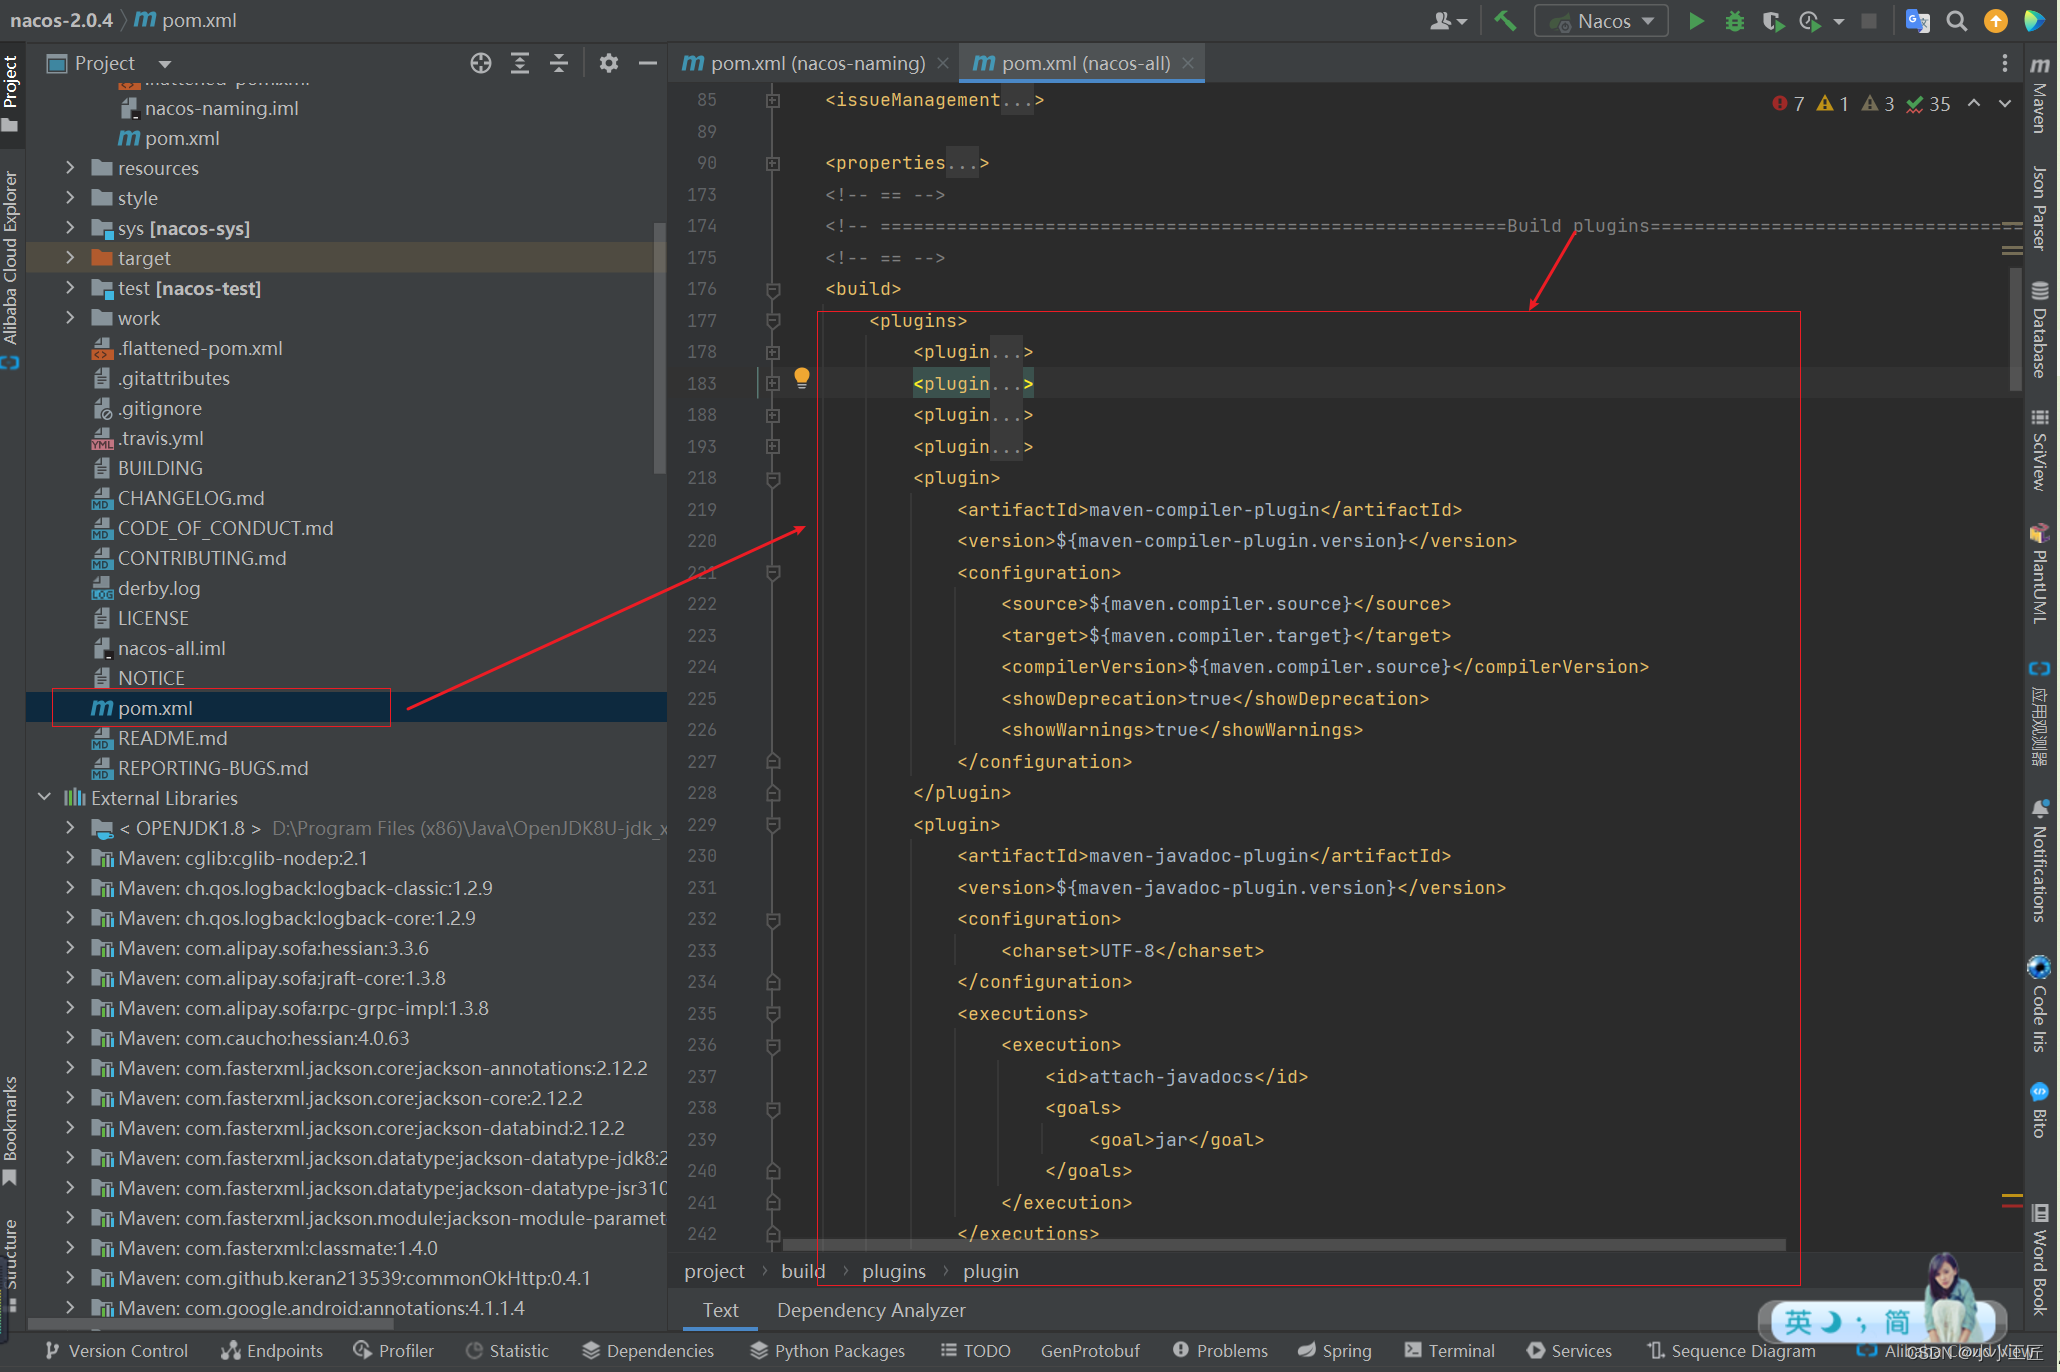
<!-- =========================================================Build plugins================================================ --><!-- == --><build><plugins><plugin><groupId>org.codehaus.mojo</groupId><artifactId>versions-maven-plugin</artifactId><version>${versions-maven-plugin.version}</version></plugin><plugin><groupId>com.github.vongosling</groupId><artifactId>dependency-mediator-maven-plugin</artifactId><version>${dependency-mediator-maven-plugin.version}</version></plugin><plugin><groupId>org.codehaus.mojo</groupId><artifactId>clirr-maven-plugin</artifactId><version>${clirr-maven-plugin.version}</version></plugin><plugin><artifactId>maven-enforcer-plugin</artifactId><version>${maven-enforcer-plugin.version}</version><executions><execution><id>enforce-ban-circular-dependencies</id><goals><goal>enforce</goal></goals></execution></executions><configuration><rules><banCircularDependencies/></rules><fail>true</fail></configuration><dependencies><dependency><groupId>org.codehaus.mojo</groupId><artifactId>extra-enforcer-rules</artifactId><version>${extra-enforcer-rules.version}</version></dependency></dependencies></plugin><plugin><artifactId>maven-compiler-plugin</artifactId><version>${maven-compiler-plugin.version}</version><configuration><source>${maven.compiler.source}</source><target>${maven.compiler.target}</target><compilerVersion>${maven.compiler.source}</compilerVersion><showDeprecation>true</showDeprecation><showWarnings>true</showWarnings></configuration></plugin><plugin><artifactId>maven-javadoc-plugin</artifactId><version>${maven-javadoc-plugin.version}</version><configuration><charset>UTF-8</charset></configuration><executions><execution><id>attach-javadocs</id><goals><goal>jar</goal></goals></execution></executions></plugin><plugin><artifactId>maven-source-plugin</artifactId><version>${maven-source-plugin.version}</version><executions><execution><id>attach-sources</id><goals><goal>jar</goal></goals></execution></executions></plugin><plugin><groupId>org.apache.maven.plugins</groupId><artifactId>maven-pmd-plugin</artifactId><version>${maven-pmd-plugin.version}</version><configuration><rulesets><ruleset>rulesets/java/ali-comment.xml</ruleset><ruleset>rulesets/java/ali-concurrent.xml</ruleset><ruleset>rulesets/java/ali-constant.xml</ruleset><ruleset>rulesets/java/ali-exception.xml</ruleset><ruleset>rulesets/java/ali-flowcontrol.xml</ruleset><ruleset>rulesets/java/ali-naming.xml</ruleset><ruleset>rulesets/java/ali-oop.xml</ruleset><ruleset>rulesets/java/ali-orm.xml</ruleset><ruleset>rulesets/java/ali-other.xml</ruleset><ruleset>rulesets/java/ali-set.xml</ruleset></rulesets><printFailingErrors>true</printFailingErrors><excludes><exclude>**/consistency/entity/*.java</exclude><exclude>**/istio/model/mcp/*.java</exclude><exclude>**/istio/model/naming/*.java</exclude><exclude>**/istio/model/*.java</exclude><exclude>**/api/grpc/auto/*.java</exclude><exclude>**/istio/mcp/**</exclude><exclude>**/istio/networking/**</exclude><exclude>**/google/protobuf/**</exclude></excludes></configuration><executions><execution><goals><goal>check</goal></goals></execution></executions><dependencies><dependency><groupId>com.alibaba.p3c</groupId><artifactId>p3c-pmd</artifactId><version>${p3c-pmd.version}</version></dependency></dependencies></plugin><plugin><groupId>org.apache.maven.plugins</groupId><artifactId>maven-checkstyle-plugin</artifactId><version>${maven-checkstyle-plugin.version}</version><configuration><configLocation>style/NacosCheckStyle.xml</configLocation><includeTestSourceDirectory>true</includeTestSourceDirectory><encoding>UTF-8</encoding><consoleOutput>true</consoleOutput><failsOnError>true</failsOnError><excludes>**/consistency/entity/**,**/nacos/test/**,**/api/grpc/auto/**,**/istio/**,**/protobuf/**</excludes></configuration><executions><execution><id>validate</id><phase>validate</phase><goals><goal>check</goal></goals></execution></executions></plugin><plugin><groupId>org.apache.rat</groupId><artifactId>apache-rat-plugin</artifactId><version>${apache-rat-plugin.version}</version><configuration><excludes><exclude>.editorconfig</exclude><exclude>.travis.yml</exclude><exclude>CONTRIBUTING.md</exclude><exclude>CODE_OF_CONDUCT.md</exclude><exclude>CHANGELOG.md</exclude><exclude>style/codeStyle.md</exclude><exclude>REPORTING-BUGS.md</exclude><exclude>README.md</exclude><exclude>.github/**/*</exclude><exclude>doc/*</exclude><exclude>derby.log</exclude><exclude>logs/*</exclude><exclude>src/main/resources/static/**</exclude><exclude>**/istio/model/**</exclude><exclude>**/consistency/entity/**</exclude><exclude>**/*.txt</exclude><exclude>**/*.factories</exclude><exclude>/console-ui/**</exclude><exclude>**/gogo.proto</exclude><exclude>**/any.proto</exclude></excludes></configuration><executions><execution><phase>verify</phase><goals><goal>check</goal></goals></execution></executions></plugin><plugin><artifactId>maven-resources-plugin</artifactId><version>${maven-resources-plugin.version}</version><configuration><!-- We are not suppose to setup the customer resources here --><encoding>${project.build.sourceEncoding}</encoding></configuration></plugin><plugin><groupId>org.eluder.coveralls</groupId><artifactId>coveralls-maven-plugin</artifactId><version>${coveralls-maven-plugin.version}</version></plugin><plugin><groupId>org.jacoco</groupId><artifactId>jacoco-maven-plugin</artifactId><version>${jacoco-maven-plugin.version}</version><executions><execution><id>default-prepare-agent</id><goals><goal>prepare-agent</goal></goals><configuration><destFile>${project.build.directory}/jacoco.exec</destFile></configuration></execution><execution><id>default-prepare-agent-integration</id><phase>pre-integration-test</phase><goals><goal>prepare-agent-integration</goal></goals><configuration><destFile>${project.build.directory}/jacoco-it.exec</destFile><propertyName>failsafeArgLine</propertyName></configuration></execution><execution><id>default-report</id><goals><goal>report</goal></goals></execution><execution><id>default-report-integration</id><goals><goal>report-integration</goal></goals></execution></executions></plugin><plugin><artifactId>maven-surefire-plugin</artifactId><version>${maven-surefire-plugin.version}</version></plugin><plugin><groupId>org.codehaus.mojo</groupId><artifactId>findbugs-maven-plugin</artifactId><version>${findbugs-maven-plugin.version}</version></plugin><plugin><groupId>org.sonarsource.scanner.maven</groupId><artifactId>sonar-maven-plugin</artifactId><version>${sonar-maven-plugin.version}</version></plugin><plugin><groupId>org.apache.maven.plugins</groupId><artifactId>maven-assembly-plugin</artifactId><version>${maven-assembly-plugin.version}</version></plugin><plugin><groupId>org.codehaus.mojo</groupId><artifactId>flatten-maven-plugin</artifactId><version>${maven-flatten-version}</version><configuration><updatePomFile>true</updatePomFile><flattenMode>resolveCiFriendliesOnly</flattenMode><pomElements><dependencies>expand</dependencies></pomElements></configuration><executions><execution><id>flatten</id><phase>process-resources</phase><goals><goal>flatten</goal></goals></execution><execution><id>flatten.clean</id><phase>clean</phase><goals><goal>clean</goal></goals></execution></executions></plugin></plugins></build>
插件介紹
maven-jar-plugin
https://maven.apache.org/plugins/maven-jar-plugin/
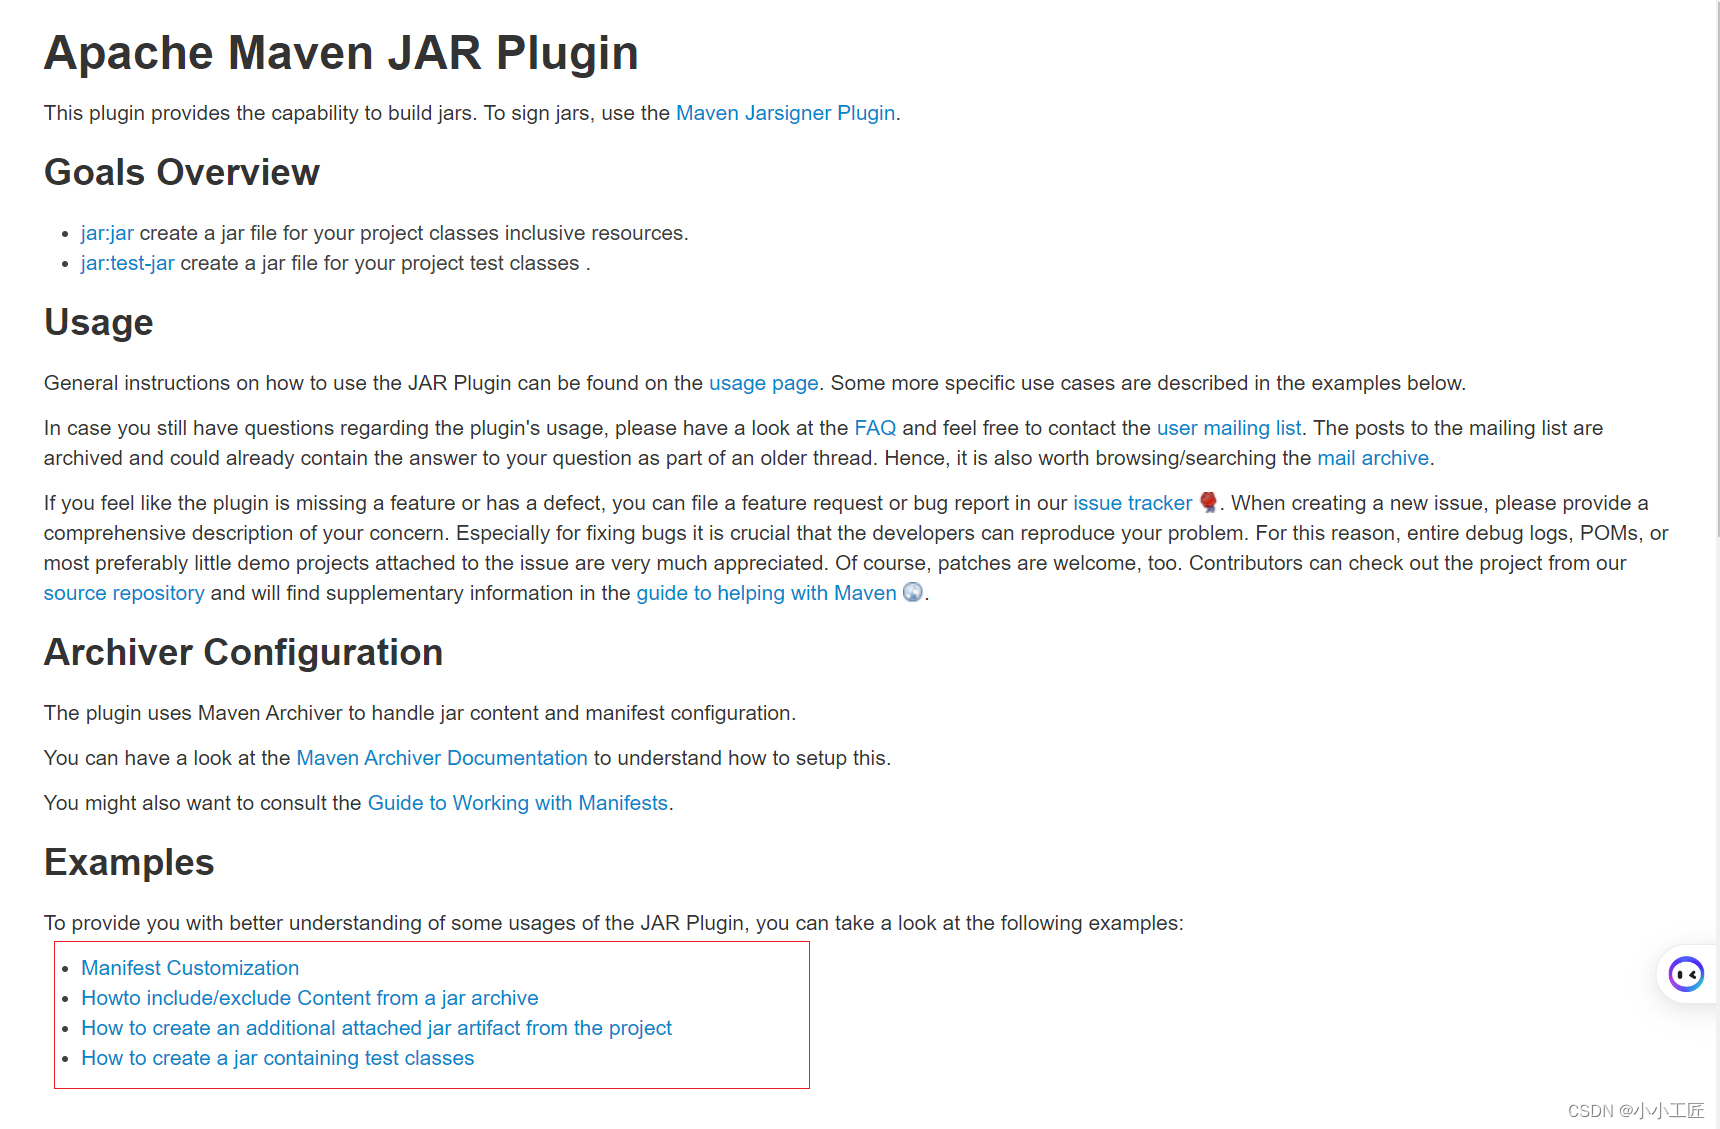
maven-jar-plugin 是 Maven 的一個插件,用于創建 JAR 文件。它可以將項目的源代碼、依賴項和配置文件打包成一個 JAR 文件,以便在應用程序中使用。該插件使用 Apache Maven 的默認構建系統,因此可以使用 Maven 的所有功能,如依賴項管理、構建腳本等。
使用 maven-jar-plugin 的主要優點是可以輕松地創建 JAR 文件,而不必手動編寫 Ant 腳本或使用其他工具。此外,該插件還支持一些高級功能,如資源過濾、代碼混淆和 Javadoc 文檔生成等。這些功能可以使 JAR 文件更加強大和易于使用。
maven-jar-plugin 通常與 Maven 的其他插件一起使用,如 maven-compiler-plugin 和 maven-resources-plugin,以構建復雜的應用程序。例如,可以使用 maven-jar-plugin 將編譯后的源代碼打包成 JAR 文件,并使用 maven-resources-plugin 將資源文件打包成 JAR 文件。
這些插件可以一起使用,以構建具有各種功能和依賴項的應用程序。
假設我們要創建一個名為my-project的 JAR 文件,其中包含項目中的源代碼、依賴項和一些資源文件。我們可以使用 maven-jar-plugin 來完成這個任務。以下是一個具體的使用案例:
- 首先,在 Maven 項目中添加 maven-jar-plugin 插件。在
pom.xml文件中的<build>標簽內添加以下內容:
<build>  <plugins>  <plugin>  <groupId>org.apache.maven.plugins</groupId>  <artifactId>maven-jar-plugin</artifactId>  <version>3.2</version>  <executions>  <execution>  <goals>  <goal>jar</goal>  </goals>  </execution>  </executions>  </plugin>  </plugins>
</build>
- 配置
maven-jar-plugin的參數。在<execution>標簽內,我們可以添加以下內容:
<execution>  <goals>  <goal>jar</goal>  </goals>  <configuration>  <artifactId>my-project</artifactId>  <version>1.0</version>  <includes>  <include>src/main/java/**</include>  <include>src/main/resources/**</include>  </includes>  </configuration>
</execution>
在這個例子中,我們設置了artifactId為my-project,version為1.0。此外,我們還指定了要包含的源代碼和資源文件的路徑。
- 執行 Maven 構建。在項目根目錄下運行以下命令:
mvn clean package
這將清理項目目錄并構建 JAR 文件。
- 查看生成的 JAR 文件。在
target目錄下,你應該會看到生成的my-project-1.0.jar文件。
通過這個案例,我們已經成功地使用 maven-jar-plugin 創建了一個 JAR 文件,其中包含項目的源代碼和資源文件。這個例子展示了如何簡單地使用 maven-jar-plugin 來打包 Maven 項目。在實際項目中,你可能還需要配置其他參數以滿足不同的需求。
看個 nacos的類似的配置
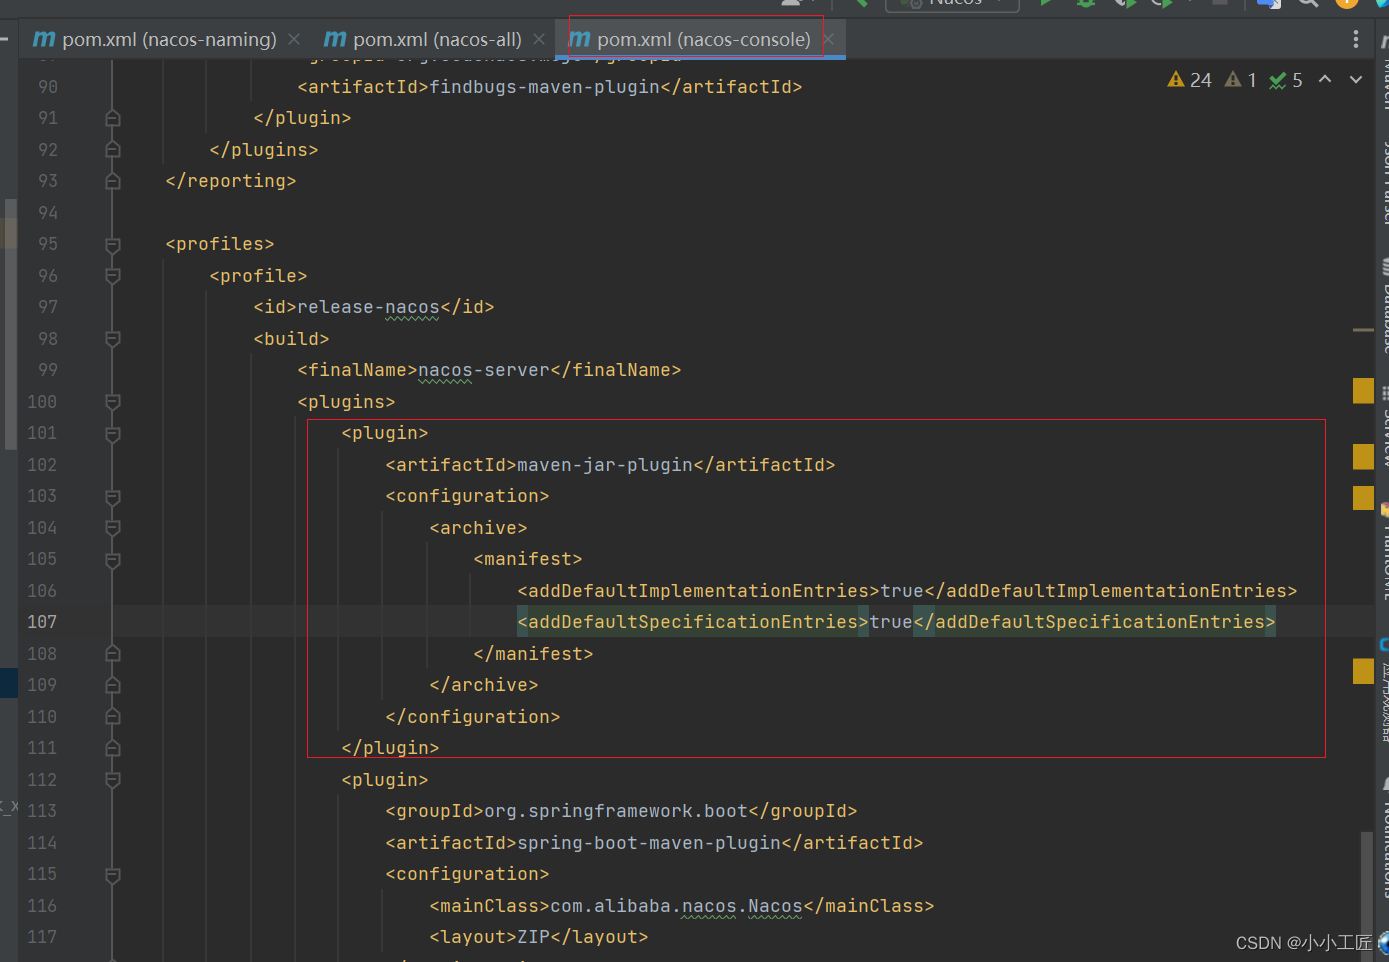
這段代碼是在pom.xml中的<build>標簽內添加了一個maven-jar-plugin插件的配置。以下是各個部分的解釋:
<plugin>:開始定義一個插件。<artifactId>maven-jar-plugin</artifactId>:指定插件的 artifactId 為maven-jar-plugin`。<configuration>:開始定義插件的配置。<archive>:開始定義歸檔(archive)配置。<manifest>:開始定義 manifest 配置。<addDefaultImplementationEntries>true</addDefaultImplementationEntries>:設置為true以在 manifest 中添加默認實現入口。這將告訴 Java 運行時使用指定的類(通常是main` 類)作為應用程序的入口點。<addDefaultSpecificationEntries>true</addDefaultSpecificationEntries>:設置為true以在 manifest 中添加默認規范入口。這將告訴 Java 運行時使用指定的類(通常是main` 類)作為應用程序的入口點,同時還會添加一些額外的規范信息。- :結束 manifest 配置。
- :結束歸檔(archive)配置。
- :結束插件的配置。
- :結束插件的定義。
這個插件配置的主要目的是設置 JAR 文件的 manifest,以便在運行時使用指定的類作為應用程序的入口點。通過添加默認實現入口和默認規范入口,可以確保應用程序能夠正確地運行并提供一些額外的規范信息。這通常用于創建可執行 JAR 文件,其中包含應用程序的主類。
再看個類似的配置
<plugin>  <groupId>org.apache.maven.plugins</groupId>  <artifactId>maven-jar-plugin</artifactId>  <version>2.3.1</version>  <configuration>  <archive>  <manifest>  <mainClass>com.artisan.MyTest</mainClass> <addDefaultSpecificationEntries>true</addDefaultSpecificationEntries><addDefaultImplementationEntries>true</addDefaultImplementationEntries> </manifest><!-- 配置額外屬性信息 --><manifestEntries>  <Plugin-Id>demo-plugin</Plugin-Id>  <Plugin-Version>1.0.0</Plugin-Version>  </manifestEntries>  </archive>  </configuration>
</plugin>
在之前的工程 POM 文件中添加上述構建插件重新進行打包,可以看到 MANIFEST.MF 文件中即添加了我們配置的額外屬性。
Manifest-Version: 1.0
Archiver-Version: Plexus Archiver
Created-By: Apache Maven
Built-By: great
Build-Jdk: 1.8.0_202
# Specification entries
Specification-Title: maven-v1
Specification-Version: 1.0-SNAPSHOT
# Implementation entries
Implementation-Title: maven-v1
Implementation-Version: 1.0-SNAPSHOT
Implementation-Vendor-Id: com.artisan
# Manifest
Main-Class: com.artisan.MyTest
# ManifestEntries
Plugin-Id: demo-plugin
Plugin-Version: 1.0.0
maven-assembly-plugin
https://maven.apache.org/plugins/maven-assembly-plugin/

https://maven.apache.org/plugins/maven-assembly-plugin/examples/index.html
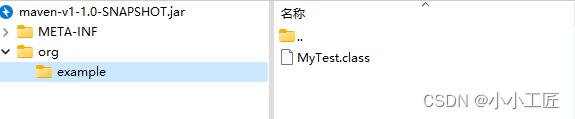
在普通 Maven 工程打包時默認僅會編譯工程中新建的 java 文件并存儲其 .class 文件,對于 POM 文件中引用的第三方依賴并不會一同打包。
如新建一個 Maven 工程并在依賴中導入 Jackson 依賴庫并進行打包編譯,可以看到下圖編譯后的 JAR 文件中只有工程中新建的 MyTest.class 文件,項目中所導入的依賴并沒有被一起打包 .
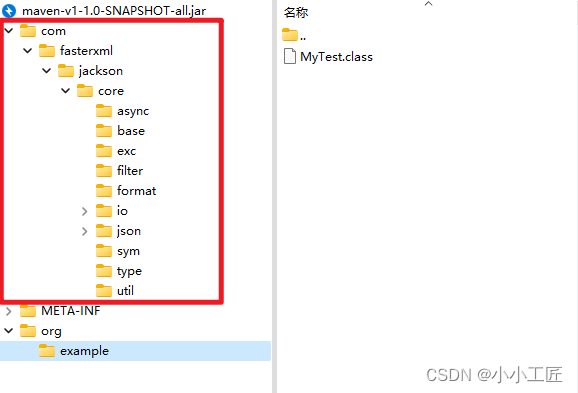
而通過 assembly 插件即可將 POM 配置中的所有依賴一同打包編譯至 JAR 文件中。
其中 execution 標簽定義了 assembly 插件的作用階段,如這里設置了在 Maven package 即打包階段生效
<plugin>  <groupId>org.apache.maven.plugins</groupId>  <artifactId>maven-assembly-plugin</artifactId>  <version>3.1.0</version>  <configuration>  <descriptorRefs>  <descriptorRef>jar-with-dependencies</descriptorRef>  </descriptorRefs>  <!-- Set jar file name --><finalName>${project.artifactId}-${project.version}-all</finalName>  <appendAssemblyId>false</appendAssemblyId>  <attach>false</attach>  <archive>  <manifest>  <mainClass>fully.qualified.MainClass</mainClass> <addDefaultSpecificationEntries>true</addDefaultSpecificationEntries><addDefaultImplementationEntries>true</addDefaultImplementationEntries> </manifest>   </archive>  </configuration>  <executions>  <execution>  <!-- Set effect phase --><id>make-assembly</id>  <phase>package</phase>  <goals>  <goal>single</goal>  </goals>  </execution>  </executions>
</plugin>
在工程 POM 配置中添加上述信息并重新編譯打包工程,可以看到此時 JAR 文件中除了自定義創建的 MyTest.clss 文件外同時包含了依賴的第三方庫。
另外一個Demo : Creating fat JARs using the Maven Assembly plugin
- Go to the pom.xml file and make sure the main application class is specified:
<properties><main.class>com.example.ApplicationKt</main.class>
</properties>
- If you use EngineMain without the explicit main function, the application’s main class depends on the used engine and might look as follows: io.ktor.server.netty.EngineMain.
Add maven-assembly-plugin to the plugins block as follows:
<plugin><groupId>org.apache.maven.plugins</groupId><artifactId>maven-assembly-plugin</artifactId><version>2.6</version><configuration><descriptorRefs><descriptorRef>jar-with-dependencies</descriptorRef></descriptorRefs><archive><manifest><addClasspath>true</addClasspath><mainClass>${main.class}</mainClass></manifest></archive></configuration><executions><execution><id>assemble-all</id><phase>package</phase><goals><goal>single</goal></goals></execution></executions>
</plugin>
- Build an assembly
To build an assembly for the application, open the terminal and execute the following command:
mvn package
When this build completes, you should see the tutorial-server-get-started-maven-0.0.1-jar-with-dependencies.jar file in the target directory.
- Run the application
To run the built application:
Open the terminal and execute the following command to run the application:
java -jar target/tutorial-server-get-started-maven-0.0.1-jar-with-dependencies.jar
Wait until the following message is shown:
[main] INFO Application - Responding at http://0.0.0.0:8080
You can click the link to open the application in a default browser:
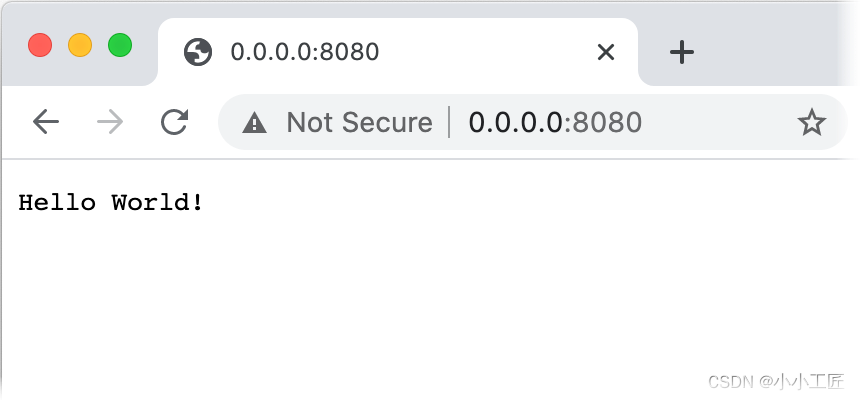
maven-shade-plugin
https://maven.apache.org/plugins/maven-shade-plugin/
Shade 插件的功能更為強大,其提供了兩個功能:
-
第一個即與 assembly 類似可實現依賴的打包編譯,與 assembly 不同的是 Shade 提供了更靈活的執行策略,可指定需要打包編譯的依賴集合。
-
另一個即實現包的重命名功能,我們都知道 Maven 并不允許在一共工程中同時引入單個依賴的不同版本,而通過 Shade 插件即可實現二次包裝從而繞開該限制。
Shade 插件 - 標簽
下面介紹一下 Shade 插件中各標簽的使用。
artifactSet
通過 includes 標簽可以指定需要一同打包編譯的第三方依賴。
定義的格式為:groupId:artifactId。
<artifactSet>  <includes>  <include>groupId:artifactId</include>  </includes>
</artifactSet>
relocations
通過 relocations 標簽即可實現模塊的重命名功能。
其中 pattern 為需要重命名的模塊包, shadedPattern 為重命名后的模塊名。
<relocations>  <relocation>  <pattern>old.package.name</pattern>  <shadedPattern>new.package.name</shadedPattern>  </relocation>
</relocations>
filters
通過 filters 標簽可以實現非必要文件的排除,如常見的協議文件等,可通過文件名或類型實現匹配。
<filters>  <filter>  <artifact>*:*</artifact>  <excludes>  <exclude>filename</exclude>  <exclude>file pattern</exclude>  </excludes>  </filter>
</filters>
完整配置
Shade 同樣可以通過 execution 設置作用階段,上述介紹標簽的完整配置內容如下:
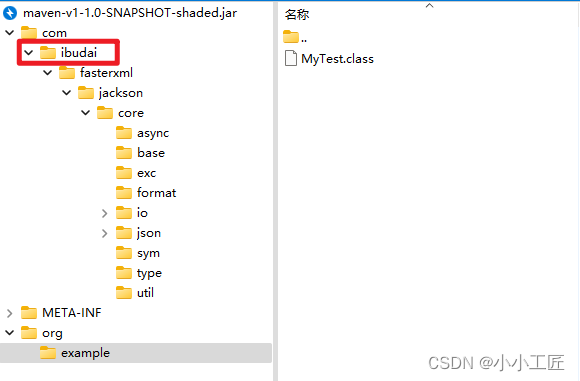
<plugins>  <plugin>  <groupId>org.apache.maven.plugins</groupId>  <artifactId>maven-shade-plugin</artifactId>  <version>3.2.0</version>  <executions>  <!-- Working phase -->  <execution>  <phase>package</phase>  <goals>  <goal>shade</goal>  </goals>  </execution>  </executions>  <configuration>  <minimizeJar>true</minimizeJar>  <!-- Defined what dependencies to pull into the uber JAR -->  <artifactSet>  <includes>  <include>com.fasterxml.jackson.core:jackson-core</include>  </includes>  </artifactSet>  <!-- Rename the package -->  <relocations>  <relocation>  <!-- Old name -->  <pattern>com.fasterxml.jackson.core</pattern>  <!-- New name -->  <shadedPattern>com.ibudai.fasterxml.jackson.core</shadedPattern>  </relocation>   </relocations>  <!-- Exclude the file that didn't want -->  <filters>  <filter>  <artifact>*:*</artifact>  <excludes>  <exclude>META-INF/license/**</exclude>  <exclude>META-INF/*</exclude>  <exclude>LICENSE</exclude>  <exclude>NOTICE</exclude>  </excludes>  </filter>  </filters>  </configuration>  </plugin>
</plugins>
在之前的工程中添加上述配置并重新打包,可以看到編譯后的 Jackson 模塊包層級已經變成我們自定義的內容,而 Java 的類加載即通過類的完成限定名(包名+類名)來區分是否為同一個類,因此通過 Shade 插件即可實現 Maven 的單一工程多版本引入。
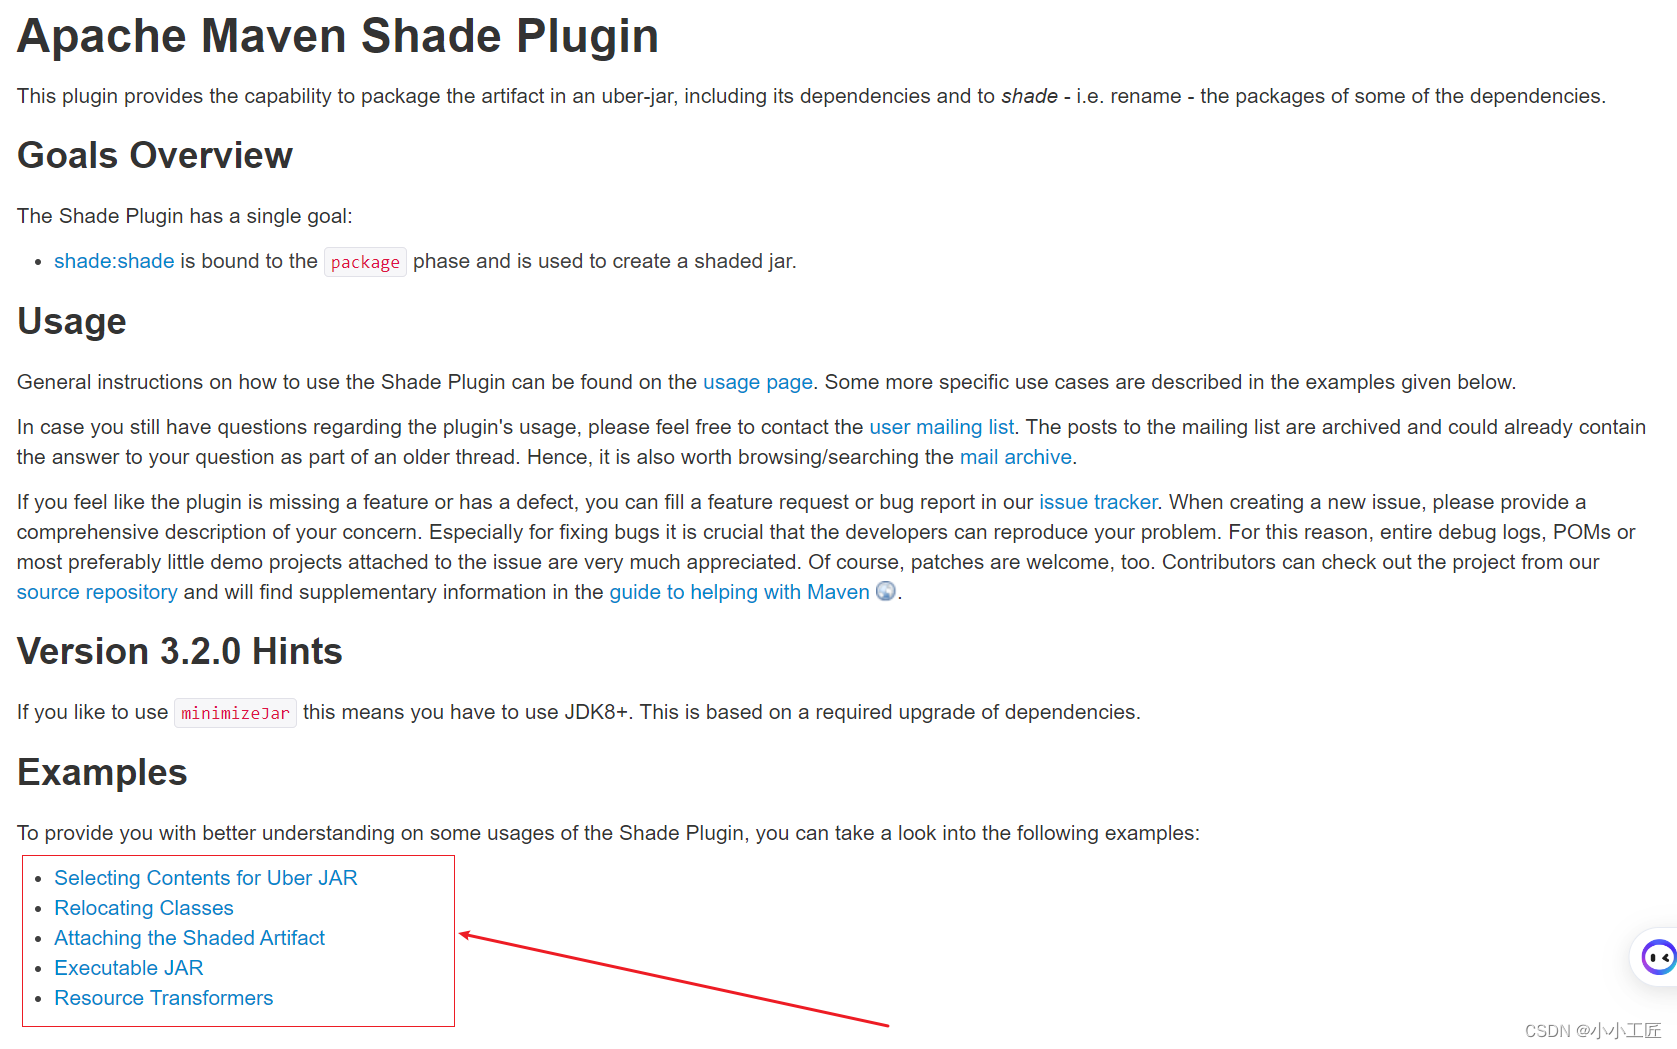
官方文檔
https://maven.apache.org/plugins/maven-shade-plugin/examples/class-relocation.html


 : TCP多線程一個server對應多個client)


和虛擬引擎)

)


密碼加密網絡安全)

