目錄:導讀
- 前言
- 一、Python編程入門到精通
- 二、接口自動化項目實戰
- 三、Web自動化項目實戰
- 四、App自動化項目實戰
- 五、一線大廠簡歷
- 六、測試開發DevOps體系
- 七、常用自動化測試工具
- 八、JMeter性能測試
- 九、總結(尾部小驚喜)
前言
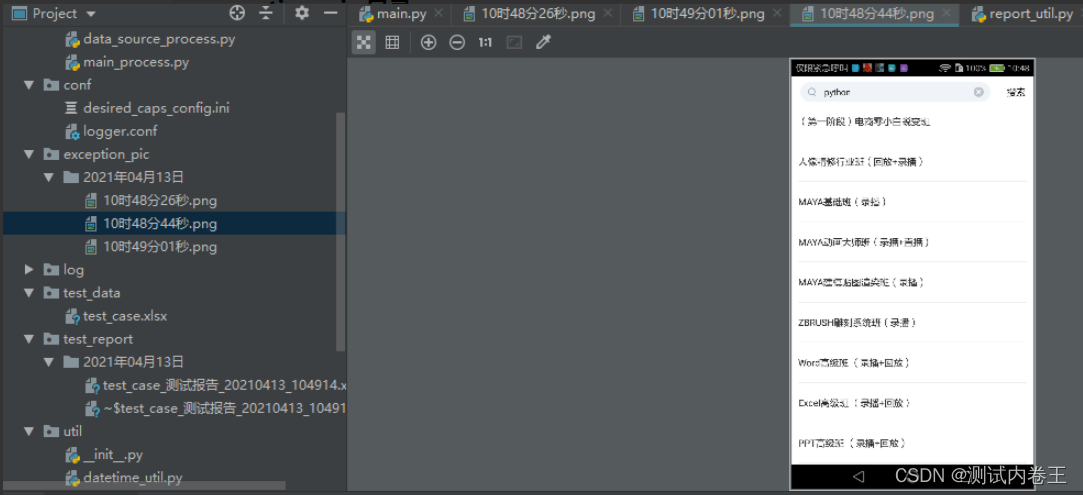
util 包
util 包屬于第一層的測試工具層:用于實現測試過程中調用的工具類方法,例如讀取配置文件、頁面元素的操作方法、操作 Excel 文件、生成測試報告、發送郵件等。
global_var.py
本模塊用于定義測試過程中所需的全局變量。
import osPROJECT_DIR = os.path.dirname(os.path.dirname(os.path.abspath(__file__)))# APP配置信息路徑
INI_FILE_PATH = os.path.join(PROJECT_DIR, "conf", "desired_caps_config.ini")# 異常截圖路徑
EXCEPION_PIC_PATH = os.path.join(PROJECT_DIR, "exception_pic")# 日志配置文件路徑
LOG_CONF_FILE_PATH = os.path.join(PROJECT_DIR, "conf", "logger.conf")# 測試數據文件路徑
TEST_DATA_FILE_PATH = os.path.join(PROJECT_DIR, "test_data", "test_case.xlsx")# 測試報告存放路徑
TEST_REPORT_FILE_DIR = os.path.join(PROJECT_DIR, "test_report")# Appium server地址
APPIUM_SERVER = 'http://localhost:4723/wd/hub'# 測試數據文件中,測試用例sheet中部分列對應的數字序號
TESTCASE_CASE_NAME_COL_NO = 0
TESTCASE_FRAMEWORK_TYPE_COL_NO = 1
TESTCASE_CASE_STEP_SHEET_NAME_COL_NO = 2
TESTCASE_DATA_SOURCE_SHEET_NAME_COL_NO = 3
TESTCASE_IS_EXECUTE_COL_NO = 4
TESTCASE_TEST_TIME_COL_NO = 5
TESTCASE_TEST_RESULT_COL_NO = 6# 用例步驟sheet中,部分列對應的數字序號
CASESTEP_NAME_COL_NO = 0
CASESTEP_ACTION_COL_NO = 1
CASESTEP_LOCATE_METHOD_COL_NO = 2
CASESTEP_LOCATE_EXPRESSION_COL_NO = 3
CASESTEP_OPERATION_VALUE_COL_NO = 4
CASESTEP_IS_EXECUTE_COL_NO = 5
CASESTEP_TEST_TIME_COL_NO = 6
CASESTEP_TEST_RESULT_COL_NO = 7
CASESTEP_EXCEPTION_INFO_COL_NO = 8
CASESTEP_EXCEPTION_PIC_DIR_COL_NO = 9# 數據源sheet中,是否執行列對應的數字編號
DATASOURCE_DATA = 0
DATASOURCE_KEYWORD = 1
DATASOURCE_IS_EXECUTE = 2
DATASOURCE_TEST_TIME = 3
DATASOURCE_TEST_RESULT = 4# 測試執行結果統計
TOTAL_CASE = 0
PASS_CASE = 0
FAIL_CASE = 0if __name__ == "__main__":print(PROJECT_DIR)
find_element_util.py
本模塊封裝了基于顯式等待的界面元素定位方法。
from selenium.webdriver.support.ui import WebDriverWait# 顯式等待一個元素
def find_element(driver, locate_method, locate_exp):# 顯式等待對象(最多等10秒,每0.2秒判斷一次等待的條件)return WebDriverWait(driver, 10, 0.2).until(lambda x: x.find_element(locate_method, locate_exp))# 顯式等待一組元素
def find_elements(driver, locate_method, locate_exp):# 顯式等待對象(最多等10秒,每0.2秒判斷一次等待的條件)return WebDriverWait(driver, 10, 0.2).until(lambda x: x.find_elements(locate_method, locate_exp))
excel_util.py
本模塊封裝了對 excel 的讀寫操作(openpyxl 版本:3.0.4)。
import os
from openpyxl import load_workbook
from openpyxl.styles import PatternFill, Font, Side, Border
from util.datetime_util import *
from util.global_var import *
from util.log_util import *# 支持excel讀寫操作的工具類
class Excel:# 初始化讀取excel文件def __init__(self, file_path):if not os.path.exists(file_path):returnself.wb = load_workbook(file_path)# 初始化默認sheetself.ws = self.wb.activeself.data_file_path = file_path# 初始化顏色字典,供設置樣式用self.color_dict = {"red": "FFFF3030", "green": "FF008B00"}def get_all_sheet(self):return self.wb.get_sheet_names()# 打開指定sheetdef get_sheet(self, sheet_name):if sheet_name not in self.get_all_sheet():print("sheet名稱【%s】不存在!" % sheet_name)returnself.ws = self.wb.get_sheet_by_name(sheet_name)return True# 獲取最大行號def get_max_row_no(self):# openpyxl的API的行、列索引默認都從1開始return self.ws.max_row# 獲取最大列號def get_max_col_no(self):return self.ws.max_column# 獲取所有行數據def get_all_row_data(self, head_line=True):# 是否需要標題行數據的標識,默認需要if head_line:min_row = 1  # 行號從1開始,即1為標題行else:min_row = 2result = []# min_row=None:默認獲取標題行數據for row in self.ws.iter_rows(min_row=min_row, max_row=self.get_max_row_no(), max_col=self.get_max_col_no()):result.append([cell.value for cell in row])return result# 獲取指定行數據def get_row_data(self, row_num):# 0 為標題行return [cell.value for cell in self.ws[row_num+1]]# 獲取指定列數據def get_col_data(self, col_num):# 索引從0開始return [cell.value for cell in tuple(self.ws.columns)[col_num]]# 追加行數據且可以設置樣式def write_row_data(self, data, font_color=None, border=True, fill_color=None):if not isinstance(data, (list, tuple)):print("寫入數據失敗:數據不為列表或元組類型!【%s】" % data)self.ws.append(data)# 設置字體顏色if font_color:if font_color.lower() in self.color_dict.keys():font_color = self.color_dict[font_color]# 設置單元格填充顏色if fill_color:if fill_color.lower() in self.color_dict.keys():fill_color = self.color_dict[fill_color]# 設置單元格邊框if border:bd = Side(style="thin", color="000000")# 記錄數據長度(否則會默認與之前行最長數據行的長度相同,導致樣式超過了該行實際長度)count = 0for cell in self.ws[self.get_max_row_no()]:# 設置完該行的實際數據長度樣式后,則退出if count > len(data) - 1:breakif font_color:cell.font = Font(color=font_color)# 如果沒有設置字體顏色,則默認給執行結果添加字體顏色else:if cell.value is not None and isinstance(cell.value, str):if cell.value.lower() == "pass" or cell.value == "成功":cell.font = Font(color=self.color_dict["green"])elif cell.value.lower() == "fail" or cell.value == "失敗":cell.font = Font(color=self.color_dict["red"])if border:cell.border = Border(left=bd, right=bd, top=bd, bottom=bd)if fill_color:cell.fill = PatternFill(fill_type="solid", fgColor=fill_color)count += 1# 指定行插入數據(行索引從0開始)def insert_row_data(self, row_no, data, font_color=None, border=True, fill_color=None):if not isinstance(data, (list, tuple)):print("寫入數據失敗:數據不為列表或元組類型!【%s】" % data)for idx, cell in enumerate(self.ws[row_no+1]):  # 此處行索引從1開始cell.value = data[idx]# 生成寫入了測試結果的excel數據文件def save(self, save_file_name, timestamp):save_dir = os.path.join(TEST_REPORT_FILE_DIR, get_chinese_date())if not os.path.exists(save_dir):os.mkdir(save_dir)save_file = os.path.join(save_dir, save_file_name + "_" + timestamp + ".xlsx")self.wb.save(save_file)info("生成測試結果文件:%s" % save_file)return save_fileif __name__ == "__main__":from util.global_var import *from util.datetime_util import *excel = Excel(TEST_DATA_FILE_PATH)excel.get_sheet("測試結果統計")# print(excel.get_all_row_data())# excel.write_row_data(["4", None, "嘻哈"], "green", True, "red")excel.insert_row_data(1, [1,2,3])excel.save(get_timestamp())
ini_reader.py
本模塊封裝了對 ini 配置文件的讀取操作。
import os
import configparser# 讀取ini文件的工具類
class IniParser:# 初始化打開ini文件def __init__(self, file_path):if not os.path.exists(file_path):print("ini文件【%s】不存在!" % file_path)returnself.cf = configparser.ConfigParser()self.cf.read(file_path, encoding="utf-8")# 獲取所有分組def get_sections(self):return self.cf.sections()# 獲取指定分組的所有鍵def get_options(self, section):return self.cf.options(section)  # 注意,獲取的鍵會自動轉小寫# 獲取指定分組的所有鍵值對def get_items(self, section):return dict(self.cf.items(section))  # 注意,獲取的鍵會自動轉小寫# 獲取指定分組指定鍵的值def get_value(self, section, option):return self.cf.get(section, option)if __name__ == "__main__":from util.global_var import *p = IniParser(INI_FILE_PATH)print(p.get_sections())print(p.get_options("desired_caps"))print(p.get_items("desired_caps"))print(p.get_value("desired_caps", "deviceName"))
email_util.py
本模塊封裝了郵件發送功能。(示例代碼中的用戶名/密碼已隱藏)
import yagmail
import traceback
from util.log_util import *def send_mail(attachments_report_name, receiver, subject, content):try:# 連接郵箱服務器# 注意:若使用QQ郵箱,則password為授權碼而非郵箱密碼;使用其它郵箱則為郵箱密碼# encoding設置為GBK,否則中文附件名會亂碼yag = yagmail.SMTP(user="*****@163.com", password="*****", host="smtp.163.com", encoding='GBK')# 收件人、標題、正文、附件(若多個收件人或多個附件,則可使用列表)yag.send(to=receiver, subject=subject, contents=content, attachments=attachments_report_name)# 可簡寫:yag.send("****@163.com", subject, contents, report)info("測試報告郵件發送成功!【郵件標題:%s】【郵件附件:%s】【收件人:%s】" % (subject, attachments_report_name, receiver))except:error("測試報告郵件發送失敗!【郵件標題:%s】【郵件附件:%s】【收件人:%s】" % (subject, attachments_report_name, receiver))error(traceback.format_exc())if __name__ == "__main__":send_mail("e:\\code.txt", "xxxxxx@qq.com", "測試郵件", "正文")
datetime_util.py
本模塊實現了獲取各種格式的當前日期時間。
import time# 返回中文格式的日期:xxxx年xx月xx日
def get_chinese_date():year = time.localtime().tm_yearif len(str(year)) == 1:year = "0" + str(year)month = time.localtime().tm_monif len(str(month)) == 1:month = "0" + str(month)day = time.localtime().tm_mdayif len(str(day)) == 1:day = "0" + str(day)return "{}年{}月{}日".format(year, month, day)# 返回英文格式的日期:xxxx/xx/xx
def get_english_date():year = time.localtime().tm_yearif len(str(year)) == 1:year = "0" + str(year)month = time.localtime().tm_monif len(str(month)) == 1:month = "0" + str(month)day = time.localtime().tm_mdayif len(str(day)) == 1:day = "0" + str(day)return "{}/{}/{}".format(year, month, day)# 返回中文格式的時間:xx時xx分xx秒
def get_chinese_time():hour = time.localtime().tm_hourif len(str(hour)) == 1:hour = "0" + str(hour)minute = time.localtime().tm_minif len(str(minute)) == 1:minute = "0" + str(minute)second = time.localtime().tm_secif len(str(second)) == 1:second = "0" + str(second)return "{}時{}分{}秒".format(hour, minute, second)# 返回英文格式的時間:xx:xx:xx
def get_english_time():hour = time.localtime().tm_hourif len(str(hour)) == 1:hour = "0" + str(hour)minute = time.localtime().tm_minif len(str(minute)) == 1:minute = "0" + str(minute)second = time.localtime().tm_secif len(str(second)) == 1:second = "0" + str(second)return "{}:{}:{}".format(hour, minute, second)# 返回中文格式的日期時間
def get_chinese_datetime():return get_chinese_date() + " " + get_chinese_time()# 返回英文格式的日期時間
def get_english_datetime():return get_english_date() + " " + get_english_time()# 返回時間戳
def get_timestamp():year = time.localtime().tm_yearif len(str(year)) == 1:year = "0" + str(year)month = time.localtime().tm_monif len(str(month)) == 1:month = "0" + str(month)day = time.localtime().tm_mdayif len(str(day)) == 1:day = "0" + str(day)hour = time.localtime().tm_hourif len(str(hour)) == 1:hour = "0" + str(hour)minute = time.localtime().tm_minif len(str(minute)) == 1:minute = "0" + str(minute)second = time.localtime().tm_secif len(str(second)) == 1:second = "0" + str(second)return "{}{}{}_{}{}{}".format(year, month, day, hour, minute, second)if __name__ == "__main__":print(get_chinese_datetime())print(get_english_datetime())
get_desired_caps.py
本模塊實現了獲取 ini 配置文件中的 Appium 創建 Session 的配置信息。
from util.ini_reader import IniParser
from util.global_var import INI_FILE_PATHdef get_desired_caps():pcf = IniParser(INI_FILE_PATH)items = pcf.get_items("desired_caps")  # 獲取的鍵會自動轉成小寫desired_caps = {"platformName": items.get("platformname"),"platformVersion": items.get("platformversion"),"deviceName": items.get("devicename"),"appPackage": items.get("apppackage"),"appActivity": items.get("appactivity"),"unicodeKeyboard": items.get("unicodekeyboard"),"autoAcceptAlerts": items.get("autoacceptalerts"),"resetKeyboard": items.get("resetkeyboard"),"noReset": items.get("noreset"),"newCommandTimeout": items.get("newcommandtimeout")}return desired_capsif __name__ == "__main__":from util.global_var import *print(get_desired_caps())
log_util.py
封裝了日志打印輸出、級別設定等功能。
import logging
import logging.config
from util.global_var import *# 日志配置文件:多個logger,每個logger指定不同的handler
# handler:設定了日志輸出行的格式
#          以及設定寫日志到文件(是否回滾)?還是到屏幕
#          還定了打印日志的級別
logging.config.fileConfig(LOG_CONF_FILE_PATH)
logger = logging.getLogger("example01")def debug(message):logging.debug(message)def info(message):logging.info(message)def warning(message):logging.warning(message)def error(message):logging.error(message)if __name__ == "__main__":debug("hi")info("gloryroad")warning("hello")error("這是一個error日志")
report_util.py
生成測試結果文件并發送郵件。
from util.email_util import send_mail
from util.log_util import *
from util.datetime_util import *# 生成測試報告并發送郵件
def create_excel_report_and_send_email(excel_obj, receiver, subject, content):""":param excel_obj: excel對象用于保存文件:param timestamp: 用于文件命名的時間戳:return: 返回excel測試報告文件名"""time_stamp = get_timestamp()report_path = excel_obj.save(subject, time_stamp)send_mail(report_path, receiver, subject+"_"+time_stamp, content)
conf 目錄
conf 目錄屬于第一層測試工具層,用于存儲各配置文件。
desired_caps_config.ini
本配置文件存儲了 Appium 創建 Session 的配置信息。
[desired_caps]
platformName=Android
platformVersion=6
deviceName=3DN6T16B26001805
appPackage=com.xsteach.appedu
appActivity=com.xsteach.appedu.StartActivity
unicodeKeyboard=True
autoAcceptAlerts=True
resetKeyboard=True
noReset=True
newCommandTimeout=6000
logger.conf
本配置文件用于日志功能的具體配置。
###############################################
[loggers]
keys=root,example01,example02
[logger_root]
level=DEBUG
handlers=hand01,hand02[logger_example01]
handlers=hand01,hand02
qualname=example01
propagate=0[logger_example02]
handlers=hand01,hand03
qualname=example02
propagate=0###############################################
[handlers]
keys=hand01,hand02,hand03[handler_hand01]
class=StreamHandler
level=INFO
formatter=form01
args=(sys.stderr,)[handler_hand02]
class=FileHandler
level=DEBUG
formatter=form01
args=('E:\\pycharm_project_dir\\AppAutoTest\\log\\app_test.log', 'a')[handler_hand03]
class=handlers.RotatingFileHandler
level=INFO
formatter=form01
args=('E:\\pycharm_project_dir\\AppAutoTest\\log\\app_test.log', 'a', 10*1024*1024, 5)###############################################
[formatters]
keys=form01,form02[formatter_form01]
format=%(asctime)s [%(levelname)s] %(message)s
datefmt=%Y-%m-%d %H:%M:%S[formatter_form02]
format=%(name)-12s: [%(levelname)-8s] %(message)s
datefmt=%Y-%m-%d %H:%M:%S
test_data 目錄
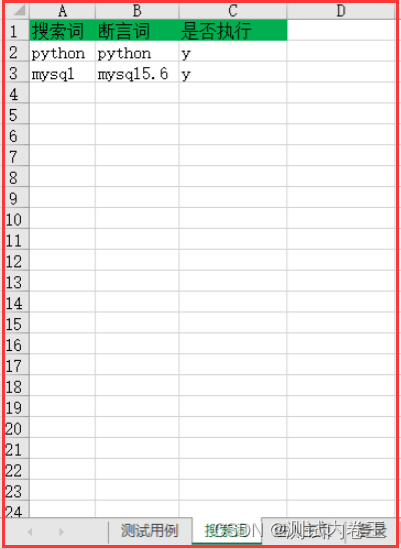
test_data 目錄用于存放測試數據文件(Excel),存儲了用例步驟、用例執行關鍵字、數據源等測試數據。

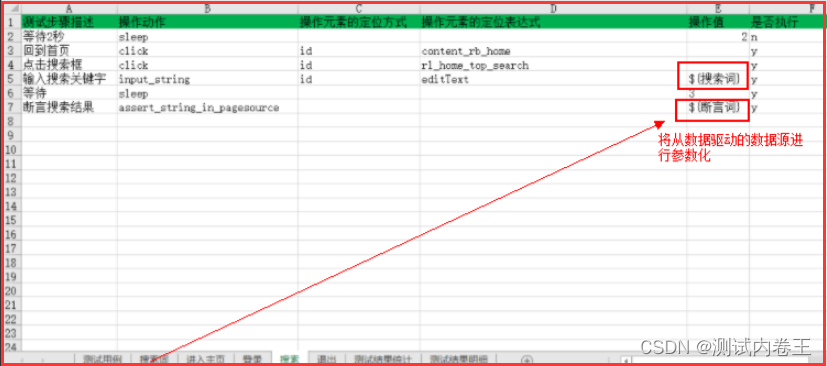
main.py
本模塊是本框架的運行主入口,屬于第四層“測試場景層”,將測試用例組織成測試場景,實現各種級別 cases 的管理,如冒煙,回歸等測試場景。
基于 business_process/main_process.py 中的模塊用例 sheet 執行函數或主 sheet 執行函數,組裝測試場景。
可直接用代碼組裝測試場景,也可根據 excel 數據文件的用例集合和用例步驟的維護來設定測試場景。
完成測試執行后生成測試結果文件并發送郵件。
from bussiness_process.main_process import *
from util.report_util import *# 組裝測試場景
# 冒煙測試
def smoke_test(report_name):excel, _ = suite_process(TEST_DATA_FILE_PATH, "進入主頁")excel, _ = suite_process(excel, "登錄")excel, _ = suite_process(excel, "退出")# 生成測試報告并發送郵件create_excel_report_and_send_email(excel, ['xxxxxxxxx@163.com', 'xxxxxxxx@qq.com'], report_name, "請查收附件:app自動化測試報告")# 全量測試:執行主sheet的用例集
def suite_test(report_name):excel = main_suite_process(TEST_DATA_FILE_PATH, "測試用例集")create_excel_report_and_send_email(excel, ['xxxxxxx@163.com', 'xxxxxxx@qq.com'], report_name, "請查收附件:app自動化測試報告")if __name__ == "__main__":# smoke_test("APP自動化測試報告_冒煙測試")suite_test("APP自動化測試報告_全量測試")
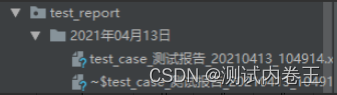
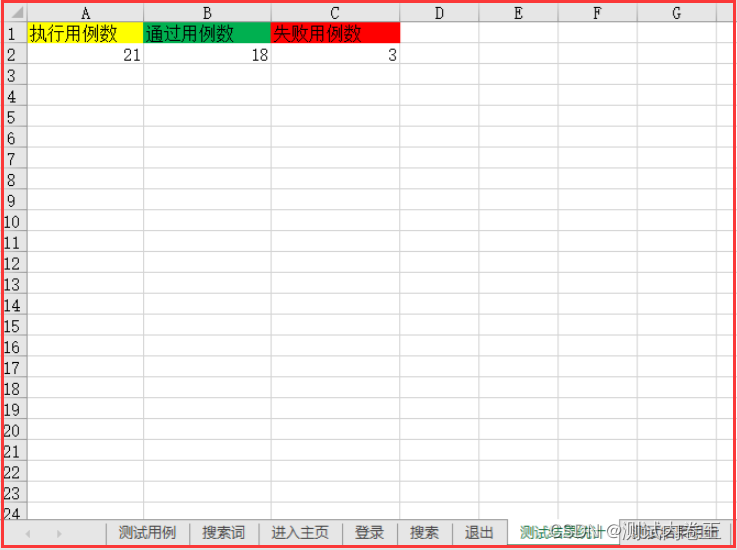
test_report 目錄
本目錄用于存放測試結果文件。

exception_pic 目錄
本目錄用于存放失敗用例的截圖。
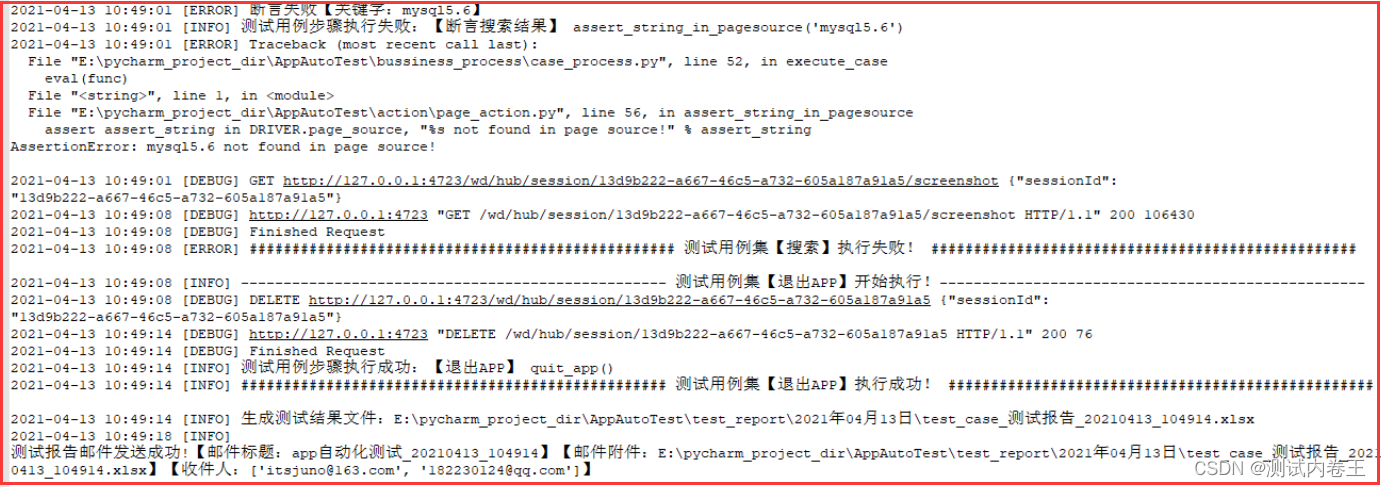
log 目錄
本目錄用于存放日志輸出文件(日志內容同時也會輸出到控制臺)。
log/app_test.log:
| 下面是我整理的2023年最全的軟件測試工程師學習知識架構體系圖 |
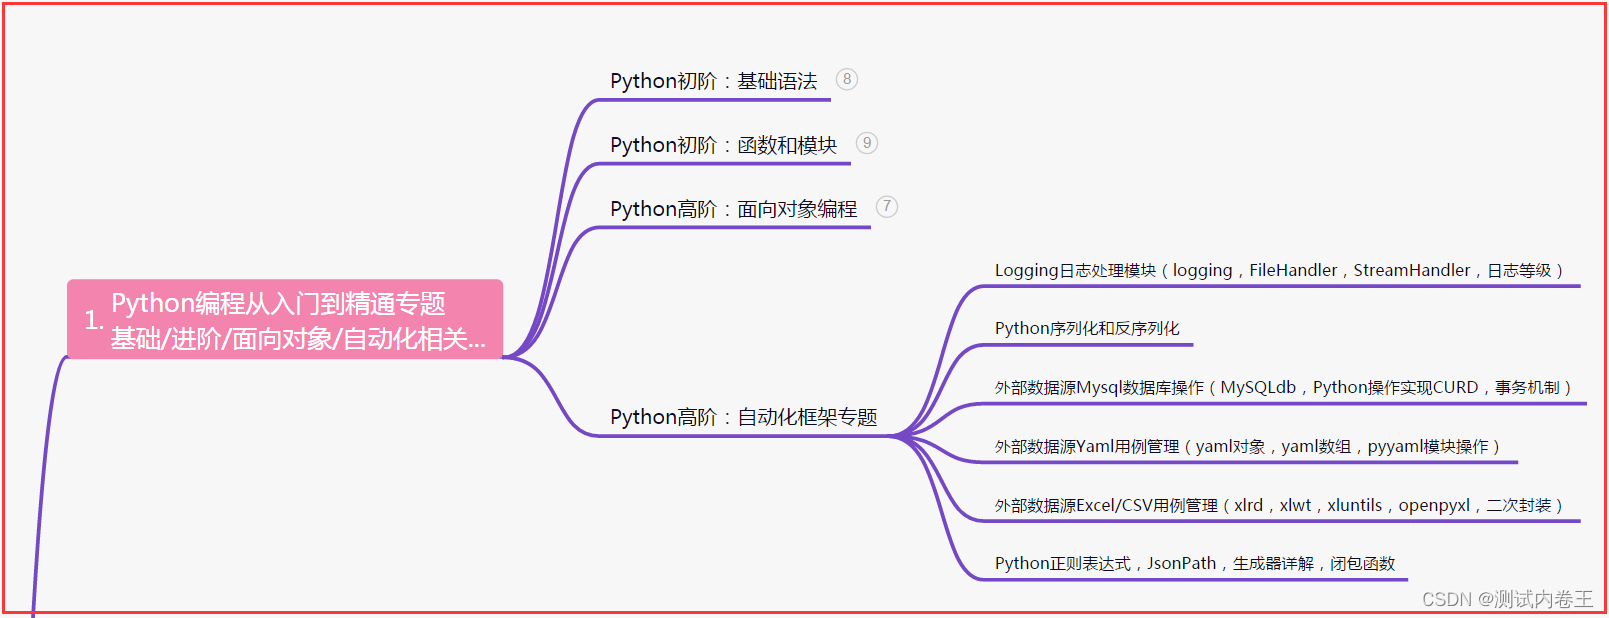
一、Python編程入門到精通
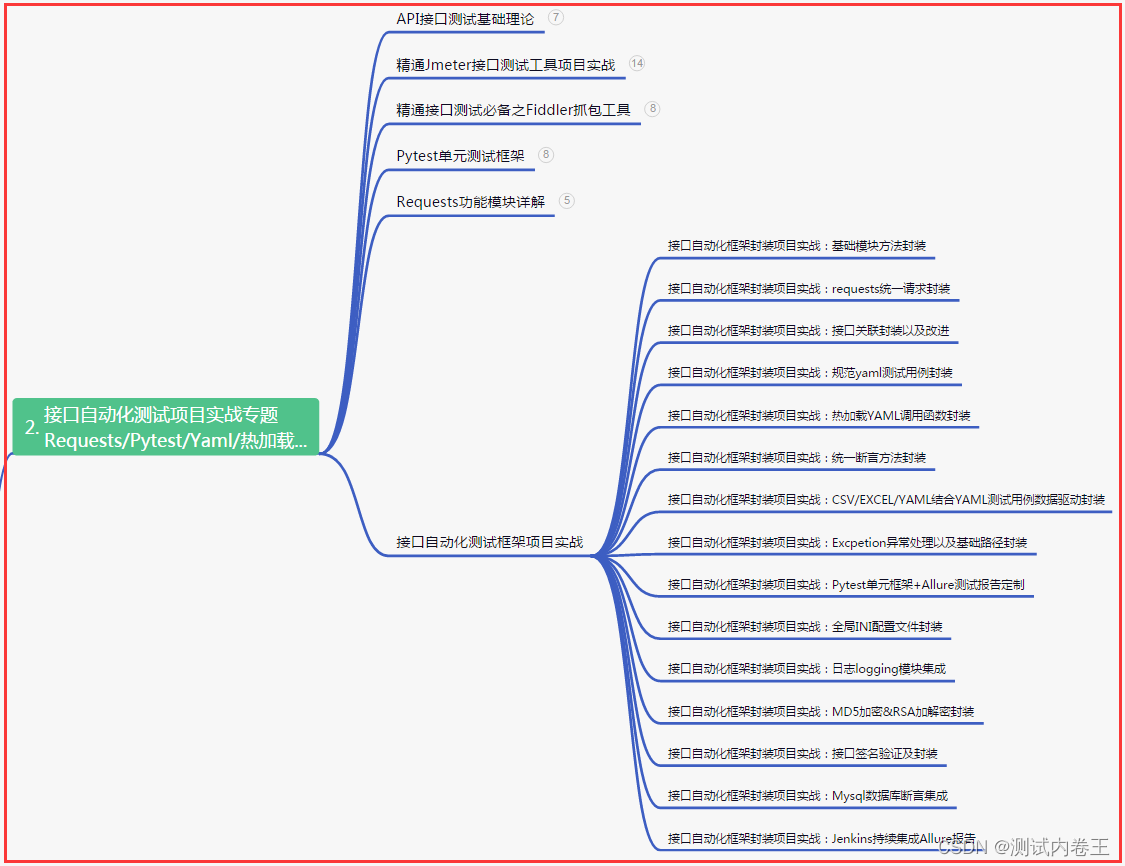
二、接口自動化項目實戰
三、Web自動化項目實戰

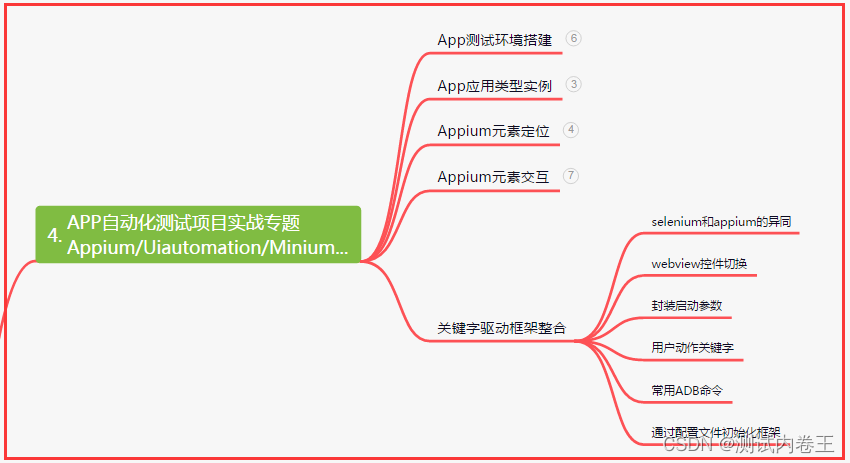
四、App自動化項目實戰
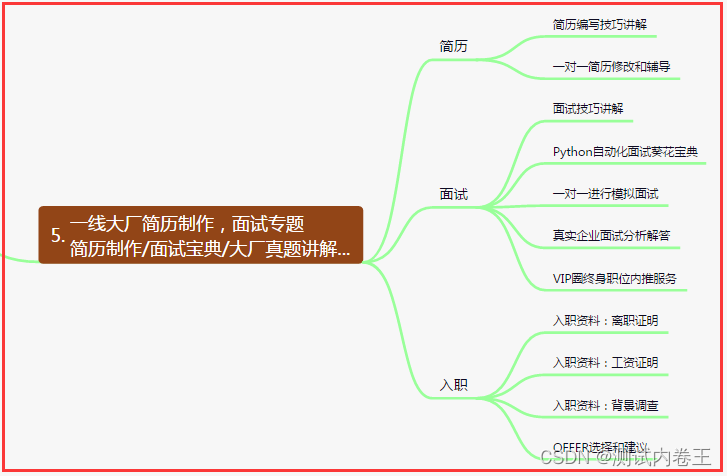
五、一線大廠簡歷
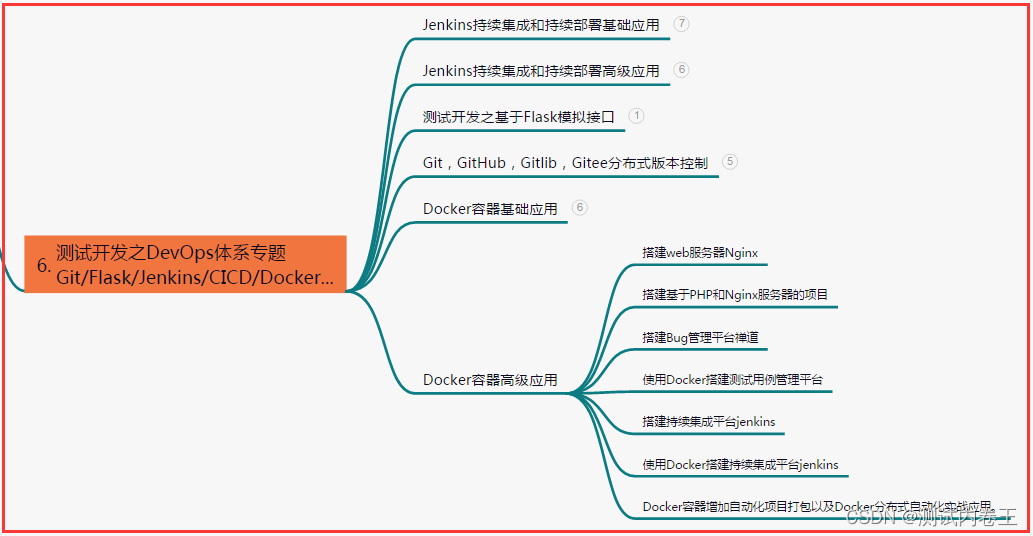
六、測試開發DevOps體系
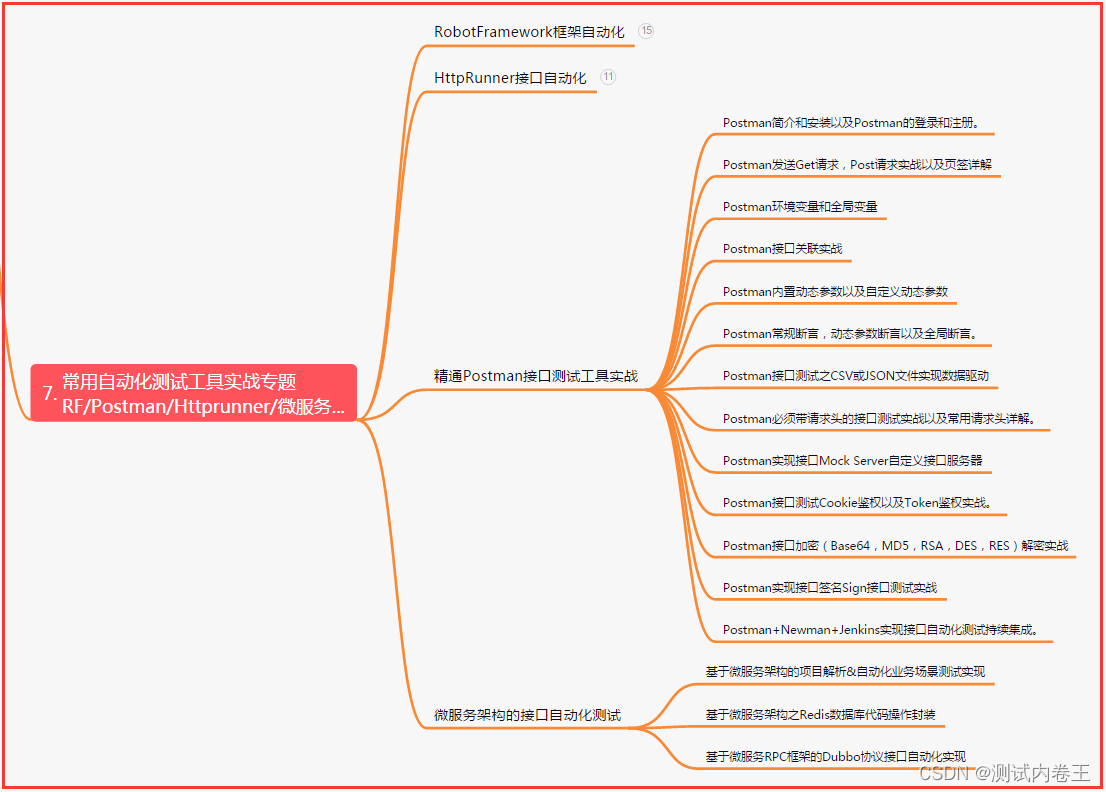
七、常用自動化測試工具
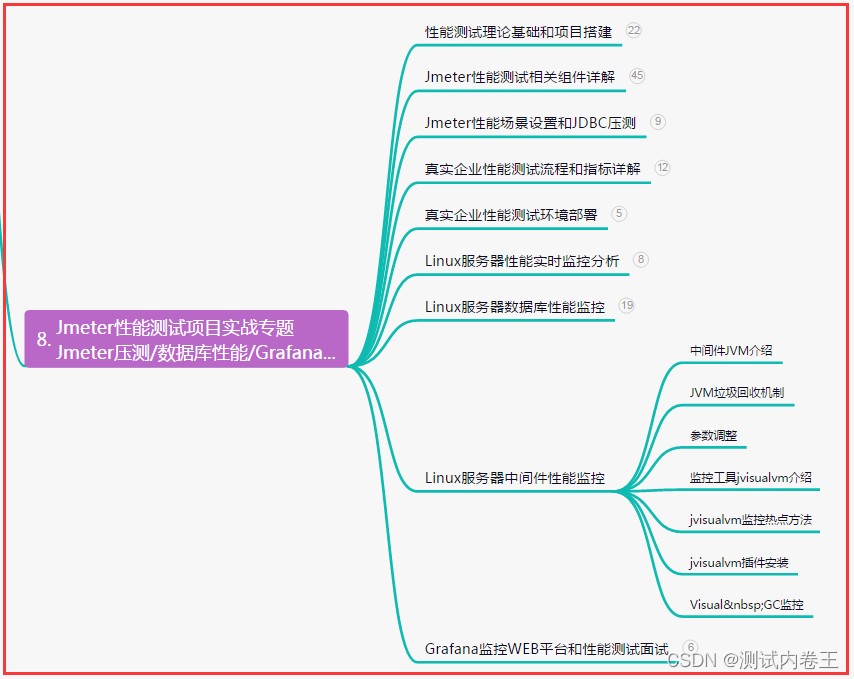
八、JMeter性能測試
九、總結(尾部小驚喜)
不論起點如何,只要擁有激情與毅力,奮斗就是通往成功的道路;不論困難多大,只要心懷信念與勇氣,挑戰就是成長的機會。努力奮斗,追逐夢想,將創造屬于自己的輝煌人生!
每一次努力,都是邁向輝煌的一步;每一次奮斗,都是砥礪前行的力量。不辜負青春,銘記初心,揚起夢想的風帆,執著追逐,終將駛向成功的彼岸。
不論身處何地,只要心懷夢想,就別停止追逐;不管困難多大,只要堅持奮斗,就能開創未來。披荊斬棘,勇往直前,舞動青春的旋律,綻放人生的輝煌!


)


