目錄
- 一、單個PET圖像預處理
- 1、使用[MRIConvert](https://pan.baidu.com/s/1cn3kgeVRir8HvP6HHm0M0Q?pwd=5rt5)處理DCM
- 2、MRI和PET數據預處理過程
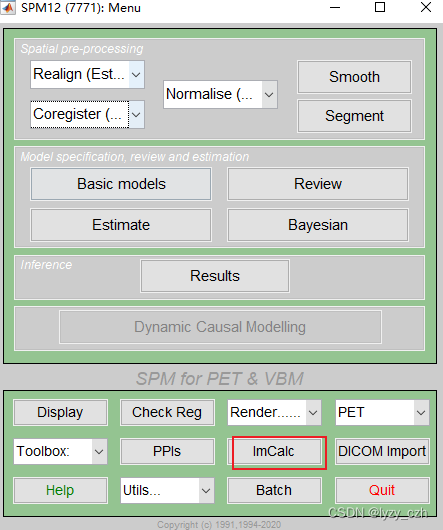
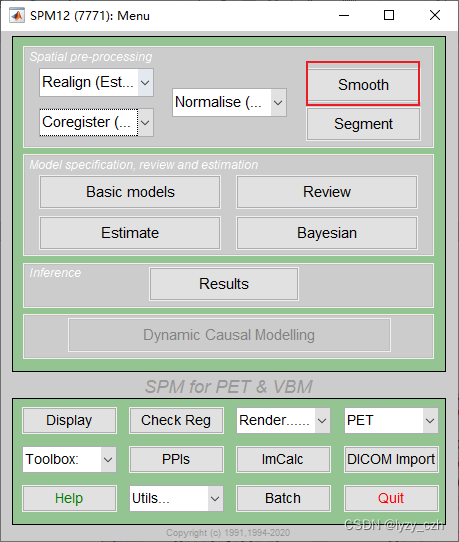
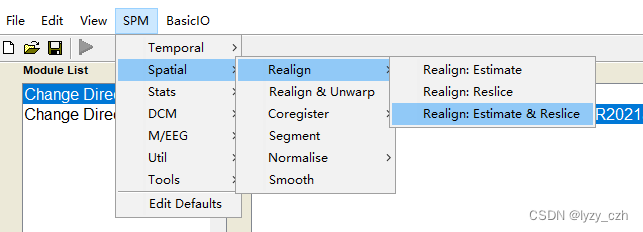
- 1) 打開matlab命令行輸入spm pet,打開SMP12,界面如下
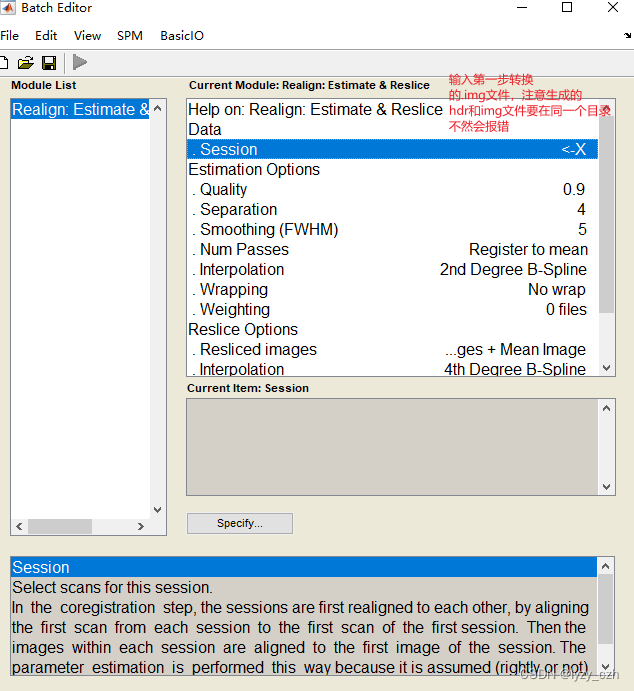
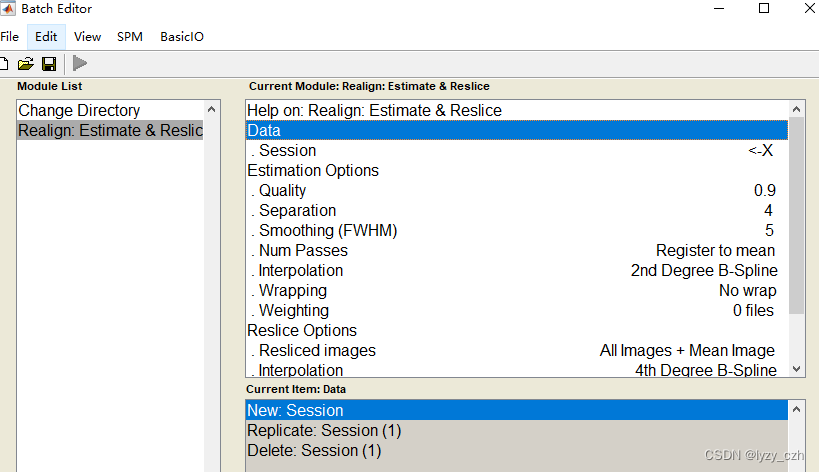
- 2) Realign,只需要編輯Session,其他參數不用改,編輯好后點擊左上角綠色三角形按鈕:
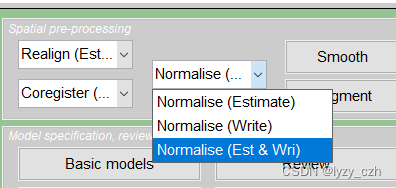
- 3)將mean002_s_0729的hdr數據配到PET模板上,點擊Normalise(Est & Wri)
- 4)將wmeanxxxx.hdr配準到自己的MRI圖像wmxxxx.nii上,打開Coregister(Est & Res),只修改Reference Image和Source Image;
- 5)去頭顱
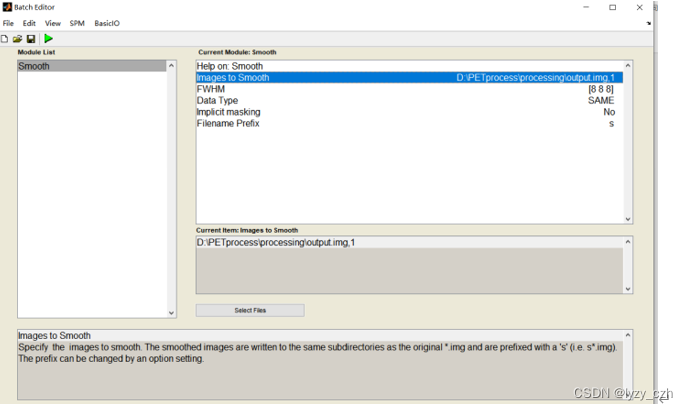
- 6)最后一步進行8mm的平滑
- 二、批量預處理
- 1、點擊Batch
- 2、轉到工作路徑
- 3、選擇預處理步驟
- 4、生成batch腳本
- 5、修改腳本代碼
最近在做PET圖像的預處理,相對于SMRI,PET的預處理要更加復雜,PET的預處理需要一步一步進行,每一步都需要前一步的輸出結果,因此在批量預處理上也很麻煩。不過在和實驗室小伙伴的共同努力下最終是完成了PET批量預處理。
自己在網上搜索教程的時候也沒有找到很符合自己需要的教程,因此,把該問題的解決方法記錄下來,供大家一起參考,如果覺得有用的話麻煩點個贊謝謝。
注:本方法使用的數據是從ADNI上下載的18F-FDG圖像,下載的格式是DCM格式(PET圖像會有其他格式的圖像,我只使用了DCM格式的圖像)環境使用了MATLABR2021a SPM12
一、單個PET圖像預處理
為了更好理解批量預處理,有必要了解單個PET圖像是如何預處理的。只想看批量預處理的直接跳到批量預處理即可
PET預處理整個流程如下:使用MRIConvert軟件將DCM格式轉為hdr格式→Realign→Normalise→Coregister→ImCalc→Smooth
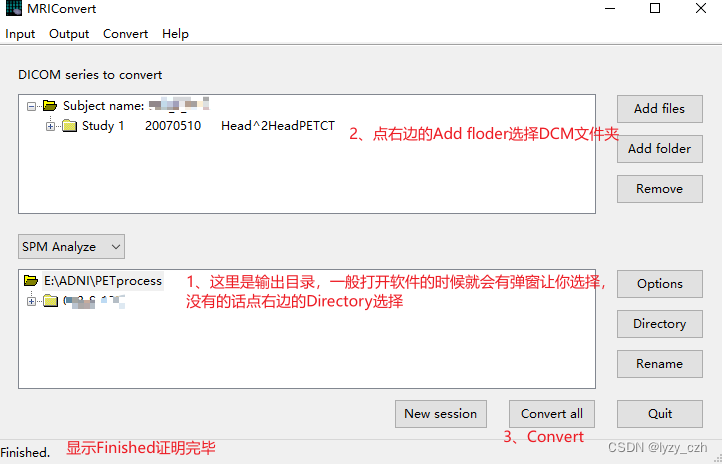
1、使用MRIConvert處理DCM
打開程序選擇輸出輸入目錄并且選擇SPM Analyze如下圖所示
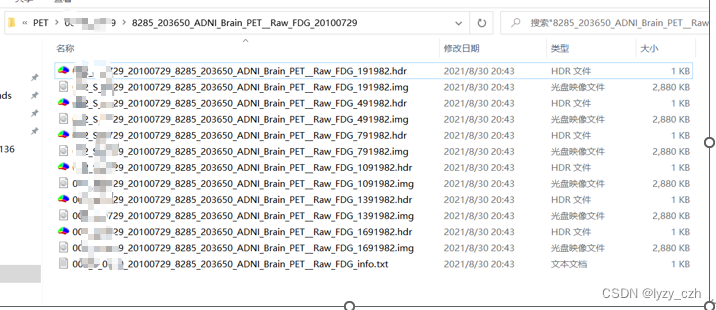
轉換完成后輸出如下:
這里生成了多個hdr/img的圖像,只需要選擇其中最好的一個即可(我看起來都是一樣的)
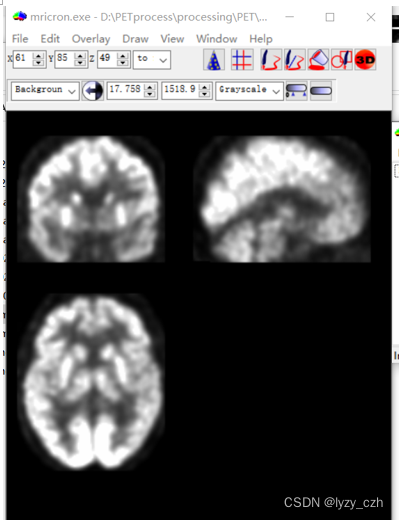
使用MRIcron打開hdr文件如下:MRIcron在我的之前的文章有介紹

2、MRI和PET數據預處理過程
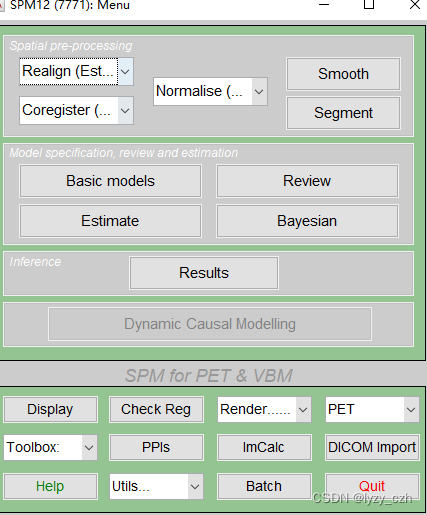
1) 打開matlab命令行輸入spm pet,打開SMP12,界面如下
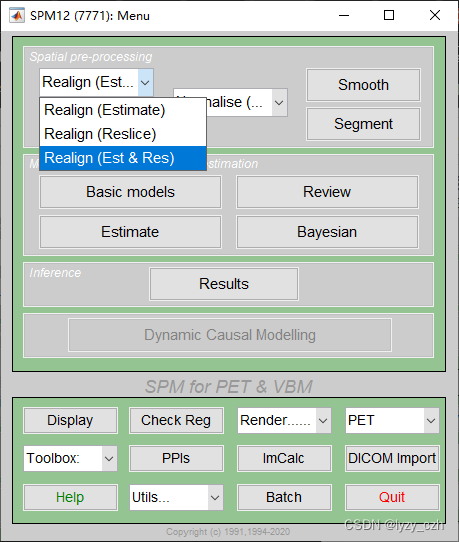
2) Realign,只需要編輯Session,其他參數不用改,編輯好后點擊左上角綠色三角形按鈕:
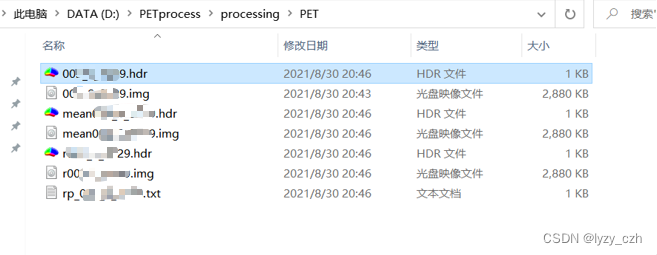
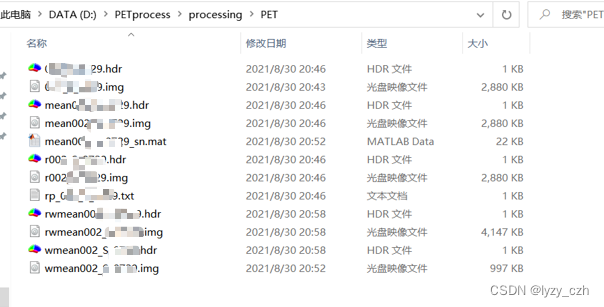
此時在輸出目錄下生成如下文件:
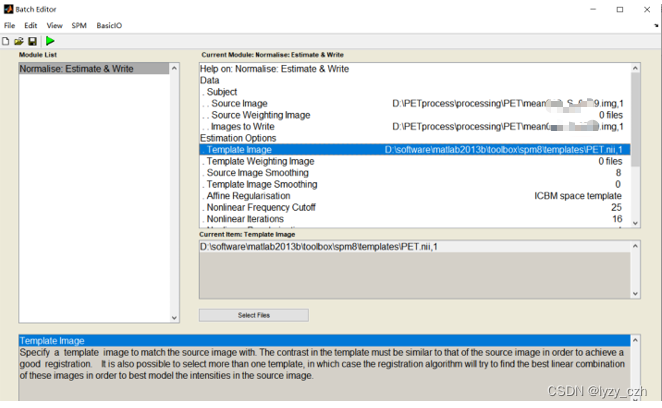
3)將mean002_s_0729的hdr數據配到PET模板上,點擊Normalise(Est & Wri)
彈出以下窗口,只需編輯Source Image, Images to Write和Template Image;其他參數不動,最后點擊左上角藍色三角形運行
生成如下文件:
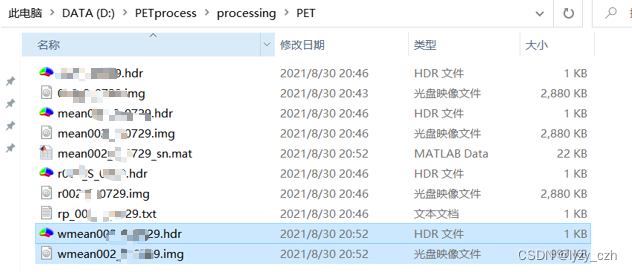
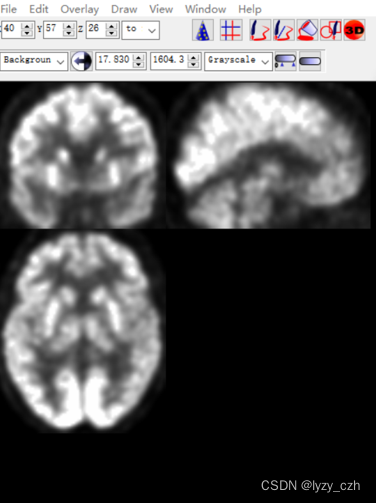
點開wmeanxxxx.hdr如下:
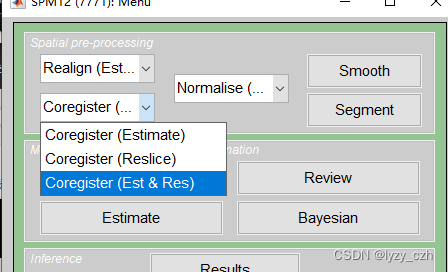
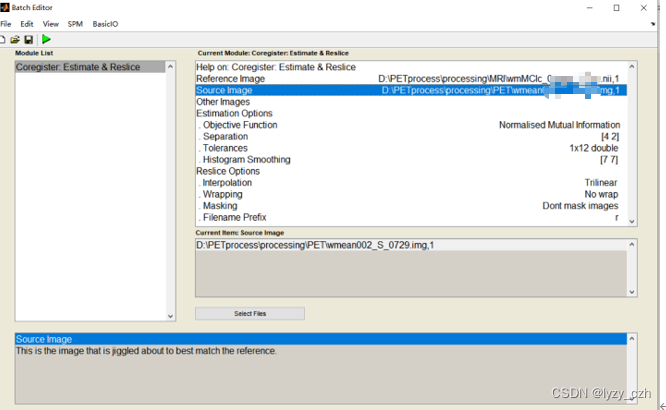
4)將wmeanxxxx.hdr配準到自己的MRI圖像wmxxxx.nii上,打開Coregister(Est & Res),只修改Reference Image和Source Image;
注意:如果只需要處理PET圖像,MRI可以使用模板來進行配準和去頭骨影像(這里是配準到同一患者的SMRI預處理后的圖像 wmxxxx.nii是SMRI預處理后的圖像)
生成如下文件:
此時的PET與MRI大小相同
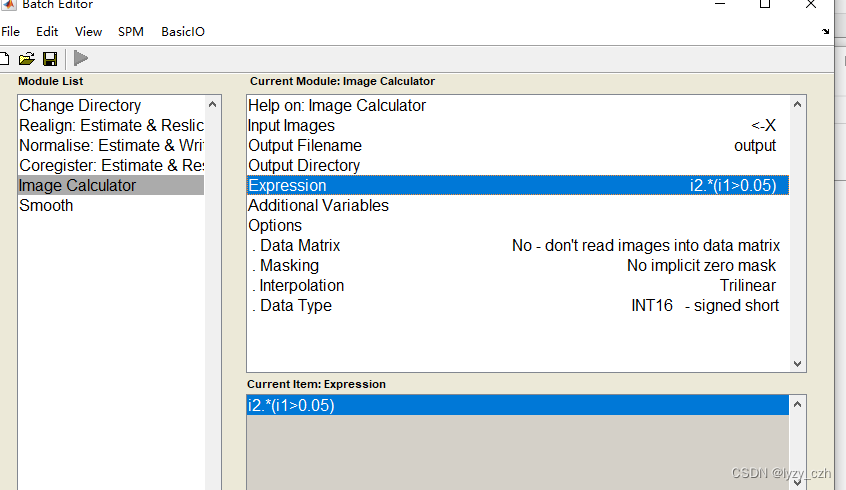
5)去頭顱
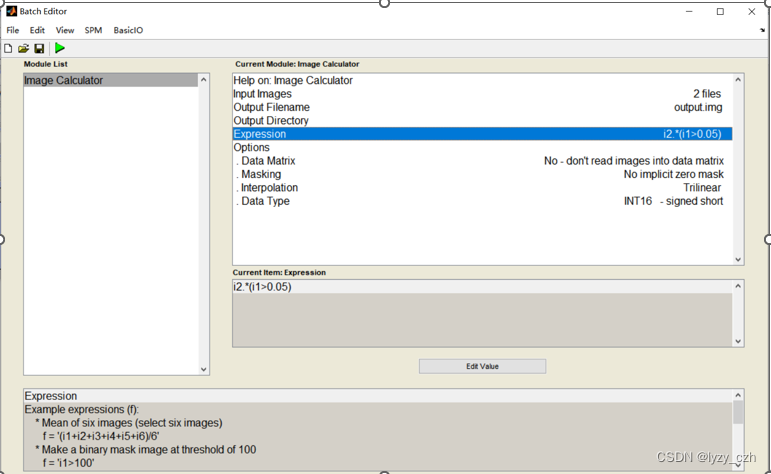
點擊ImCalc
彈出如下界面,Input Images先選擇MRI的圖像,即wmxxxx.nii(也可以選MRI模板),再選rwmeanxxxx.img,Expression輸入i2.*(i1>0.05),其中i1表示第一張圖像,i2表示第二張,運行后會在matlab的當前路徑輸出結果,我這里是PETprocess\processing,所以在下面會生成output圖像。
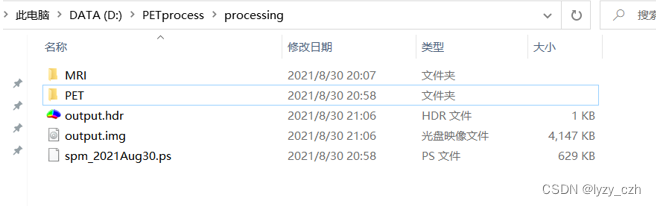
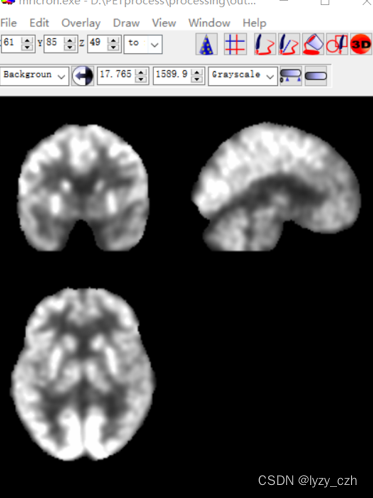
打開output圖像如下:
6)最后一步進行8mm的平滑
最后得到的圖像如下:
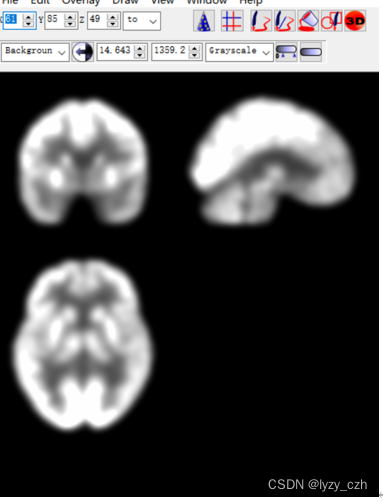
這便是PET預處理后的圖像,到此整個PET預處理流程已經走完,做完后發現這也太復雜了,如果要處理幾百張圖像人估計都沒了。。。所以接下來的才是重頭戲,批量預處理。
二、批量預處理
我這里的方法是使用SPM12自帶的batch工具選擇需要的步驟之后生成腳本文件,然后根據實際情況修改腳本完成批量預處理!
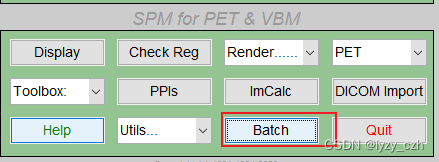
1、點擊Batch
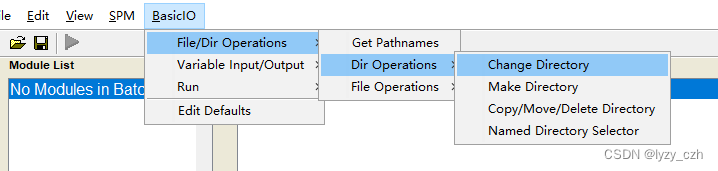
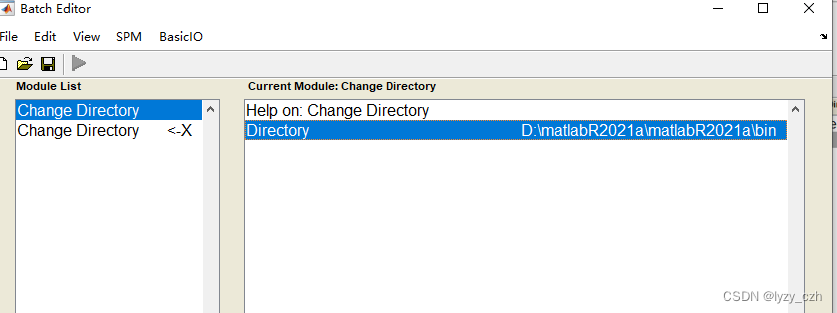
2、轉到工作路徑
3、選擇預處理步驟
選擇后要點一下要輸入數據的地方不然可能會報錯,如下圖雙擊Data然后回多出一行Session這樣就不會有問題了
依次選擇所有步驟如下一共5個步驟:

注意在Image Calculator的Expression輸入是固定的因此可以直接在這里輸入如下:
4、生成batch腳本

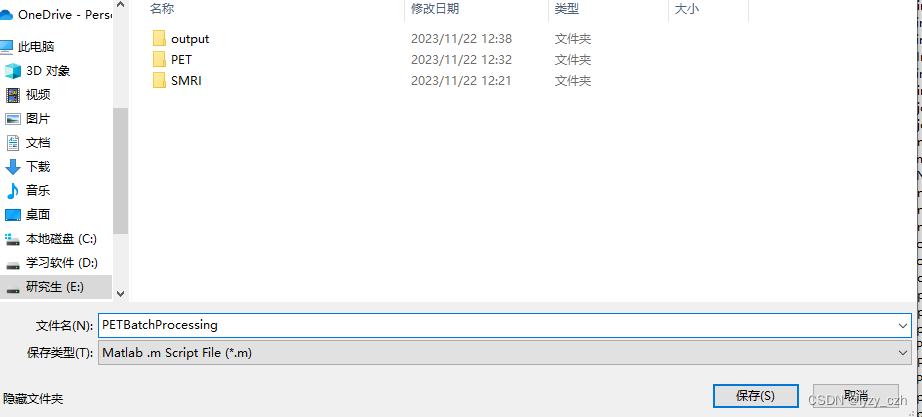
選擇保存腳本的路徑
點擊保存后,會生成兩個.m文件并且自動在matlab打開腳本文件如下:

這里生成的只是模板文件,圖像的輸入輸出還有一些細節是需要我們手動修改實現的。
5、修改腳本代碼
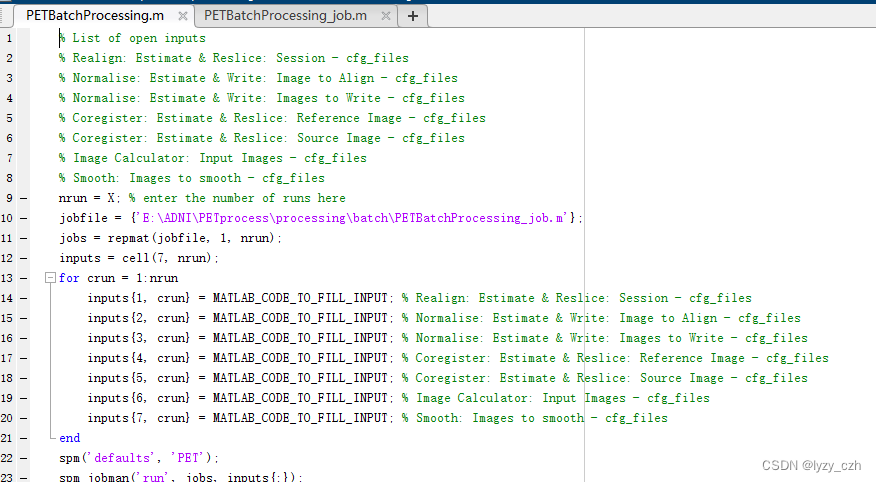
1、xxx.m文件代碼如下(xxx是你自己的命名)
% List of open inputs
% Realign: Estimate & Reslice: Session - cfg_files
% Normalise: Estimate & Write: Image to Align - cfg_files
% Normalise: Estimate & Write: Images to Write - cfg_files
% Coregister: Estimate & Reslice: Reference Image - cfg_files
% Coregister: Estimate & Reslice: Source Image - cfg_files
% Image Calculator: Input Images - cfg_files
% Smooth: Images to smooth - cfg_files% 設置MRI文件夾路徑
mri_folder = 'E:\ADNI\PETprocess\processing\batch\SMRI';% 設置PET文件夾路徑和待處理的圖像數量
pet_folder = 'E:\ADNI\PETprocess\processing\batch\PET';
% 讀取PET文件夾中的圖像文件名列表
pet_files = dir(fullfile(pet_folder, '*.img'));
numFiles = length(pet_files);
pet_filenames = {pet_files.name};
nrun = numFiles; % 請將X替換為實際的圖像數量
jobfile = {'E:\ADNI\PETprocess\processing\xxx_job.m'}; %注意這里要對應
jobs = repmat(jobfile, 1, nrun);% 循環處理每個PET圖像
for crun = 1:nrunoutput_path = 'E:\ADNI\PETprocess\processing\batch\output\AD'; % 數據結果的目錄,job文件也要添加這個路徑subjectID = strrep(pet_filenames{crun}, '.img', ''); % 獲取當前處理的圖像文件名(不含擴展名)% Realign: Estimate & Resliceinputs{1, crun} = cellstr(fullfile(pet_folder, pet_filenames{crun})); % 輸入待處理的PET圖像% Normalise: Estimate & Writeinputs{2, crun} = cellstr(fullfile(pet_folder, ['mean', subjectID, '.img'])); % 輸入mean圖像inputs{3, crun} = cellstr(fullfile(pet_folder, ['mean', subjectID, '.img'])); % 輸入mean圖像% Coregister: Estimate & Resliceinputs{4, crun} = cellstr(fullfile(mri_folder, [subjectID, '.nii'])); % MRI參考圖像inputs{5, crun} = cellstr(fullfile(pet_folder, ['wmean', subjectID, '.img'])); % 輸入rwmean圖像% Image Calculatori1 = fullfile(mri_folder, [subjectID, '.nii']);i2 = fullfile(pet_folder, ['rwmean' subjectID, '.img']);inputs{6, crun} = [cellstr(i1); cellstr(i2)]; % 將i1和i2組合成一個cell數組,然后賦值給inputs{6, crun}inputs{7, crun} = [subjectID, '.nii'];% Smoothinputs{8, crun} = cellstr(fullfile(output_path, [subjectID, '.nii']));  % 輸入文件為subjectID.nii圖像
end
% 加載SPM默認設置和運行處理任務
spm('defaults', 'PET');
spm_jobman('run', jobs, inputs{:});
2、xxx_job.m文件代碼如下(xxx是你自己的命名)
%-----------------------------------------------------------------------
% Job saved on 20-Nov-2023 19:01:02 by cfg_util (rev $Rev: 7345 $)
% spm SPM - SPM12 (7771)
% cfg_basicio BasicIO - Unknown
%-----------------------------------------------------------------------
matlabbatch{1}.cfg_basicio.file_dir.dir_ops.cfg_cd.dir = {'D:\matlabR2021a\matlabR2021a\bin'};
matlabbatch{2}.spm.spatial.realign.estwrite.data = {'<UNDEFINED>'};
matlabbatch{2}.spm.spatial.realign.estwrite.eoptions.quality = 0.9;
matlabbatch{2}.spm.spatial.realign.estwrite.eoptions.sep = 4;
matlabbatch{2}.spm.spatial.realign.estwrite.eoptions.fwhm = 5;
matlabbatch{2}.spm.spatial.realign.estwrite.eoptions.rtm = 1;
matlabbatch{2}.spm.spatial.realign.estwrite.eoptions.interp = 2;
matlabbatch{2}.spm.spatial.realign.estwrite.eoptions.wrap = [0 0 0];
matlabbatch{2}.spm.spatial.realign.estwrite.eoptions.weight = '';
matlabbatch{2}.spm.spatial.realign.estwrite.roptions.which = [2 1];
matlabbatch{2}.spm.spatial.realign.estwrite.roptions.interp = 4;
matlabbatch{2}.spm.spatial.realign.estwrite.roptions.wrap = [0 0 0];
matlabbatch{2}.spm.spatial.realign.estwrite.roptions.mask = 1;
matlabbatch{2}.spm.spatial.realign.estwrite.roptions.prefix = 'r';
matlabbatch{3}.spm.spatial.normalise.estwrite.subj.vol = '<UNDEFINED>';
matlabbatch{3}.spm.spatial.normalise.estwrite.subj.resample = '<UNDEFINED>';
matlabbatch{3}.spm.spatial.normalise.estwrite.eoptions.biasreg = 0.0001;
matlabbatch{3}.spm.spatial.normalise.estwrite.eoptions.biasfwhm = 60;
matlabbatch{3}.spm.spatial.normalise.estwrite.eoptions.tpm = {'D:\matlabR2021a\matlabR2021a\toolbox\spm12\spm12\tpm\TPM.nii'};
matlabbatch{3}.spm.spatial.normalise.estwrite.eoptions.affreg = 'mni';
matlabbatch{3}.spm.spatial.normalise.estwrite.eoptions.reg = [0 0.001 0.5 0.05 0.2];
matlabbatch{3}.spm.spatial.normalise.estwrite.eoptions.fwhm = 0;
matlabbatch{3}.spm.spatial.normalise.estwrite.eoptions.samp = 3;
matlabbatch{3}.spm.spatial.normalise.estwrite.woptions.bb = [-78 -112 -7078 76 85];
matlabbatch{3}.spm.spatial.normalise.estwrite.woptions.vox = [2 2 2];
matlabbatch{3}.spm.spatial.normalise.estwrite.woptions.interp = 4;
matlabbatch{3}.spm.spatial.normalise.estwrite.woptions.prefix = 'w';
matlabbatch{4}.spm.spatial.coreg.estwrite.ref = '<UNDEFINED>';
matlabbatch{4}.spm.spatial.coreg.estwrite.source = '<UNDEFINED>';
matlabbatch{4}.spm.spatial.coreg.estwrite.other = {''};
matlabbatch{4}.spm.spatial.coreg.estwrite.eoptions.cost_fun = 'nmi';
matlabbatch{4}.spm.spatial.coreg.estwrite.eoptions.sep = [4 2];
matlabbatch{4}.spm.spatial.coreg.estwrite.eoptions.tol = [0.02 0.02 0.02 0.001 0.001 0.001 0.01 0.01 0.01 0.001 0.001 0.001];
matlabbatch{4}.spm.spatial.coreg.estwrite.eoptions.fwhm = [7 7];
matlabbatch{4}.spm.spatial.coreg.estwrite.roptions.interp = 4;
matlabbatch{4}.spm.spatial.coreg.estwrite.roptions.wrap = [0 0 0];
matlabbatch{4}.spm.spatial.coreg.estwrite.roptions.mask = 0;
matlabbatch{4}.spm.spatial.coreg.estwrite.roptions.prefix = 'r';
matlabbatch{5}.spm.util.imcalc.input = '<UNDEFINED>';
matlabbatch{5}.spm.util.imcalc.output = '<UNDEFINED>'; %這里要改
matlabbatch{5}.spm.util.imcalc.outdir = {'E:\ADNI\PETprocess\processing\batch\output\AD'}; %改成你自己的目錄
matlabbatch{5}.spm.util.imcalc.expression = 'i2.*(i1>0.05)';
matlabbatch{5}.spm.util.imcalc.var = struct('name', {}, 'value', {});
matlabbatch{5}.spm.util.imcalc.options.dmtx = 0;
matlabbatch{5}.spm.util.imcalc.options.mask = 0;
matlabbatch{5}.spm.util.imcalc.options.interp = 1;
matlabbatch{5}.spm.util.imcalc.options.dtype = 4;
matlabbatch{6}.spm.spatial.smooth.data = '<UNDEFINED>';
matlabbatch{6}.spm.spatial.smooth.fwhm = [8 8 8];
matlabbatch{6}.spm.spatial.smooth.dtype = 0;
matlabbatch{6}.spm.spatial.smooth.im = 0;
matlabbatch{6}.spm.spatial.smooth.prefix = 's';
修完成后運行xxx.m即可
注:job.m大部分代碼是自動生成的,如果你完全按照我的步驟運行代碼后報錯如下:

這大概率是job文件的錯誤,請仔細對照job文件是不是該有<UNDEFINED>地方沒有<UNDEFINED>,上面步驟說要點擊一下輸入文件的地方就是為了防止這里不生成<UNDEFINED>。
OVER(點贊)!


)


