Spring MVC 作為 Java Web 開發的核心框架,在傳統 SSM 項目中需要大量 XML 配置(如 DispatcherServlet、視圖解析器等)。而 Spring Boot 通過 "自動配置" 特性,簡化了 Spring MVC 的整合過程,同時保留了靈活的擴展能力。本文將從自動配置原理、擴展方式、組件注冊等方面,結合實例詳解 Spring Boot 與 Spring MVC 的整合實踐。
一、Spring Boot 對 Spring MVC 的自動配置
Spring Boot 的核心優勢之一是 "約定大于配置",對于 Spring MVC 的核心組件,Spring Boot 已完成自動配置,無需手動編寫 XML 或 Java 配置。
1.1 核心組件的自動配置
(1)DispatcherServlet(中央轉發器)
傳統 SSM 中需在web.xml配置 DispatcherServlet:
<servlet><servlet-name>springmvc</servlet-name><servlet-class>org.springframework.web.servlet.DispatcherServlet</servlet-class><load-on-startup>1</load-on-startup>
</servlet>
<servlet-mapping><servlet-name>springmvc</servlet-name><url-pattern>/</url-pattern>
</servlet-mapping>
Spring Boot 通過DispatcherServletAutoConfiguration類自動注冊 DispatcherServlet,默認攔截路徑為/(不攔截 JSP),且無需web.xml(因為 Spring Boot 以 JAR 包方式運行嵌入式容器)。
(2)控制器(Controller)
只需在類上標注@Controller或@RestController,并確保類在 Spring Boot 的注解掃描范圍內(默認掃描主啟動類所在包及其子包),Spring Boot 會自動將其注冊為 Bean。
(3)視圖解析器
傳統 SSM 需配置 InternalResourceViewResolver:
<bean class="org.springframework.web.servlet.view.InternalResourceViewResolver"><property name="prefix" value="/WEB-INF/jsp/"/><property name="suffix" value=".jsp"/>
</bean>
public ContentNegotiatingViewResolver viewResolver(BeanFactory beanFactory) {ContentNegotiatingViewResolver resolver = new ContentNegotiatingViewResolver();resolver.setContentNegotiationManager((ContentNegotiationManager)beanFactory.getBean(ContentNegotiationManager.class));resolver.setOrder(-2147483648);return resolver;
}
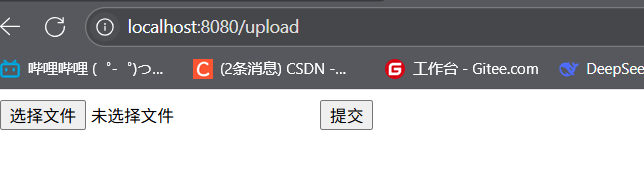
當我們做文件上傳的時候我們也會發現multipartResolver是自動被配置好的
頁面
<!DOCTYPE html>
<html lang="en">
<head><meta charset="UTF-8"><title>Title</title>
</head>
<body>
<form action="/upload" method="post" enctype="multipart/form-data"><input name="pic" type="file"><input type="submit">
</form>
</body>
</html>
Controller
package com.qcby.mavenspringboot.controller;import jakarta.servlet.http.HttpServletRequest;
import org.springframework.stereotype.Controller;
import org.springframework.ui.Model;
import org.springframework.web.bind.annotation.RequestMapping;
import org.springframework.web.bind.annotation.RequestMethod;
import org.springframework.web.bind.annotation.RequestParam;
import org.springframework.web.multipart.MultipartFile;
import org.slf4j.LoggerFactory;
import java.io.FileOutputStream;
import java.io.IOException;
import java.nio.file.Files;
import java.nio.file.Path;
import java.nio.file.Paths;
import java.util.UUID;
import org.slf4j.Logger;@Controller
public class UploadController {private static final Logger logger = LoggerFactory.getLogger(UploadController.class);@RequestMapping(value = "/upload", method = RequestMethod.GET)public String showUploadForm() {return "upload";}// 2. 處理POST請求:接收文件上傳@RequestMapping(value = "/upload", method = RequestMethod.POST)public String upload(@RequestParam("pic") MultipartFile file,HttpServletRequest request,Model model) {if (file.isEmpty()) {logger.error("上傳的文件為空");return "upload";}String originalFileName = file.getOriginalFilename();String contentType = file.getContentType();logger.info("原始文件名: {}", originalFileName);logger.info("文件類型: {}", contentType);String uniqueFileName = generateUniqueFileName(originalFileName);// 本地存儲路徑(D:/imgup/)Path filePath = Paths.get("D:", "imgup");try {// 上傳文件到本地路徑uploadFile(file.getBytes(), filePath, uniqueFileName);String fileAccessUrl = "/webimg/" + uniqueFileName;model.addAttribute("originalFileName", originalFileName);model.addAttribute("fileUrl", fileAccessUrl);model.addAttribute("fileType", contentType);} catch (IOException e) {logger.error("文件上傳失敗", e);return "error";}return "success";}private static void uploadFile(byte[] file, Path filePath, String fileName) throws IOException {// 若目錄不存在則創建if (!Files.exists(filePath)) {Files.createDirectories(filePath);}Path targetPath = filePath.resolve(fileName);// 寫入文件(try-with-resources自動關閉流)try (FileOutputStream out = new FileOutputStream(targetPath.toFile())) {out.write(file);}}// 生成唯一文件名(UUID+原文件后綴)private static String generateUniqueFileName(String originalFileName) {String extension = "";int dotIndex = originalFileName.lastIndexOf('.');if (dotIndex > 0) {extension = originalFileName.substring(dotIndex);}return UUID.randomUUID().toString() + extension;}
}
?上傳文件展示代碼:
<!DOCTYPE html>
<html lang="en" xmlns:th="http://www.thymeleaf.org"> <!-- 引入Thymeleaf命名空間 -->
<head><meta charset="UTF-8"><title>上傳成功</title>
</head>
<body>
<h1>文件上傳成功!</h1>
<p>原始文件名:<span th:text="${fileName}"></span></p><div><h3>預覽圖片:</h3><img th:src="${fileUrl}" style="max-width: 500px; max-height: 500px;" />
</div><!--<div>-->
<!-- <a th:href="${fileUrl}" th:text="下載文件:+${fileName}"></a>-->
<!--</div>-->
</body>
</html>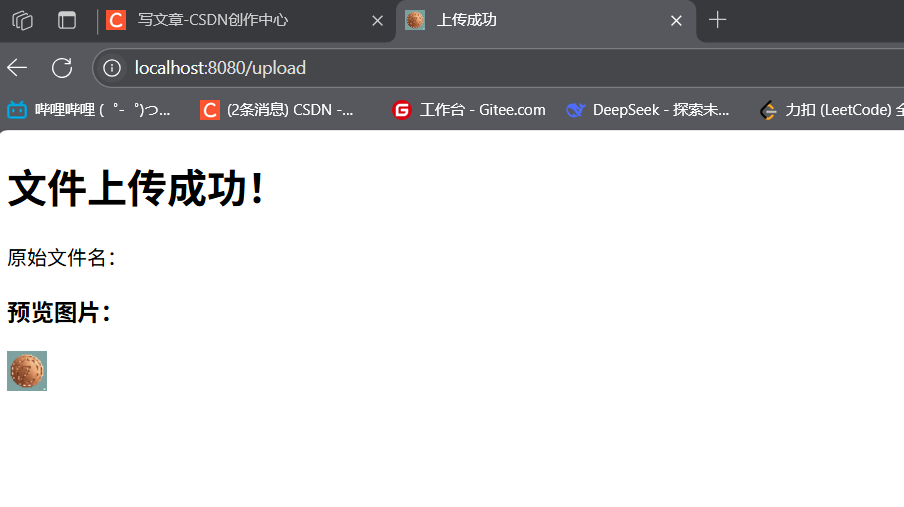 ?
?
Spring Boot 自動注冊ContentNegotiatingViewResolver(組合所有視圖解析器)和BeanNameViewResolver。ContentNegotiatingViewResolver會根據請求頭(如Accept)動態選擇合適的視圖解析器,無需手動配置前綴 / 后綴(如需自定義,可通過擴展方式實現)。
(4)文件上傳(MultipartResolver)
Spring Boot 自動配置StandardServletMultipartResolver,支持文件上傳。前端表單需指定enctype="multipart/form-data",后端通過@RequestParam("file") MultipartFile file接收文件。
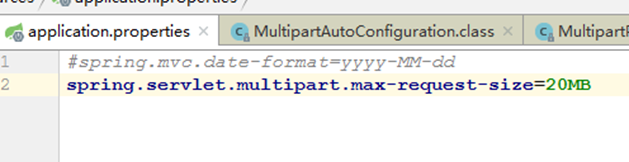
默認上傳大小限制為 10MB,可在application.properties中修改:
spring.servlet.multipart.max-file-size=100MB  # 單個文件大小
spring.servlet.multipart.max-request-size=500MB  # 總請求大小
 ?
?
(5)靜態資源訪問
Spring Boot 默認將classpath:/static/、classpath:/public/、classpath:/resources/、classpath:/META-INF/resources/目錄下的資源視為靜態資源,可直接通過 URL 訪問(如http://localhost:8080/xxx.js)。
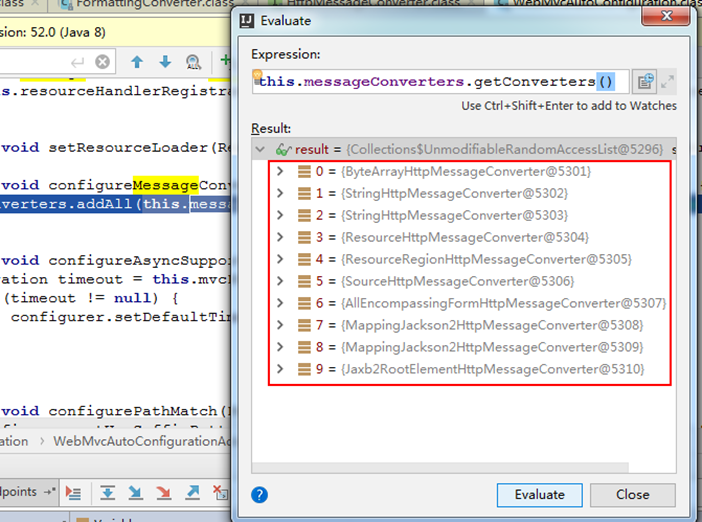
(6)消息轉換器與格式化
- 消息轉換器:自動配置
HttpMessageConverter,支持 JSON(默認 Jackson)、XML 等數據格式的序列化 / 反序列化。 - 格式化:默認支持日期、數字等類型的格式化,可通過
application.properties配置全局日期格式:spring.mvc.format.date=yyyy-MM-dd
 ?
?
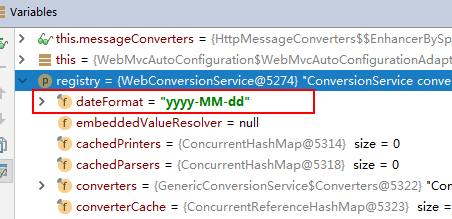
格式化轉換器的自動注冊
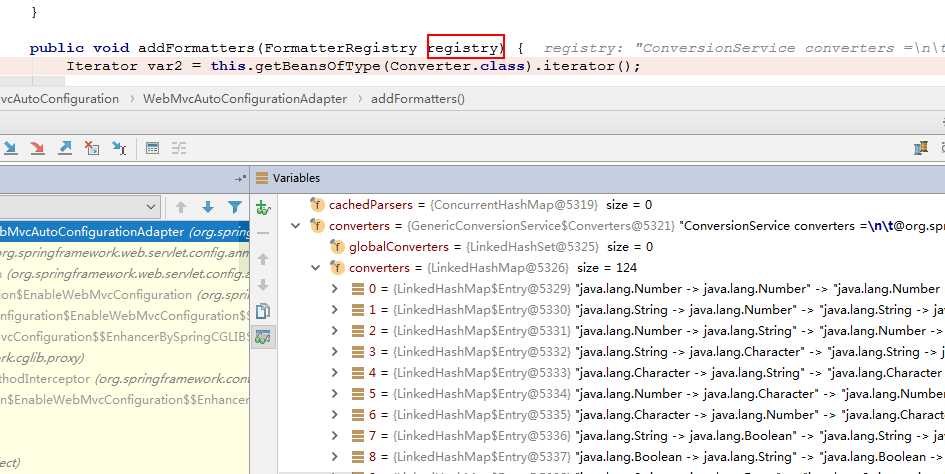
時間類型我們可以在這里修改
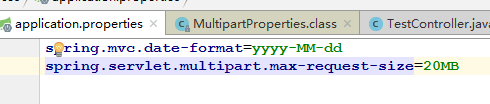
在配置文件中指定好時間的模式我們就可以輸入了
(7)歡迎頁
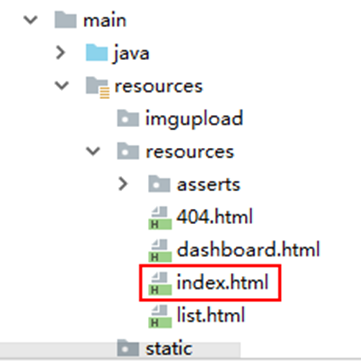
默認將classpath:/static/index.html或classpath:/templates/index.html(Thymeleaf)作為歡迎頁,訪問http://localhost:8080/時自動跳轉。
 ?
?
<!DOCTYPE html>
<html lang="en">
<head><meta charset="UTF-8"><title>Title</title>
</head>
<body>
<h1>首頁</h1>
</body>
</html>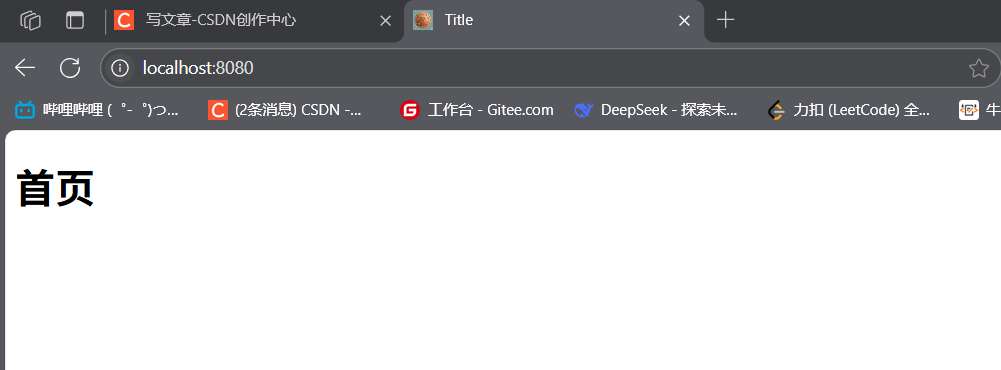 ?
?
二、擴展 Spring MVC:通過 WebMvcConfigurer
Spring Boot 的自動配置并非 "一刀切",實際開發中常需自定義配置(如攔截器、消息轉換器)。通過實現WebMvcConfigurer接口(推薦),可在不覆蓋自動配置的前提下擴展 Spring MVC。
2.1 核心擴展場景與示例
創建配置類MyMVCCofnig實現WebMvcConfigurer,并重寫對應方法:
@Configuration
public class MyMVCCofnig implements WebMvcConfigurer {// 擴展方法...
}
(1)視圖控制器(請求轉發)
通過addViewControllers實現 URL 與視圖的直接映射(無需編寫 Controller):
@Override
public void addViewControllers(ViewControllerRegistry registry) {// 訪問http://localhost:8080/tx時,轉發到success.htmlregistry.addViewController("/tx").setViewName("success");
}
success頁面:
<!DOCTYPE html>
<html lang="en">
<head><meta charset="UTF-8"><title>Title</title>
</head>
<body>
<h1>Success</h1>
</body>
</html>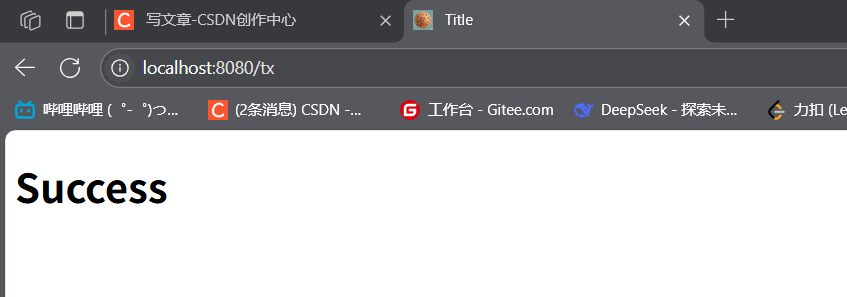 ?
?
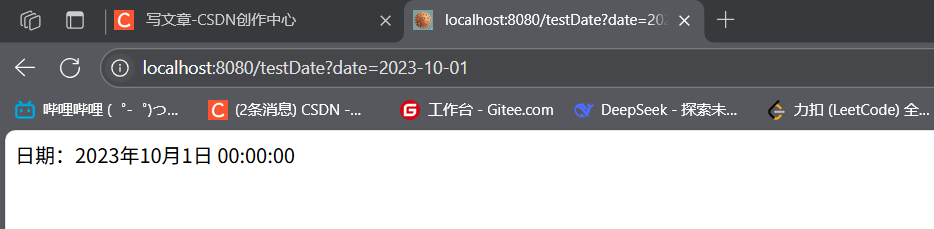
(2)自定義格式化器
通過addFormatters注冊自定義格式化器(如日期解析):
@Override
public void addFormatters(FormatterRegistry registry) {// 自定義日期格式化(將"yyyy-MM-dd"字符串轉為Date)registry.addFormatter(new Formatter<Date>() {@Overridepublic String print(Date date, Locale locale) {return null; // 響應時格式化(按需實現)}@Overridepublic Date parse(String s, Locale locale) throws ParseException {return new SimpleDateFormat("yyyy-MM-dd").parse(s);}});
}
測試:控制器接口接收 Date 參數:
@GetMapping("/testDate")
public String testDateFormatter(@RequestParam("date") Date date) {return "日期:" + date.toLocaleString();
}
// 訪問:http://localhost:8080/testDate?date=2023-10-01 可正常解析
 ?
?
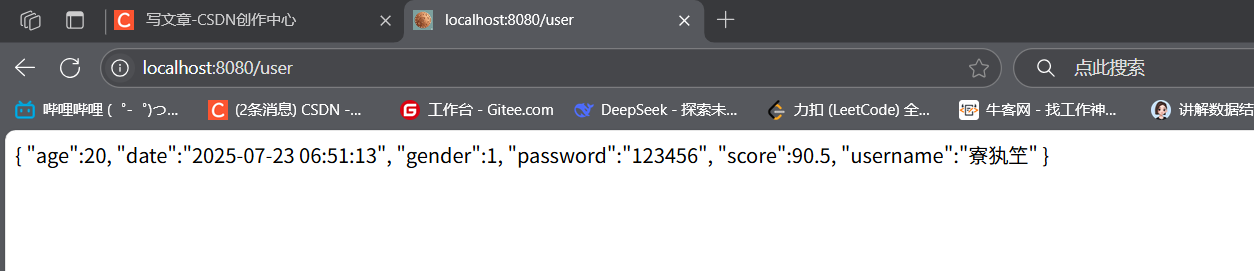
(3)整合 FastJSON 消息轉換器
默認 Jackson 可能無法滿足需求(如 JSON 格式化),可替換為 FastJSON:
- 引入依賴:
<dependency><groupId>com.alibaba</groupId><artifactId>fastjson</artifactId><version>1.2.47</version>
</dependency>
- 注冊 FastJSON 轉換器:
@Override
public void configureMessageConverters(List<HttpMessageConverter<?>> converters) {FastJsonHttpMessageConverter converter = new FastJsonHttpMessageConverter();FastJsonConfig config = new FastJsonConfig();// 配置JSON格式化(如PrettyFormat)config.setSerializerFeatures(SerializerFeature.PrettyFormat);converter.setFastJsonConfig(config);converters.add(converter);
}
- 實體類自定義字段格式:
public class User {@JSONField(format = "yyyy-MM-dd HH:mm:ss") // 序列化日期格式private Date date;// 其他字段...
}
測試:接口返回 User 對象時,日期將按指定格式序列化:
@GetMapping("/user")
public User getUser() {User user = new User("張三", "123", 20, 90.5, 1);user.setDate(new Date());return user;
}
?
(4)注冊攔截器
攔截器可用于登錄驗證、日志記錄等場景,需兩步:
- 創建自定義攔截器:
public class MyInterceptor implements HandlerInterceptor {@Overridepublic boolean preHandle(HttpServletRequest request, HttpServletResponse response, Object handler) {System.out.println("前置攔截(請求處理前)");return true; // true放行,false攔截}@Overridepublic void postHandle(...) {System.out.println("后置攔截(視圖渲染前)");}@Overridepublic void afterCompletion(...) {System.out.println("最終攔截(請求完成后)");}
}
- 通過
addInterceptors注冊攔截器:
@Override
public void addInterceptors(InterceptorRegistry registry) {registry.addInterceptor(new MyInterceptor()).addPathPatterns("/**") // 攔截所有請求.excludePathPatterns("/hello2"); // 排除/hello2請求
}
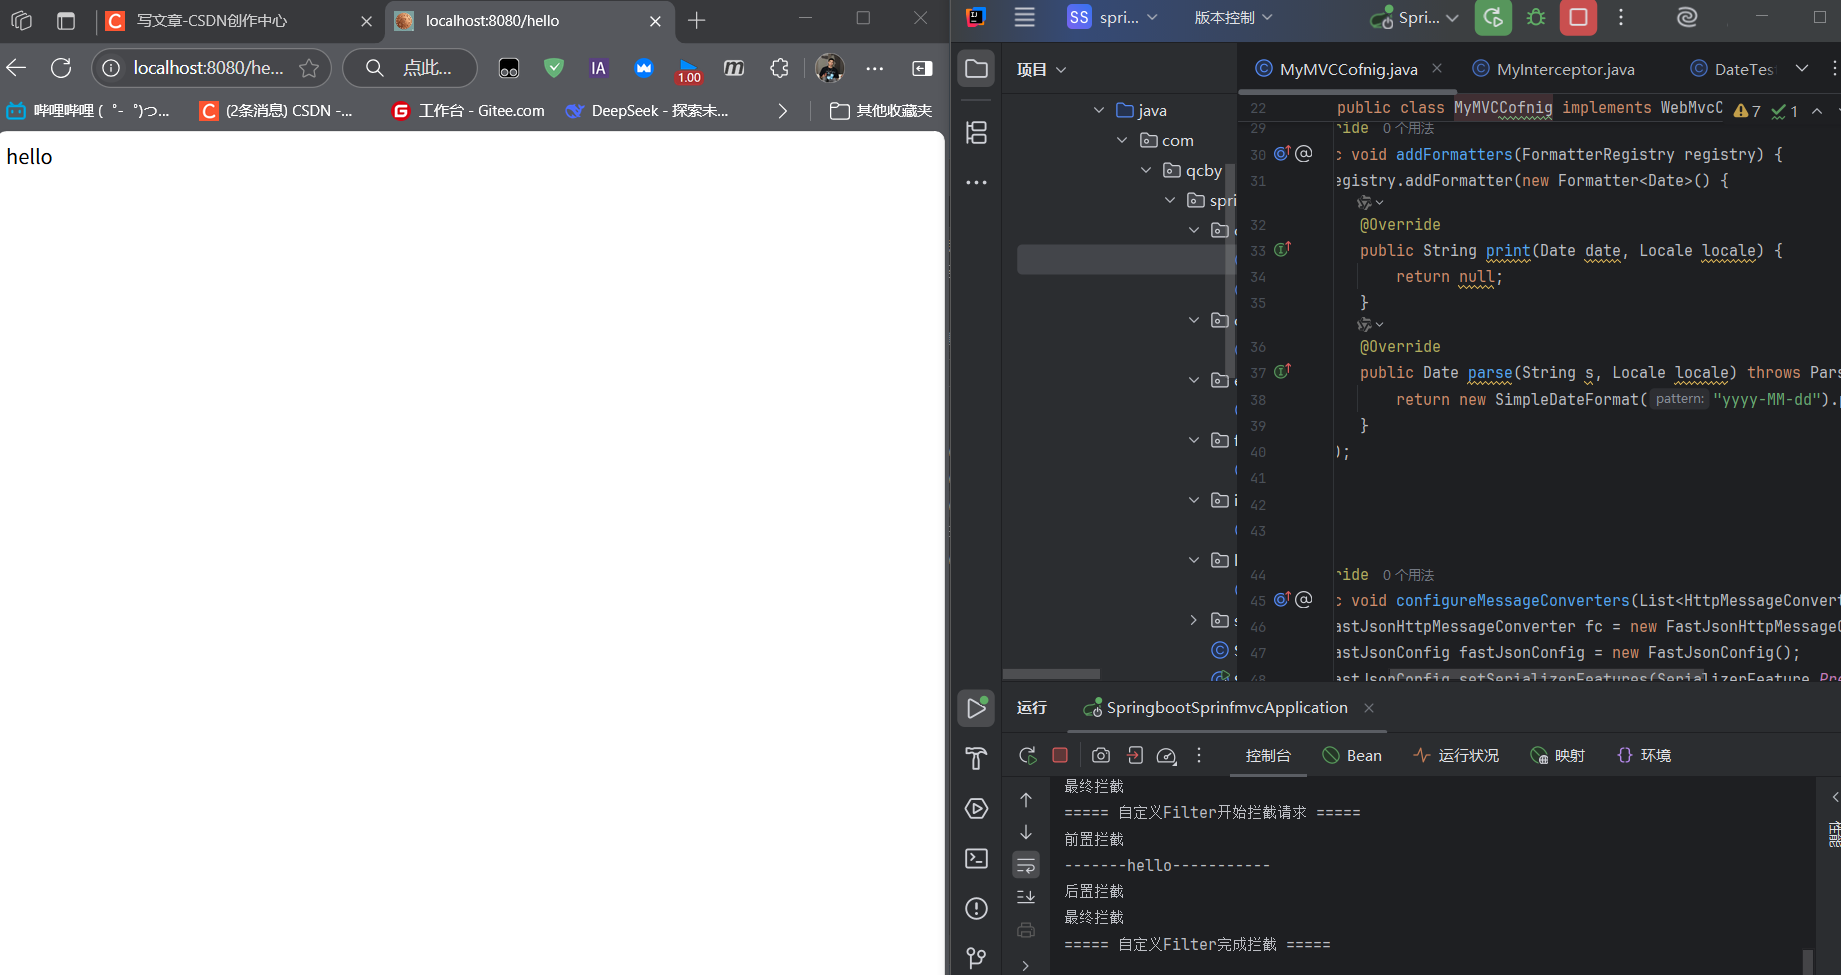
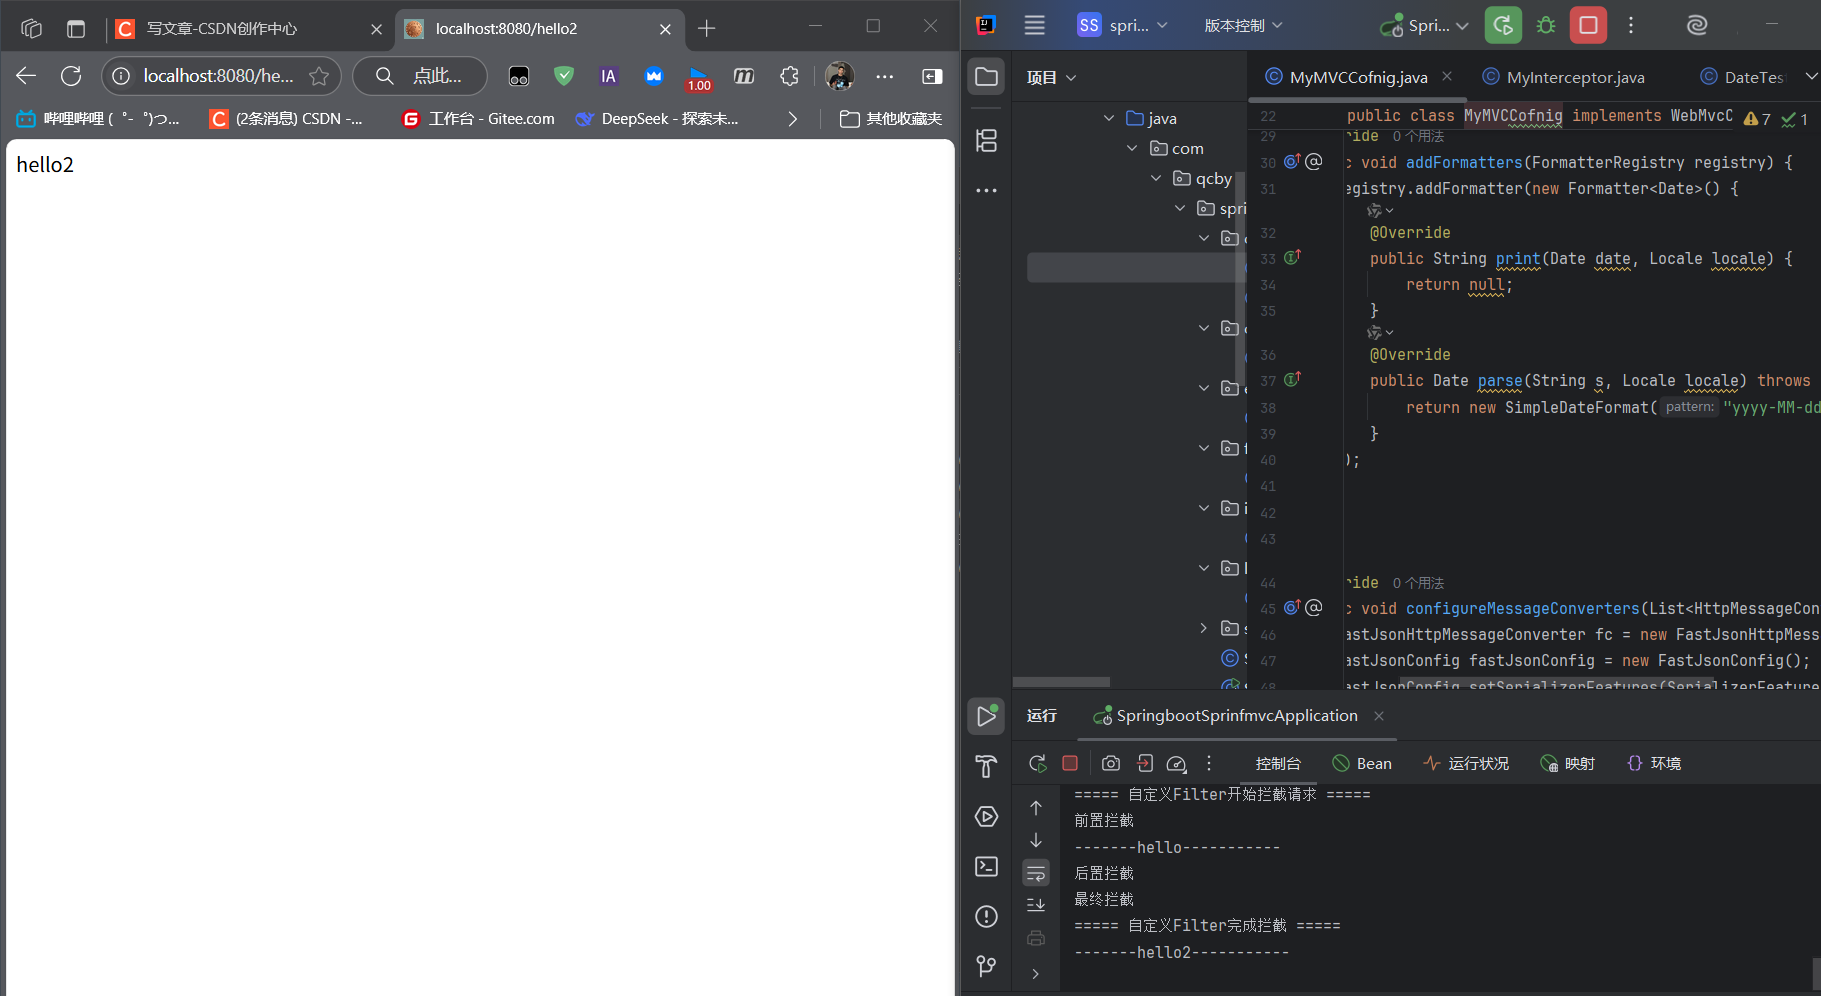
測試:訪問/hello會被攔截,訪問/hello2不會:
@GetMapping("/hello")
public String hello() {System.out.println("執行/hello業務邏輯");return "hello";
}
@GetMapping("/hello2")
public String hello2() {return "hello2";
}
 ?
?
 ?
?
三、注冊 Servlet 三大組件(Servlet、Filter、Listener)
傳統 Web 項目通過web.xml注冊 Servlet、Filter、Listener,而 Spring Boot 需通過@Bean手動注冊(因無 web.xml)。
3.1 注冊示例(配置類 ServletConfig)
@Configuration
public class ServletConfig {// 1. 注冊Servlet@Beanpublic ServletRegistrationBean<MyServlet> myServlet() {// 參數1:自定義Servlet實例;參數2:訪問路徑ServletRegistrationBean<MyServlet> registrationBean = new ServletRegistrationBean<>(new MyServlet(), "/myServlet");registrationBean.setLoadOnStartup(1); // 啟動時加載(優先級)return registrationBean;}// 2. 注冊Filter@Beanpublic FilterRegistrationBean<MyFilter> myFilter() {FilterRegistrationBean<MyFilter> registrationBean = new FilterRegistrationBean<>();registrationBean.setFilter(new MyFilter()); // 自定義FilterregistrationBean.setUrlPatterns(Arrays.asList("/hello", "/myServlet")); // 攔截路徑return registrationBean;}// 3. 注冊Listener@Beanpublic ServletListenerRegistrationBean<MyListener> myListener() {ServletListenerRegistrationBean<MyListener> registrationBean = new ServletListenerRegistrationBean<>(new MyListener());return registrationBean;}
}
3.2 自定義組件實現
(1)自定義 Servlet
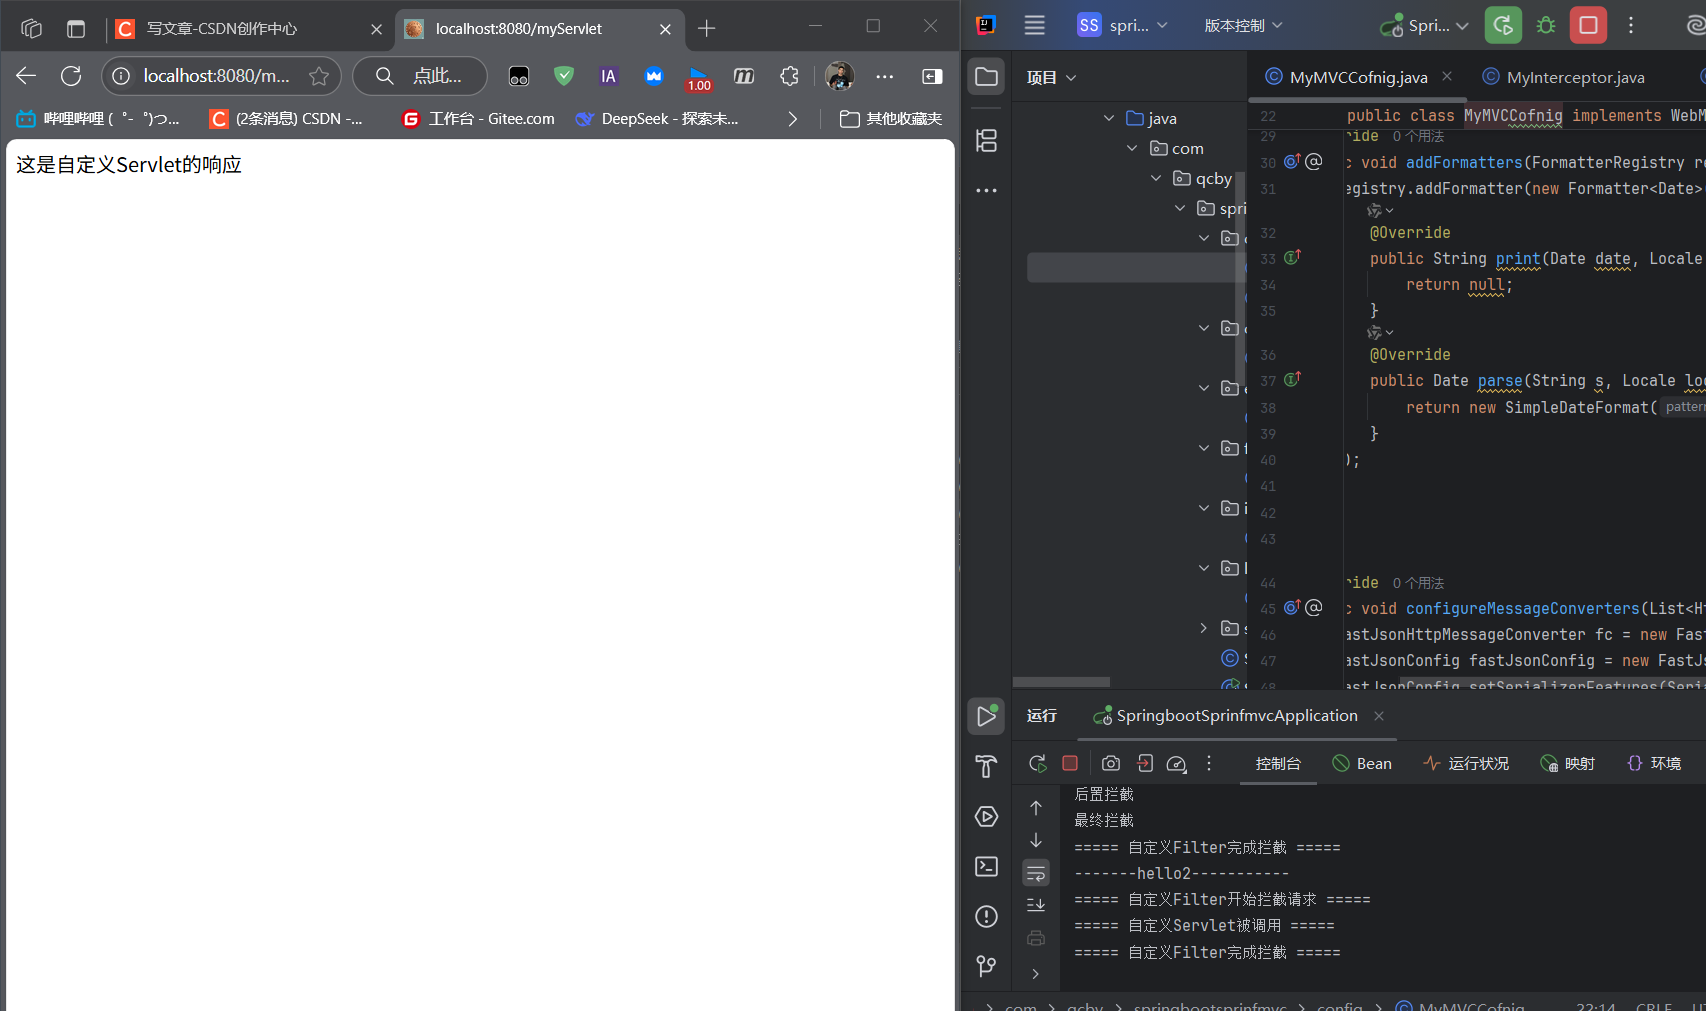
public class MyServlet extends HttpServlet {@Overrideprotected void doGet(HttpServletRequest req, HttpServletResponse resp) throws IOException {resp.getWriter().write("Hello MyServlet");}
}
訪問http://localhost:8080/myServlet會執行該 Servlet。
 ?
?
(2)自定義 Filter
public class MyFilter implements Filter {@Overridepublic void doFilter(ServletRequest request, ServletResponse response, FilterChain chain) throws IOException, ServletException {System.out.println("Filter攔截請求");chain.doFilter(request, response); // 放行System.out.println("Filter處理完成");}
}
(3)自定義 Listener
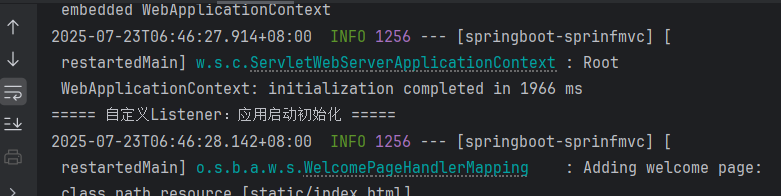
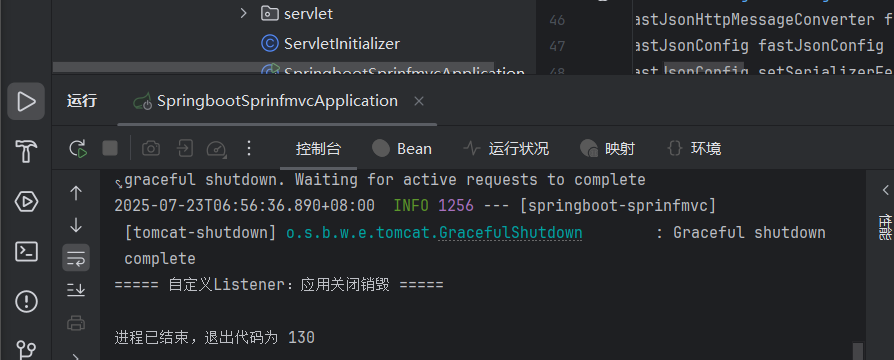
public class MyListener implements ServletContextListener {@Overridepublic void contextInitialized(ServletContextEvent sce) {System.out.println("Listener:應用啟動初始化");}@Overridepublic void contextDestroyed(ServletContextEvent sce) {System.out.println("Listener:應用關閉銷毀");}
}
 ?
?
四、項目依賴與配置
4.1 核心依賴(pom.xml)
<dependencies><!-- Web啟動器(包含Spring MVC、嵌入式Tomcat等) --><dependency><groupId>org.springframework.boot</groupId><artifactId>spring-boot-starter-web</artifactId></dependency><!-- FastJSON(消息轉換) --><dependency><groupId>com.alibaba</groupId><artifactId>fastjson</artifactId><version>1.2.47</version></dependency><!-- Thymeleaf(模板引擎,可選) --><dependency><groupId>org.springframework.boot</groupId><artifactId>spring-boot-starter-thymeleaf</artifactId></dependency><!-- 熱部署(開發環境) --><dependency><groupId>org.springframework.boot</groupId><artifactId>spring-boot-devtools</artifactId><optional>true</optional></dependency>
</dependencies>)


和 發布-訂閱模式(Publisher-Subscriber Pattern))


基礎篇(概念與評估))
配合使用的接口)

)