前言
本章的旨在教會你美化自己的終端,powershell需要以管理員運行
經過我的測試,不同的電腦可能會有不同的報錯,具體操作根據官方為主https://ohmyposh.dev/docs
效果展示
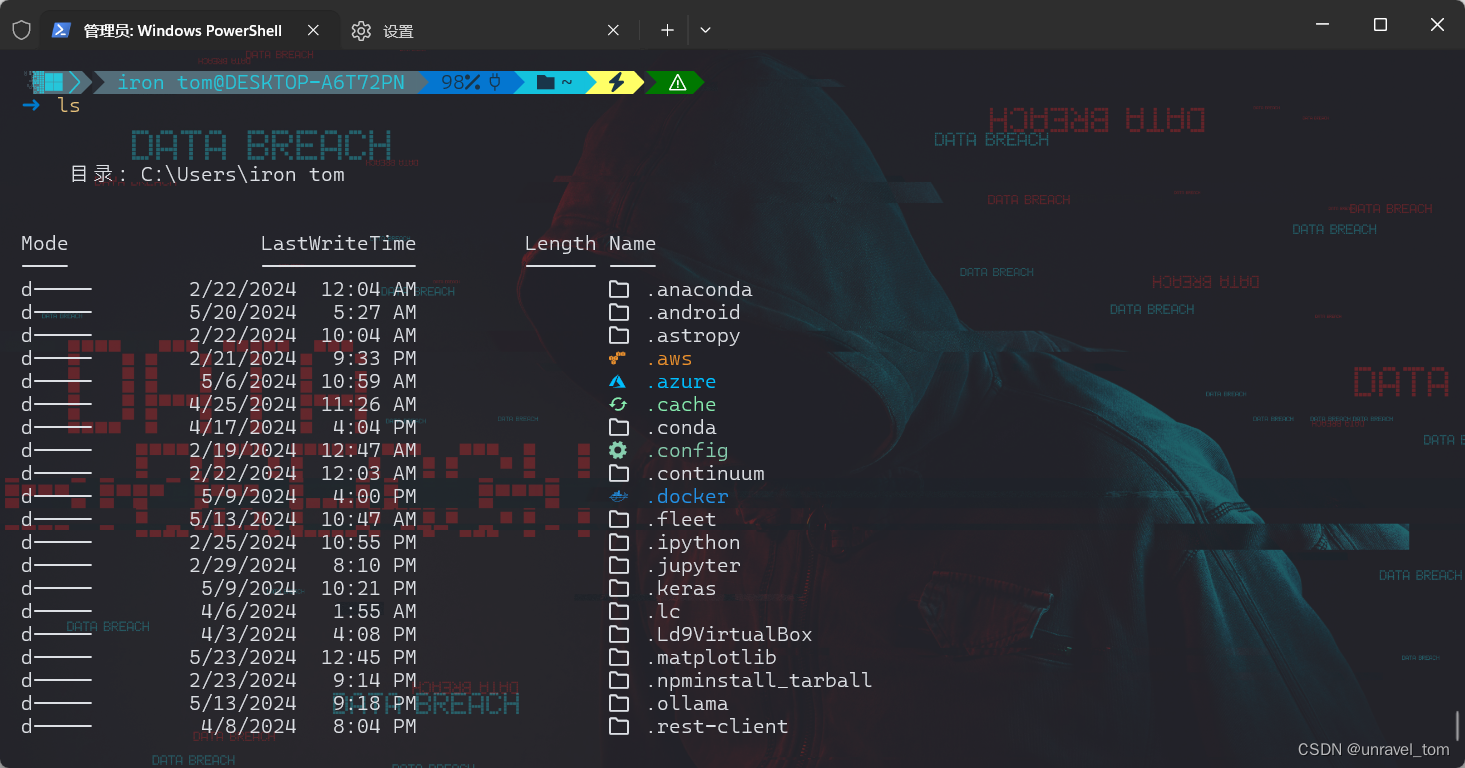
Oh My Posh:提供美觀的 PowerShell 提示符主題
1.安裝 Oh My Posh
# 安裝 oh-my-posh
Install-Module oh-my-posh -Scope CurrentUser -AllowClobber -Force# 確保 oh-my-posh 模塊已正確安裝且可以加載
Get-Module -ListAvailable oh-my-posh
2. PowerShell設置配置文件
notepad是使用記事本打開(后續使用),code是使用vscode打開,后續我只會說配置文件,打開,保存我就不重復說了,聰明的你肯定早會了。
Q:為什么要設置配置文件?
每次開啟終端,保存到配置文件,就會長期配置,輸入命令只會臨時配置
# 打開你的 PowerShell 配置文件:
notepad $PROFILE
- 記事本
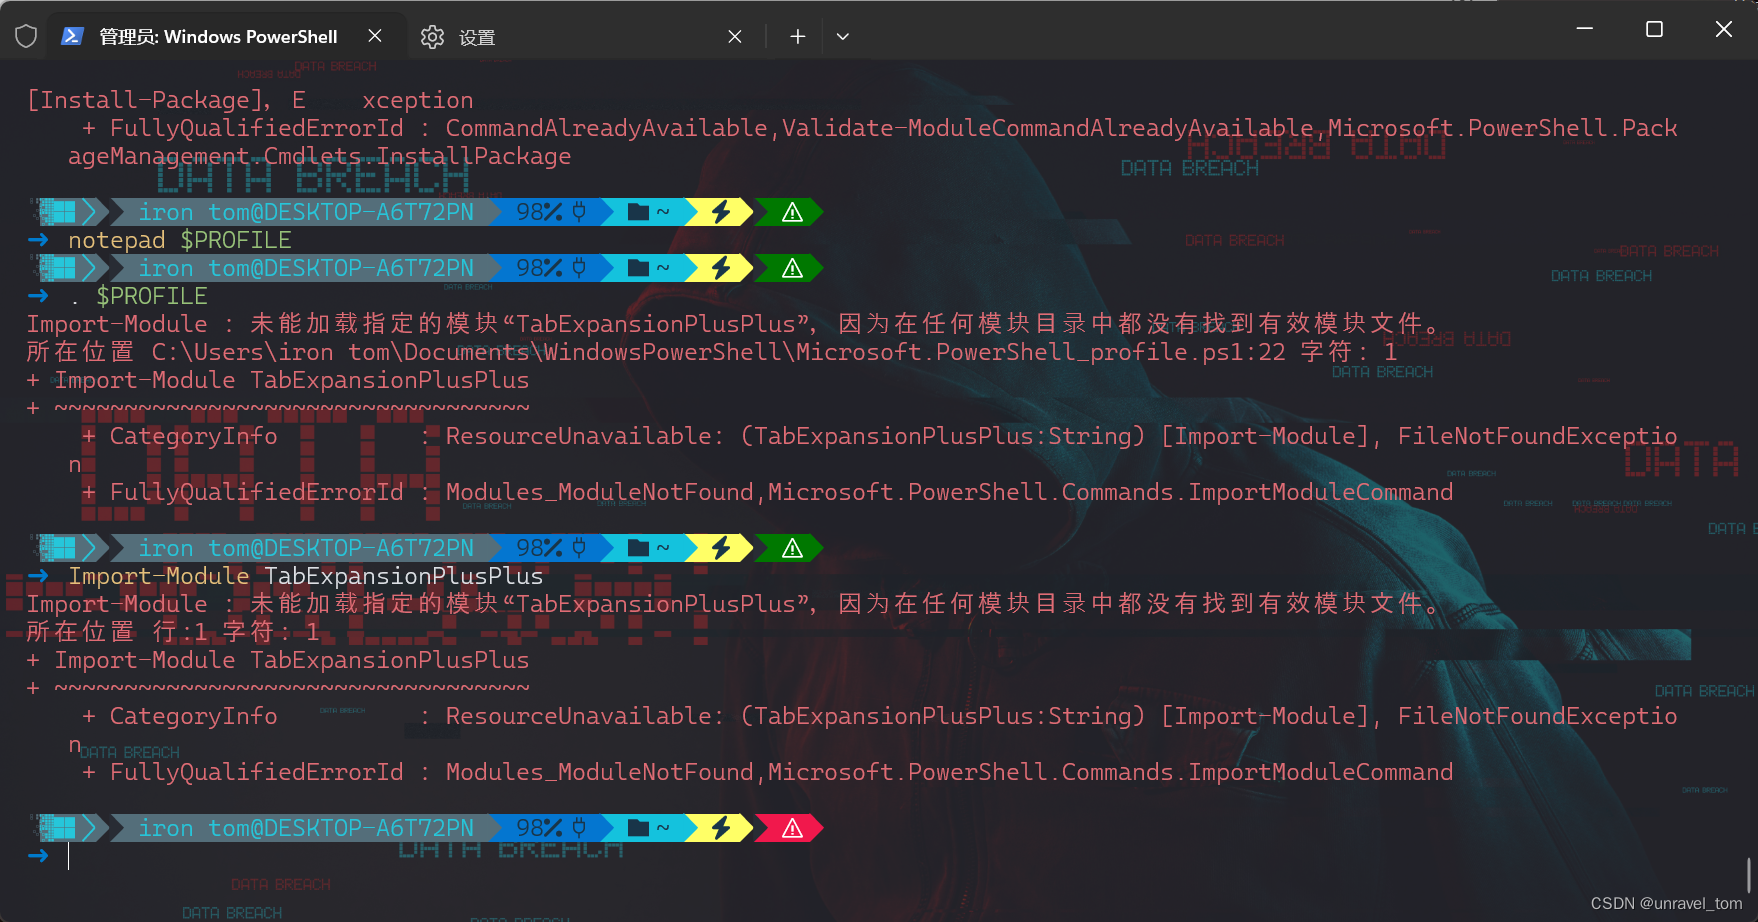
# 加載 Oh My Posh 模塊
Import-Module oh-my-posh
# 設置 Oh My Posh 主題路徑,theme是要修改的,跟著我的命令走,就不用改了
$themePath = "$HOME\<theme>.omp.json"
# 設置 Oh My Posh 主題
oh-my-posh --init --config $themePath | Invoke-Expression
# 保存并關閉配置文件,然后在 PowerShell 中運行以下命令以重新加載配置文件
. $PROFILE
3. 使用主題
Oh My Posh主題, 其他主題都有自己的下載方式,請自行領悟,基本在github都有使用的文檔
- 這里以
blueish主題為例
Invoke-WebRequest -Uri "https://raw.githubusercontent.com/JanDeDobbeleer/oh-my-posh/main/themes/blueish.omp.json" -OutFile "$HOME\blueish.omp.json"
修改配置文件的
# 設置 Oh My Posh 主題路徑
$themePath = "$HOME\blueish.omp.json"
驗證主題應用,重啟 PowerShell,你應該會看到已應用 blueish 主題。但是你使用的主題有些圖標還是看不見。應該是如圖效果

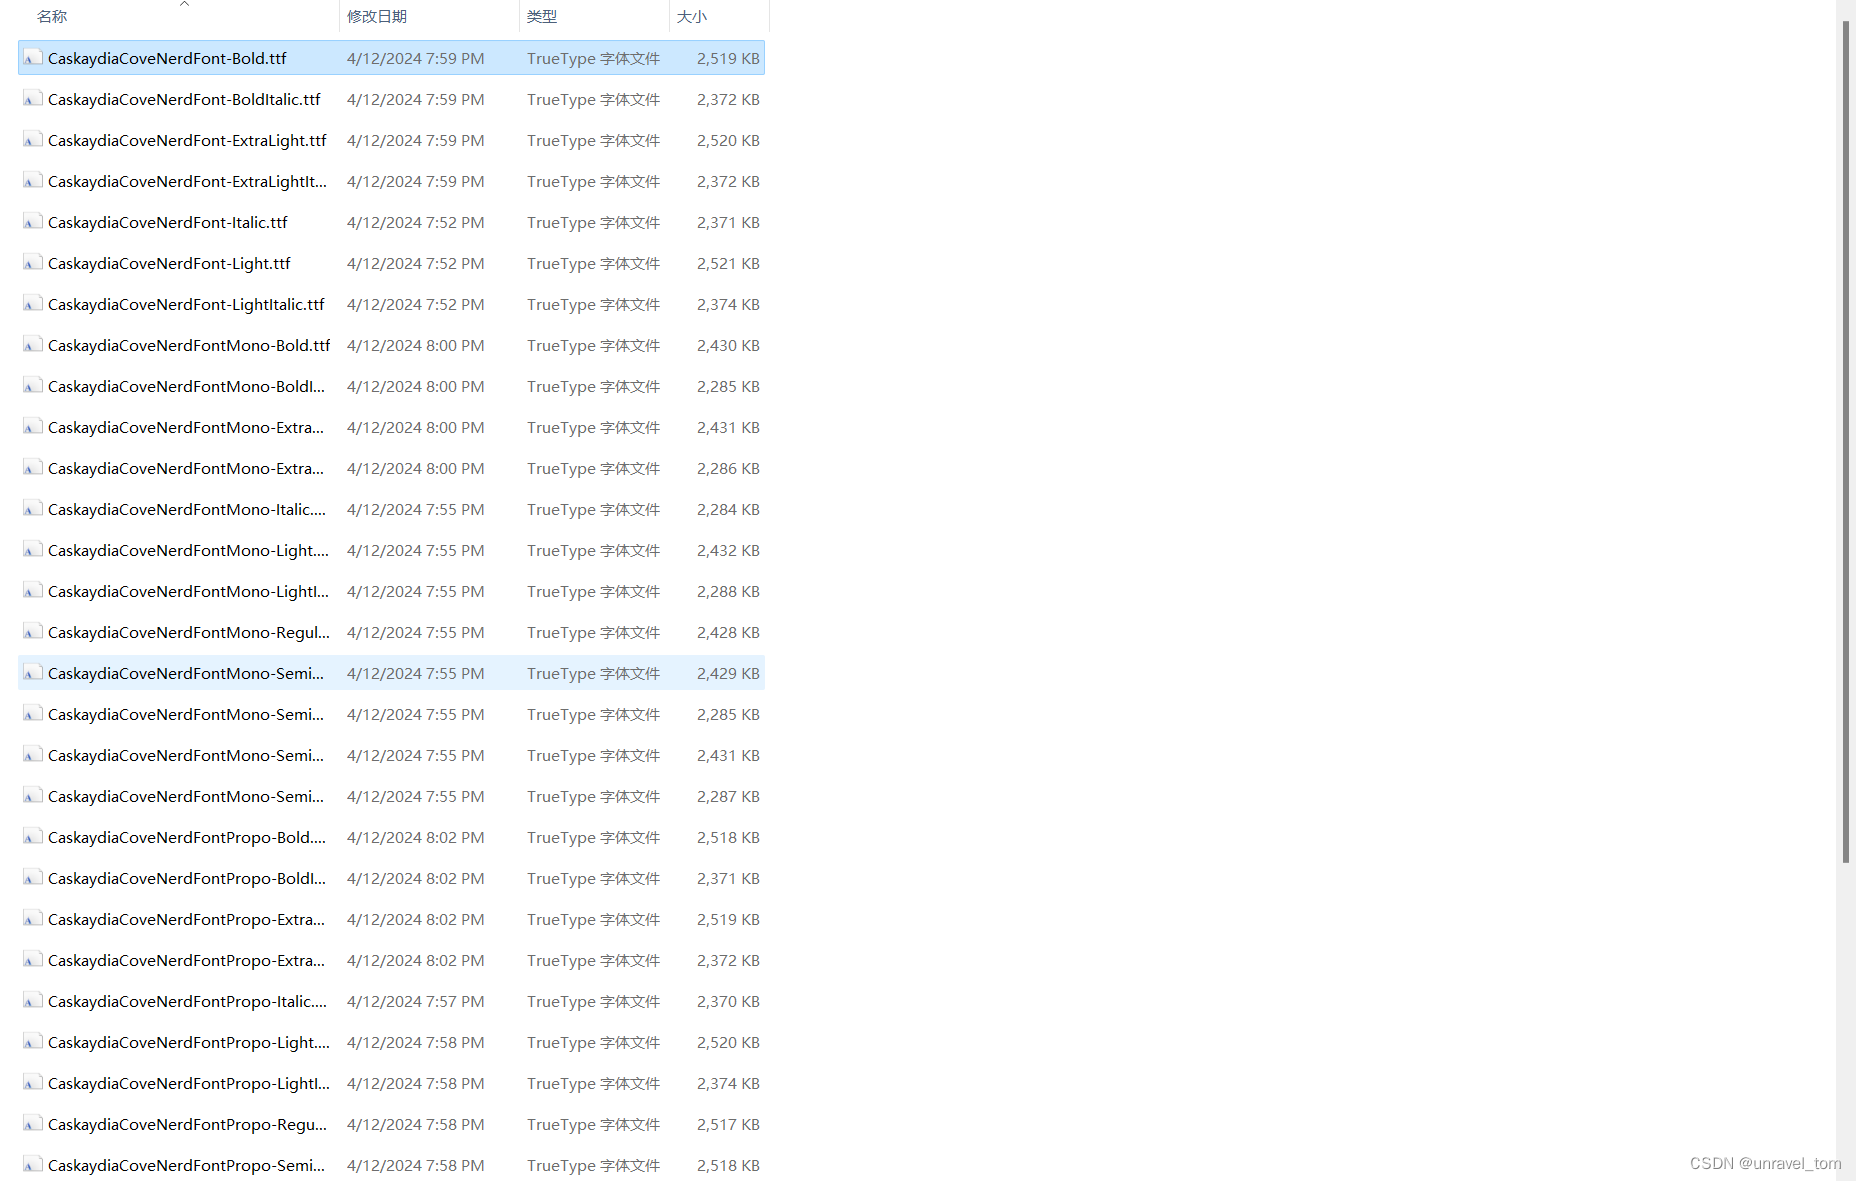
下載并安裝 Cascadia Code Nerd Font
Q:為什么要使用 Nerd Font 字體
因為它們包含了大量的開發者常用的符號,還有一些特殊的圖標不適用該字體都無法顯示。
方法1. 命令下載
- 建議這里使用手動下載,使用命令容易出錯,當然幸運的你可能使用命令就會成功(′︶`)
# 下載字體文件
Invoke-WebRequest -Uri "https://github.com/ryanoasis/nerd-fonts/releases/download/v2.3.3/CascadiaCode.zip" -OutFile "$HOME\CascadiaCode.zip"# 解壓字體文件
Expand-Archive -Path "$HOME\CascadiaCode.zip" -DestinationPath "$HOME\CascadiaCode"# 檢查解壓后的文件
Get-ChildItem -Path "$HOME\CascadiaCode"# 安裝字體
$fontFiles = Get-ChildItem -Path "$HOME\CascadiaCode" -Filter "*.ttf"
foreach ($fontFile in $fontFiles) {Write-Output "Installing $($fontFile.Name)"$shell = New-Object -ComObject Shell.Application$folder = $shell.Namespace($fontFile.Directory.FullName)$item = $folder.ParseName($fontFile.Name)$item.InvokeVerb("Install")
}- 如果失敗,就卸載文件吧?|  ̄?︶  ̄? |?
# 使用以下命令刪除字體文件
$fontFiles = Get-ChildItem -Path "C:\Windows\Fonts" -Filter "Caskaydia*.*"foreach ($fontFile in $fontFiles) {Remove-Item -Path $fontFile.FullName -Force
}- 檢查并刪除殘留文件
檢查用戶字體目錄:打開文件資源管理器,導航到C:\Users\<YourUsername>\AppData\Local\Microsoft\Windows\Fonts。
刪除任何與 Nerd Fonts 相關的文件。
方法2. 手動下載

解壓文件,安裝字體(我只安裝了前七個,剩下的看自己選),安裝在ttf打開后的左上角
設置文件字體,背景
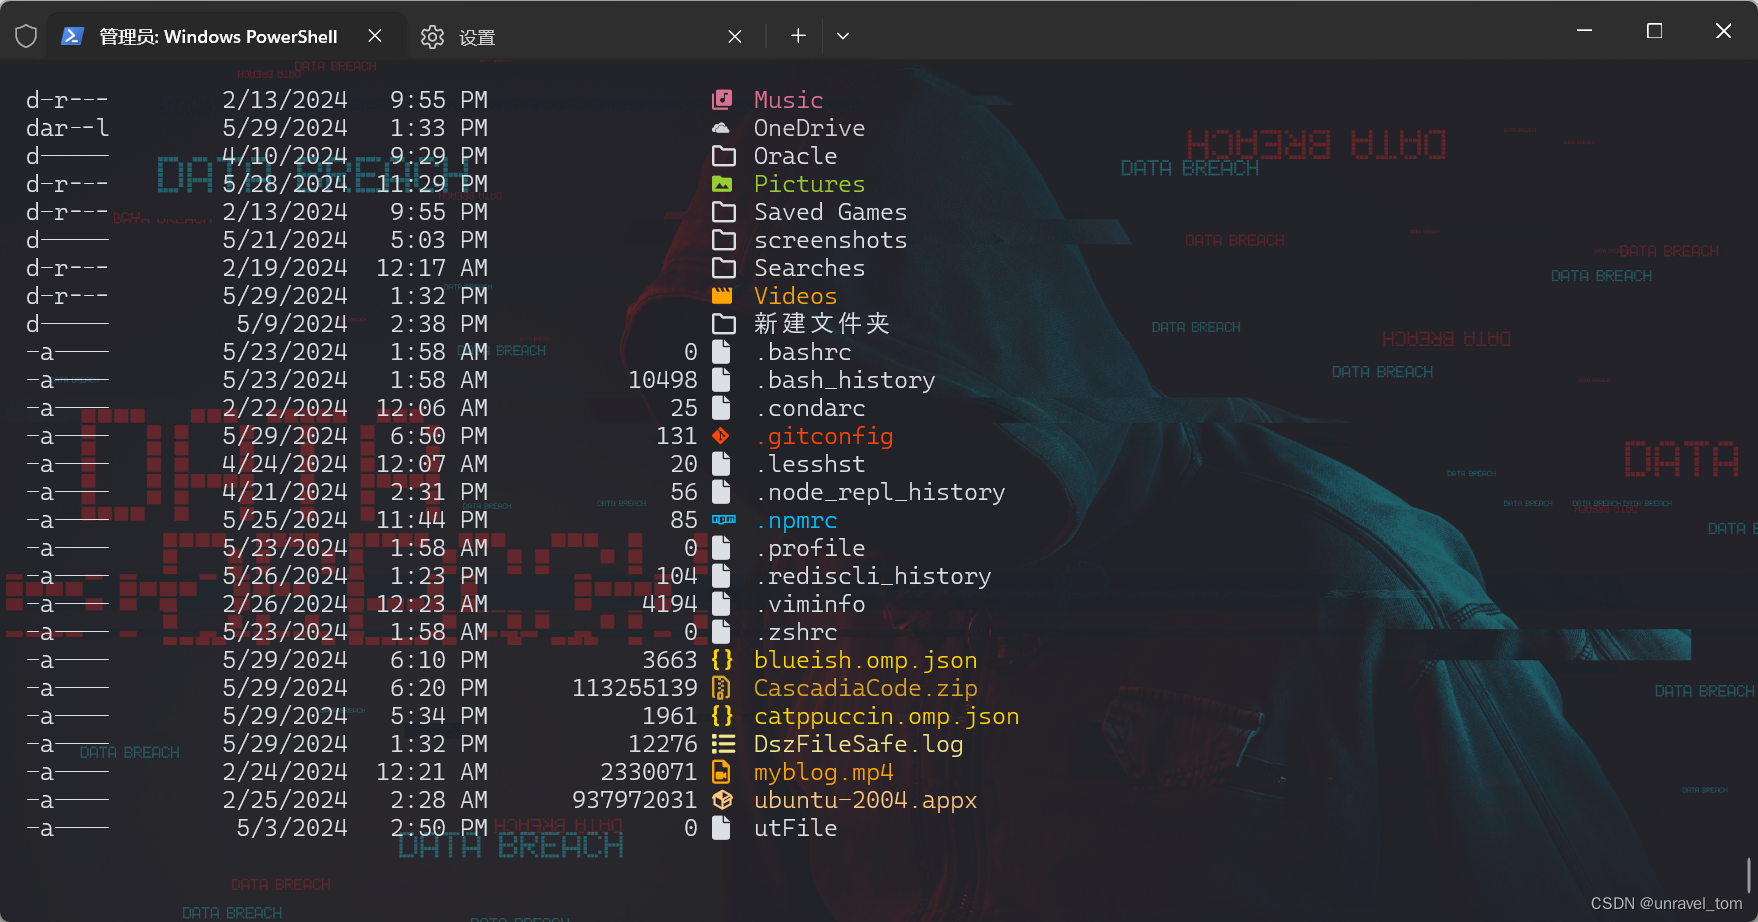
設置完成后,重新啟動ps就可以看見圖標了,
你會找到背景的,透明度等,自行調整

此時效果,可以看見特殊圖標了。
其余設置補充:
這些命令用于在 PowerShell 終端中顯示文件和文件夾的圖標。
Install-module -Name Terminal-Icons -Repository PSGallery Import-Module -Name Terminal-Icons
PSReadLine:增強 PowerShell 的命令行編輯和歷史記錄功能。
Install-Module PSReadLine -Force -Scope CurrentUser
Posh-Git:在 PowerShell 中集成 Git 的提示符和自動補全
Install-Module posh-git -Force -Scope CurrentUser
配置文件總結:
# 加載 Oh My Posh 模塊
Import-Module oh-my-posh# 設置 Oh My Posh 主題路徑
$themePath = "$HOME\blueish.omp.json"# 設置 Oh My Posh 主題
oh-my-posh init pwsh --config $themePath | Invoke-Expression# 加載 posh-git 模塊
Import-Module posh-git# 加載 PSReadLine
Import-Module PSReadLine
Set-PSReadLineOption -EditMode Windows
Set-PSReadLineOption -PredictionSource History# 加載 Terminal-Icons
Import-Module -Name Terminal-Icons
沒有總結
參考:
bilibili(1)
bilibili(2)


)


)


