前文
記錄一下在linux服務器下配置nginx中nginx.conf文件代理訪問springboot項目
1. spring boot.yml配置
其他mysql,redis,mybatis等之類的配置就不一一列出了
# 自定義配置 為了等下驗證讀取的配置文件環境
appName: productserver:port: 8083  # 應用服務 WEB 訪問端口servlet:context-path: /apisession:timeout: PT60M #session過期時間 60M 一個小時
2. nginx配置
查看nginx安裝目錄
whereis nginx

修改nginx.conf即可,一般配置文件都在**/usr/local/nginx/conf**目錄下
2.1 https配置
#user  nobody;
worker_processes  1;#error_log  logs/error.log;
#error_log  logs/error.log  notice;
#error_log  logs/error.log  info;#pid        logs/nginx.pid;events {worker_connections  1024;
}http {include       mime.types;default_type  application/octet-stream;#log_format  main  '$remote_addr - $remote_user [$time_local] "$request" '#                  '$status $body_bytes_sent "$http_referer" '#                  '"$http_user_agent" "$http_x_forwarded_for"';#access_log  logs/access.log  main;sendfile        on;#tcp_nopush     on;#keepalive_timeout  0;keepalive_timeout  65;#gzip  on;#將服務所有的 http 請求轉換為 https 請求server {listen    80;# listen       8081; # listen       443 ssl;listen        442 ssl;# 因為服務器沒有完成備案導致我的80,443端口不能開放,所以我這里演示使用8081,442# 我的nginx配置文件上方的80端口是注釋掉的,#你的域名,請不要帶有http://或者https://server_name  xxx.com;#charset koi8-r;#access_log  logs/host.access.log  main;location / {#網站主頁路徑。此路徑僅供參考,具體請您按照實際目錄操作。  root html;index index.html index.htm;}#此處呼應 spring boot 應用內的 servlet.context-path 配置#說明: 如果你訪問 www.xxxx.com/api 將會請求轉發到服務器內的 127.0.0.1:8083 服務location /api {proxy_pass http://127.0.0.1:8083;proxy_set_header           Host $host;proxy_set_header  X-Real-IP  $remote_addr;proxy_set_header           X-Forwarded-For       $proxy_add_x_forwarded_for;client_max_body_size  100m;}#說明: 這里模擬靜態資源讀取,示例請求url: http://www.xxxx.com/app_images/xxx.png#訪問 www.xxxx.cn/app_images/xxx.png 會轉發訪問服務器內的絕對路徑/usr/local/app_images/xxx.pnglocation /app_images {root /usr/local;}       # error_page 錯誤頁面  404              /404.html;# redirect server error pages to the static page /50x.html#error_page   500 502 503 504  /50x.html;location = /50x.html {root   html;}}}
2.2 http配置
上傳證書到conf目錄下,創建一個cert文件夾方便管理
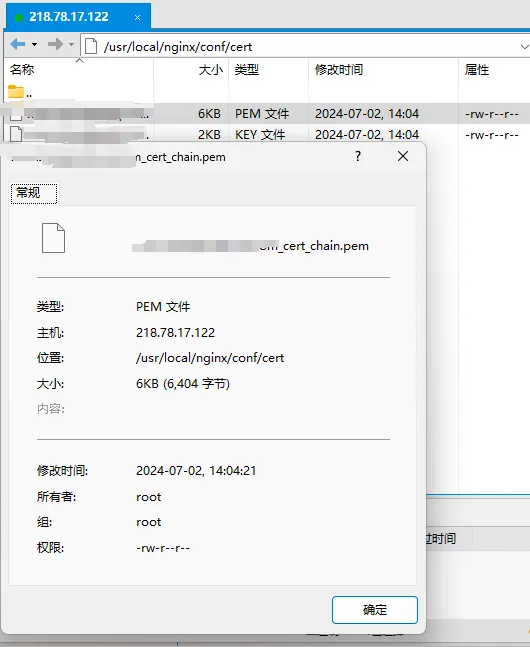
免費證書申請可以使用阿里云,騰訊云,https://freessl.cn/等
#user  nobody;
worker_processes  1;#error_log  logs/error.log;
#error_log  logs/error.log  notice;
#error_log  logs/error.log  info;#pid        logs/nginx.pid;events {worker_connections  1024;
}http {include       mime.types;default_type  application/octet-stream;#log_format  main  '$remote_addr - $remote_user [$time_local] "$request" '#                  '$status $body_bytes_sent "$http_referer" '#                  '"$http_user_agent" "$http_x_forwarded_for"';#access_log  logs/access.log  main;sendfile        on;#tcp_nopush     on;#keepalive_timeout  0;keepalive_timeout  65;#gzip  on;#將服務所有的 http 請求轉換為 https 請求server {listen    80;# 因為服務器沒有完成備案導致我的80端口不能開放,所以我這里演示使用下面的8081# 我的nginx配置文件上方的80端口是注釋掉的,# listen       8081; #你的域名,請不要帶有http://或者https://server_name  xxxx.com;#charset koi8-r;#access_log  logs/host.access.log  main;location / {#網站主頁路徑。此路徑僅供參考,具體請您按照實際目錄操作。  root html;index index.html index.htm;}#此處呼應 spring boot 應用內的 servlet.context-path 配置#說明: 如果你訪問 www.xxxx.com/api 將會請求轉發到服務器內的 127.0.0.1:8083 服務location /api {proxy_pass http://127.0.0.1:8083;proxy_set_header           Host $host;proxy_set_header  X-Real-IP  $remote_addr;proxy_set_header           X-Forwarded-For       $proxy_add_x_forwarded_for;client_max_body_size  100m;}#說明: 這里模擬靜態資源讀取,示例請求url: http://www.xxxx.com/app_images/xxx.png#訪問 www.xxxx.com/app_images/xxx.png 會轉發訪問服務器內的絕對路徑/usr/local/app_images/xxx.pnglocation /app_images {root /usr/local;}       # error_page 錯誤頁面  404              /404.html;# redirect server error pages to the static page /50x.html#error_page   500 502 503 504  /50x.html;location = /50x.html {root   html;}}
}
2.3 訪問測試
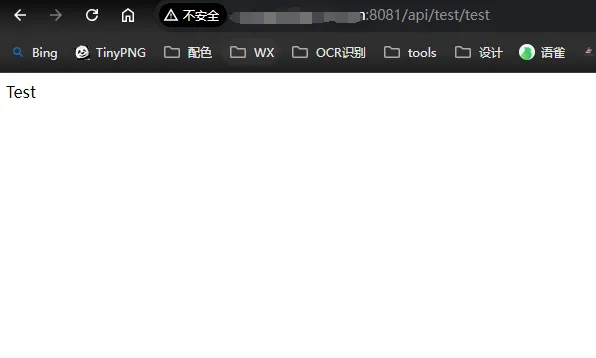
配置文件完成后切記重新啟動nginx,我這里使用http配置代理端口為8081,所以瀏覽器輸入域名:8081/api(spring boot中配置的context-path)/請求(Controller路徑)
http方式測試
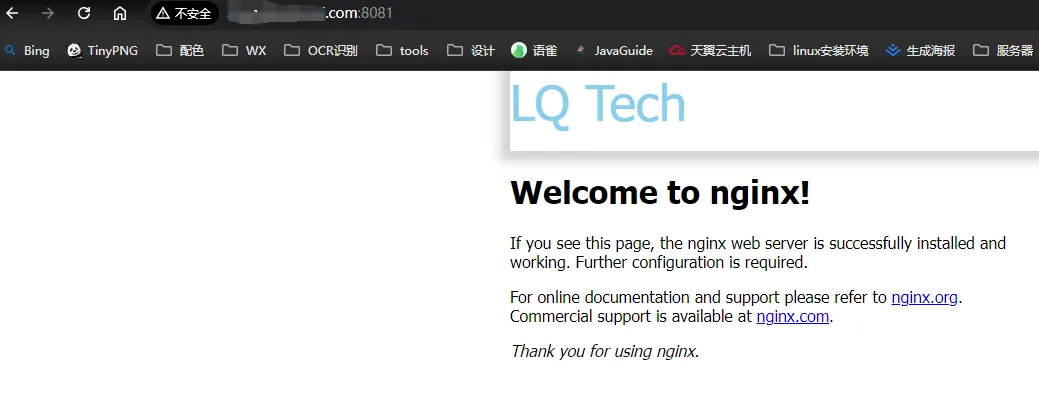
- 訪問nginx
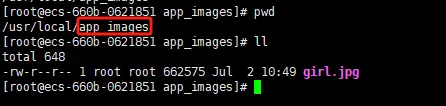
- 創建靜態資源文件夾,上傳一張圖片進行測試

- controller請求路徑測試
可以看到我們使用http方式時,地址欄度提示的不安全鏈接
https:測試
把配置文件切換成https方式,重啟nginx,目前備案還沒完成,所以我這里需要使用域名:442進行訪問

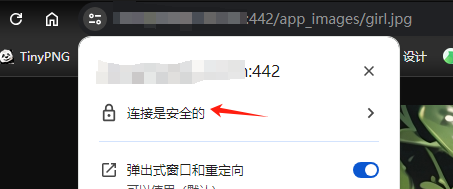
使用https訪問消除了不安全告警


)


)

、封鎖協議(兩階段封鎖協議))


)
)
-- Sharding-JDBC 水平分庫 和 垂直分庫。)


