文章目錄
- (零)前言
- (一)Supabase CLI
- (1.1)安裝 Scoop
- (1.2)用 Scoop 安裝 Supabase CLI
- (二)本地項目環境
- (2.1)初始化項目
- (2.2)登錄
- (2.3)關聯本地/遠程項目
- (2.4)拉遠程項目
- (2.5)本地項目啟停
- (三)本地和遠程的區別
- (3.1)限制和注意事項
- (3.2)Next.js應用的Supabase配置
(零)前言
在《用 Next.js 和 Supabase 進行“全棧”開發的入門》中,我搭(抄)建(襲)了一個類似論壇雛形的東西。
后端用了Supabase官方提供的托管服務,免費的那種方案。
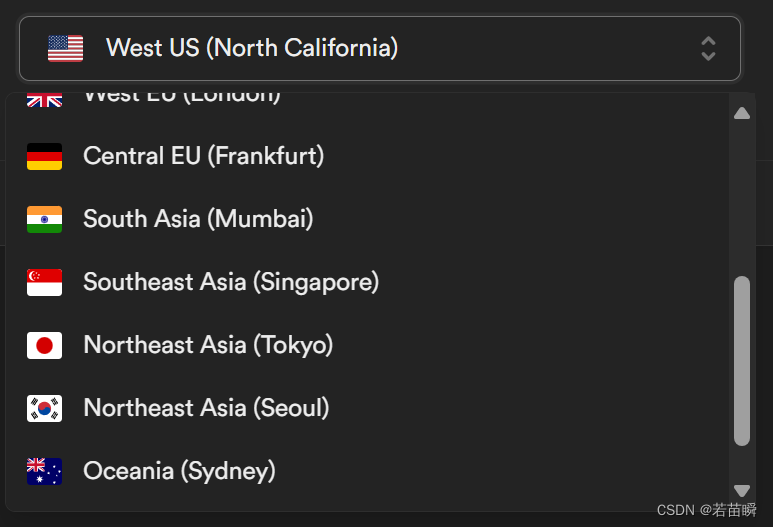
雖然僅僅是學習,但由于它提供的服務基于AWS,沒有可選中國的(近點的有:孟買,新加坡,東京,首爾)。
所以每次后臺操作都會很慢,執行個查詢SQL大概3-5秒,最不能忍受的是,時不時的斷線幾分鐘無法訪問。
搞得我不知道是js的問題,還是網絡慢。所以想在本地弄套環境,省心。
(一)Supabase CLI
概念:
- 💡CLI = Command Line Interface,就是命令行交互,與之對應有GUI圖形界面交互。
官網文檔關于CLI部分在這里。簡單說它是提供了一系列工具,用于在本地開發項目、部署、處理數據庫遷移以及直接從數據庫架構生成類型等。
那么CLI和官網提到的Docker本地托管方式有啥區別呢?
其實CLI裝的Supabase用的也是Docker,它不僅僅能管本地的部署,還能鏈接到官網托管的項目。當你需要項目遷移一類的時候,用起來就會非常方便(開發)。
而Docker本地托管似乎真的全在本地(運維)。
安裝Supabase CLI(在Windows下)需要Scoop,所以……
(1.1)安裝 Scoop
根據Scoop項目的描述,需要用Powershell來安裝。
> Set-ExecutionPolicy -ExecutionPolicy RemoteSigned -Scope CurrentUser
> Invoke-RestMethod -Uri https://get.scoop.sh | Invoke-Expression
Initializing...
Downloading...
Creating shim...
Adding ~\scoop\shims to your path.
Scoop was installed successfully!
Type 'scoop help' for instructions.
(1.2)用 Scoop 安裝 Supabase CLI
只需要兩步然后就全靠網速了。
> scoop bucket add supabase https://github.com/supabase/scoop-bucket.git
Checking repo... OK
The supabase bucket was added successfully.> scoop install supabase
Installing '7zip' (23.01) [64bit] from 'main' bucket
7z2301-x64.msi (1.8 MB) [======================================] 100%
Checking hash of 7z2301-x64.msi ... ok.
Extracting 7z2301-x64.msi ... done.
Linking ~\scoop\apps\7zip\current => ~\scoop\apps\7zip\23.01
Creating shim for '7z'.
Creating shim for '7zFM'.
Making C:\Users\Shion\scoop\shims\7zfm.exe a GUI binary.
Creating shim for '7zG'.
Making C:\Users\Shion\scoop\shims\7zg.exe a GUI binary.
Creating shortcut for 7-Zip (7zFM.exe)
Persisting Codecs
Persisting Formats
Running post_install script...
'7zip' (23.01) was installed successfully!Installing 'supabase' (1.165.0) [64bit] from 'main' bucket
supabase_windows_amd64.tar.gz (11.6 MB) [=====================] 100%
Checking hash of supabase_windows_amd64.tar.gz ... ok.
Extracting supabase_windows_amd64.tar.gz ... done.
Linking ~\scoop\apps\supabase\current => ~\scoop\apps\supabase\1.165.0
Creating shim for 'supabase'.
'supabase' (1.165.0) was installed successfully!
(二)本地項目環境
(2.1)初始化項目
新建個目錄,進到目錄里面,執行:
> supabase init
Generate VS Code settings for Deno? [y/N] y
Generated VS Code settings in .vscode\settings.json. Please install the recommended extension!
Finished supabase init.
(2.2)登錄
t> supabase login
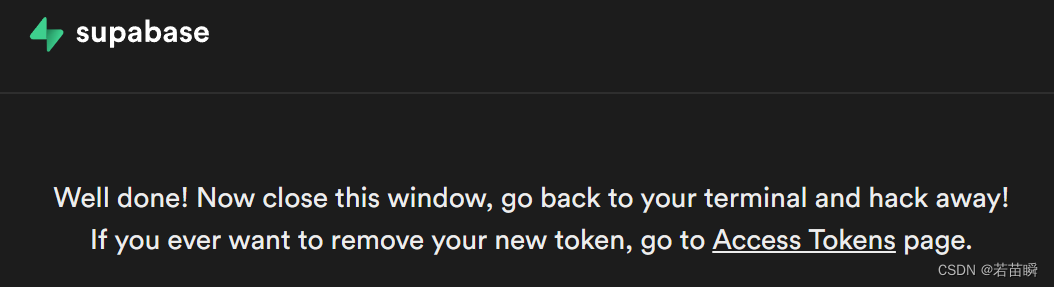
Hello from Supabase! Press Enter to open browser and login automatically.Here is your login link in case browser did not open
https://supabase.com/dashboard/cli/login?session_id=xxxxxxxx&token_name=yyyyyyyy&public_key=zzzzzzzzzzToken yyyyyyyy created successfully.You are now logged in. Happy coding!
登錄時會打開瀏覽器窗口,下面這個就是成功了,然后關閉這個頁面。
如果沒有自動打開瀏覽器,就用上面的那個URL吧(我這沒出現這種情況)。
(2.3)關聯本地/遠程項目
從官網找到你的項目,然后設置里面看它的ID。
密碼是創建項目時輸入的,平時都沒有用到,希望別忘了……
> supabase link --project-ref 你的項目ID
Enter your database password (or leave blank to skip):
Connecting to remote database...
Finished supabase link.
Local config differs from linked project. Try updating supabase\config.toml
[api]
enabled = true
port = 54321
schemas = ["public", "graphql_public"]
extra_search_path = ["public", "extensions"]
max_rows = 1000
(2.4)拉遠程項目
💡這一步就需要用到docker了。
因為我之前的docker都是在linux下,所以現安裝了個Windows下的docker desktop。
安裝時默認選用WSL2,然后還需要重啟系統。
裝好后啟動它,這樣docker引擎就啟動了,我們可以繼續執行指令:
> supabase db pullConnecting to remote database...
15.1.1.41: Pulling from supabase/postgres
17d0386c2fff: Pull complete
ec8061954605: Pull complete
e54d94900333: Pull complete
3be4d2664419: Pull complete
5d3911bdcee3: Pull complete
33719a05f4ef: Pull complete                                                                                                                                                                                       cd5341e6fcf9: Pull complete
083e9066a8a9: Pull complete
Pull complete ma from remote database...
c5573b8f6e79: Pull complete
8e4d4e9e7ffa: Pull complete
7819f3b4135b: Pull complete
bfb56fc535a5: Pull complete
8745eb852041: Pull complete
90bb658328ea: Pull complete
883d9b8ba5fc: Pull complete
de3891c7e975: Pull complete
4d1c60b79844: Pull complete
bc35e3236cd4: Pull complete
247f832137f9: Pull complete
f8853832fdf5: Pull complete
6e9addf2cb83: Pull complete
fcd0db09bbd6: Pull complete
8e2074a64d8c: Pull complete
Digest: sha256:b954155da45d6ac4cde6c9b681e9b4867eedec4c7b6944aca99828d7d8add095
Status: Downloaded newer image for public.ecr.aws/supabase/postgres:15.1.1.41
Schema written to supabase\migrations\20240511114033_remote_schema.sql
Update remote migration history table? [Y/n] y
Repaired migration history: [20240511114033] => applied
Finished supabase db pull.
The auth and storage schemas are excluded. Run supabase db pull --schema auth,storage again to diff them.
可以看到提示auth和storage的schema是被排除掉的。
(2.5)本地項目啟停
首次啟動又是考驗網速的時候,需要pull很多東西(的docker鏡像?)下來。
比如postgres,realtime,gotrue……等等。日志太長了就不寫在下面啦。
當然,再次啟動就會快很多。
> supabase start
......
......
......
Started supabase local development setup.API URL: http://127.0.0.1:54321GraphQL URL: http://127.0.0.1:54321/graphql/v1S3 Storage URL: http://127.0.0.1:54321/storage/v1/s3DB URL: postgresql://postgres:postgres@127.0.0.1:54322/postgresStudio URL: http://127.0.0.1:54323Inbucket URL: http://127.0.0.1:54324JWT secret: super-secret-jwt-token-with-at-least-32-characters-longanon key: xxxxxxxx
service_role key: xxxxxxxxxxxxS3 Access Key: yyyyyyyyyyyyyyyyyyyS3 Secret Key: yyyyyyyyyyyyyyyyyyyyyyyyyS3 Region: local
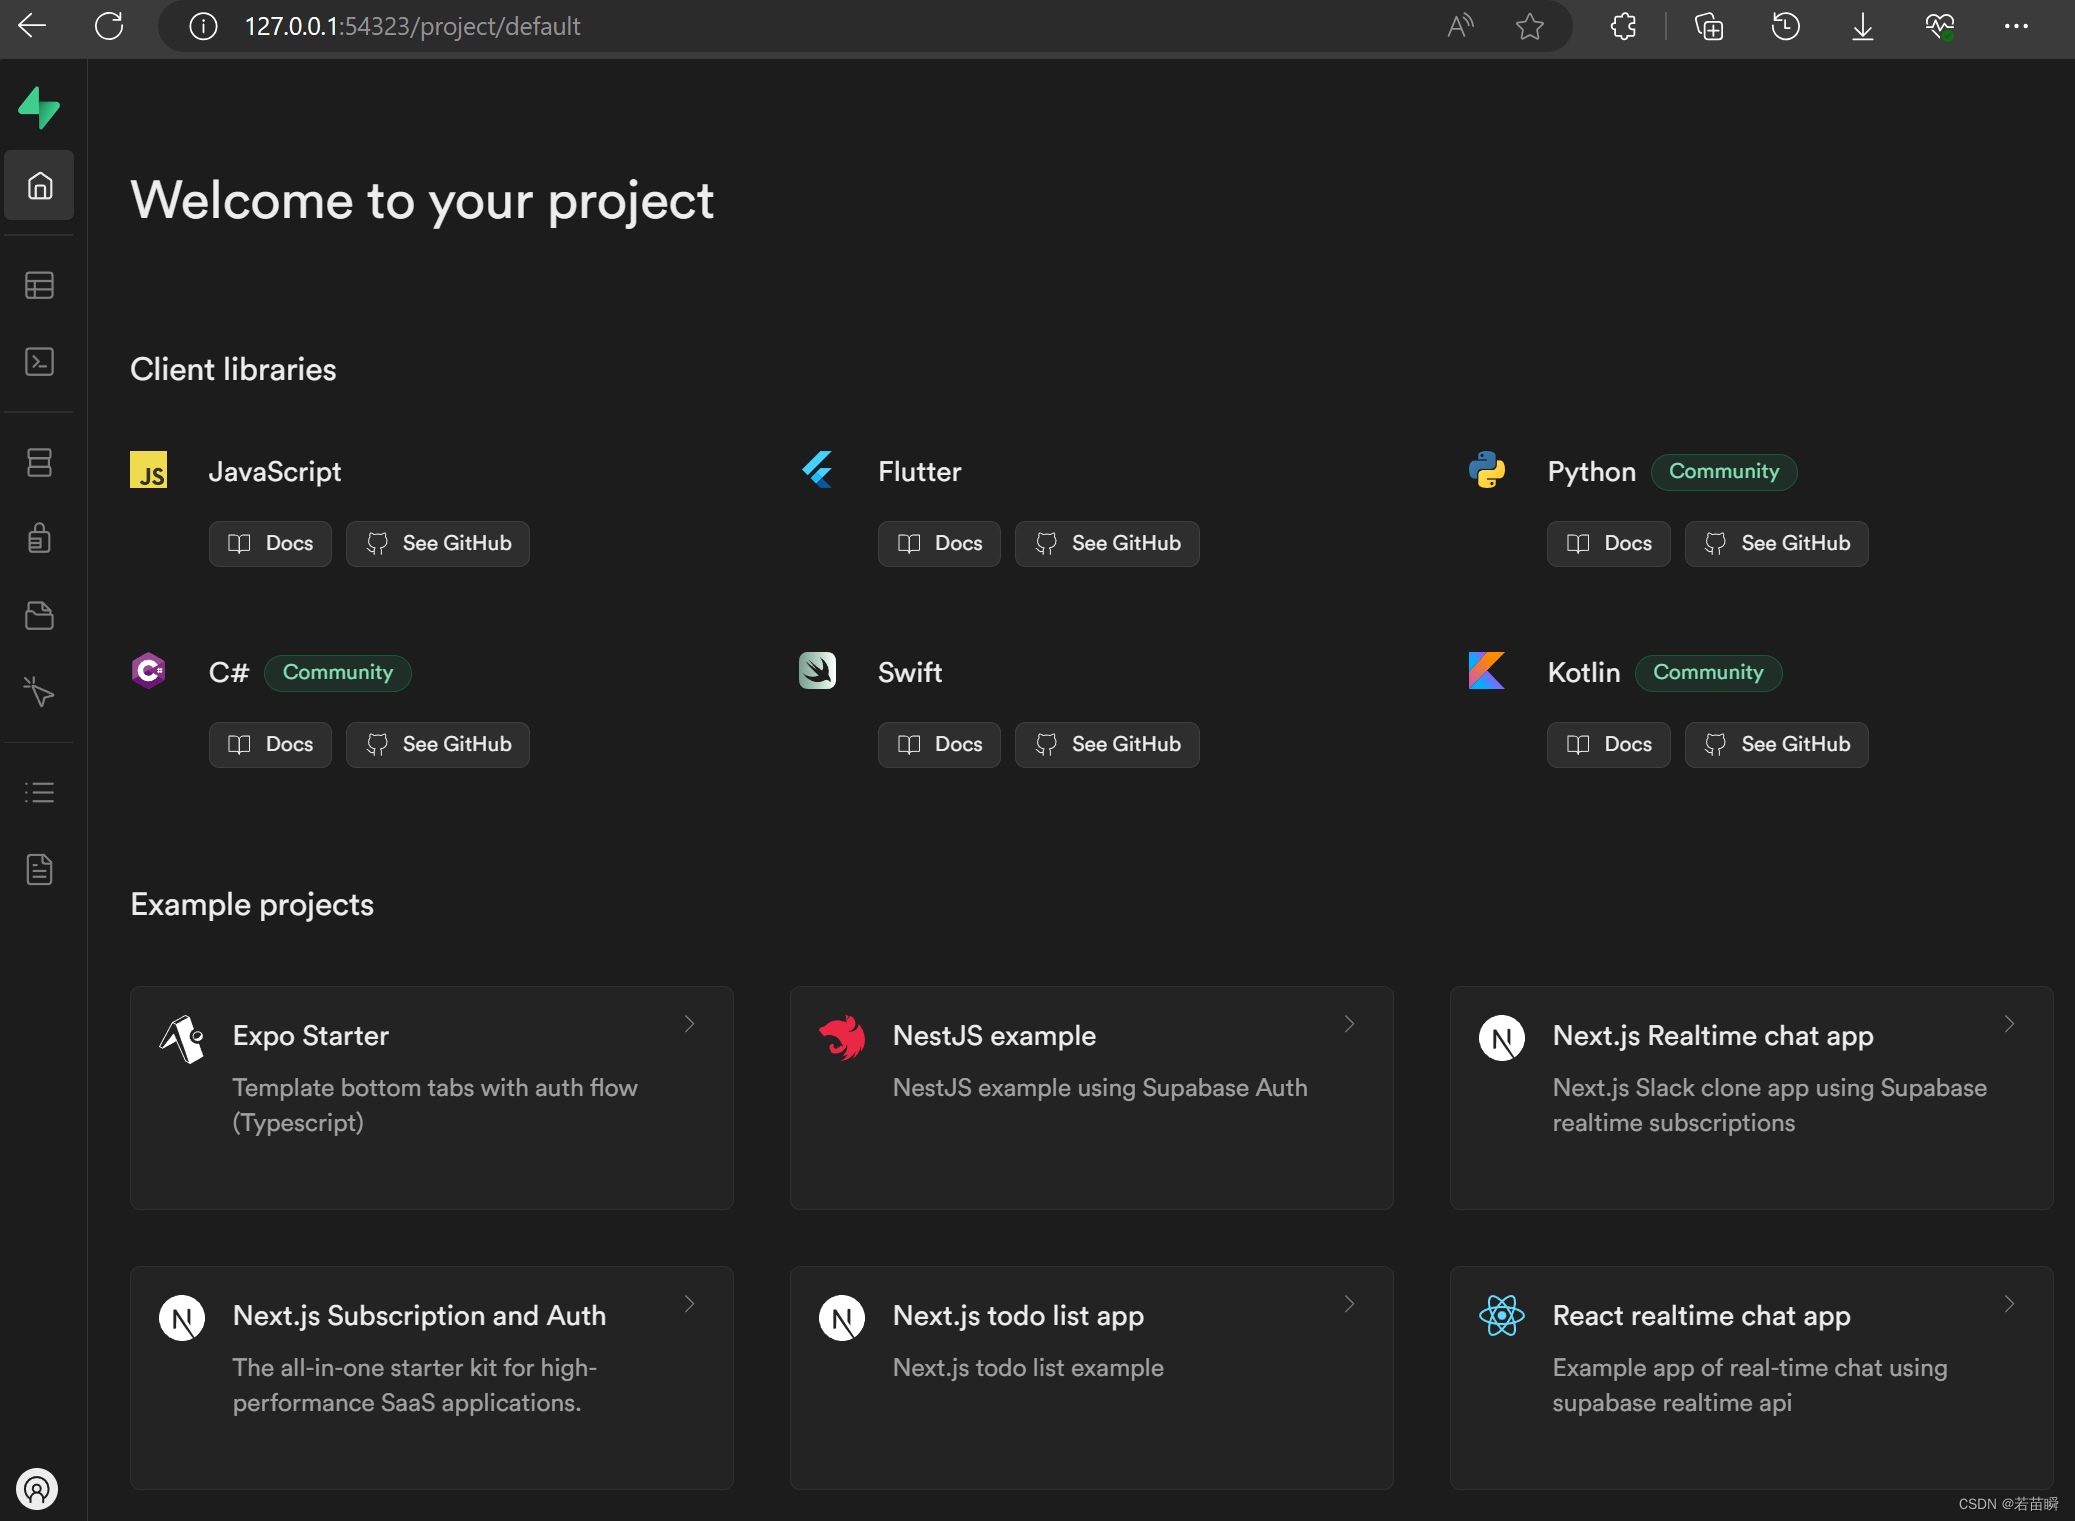
成功后就可以用了。
先進入Studio URL: http://127.0.0.1:54323看看本地項目情況。
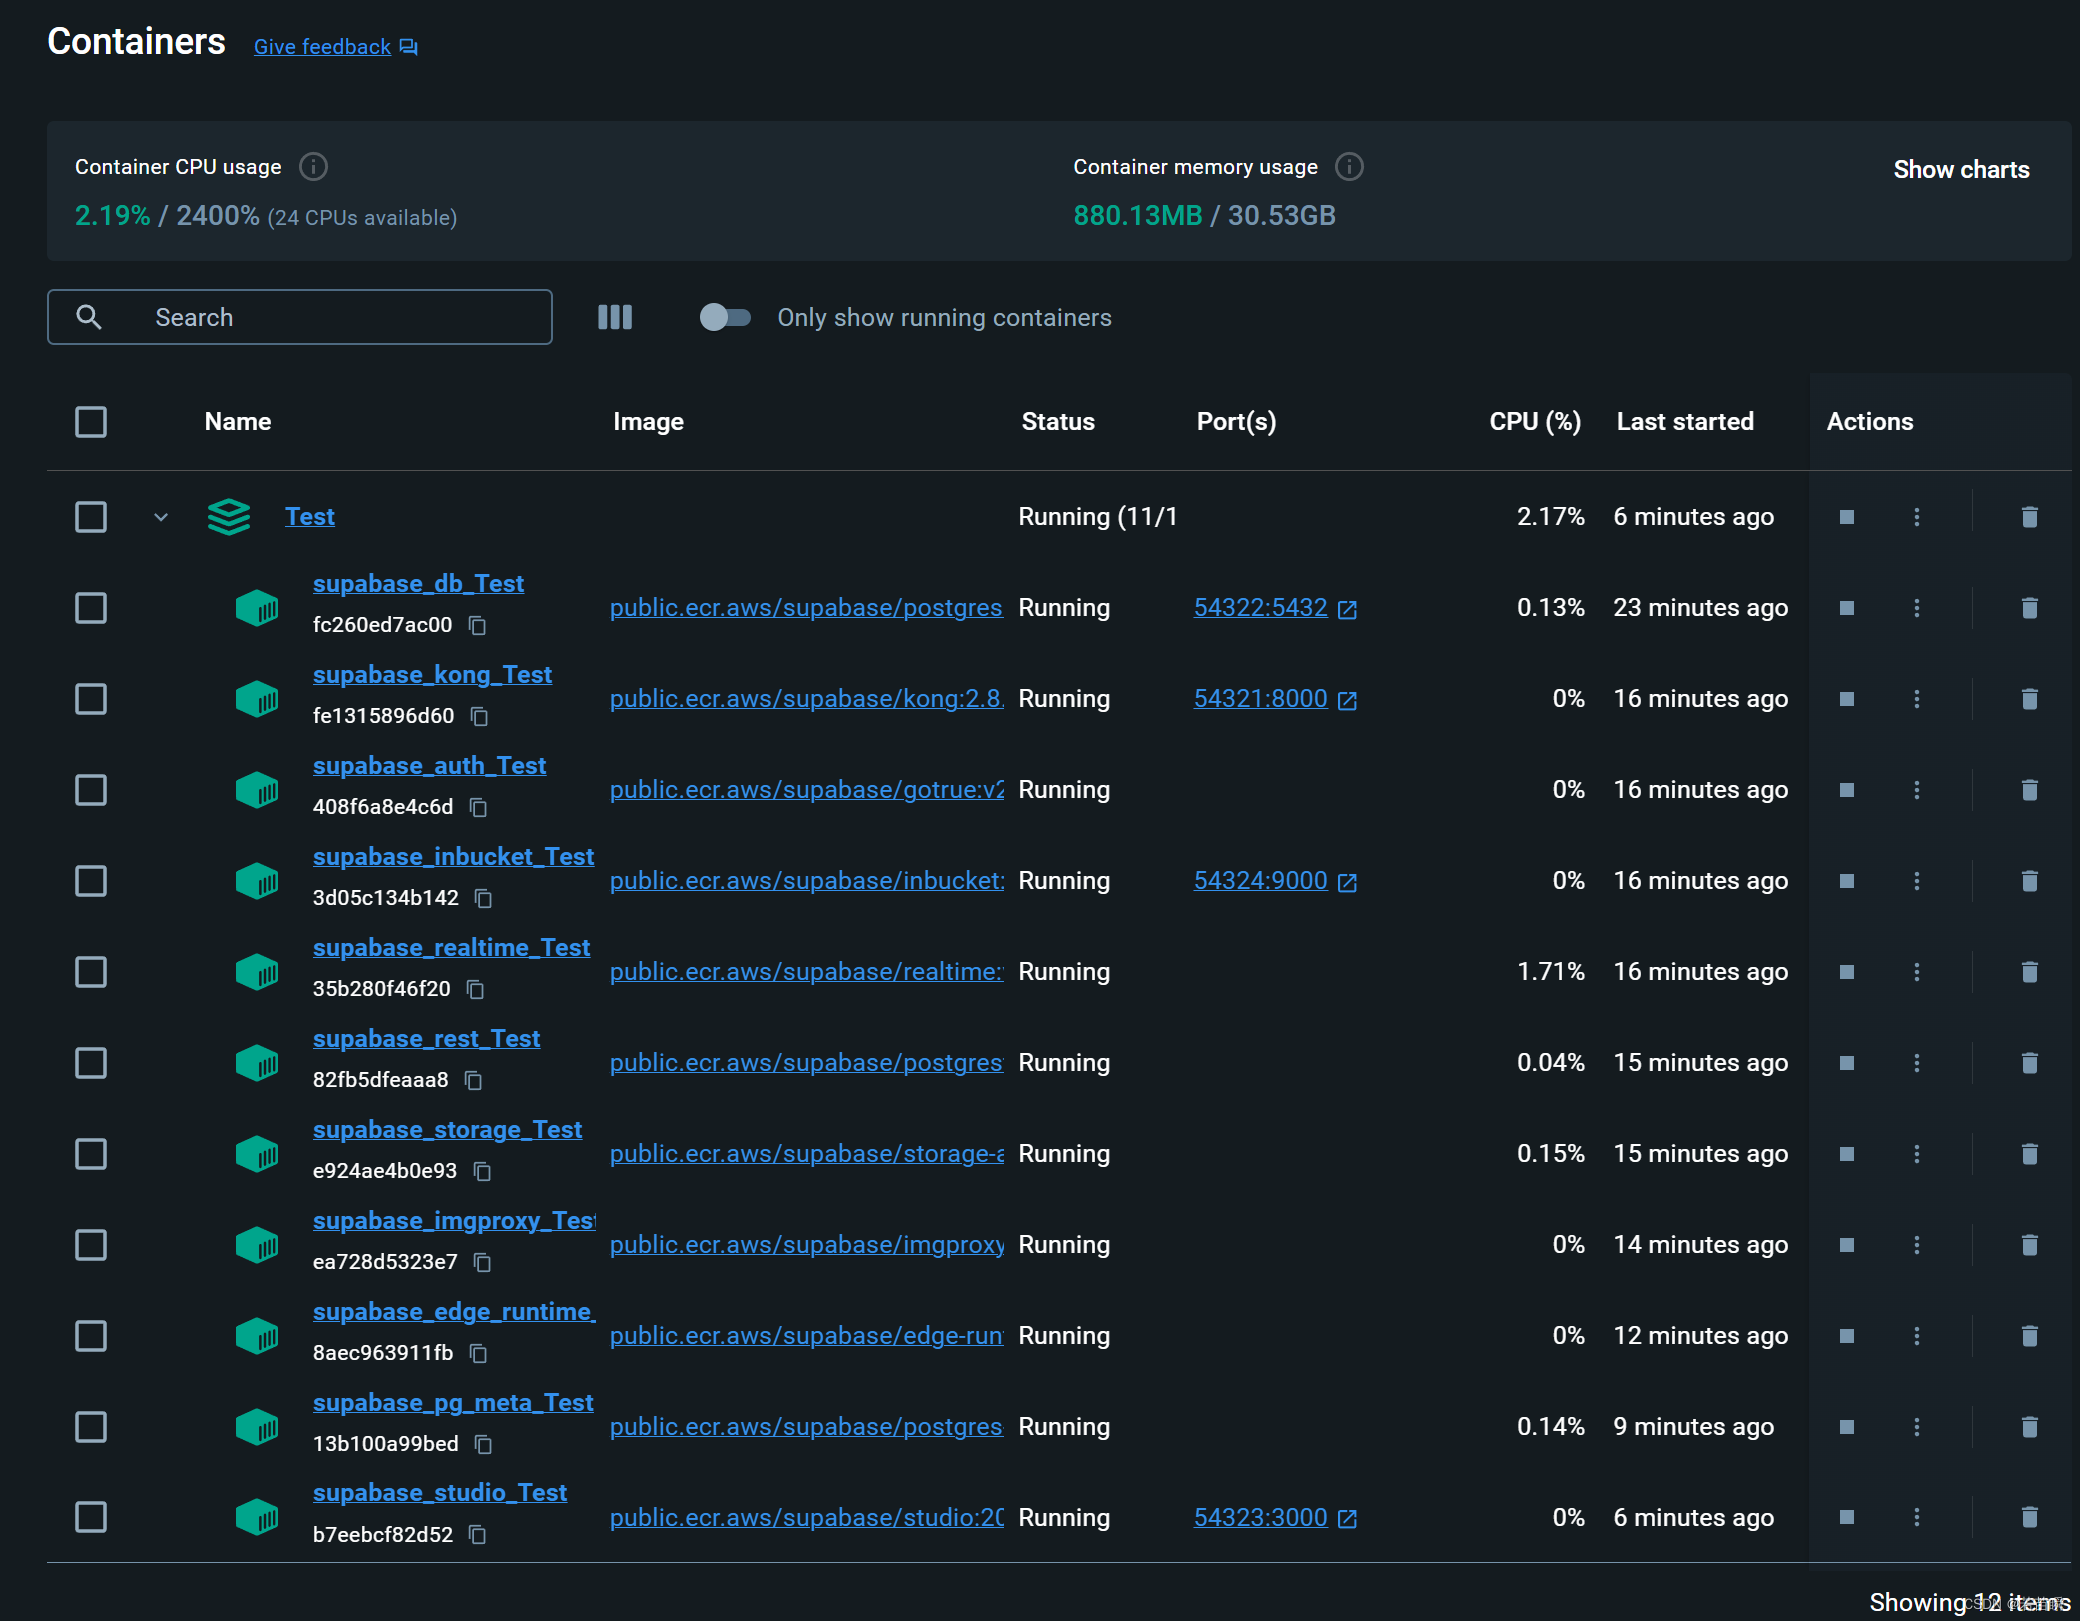
還可以在docker desktop里看到啟動的容器。
全部在我新建項目的目錄Test里面呢。
用完后記得停止。
停止項目環境:
> supabase stop
Stopped supabase local development setup.
Local data are backed up to docker volume. Use docker to show them: docker volume ls --filter label=com.supabase.cli.project=Test
這時候再看docker里面的容器全都沒了,是的容器都沒了而不是停止了。
上面CMD里面也提示了使用了volume來保存數據,不用擔心容器刪了數據丟了。
(三)本地和遠程的區別
(3.1)限制和注意事項
官方表示本地開發環境不如 Supabase 平臺功能齊全。以下是一些區別:
- 您無法在儀表板中更新項目設置。這必須使用本地配置文件來完成。
- CLI 版本決定了使用的 Studio 的本地版本,因此請確保保留本地版本Supabase CLI 最新。
(3.2)Next.js應用的Supabase配置
還記得項目的根目錄下.env.local文件內容么。
NEXT_PUBLIC_SUPABASE_URL= %YOUR_PROJECT_URL%
NEXT_PUBLIC_SUPABASE_ANON_KEY= %YOUR_PROJECT_API_KEY%
官網托管的URL:https://你的項目ID.supabase.co
需要改為本地的:http://127.0.0.1:54321
同時API_KEY改為:
本地項目啟動時CMD里面打印的anon key: xxxxxxxx實際Key值就可以了。
)


![[華為OD] C卷 dfs 特殊加密算法 100](http://pic.xiahunao.cn/[華為OD] C卷 dfs 特殊加密算法 100)


 v3.2.5安裝教程)


