本周及寒假
參加了校企合作的工程過程管理,和學長學姐一起寫項目,之前學了vue也沒有應用,然后對框架很多組件的用法不太了解,前期耽誤了一些時間。
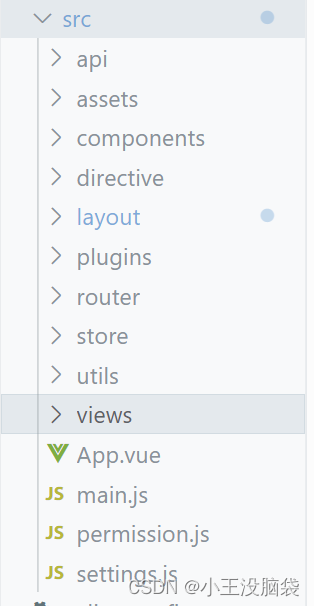
框架模塊
首先是框架模塊的介紹 api存了一些系統管理及發送請求的方法
例如project.js
import request from '@/utils/request'
import { getToken } from '@/utils/auth'
//添加新的公司
let token = getToken();
export function getTypeOnline(compName, compType) {return request({url: `/project/queryCompany?name=${compName}&type=${compType}`,headers: {isToken: true,token: `Bearer ${token}`},method: 'post',})
}
然后是asset文件夾 存了文件的靜態資源
component存的是用到的組件 layout也是組件 可以將頁面的組件拆分展示成多個
plugins仿制的是插件進行鑒權等等,router是路由配置文件 store放置的是拆分出來的vuex里面的分模塊化的內容
路由配置
菜單配置路由
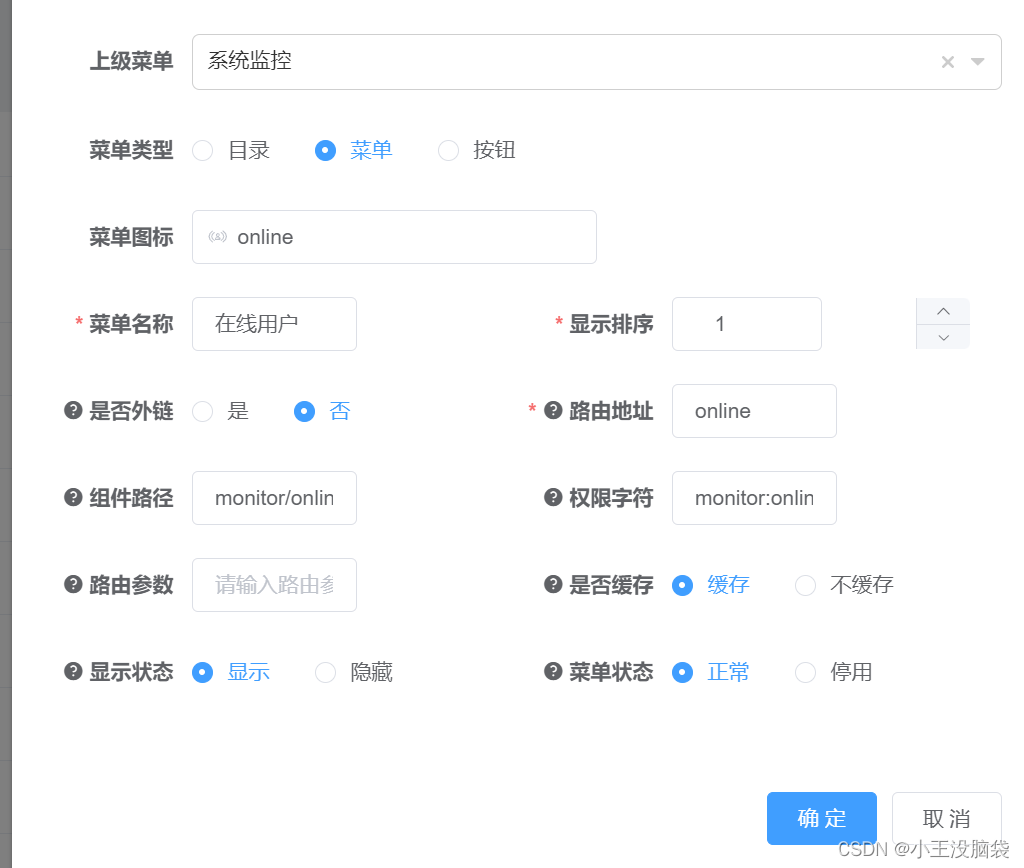
若依框架可以通過菜單進行路由配置 進入系統管理的菜單管理
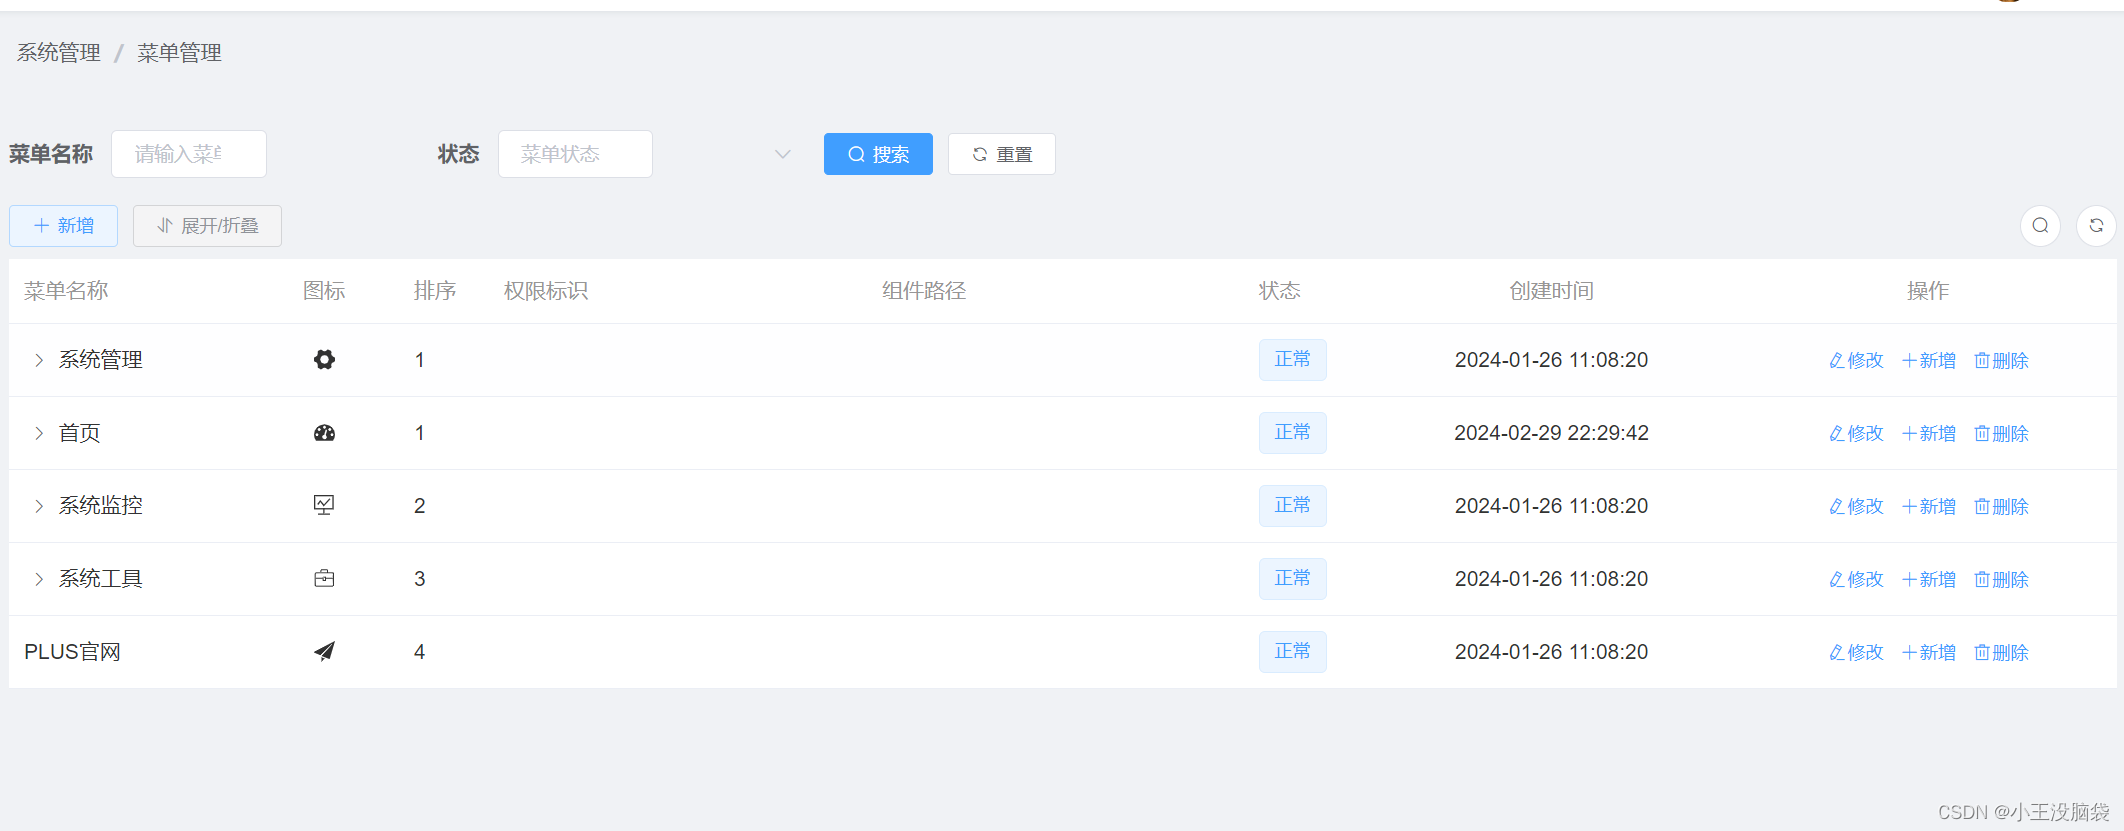
通過改變菜單的目錄和菜單進行配置 輸入組件路徑和路由地址 既可以在左邊側邊欄渲染出導航欄
路由配置
這是我配置的路由 因為本來在菜單設置的三級路由一直報錯 這個配置的路由可以通過
meta: { title: ‘首頁’}渲染你面包屑
{path: '',component: Layout,redirect: 'homePage',meta: { title: '首頁', icon: 'dashboard', affix: true },children: [{path: 'homePage',component: () => import('@/views/home/homePage'),name: 'homePage',meta: { title: '公司庫', icon: 'dashboard', affix: true },children:[]},{path: 'project',component: () => import('@/views/home/projectManeger'),name: 'Project',meta: { title: '工程管理', icon: 'dashboard', affix: true },children: [{path: 'projectMain/:param',props: true,component: () => import('@/views/home/projectMain'),name: 'projectMain',hidden: true,meta: { title: '工程詳情', icon: 'dashboard', affix: true, }}],},]},
登錄邏輯
若依的登錄邏輯是寫好了的 在login.vue我們可以看到如下代碼
handleLogin() {this.$refs.loginForm.validate(valid => {if (valid) {this.loading = true;if (this.loginForm.rememberMe) {Cookies.set("username", this.loginForm.username, { expires: 30 });Cookies.set("password", encrypt(this.loginForm.password), { expires: 30 });Cookies.set('rememberMe', this.loginForm.rememberMe, { expires: 30 });} else {Cookies.remove("username");Cookies.remove("password");Cookies.remove('rememberMe');}this.$store.dispatch("Login", this.loginForm).then(() => {this.$router.push({ path: '/home/homePage' || "/" }).catch(()=>{});}).catch(() => {this.loading = false;if (this.captchaEnabled) {this.getCode();}});}});}
可以看出登錄調用的是vuex里面的內容 可以在store->modules->user.js里面控制
在action可以看到
Login({ commit }, userInfo) {const username = userInfo.username.trim()const password = userInfo.passwordconst code = userInfo.codeconst uuid = userInfo.uuidreturn new Promise((resolve, reject) => {login(username, password, code, uuid).then(res => {setToken(res.data.token)commit('SET_TOKEN', res.data.token)resolve()}).catch(error => {reject(error)})})},
發送請求的login方法在src/api/login.js中
這個request是若依封裝的攔截器
import request from '@/utils/request'// 登錄方法
export function login(username, password, code, uuid) {const data = {username,password,code,uuid}return request({url: '/login',headers: {isToken: false},method: 'post',data: data})
}
存儲token的部分 在src/utils/auth.js中
import Cookies from 'js-cookie'const TokenKey = 'Admin-Token'export function getToken() {return Cookies.get(TokenKey)
}export function setToken(token) {return Cookies.set(TokenKey, token)
}export function removeToken() {return Cookies.remove(TokenKey)
}
交互
寫的是分頁 點擊刪除之后更新 所以把數據以及頁數存儲到了vuex中
<template><div class="componnentMain"><div class="addNewCom"><button @click="addNewomponent('add-newCoponent')" id="addnewBtn">新增</button><el-dialog :title="dialogComtitle" :visible.sync="addDialogCom"><template v-if="currentComponent == 'add-newCoponent'"><add-newCoponent :addDialogCom.sync="addDialogCom" /></template><template v-else><edit-comVue:addDialogCom.sync="addDialogCom":listData="ownlistData"/></template></el-dialog></div><el-table :data="dataList" style="width: 97%" class="comLable"><el-table-column prop="compName" label="公司名稱" width="260"></el-table-column><el-table-column prop="createTime" label="創建時間" width="195"><template slot-scope="{ row }">{{ turnshowTime(row.createTime) }}</template></el-table-column><el-table-column prop="compType" label="公司類別" width="190"></el-table-column><el-table-column prop="compInvite" label="注冊邀請碼" width="330"><template slot-scope="{ row }"><span class="address-container">{{ row.compInvite }}</span><!-- img 放在 span 之后 --><imgclass="copyVisit"src="@/assets/images/copy.png"alt=""srcset=""/></template></el-table-column><el-table-column label="操作" width="241" fixed="right"><template slot-scope="{ row }"><span class="combtn" @click="editcomponent('edit - comVue', row)">詳情</span><span class="combtn" @click="editcomponent('edit - comVue', row)">編輯</span><span class="deleteCom" @click="delteCompany(row.id)"> 刪除 </span></template></el-table-column></el-table><div class="pageComChange"><div class="pageComChangeCenter"><el-paginationbackgroundlayout="prev, pager,next":page-count="Number(totalPages)":current-page="currentPage"@current-change="handleCurrentChange"></el-pagination></div></div></div>
</template>
import { mapState, mapMutations, mapActions } from "vuex";
//先引入vuex模塊
export default {components: {"add-newCoponent": addnewComVue,"edit-comVue": editComVue,},computed: {...mapState("companyPage", ["pageSize","totalPages","dataList","searchConten",]),},currentPage: {get() {return this.currentPage;},set(val) {this.handleCurrentChange(val);},},mounted() {this.fetchData();//在掛載調用一次分頁接口},methods: {addNewomponent(componentType) {this.currentComponent = componentType;this.addDialogCom = !this.addDialogCom;this.dialogComtitle = "新建公司";},editcomponent(componentType, rowData) {this.currentComponent = componentType;this.addDialogCom = !this.addDialogCom;this.dialogComtitle = "修改公司信息";this.ownlistData = rowData;},...mapMutations("companyPage", ["searchCompanysendMethos","updatePagination",]),...mapActions("companyPage", ["serachComoanyactions", "fetchData"]),handleCurrentChange(val) {this.currentPage = val;if (this.searchConten == "" || this.searchType == "") {this.updatePagination({currentPage: val,pageSize: this.pageSize,});this.fetchData();} else {this.searchCompanysendMethos({currentPage: 1,pageSize: this.pageSize,searchConten: this.searchComvalue,searchType: this.searchType,});this.serachComoanyactions();}},delteCompany(id) {this.$confirm("確定要刪除該公司嗎?", "提示", {confirmButtonText: "確定",cancelButtonText: "取消",type: "warning",}).then(() => {const comids = [id];deleteCompany(comids).then((data) => {if (data.code == 200) {this.$message.success('刪除公司成功')//這是判斷有沒有搜索內容if (this.searchConten == "" || this.searchType == "") {this.updatePagination({currentPage:this.currentPage,pageSize: this.pageSize,});this.fetchData();} else {this.searchCompanysendMethos({currentPage: 1,pageSize: this.pageSize,searchConten: this.searchComvalue,searchType: this.searchType,});this.serachComoanyactions();}} else {this.$message.error("刪除該公司失敗");}});}).catch((error) => {console.log(error);});},turnshowTime(timestamp) {// 使用導入的時間轉換方法return turnshowTime(timestamp);},},data() {return {currentComponent: "",dialogComtitle: "",addDialogCom: false,currentPage: 1,ownlistData: {},};},
};
首先先注冊模塊
//store/index.vue
const store = new Vuex.Store({modules: {app,dict,user,tagsView,permission,settings,companyPage,projectPage},getters
})
模塊里面的命名空間要設置為true 并進行傳遞數據的更新
import { getAllCompany,getSearchCompany} from "../../api/company";
import Vue from 'vue'
import Vuex from 'vuex'
Vue.use(Vuex)
const companyPage=({namespaced: true,state: {currentPage: 1,pageSize: 10,totalPages: 0,searchConten:'',searchType:"",dataList: [] // 存儲數據列表},mutations: {updatePagination(state, payload) {state.currentPage = payload.currentPage;state.pageSize = payload.pageSize;state.totalPages = payload.totalPages;},updateDataList(state, dataList) {state.dataList = dataList;},searchCompanysendMethos(state, payload) {state.currentPage = payload.currentPage;state.pageSize = payload.pageSize;state.totalPages = payload.totalPages;state.searchType=payload.searchType,state.searchConten=payload.searchConten},updateSearchList(state, dataList) {state.dataList = dataList;}},actions: {async fetchData({ commit, state }) {try {// 調用接口獲取公司數據const response = await getAllCompany(state.pageSize,state.currentPage);// 更新分頁狀態commit('updatePagination', {currentPage: state.currentPage,pageSize: state.pageSize,totalPages: response.pages,dataList:response.records,});// 更新數據列表commit('updateDataList', response.records);} catch (error) {console.error('Error fetching company data:', error);}},async serachComoanyactions ({ commit, state }) {try {// 調用接口獲取公司數據const response = await getSearchCompany(state.pageSize,state.currentPage,state.searchConten,state.searchType);commit('searchCompanysendMethos', {currentPage: state.currentPage,pageSize: state.pageSize,totalPages: response.pages,dataList:response.records,});// 更新數據列表commit('updateDataList', response.records);} catch (error) {console.error('Error fetching company data:', error);}}
}
});
export default companyPage
總結
vue寫項目比之前用原生js寫項目代碼量要少得多 同時 框架好用是好用 但是要了解他的項目架構以及自帶的一些方法
下周計劃
先完成項目 然后學習一下ts 寒假沒完全學完

運行時間)


)
)


有中間件的各類鏈接和官網信息和漏洞庫以及配置問題和開源工具)
