介紹 (Introduction)
We use all kinds of techniques from creating a very reliable validation set to using k-fold cross-validation or coming up with all sorts of fancy metrics to determine how good our model performs. However, nothing beats looking at the raw output. When you look at sample output, you figure out things that none of the other methods can tell you.
我們使用各種技術,從創建非常可靠的驗證集到使用k倍交叉驗證或提出各種幻想指標來確定模型的性能。 但是,看原始輸出無所不能。 查看示例輸出時,您會發現其他方法無法告訴您的內容。
For example, if you are performing object detection on crops, you might see that when the crop is aligned in a certain way because of the wind, our bounding boxes don’t encapsulate the crop properly.
例如,如果要對農作物執行對象檢測,則可能會看到,由于風將農作物以某種方式對齊時,我們的邊界框無法正確封裝農作物。
However, looking at sample outputs is a tedious task. Say we want to test various NMS values, and we also want to test it on a bunch of images. We can always write a function for this, but running it, again and again, is boring.
但是,查看樣本輸出是一項繁瑣的任務。 假設我們要測試各種NMS值,并且還要對一堆圖像進行測試。 我們總是可以為此編寫一個函數,但是一次又一次地運行它很無聊。
Wouldn’t it be nice to have an app where we can upload an image and use a slider to adjust the NMS value? Welcome, Streamlit.
擁有一個可以上傳圖像并使用滑塊調整NMS值的應用程序不是很好嗎? 歡迎,Streamlit。
什么是Streamlit? (What is Streamlit?)
According to their website, Streamlit is an open-source web framework for data scientists and machine learning engineers to create beautiful, performant apps in just a few hours, all in pure Python.
根據他們的網站,Streamlit是一個開放源代碼Web框架,供數據科學家和機器學習工程師在短短幾個小時內使用純Python編寫漂亮,高性能的應用程序。
安裝 (Installation)
pip install streamlit入門 (Getting started)
For this demo, I will be using the model I trained for wheat object detection using a FasterRCNN. You can go back to that article, train or, download my model and then follow along.
對于此演示,我將使用經過FasterRCNN訓練用于小麥對象檢測的模型 。 您可以返回該文章,進行培訓或下載我的模型,然后繼續學習。
Streamlit is just a standard python file run from top to bottom. We will start by creating a file called app.py, and writing the following code in it.
Streamlit只是從上到下運行的標準python文件。 我們將從創建一個名為app.py的文件開始,并在其中寫入以下代碼。

We will run this as follows:
我們將如下運行:
streamlit run app.pyIt will open up our browser with the following output.
它將打開我們的瀏覽器,并顯示以下輸出。

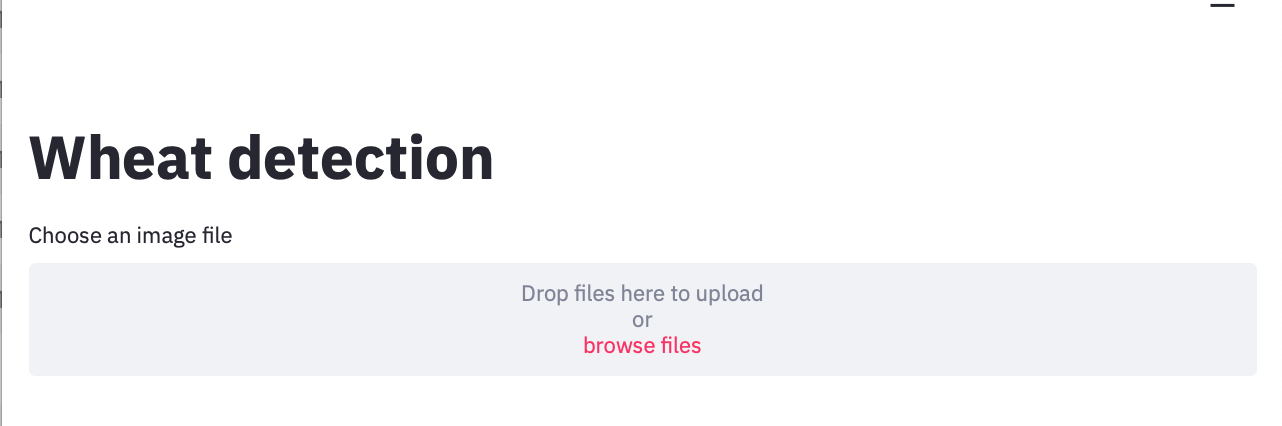
Notice that we used a # inside st.write(). This indicates that we are writing markdown inside it. The first thing we need is a file uploader to upload images to Streamlit. Again, this is as simple as doing:
注意,我們在st.write()中使用了#。 這表明我們正在其中編寫markdown。 我們需要的第一件事是文件上傳器,將圖像上傳到Streamlit。 同樣,這很簡單:

We pass the type of files allowed (jpg and png in this case), and when we do attach one, we read it using PIL. When we save app.py now:
我們傳遞允許的文件類型(在這種情況下為jpg和png),當我們附加一個文件時,我們使用PIL進行讀取。 當我們現在保存app.py時:
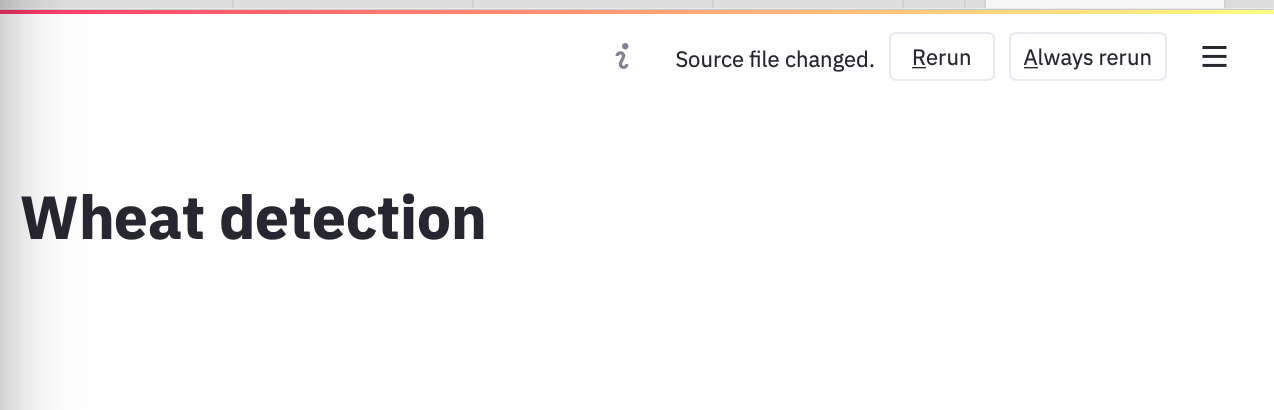
we see that Streamlit identifies that the source file has changed and asks if we want to rerun. And we do. Hence, we select “always rerun” for change to reflect automatically. Now our browser looks like this:
我們看到Streamlit確定源文件已更改,并詢問是否要重新運行。 我們做。 因此,我們選擇“始終重新運行”進行更改以自動反映。 現在,我們的瀏覽器如下所示:
To display the image, we can use st.image(). However, after generating predictions, we want to replace the input image with our predicted image. To do so, we create an empty container and display everything in it.
要顯示圖像,我們可以使用st.image()。 但是,在生成預測后,我們希望將輸入圖像替換為預測圖像。 為此,我們創建一個空容器并顯示其中的所有內容。

Another thing I like about using a container is that you can set use_column_width = True, and you won’t have to worry about image resizing. Now we can drag and drop images into our app.
我喜歡使用容器的另一件事是,您可以設置use_column_width = True,而不必擔心圖像調整大小。 現在我們可以將圖像拖放到我們的應用程序中。
Finally, we can convert our image to a tensor, load our model, generate outputs, and write it to our container.
最后,我們可以將圖像轉換為張量,加載模型,生成輸出,并將其寫入容器。
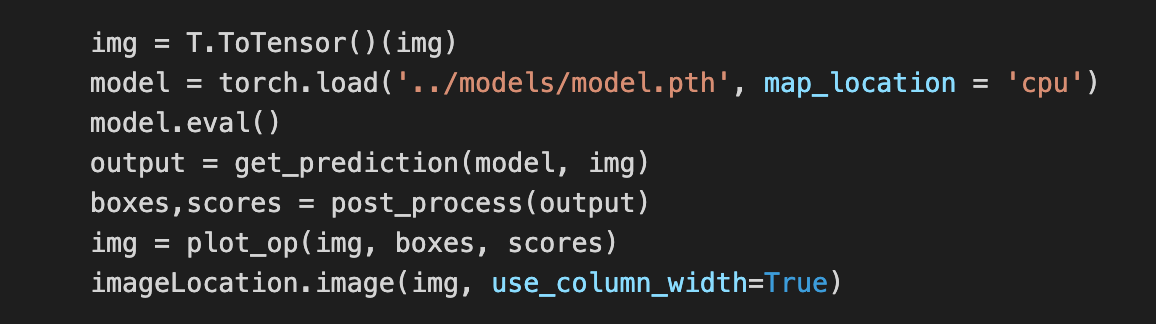
To vary NMS values, we can either use a slider or an input box to type the value or use the ‘+’ and ‘-’ buttons to increase or decrease the value. I’m going to go with the slider. Our code changes to.
要更改NMS值,我們可以使用滑塊或輸入框鍵入值,也可以使用“ +”和“-”按鈕增大或減小值。 我將使用滑塊。 我們的代碼更改為。

And that’s it. In about just 50 lines of code, we can create this super useful app to test our model. You can also create templates for various problems like image classification, segmentation, object detection, and so on and use them every time you train a new model.
就是這樣。 在大約50行代碼中,我們可以創建這個超級有用的應用程序來測試我們的模型。 您還可以針對各種問題(例如圖像分類,分割,對象檢測等)創建模板,并在每次訓練新模型時使用它們。
Finally, when we change the NMS values using the slider, if we’ve already generated predictions for a particular value, we don’t want to generate them again. Hence you can stick a simple decorator on top of the function:
最后,當我們使用滑塊更改NMS值時,如果我們已經生成了特定值的預測,則我們不想再次生成它們。 因此,您可以在該函數之上粘貼一個簡單的裝飾器:

and it will cache the results for you. This way it won’t rerun the same threshold every time but just used the cached result. Cool, isn’t it?
它將為您緩存結果。 這樣,它不會每次都重新運行相同的閾值,而只是使用了緩存的結果。 不錯,不是嗎?
結論: (Conclusion:)
That will be it for this article. I would really recommend everyone to use Streamlit and create data apps. It works well for all kinds of data and caching helps with expensive operations like working with large data frames. Give it a try.
本文就是這樣。 我真的建議大家使用Streamlit并創建數據應用程序。 它適用于所有類型的數據,并且緩存有助于處理昂貴的操作,例如處理大型數據幀。 試試看。
If you want to learn more about deep learning check out my deep learning series.
如果您想了解有關深度學習的更多信息,請查看我的深度學習系列。
~happy learning
?快樂學習
翻譯自: https://towardsdatascience.com/streamlit-use-data-apps-to-better-test-your-model-4a14dad235f5
本文來自互聯網用戶投稿,該文觀點僅代表作者本人,不代表本站立場。本站僅提供信息存儲空間服務,不擁有所有權,不承擔相關法律責任。 如若轉載,請注明出處:http://www.pswp.cn/news/390719.shtml 繁體地址,請注明出處:http://hk.pswp.cn/news/390719.shtml 英文地址,請注明出處:http://en.pswp.cn/news/390719.shtml
如若內容造成侵權/違法違規/事實不符,請聯系多彩編程網進行投訴反饋email:809451989@qq.com,一經查實,立即刪除!相關文章
)
Spring MVC Boot Cloud 技術教程匯總(長期更新)

X Window系統

冒名頂替上大學羅彩霞_什么是冒名頂替綜合癥,您如何克服?

Linux命令----用戶管理

lasso回歸和嶺回歸_如何計劃新產品和服務機會的回歸


Linux 設備管理和進程管理
)
樂高ev3涉及到的一些賽事_使您成為英雄的前五名開發者技能(提示:涉及LEGO)

貝葉斯 定理_貝葉斯定理實際上是一個直觀的分數

winfrom 點擊按鈕button彈框顯示顏色集

JavaScript時間事件:setTimeout和setInterval

webservice 基本要點

文本數據可視化_如何使用TextHero快速預處理和可視化文本數據


漸進式web應用程序_如何在漸進式Web應用程序中添加到主屏幕

linux shell 編程
)
Leetcode之javascript解題(No33-34)

真實感人故事_您的數據可以告訴您真實故事嗎?

