If you find you’re accessing the same settings over and over in Windows 10, you can add these settings to the Start menu as tiles for quick and easy access. We’ll show you how to do this.
如果發現要在Windows 10中反復訪問相同的設置,則可以將這些設置作為磁貼添加到“開始”菜單中,以便快速,輕松地進行訪問。 我們將向您展示如何執行此操作。
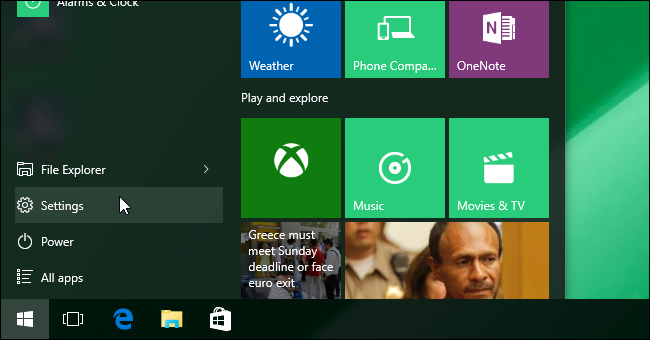
To pin a settings screen to the Start menu, open the Start menu and click “Settings”.
要將設置屏幕固定到“開始”菜單,請打開“開始”菜單,然后單擊“設置”。
Click on a settings category, such as “Update & Security”.
單擊設置類別,例如“更新和安全性”。

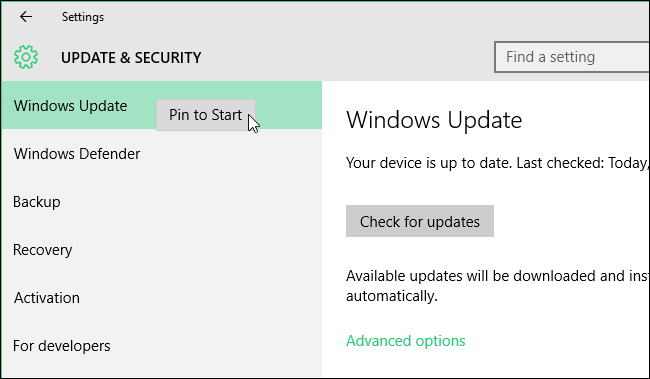
On the screen for that settings category, a list of subcategories display on the left. To add a setting to the Start menu, right-click on the setting in the list and select “Pin to Start”.
在該設置類別的屏幕上,子類別列表顯示在左側。 要將設置添加到“開始”菜單,請右鍵單擊列表中的設置,然后選擇“固定到開始”。
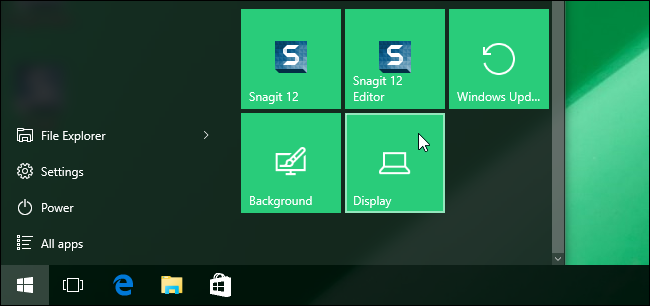
The setting is added to the bottom of the tiles on the right side of the Start menu, along with programs you’ve installed.
該設置將與已安裝的程序一起添加到“開始”菜單右側磁貼的底部。

Note that Microsoft changed the way you pin settings to the Start menu from previous builds. There used to be a thumbtack to the left of the search box on each settings screen that allowed you to pin the setting to the Start menu.
請注意,Microsoft從以前的版本更改了將設置固定到“開始”菜單的方式。 在每個設置屏幕上,搜索框左側都曾經有一個圖釘,可讓您將設置固定在“開始”菜單上。
You can also customize the Start menu in several other ways.
您還可以通過其他幾種方式自定義“開始”菜單。
翻譯自: https://www.howtogeek.com/222141/how-to-pin-your-favorite-settings-to-the-start-menu-in-windows-10/


 防止CSRF***)

)


 - 發布計劃 (Release Planning))


