lightroom預設使用
Everyone here has taken a panorama with an iphone. We’ve spun around in a circle, trying to keep that arrow right on the line, and more than likely ended up with a strange, squiggly, horizontal photo. Every so often you might get lucky and it’ll come out well, but it’s a tall task. Even if you can achieve the impossible with a nice iphone panorama, you aren’t going to print that thing 10 feet wide in your living room, or ship it off to an art gallery. So, how do you create those high quality panoramas? The kind you can print 10 ft wide and see in an art gallery. The answer is simple, and it only takes a few clicks in Adobe Lightroom.
這里的每個人都使用iphone拍攝了全景照片。 我們繞了一圈旋轉,試圖將箭頭保持在直線上,最后很有可能會得到一張奇怪的,彎曲的水平照片。 每隔一段時間,您可能會很幸運,并且會很好地解決問題,但這是一項艱巨的任務。 即使您可以通過漂亮的iPhone全景圖實現不可能的事情,也不會在客廳里打印10英尺寬的東西,也不會將其運送到美術館。 那么,如何創建那些高質量的全景圖? 您可以打印10英尺寬并在美術館中看到的那種。 答案很簡單,在Adobe Lightroom中只需單擊幾下。
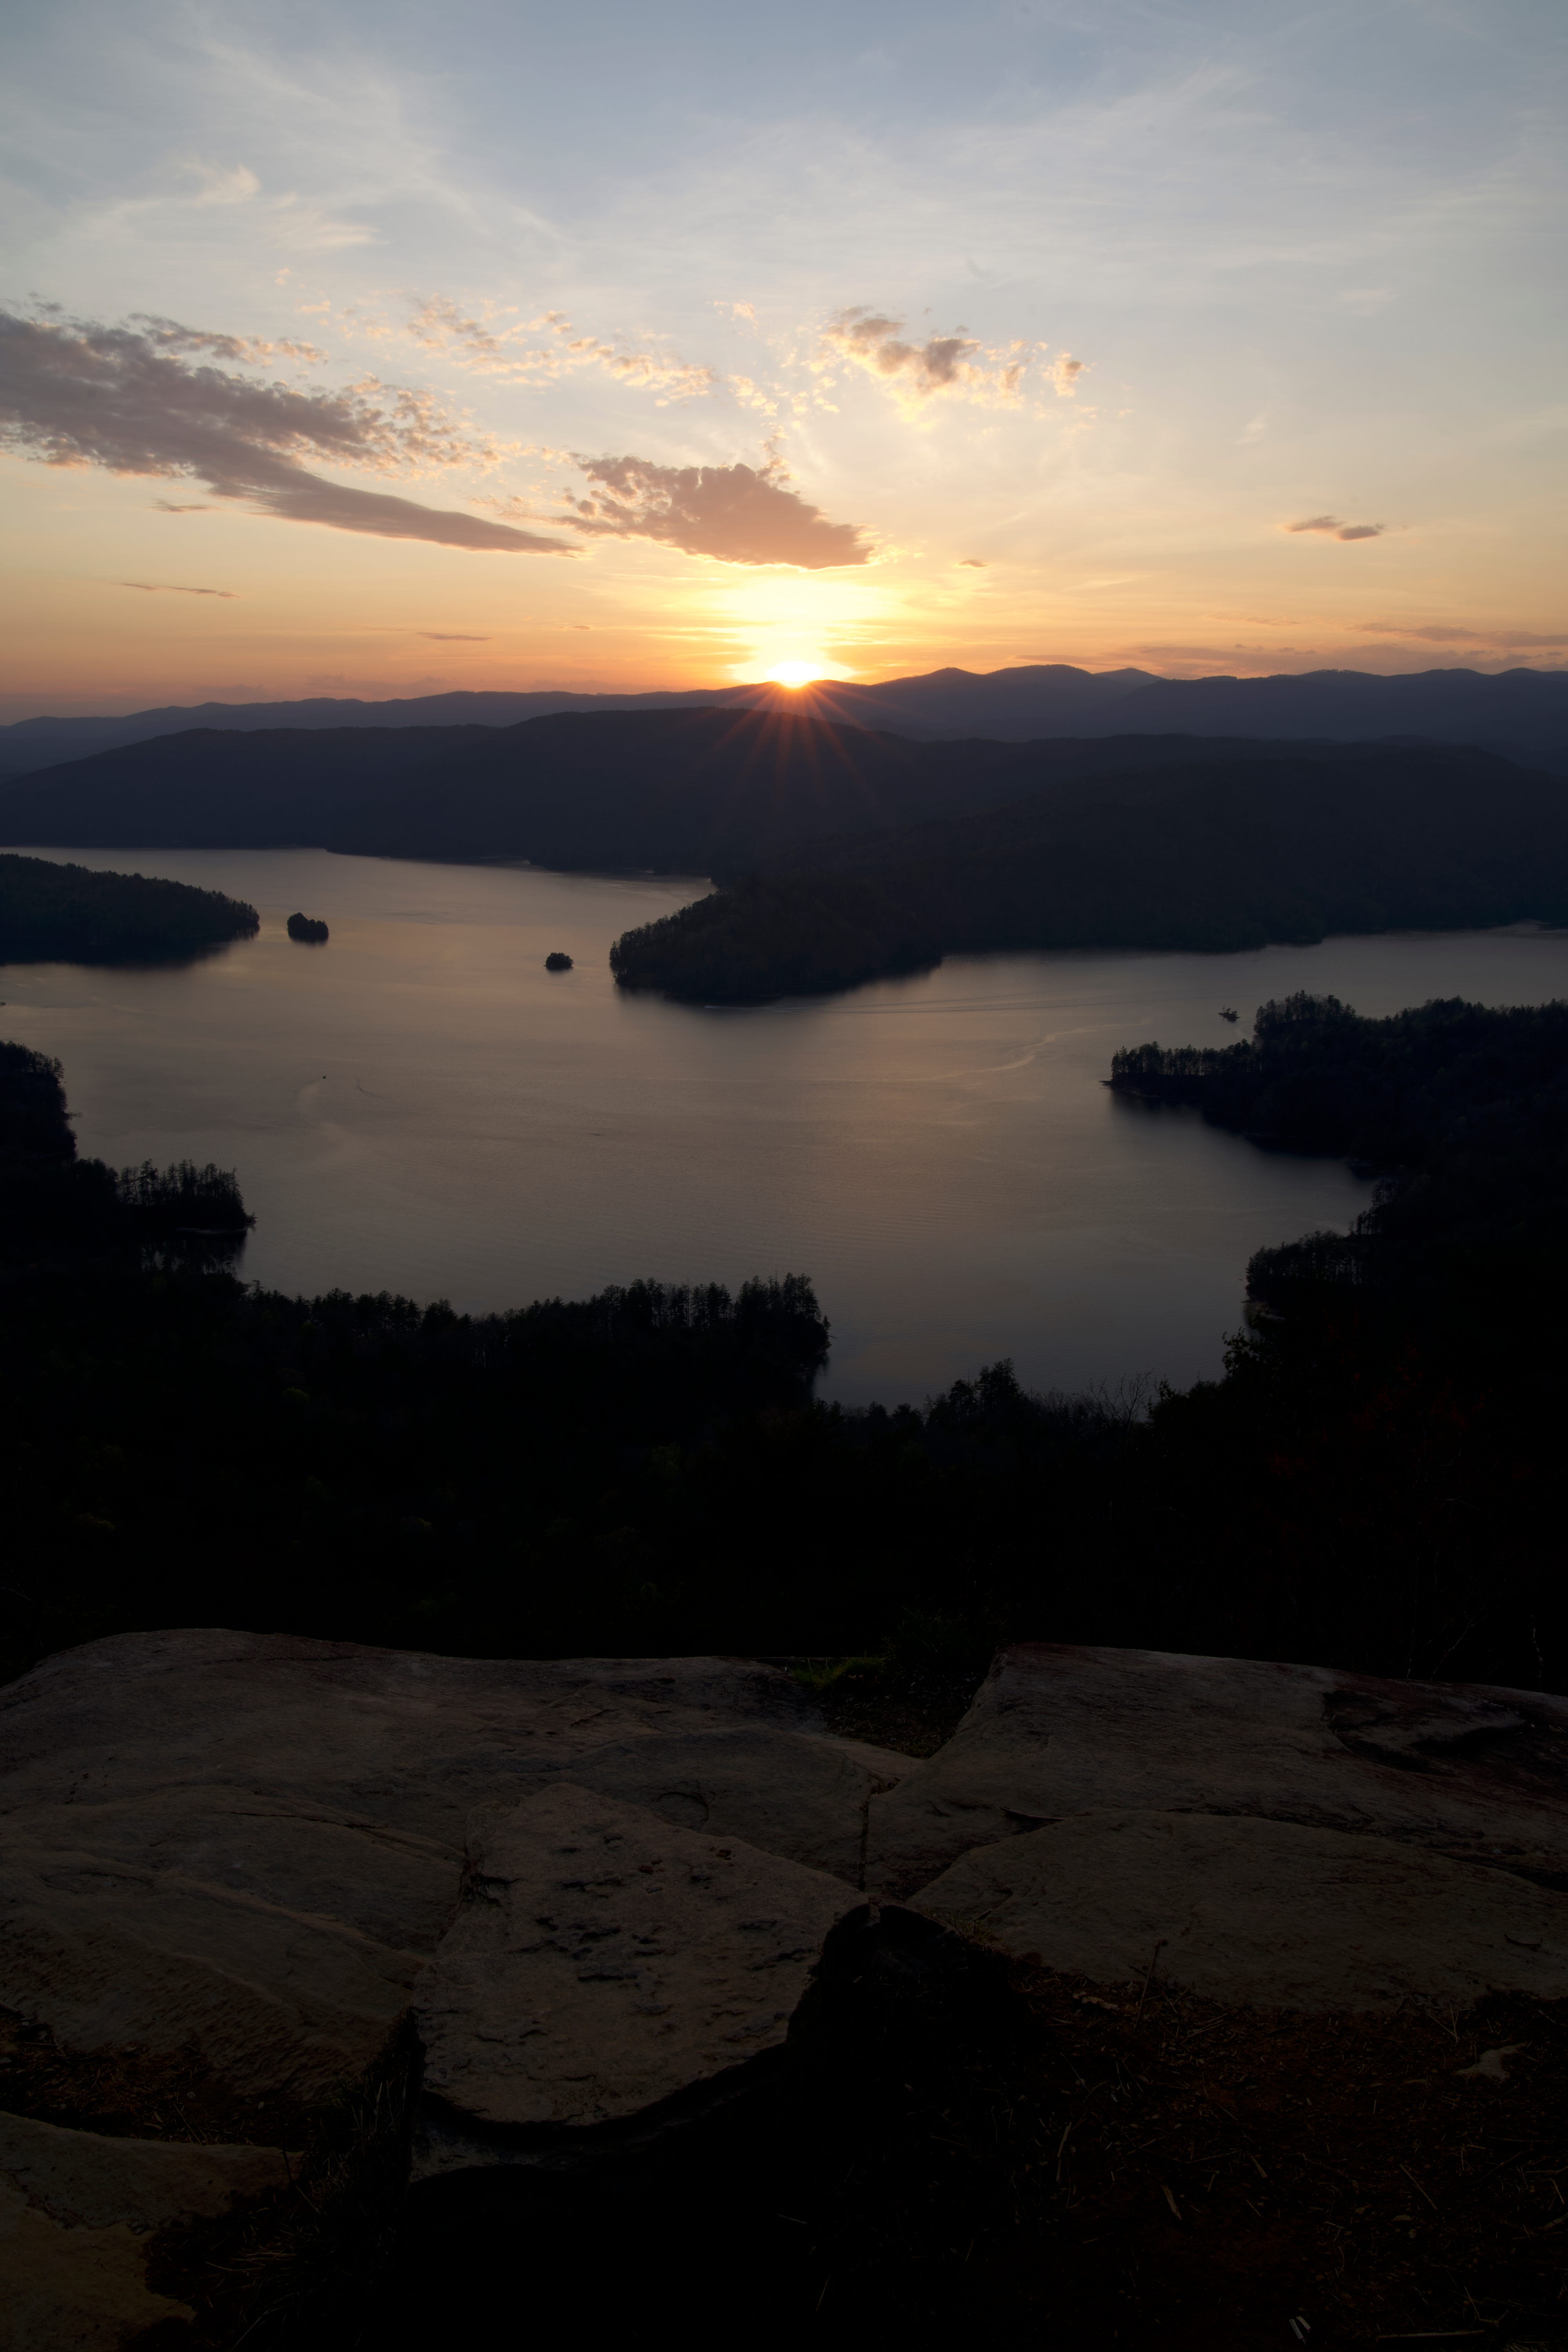
Before I dive into the process of creating the panorama in Lightroom, I’m going to rewind slightly to talk about the process of composing and shooting a panorama in the field. To do this I’m going to use an example of a panorama that I shot just a few weeks ago. I had driven out to a place called Jumping Off Rock in South Carolina (I’ll do a post in the next few weeks explaining how to get to this area. Great spot, but requires a little bit of off road travel that may require a 4x4 in some conditions). My plan was to shoot Lake Jocassee at sunset from this rocky outcropping. I wanted to capture the rock in the foreground, the lake in the middle ground, and the sun in the background as it set behind the mountains. I was going to use my Sony A7III with the 24–70 GM lens to take this picture; however, at 24 mm I couldn’t get the composition I liked. It was wide enough for the lake, but I would have to sacrifice some of the sky or some of the rock. This wasn’t going to work for me, so I decided to flip my camera vertically, and take a 3 shot panorama. Here’s how it turned out.
在深入探討在Lightroom中創建全景的過程之前,我將略微回顧一下在野外構圖和拍攝全景的過程。 為此,我將以幾周前拍攝的全景圖為例。 我已經開車去了南卡羅來納州的一個名為Jumping Off Rock的地方(我將在接下來的幾周內發表一篇文章,解釋如何到達該地區。很棒的地方,但需要一些越野旅行,可能需要在某些情況下為4x4)。 我的計劃是從多巖石的露頭日落拍攝Jocassee湖。 我想捕捉巖石的前景,中間的湖泊和背景中的太陽,因為它們是在山后。 我打算將我的Sony A7III與24–70 GM鏡頭配合使用; 但是,在24毫米處,我無法獲得喜歡的構圖。 它足以容納湖泊,但是我不得不犧牲一些天空或一些巖石。 這對我來說不起作用,所以我決定垂直翻轉相機,并拍攝3張全景照片。 結果就是這樣。

I already mentioned the camera and lens I used for this picture, and the only other piece of gear I needed was my tripod (it is worth noting that you can shoot a panorama handheld just as easily, but in this case I used a tripod). After I had decided on my composition (described above) I determined how many frames I would need to cover the width of the lake. I started by taking the middle frame.
我已經提到了用于這張照片的相機和鏡頭,而我需要的唯一其他裝備是我的三腳架 (值得注意的是,您可以輕松拍攝全景手持設備,但是在這種情況下,我使用了三腳架) 。 在決定了我的構圖(如上所述)之后,我確定了要覆蓋整個湖面寬度需要多少幀。 我從中間框架開始。
Once I had this middle frame, I knew that I would need one frame to the right and one frame to the left to capture the entire lake. To do this I kept all of my camera settings the same and swiveled my camera to the right for one frame, and then swiveled my camera to the left for the other frame. With these three frames, I had everything I needed to create the panorama. Time to import the photos to Lightroom.
一旦有了中間的框架,我便知道需要一幀向右和一幀向左才能捕獲整個湖泊。 為此,我將所有相機設置保持相同,然后將相機向右旋轉一幀,然后將相機向左旋轉另一幀。 有了這三個框架,我便擁有了創建全景所需的一切。 是時候將照片導入到Lightroom中了。

Once the photos have been imported into Lightroom, the process is extremely simple. Down in the thumbnail bar select all three images and right click. In this menu find the bar that says photo merge → panorama.
將照片導入Lightroom后,過程非常簡單。 在縮略圖欄中向下選擇所有三個圖像,然后單擊鼠標右鍵。 在此菜單中,找到寫有照片合并→全景的欄。

Once you have clicked panorama, you will see the merged panorama photo in the thumbnail bar. The rest is up to and your particular editing style. As I’ve discussed in a previous article, I like to make any basic edits in Lightroom, then refine the edit in Photoshop, and finally bring the image back to Lightroom for any final adjustments (this is a process I call circling). If you’re interested in this editing workflow, be sure to check out my previous article so that you can get the most out of it without losing image quality.
單擊全景后,您將在縮略圖欄中看到合并的全景照片。 其余的取決于您的特定編輯風格。 正如我在上一篇文章中討論的那樣,我喜歡在Lightroom中進行任何基本編輯,然后在Photoshop中進行修改,最后將圖像帶回Lightroom進行最終調整(這就是我所說的盤旋過程)。 如果您對此編輯工作流程感興趣,請務必閱讀我的上一篇文章,以便您在不損失圖像質量的情況下獲得最大收益。
Hope this helps in creating some amazing panoramas. It’s a simple technique, and one to keep in your back pocket for those difficult compositions and epic landscapes. If you create any panoramas using this technique, be sure to tag me on instagram @mashley.media. Be creative, and as soon as the current craziness is over, go out and take some pictures!
希望這有助于創建一些令人驚嘆的全景圖。 這是一種簡單的技術,可以讓您輕松應對那些困難的構圖和史詩般的風景。 如果使用此技術創建任何全景圖,請確保在instagram @ mashley.media上為我添加標簽。 要有創造力,當當前的瘋狂結束后,出去拍照吧!
翻譯自: https://uxdesign.cc/up-your-game-with-panoramas-in-lightroom-e2448d28c65d
lightroom預設使用
本文來自互聯網用戶投稿,該文觀點僅代表作者本人,不代表本站立場。本站僅提供信息存儲空間服務,不擁有所有權,不承擔相關法律責任。 如若轉載,請注明出處:http://www.pswp.cn/news/274587.shtml 繁體地址,請注明出處:http://hk.pswp.cn/news/274587.shtml 英文地址,請注明出處:http://en.pswp.cn/news/274587.shtml
如若內容造成侵權/違法違規/事實不符,請聯系多彩編程網進行投訴反饋email:809451989@qq.com,一經查實,立即刪除!相關文章

第91次TC39會議舉行,這還是我認識的JS嗎?

android調節音量——AudioManager的應用

靜態創意和動態創意_再次發揮創意需要什么?

oracle 存儲過程 stored procedure 查詢一條記錄或多條記錄

我寫了 ahooks 源碼分析系列,收到官方邀請我一起維護,這是一次提 PR 的記錄...

Hdu 4415 Assassin's Creed 【貪心】.cpp

ahooks 整體架構篇,大家都能看得懂

gif動態圖gif出處_我喜歡GIF的怪異事物

)
Git基礎教程(必學)

用戶體驗改善案例_優化用戶體驗案例研究的五種方法

video from html5

我撿到寶了!2022版前端面試上岸手冊,最新最細致!

flo file_Flo菜單簡介:可擴展的拇指友好型移動導航

超炫的iphone應用UI/UX設計賞析


什么是設計模式_什么是設計?

hive實現not in

有哪些值得學習的大型 React 開源項目?
