在后端開發完接口之后,前端如果再去寫一遍接口來聯調的話,會很浪費時間,這個時候使用OpenAPI接口文檔來生成Axios接口代碼的話,會大大提高我們的開發效率。
Axios引入
Axios是一個基于Promise的HTTP客戶端,用于瀏覽器和Node.js。它可以在瀏覽器中發送異步HTTP請求,并且支持處理請求和響應的攔截器、請求和響應的轉換、取消請求等功能。Axios具有簡潔的API設計,易于使用和集成到各種前端框架和項目中。
在Vue中使用Axios可以方便地進行與我們的后端API的通信。下面是在Vue中使用Axios的步驟:
-
安裝Axios:首先,你需要在項目中安裝Axios。你可以使用npm或yarn進行安裝,例如:
npm install axios ``` -
導入Axios:在main.ts導入Axios庫:
import axios from 'axios'; ``` -
發送HTTP請求:可以使用Axios發送HTTP請求:
axios.get('/api/users').then(response => {// 處理成功響應console.log(response.data);}).catch(error => {// 處理錯誤console.error(error);}); ```上述代碼中,我們使用`axios.get`方法發送一個GET請求到`/api/users`接口,并使用`.then`和`.catch`方法處理成功和錯誤響應。 -
設置請求和響應攔截器:Axios允許你在請求發送之前和響應返回之后攔截并處理請求和響應。可以使用
axios.interceptors來設置請求和響應攔截器。我們可以在Vue組件的生命周期鉤子中設置攔截器:axios.interceptors.request.use(config => {// 在發送請求之前做些什么return config; }, error => {// 處理請求錯誤return Promise.reject(error); });axios.interceptors.response.use(response => {// 對響應數據做些什么return response; }, error => {// 處理響應錯誤return Promise.reject(error); }); ```上述代碼中,我們使用`axios.interceptors.request.use`方法設置請求攔截器,在發送請求之前可以對請求進行一些處理。類似地,我們使用`axios.interceptors.response.use`方法設置響應攔截器,在接收到響應后可以對響應進行處理。
這只是Axios在Vue中的基本用法示例,更多的可以參考Axios的官方文檔https://axios-http.com/
?引入ApenAPI-TypeScript-Codegen
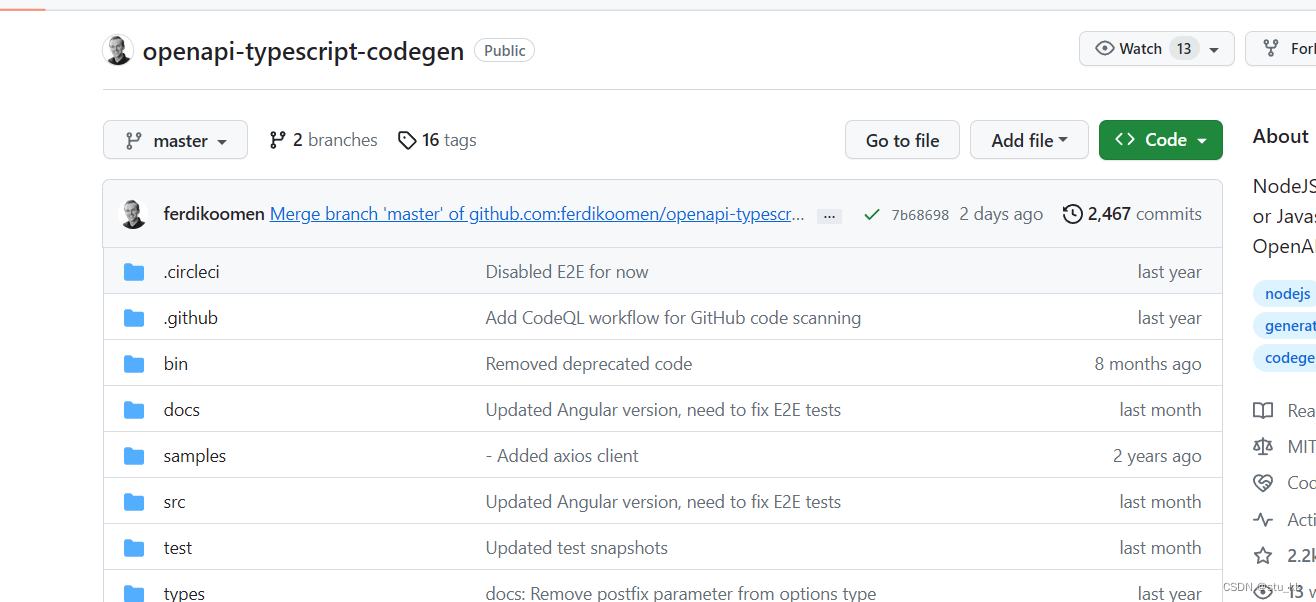
這個nodejs庫可以幫助我們根據后端的接口文檔生成對應的聯調代碼,無需再手動寫一遍,提高我們的開發效率,使用地址:ferdikoomen/openapi-typescript-codegen: NodeJS library that generates Typescript or Javascript clients based on the OpenAPI specification (github.com)
安裝:
npm install openapi-typescript-codegen --save-dev詳細的help介紹:
$ openapi --helpUsage: openapi [options]Options:-V, --version output the version number-i, --input <value> OpenAPI specification, can be a path, url or string content (required)-o, --output <value> Output directory (required)-c, --client <value> HTTP client to generate [fetch, xhr, node, axios, angular] (default: "fetch")--name <value> Custom client class name--useOptions Use options instead of arguments--useUnionTypes Use union types instead of enums--exportCore <value> Write core files to disk (default: true)--exportServices <value> Write services to disk (default: true)--exportModels <value> Write models to disk (default: true)--exportSchemas <value> Write schemas to disk (default: false)--indent <value> Indentation options [4, 2, tab] (default: "4")--postfixServices Service name postfix (default: "Service")--postfixModels Model name postfix--request <value> Path to custom request file-h, --help display help for commandExamples$ openapi --input ./spec.json --output ./generated$ openapi --input ./spec.json --output ./generated --client xhr之后我們去看一下后端的Knife4j接口文檔:
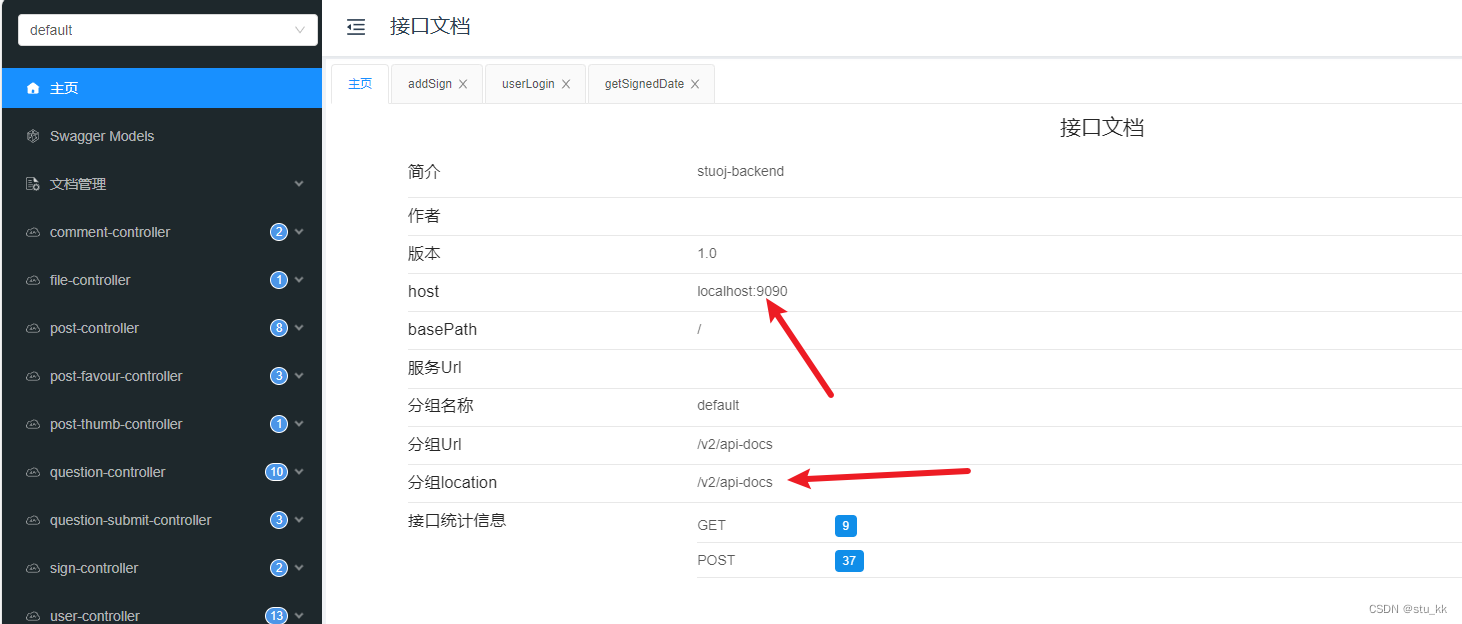
去瀏覽器輸入這個:localhost:9090/api/v2/api-docs

如果顯示這個,則沒問題,接下來在前端項目的終端輸入指令:
openapi --input http://localhost:9090/api/v2/api-docs --output ./generated --client axios就會自動生成聯調接口的代碼:
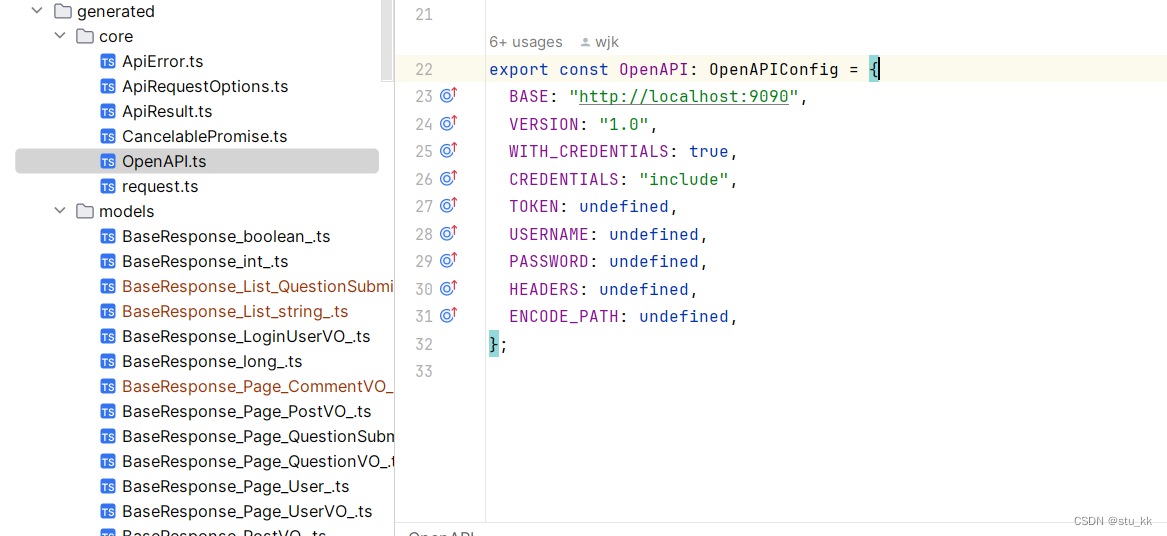
?這個時候我們在到代碼中去引用就可以發送請求給后端了:


)

![反序列化 [網鼎杯 2020 朱雀組]phpweb 1](http://pic.xiahunao.cn/反序列化 [網鼎杯 2020 朱雀組]phpweb 1)


)

)


