提示:文章有錯誤的地方,還望諸位大神不吝指教!
文章目錄
- 前言
- 一、插件RuntimePreviewGenerator(方案一)
- 二、unity 官方提供的接口(方案二)
- 三、方法三,可以處理單個模型,也可以處理多個(推薦)
- 總結
效果圖:
前言
`本文將提供三種方法,共大家參考!
提示:以下是本篇文章正文內容,下面案例可供參考
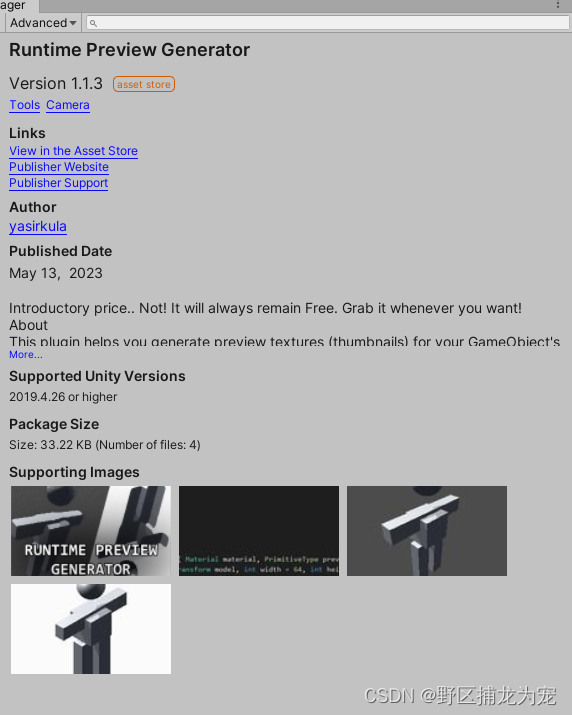
一、插件RuntimePreviewGenerator(方案一)
在untiy 商店有一個類似插件:RuntimePreviewGenerator,沒怎么研究。有興趣的可以去看看
地址鏈接: [https://assetstore.unity.com/packages/tools/camera/runtime-preview-generator-112860)
二、unity 官方提供的接口(方案二)
這個方法是unity 官方提供的接口,不好用,擴展性太低了;
掛載相機上,參數賦值,直接運行即可。圖片會生成在Resources/Images 里面。記得刷新一下unity 才能看到圖片。刷新快捷鍵:Ctrl+R
下面是代碼:
using System.Collections;
using System.Collections.Generic;
using UnityEngine;
using UnityEditor;public class ExportPNG : MonoBehaviour
{public GameObject[] prefabs;void Start(){for (int i = 0; i < prefabs.Length; i++){Debug.Log(prefabs[i].name);EditorUtility.SetDirty(prefabs[i]);Texture2D image = AssetPreview.GetAssetPreview(prefabs[i]);System.IO.File.WriteAllBytes(Application.dataPath + "/Resources/Images/" + prefabs[i].name + ".png", image.EncodeToPNG());}//for (int i = 0; i < prefabs.Length; i++)//{//    Debug.Log(prefabs[i].name);//    EditorUtility.SetDirty(prefabs[i]);//    Texture2D image = AssetPreview.GetAssetPreview(prefabs[i]);//    image = ResizeTexture(image, 512, 512);//    System.IO.File.WriteAllBytes(Application.dataPath + "/Resources/Images/" + prefabs[i].name + ".png", image.EncodeToPNG());//}}}
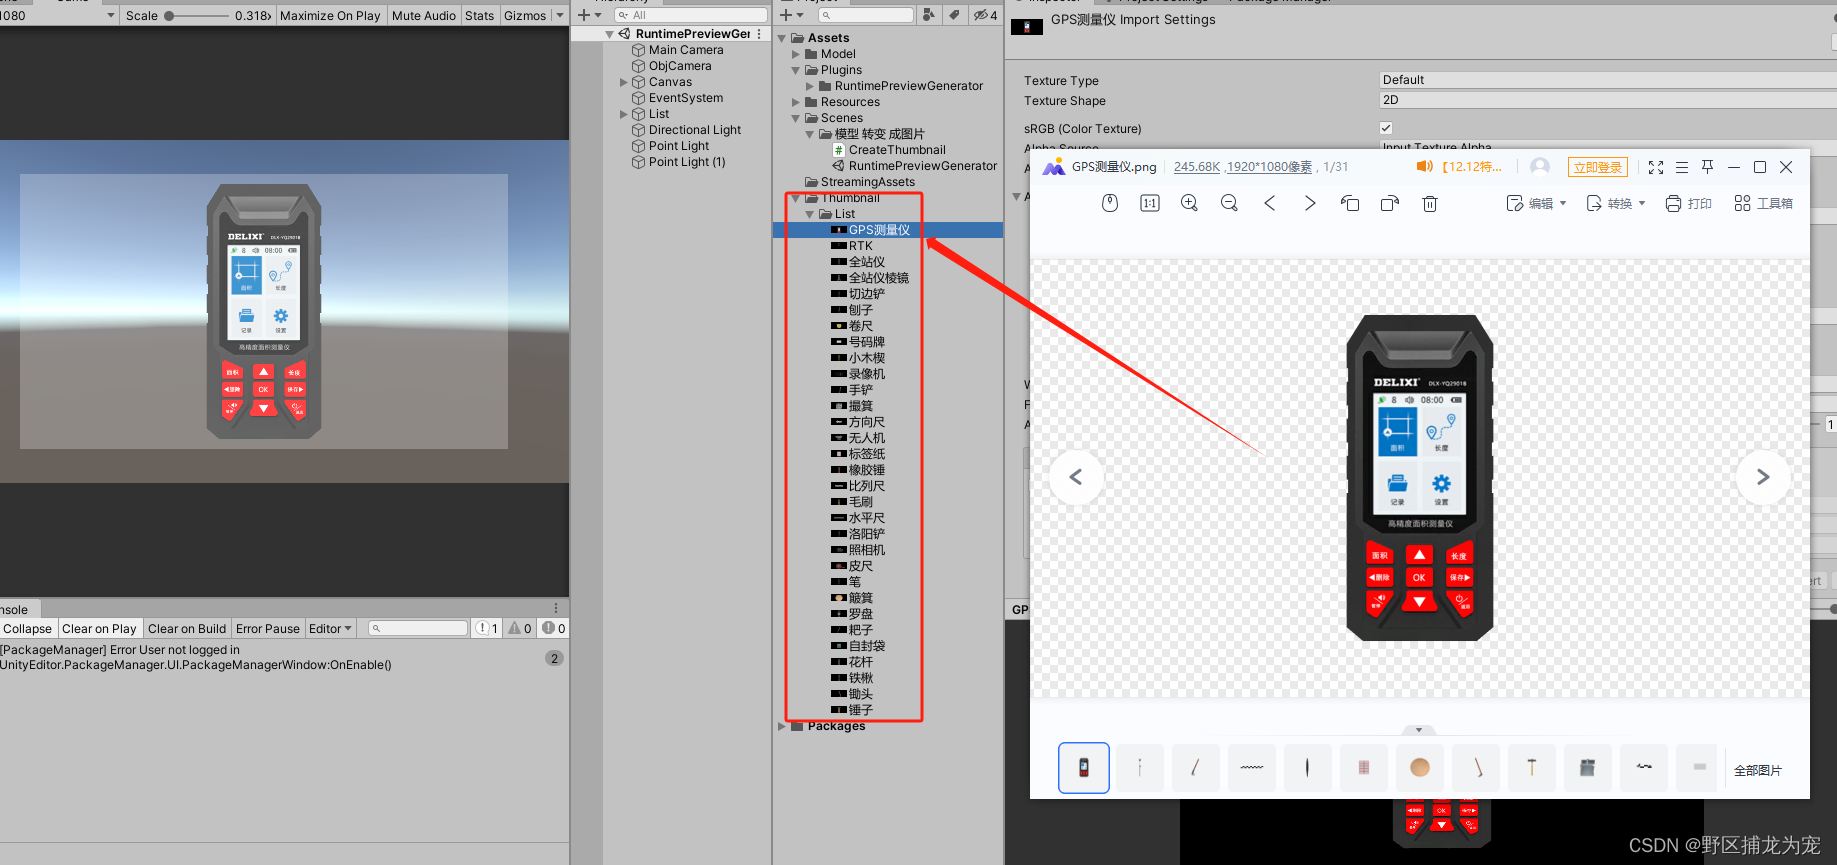
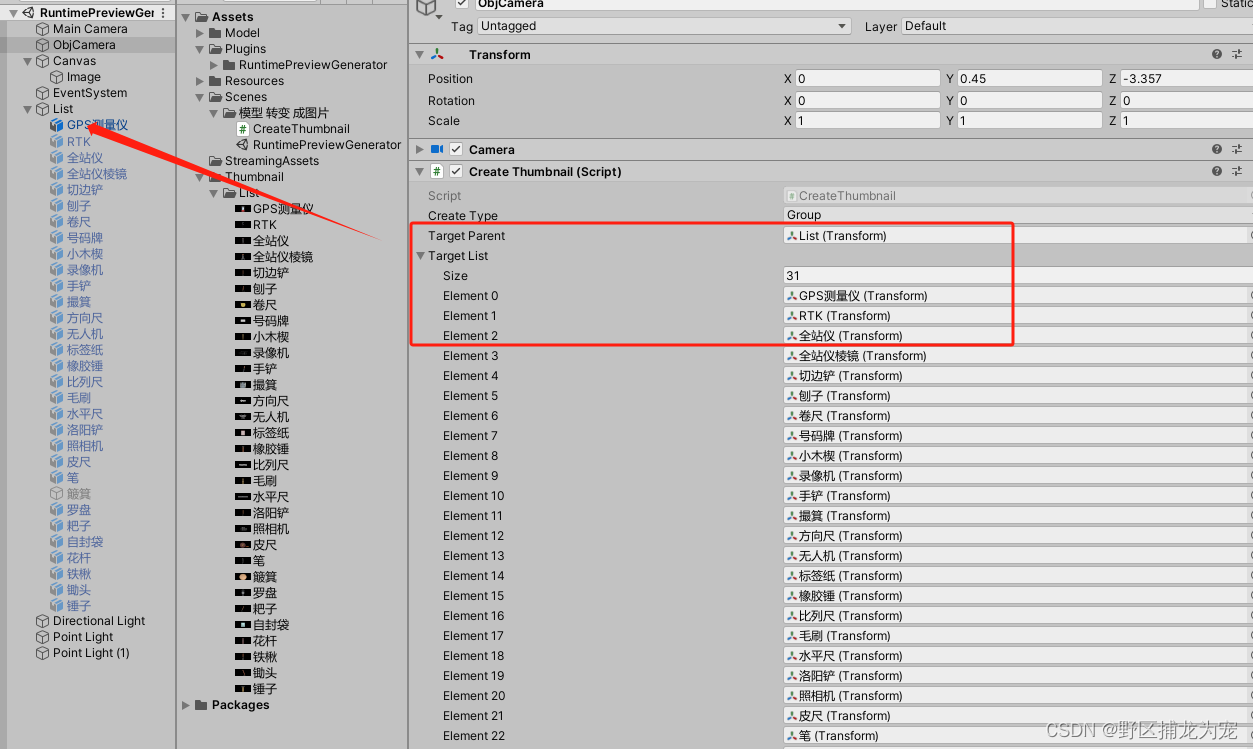
三、方法三,可以處理單個模型,也可以處理多個(推薦)
1.模型設置一下 shader,使用主要是不接受光照。當然也可以直接把模型烘培一下。
2.把相機調整為:Orthographic,然后拉遠一點。
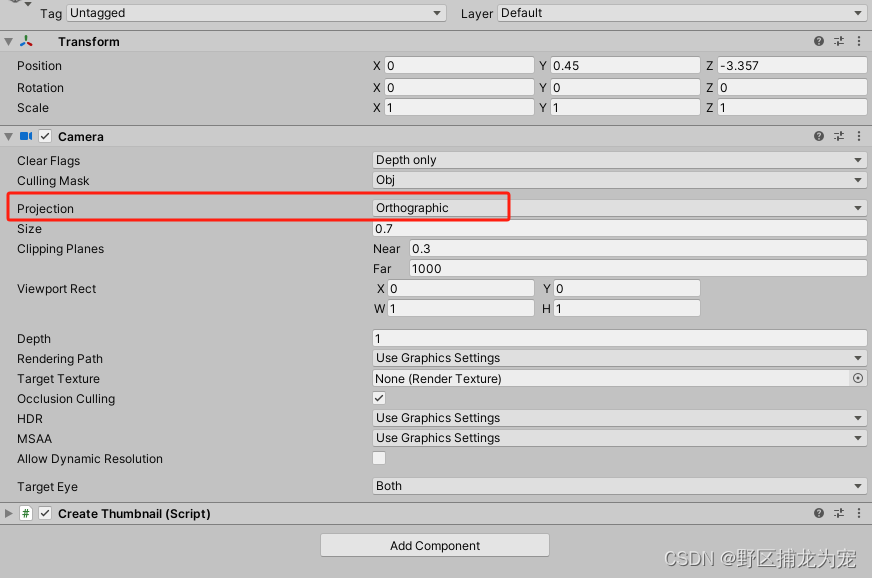
3.掛載代碼,運行項目即可,按下刷新快捷鍵:Ctrl+R。
方法三項目鏈接: link
總結
好記性不如爛筆頭
)


 VTS測試)


)


)

