文章目錄
- 一、實驗介紹
- 二、實驗環境
- 1. 配置虛擬環境
- 2. 庫版本介紹
- 三、實驗內容
- 0. 安裝 PIL 庫
- 1. 圖像讀取和寫入
- a. 圖像讀取
- b. 圖像寫入
- c. 構建新圖像
- 2. 圖像復制粘貼
- a. 圖像復制
- b. 圖像局部復制
- c. 圖像粘貼
- 3. 幾何變換
- a. 圖像調整大小
- b. 圖像旋轉
- c. 圖像翻轉
- 4. 圖像增強
- a. 圖像亮度增強
- b. 圖像顏色增強
- c. 圖像對比度增強
- d. 圖像銳度增強
- 5. 圖像濾波
- a. 圖像濾波 - 浮雕
- b. 圖像濾波 - 輪廓
?
一、實驗介紹
??圖像處理在深度學習領域中起到了至關重要的作用,Python Imaging Library(PIL)作為一種主流的圖像處理庫,為圖像的讀取、處理和增強提供了豐富的功能。
??本實驗將介紹 PIL 的基本用法,主要包括圖像讀取、寫入、復制、粘貼、幾何變換以及圖像增強、圖像濾波等方面。
Pillow v2.4.0 (PIL fork)
二、實驗環境
??本系列實驗使用了PyTorch深度學習框架,相關操作如下:
1. 配置虛擬環境
conda create -n DL python=3.7
conda activate DL
pip install torch==1.8.1+cu102 torchvision==0.9.1+cu102 torchaudio==0.8.1 -f https://download.pytorch.org/whl/torch_stable.html
conda install matplotlib
conda install scikit-learn
2. 庫版本介紹
| 軟件包 | 本實驗版本 | 目前最新版 |
|---|---|---|
| matplotlib | 3.5.3 | 3.8.0 |
| numpy | 1.21.6 | 1.26.0 |
| python | 3.7.16 | |
| scikit-learn | 0.22.1 | 1.3.0 |
| torch | 1.8.1+cu102 | 2.0.1 |
| torchaudio | 0.8.1 | 2.0.2 |
| torchvision | 0.9.1+cu102 | 0.15.2 |
三、實驗內容
0. 安裝 PIL 庫
??可以使用以下命令:
pip install pillow
1. 圖像讀取和寫入
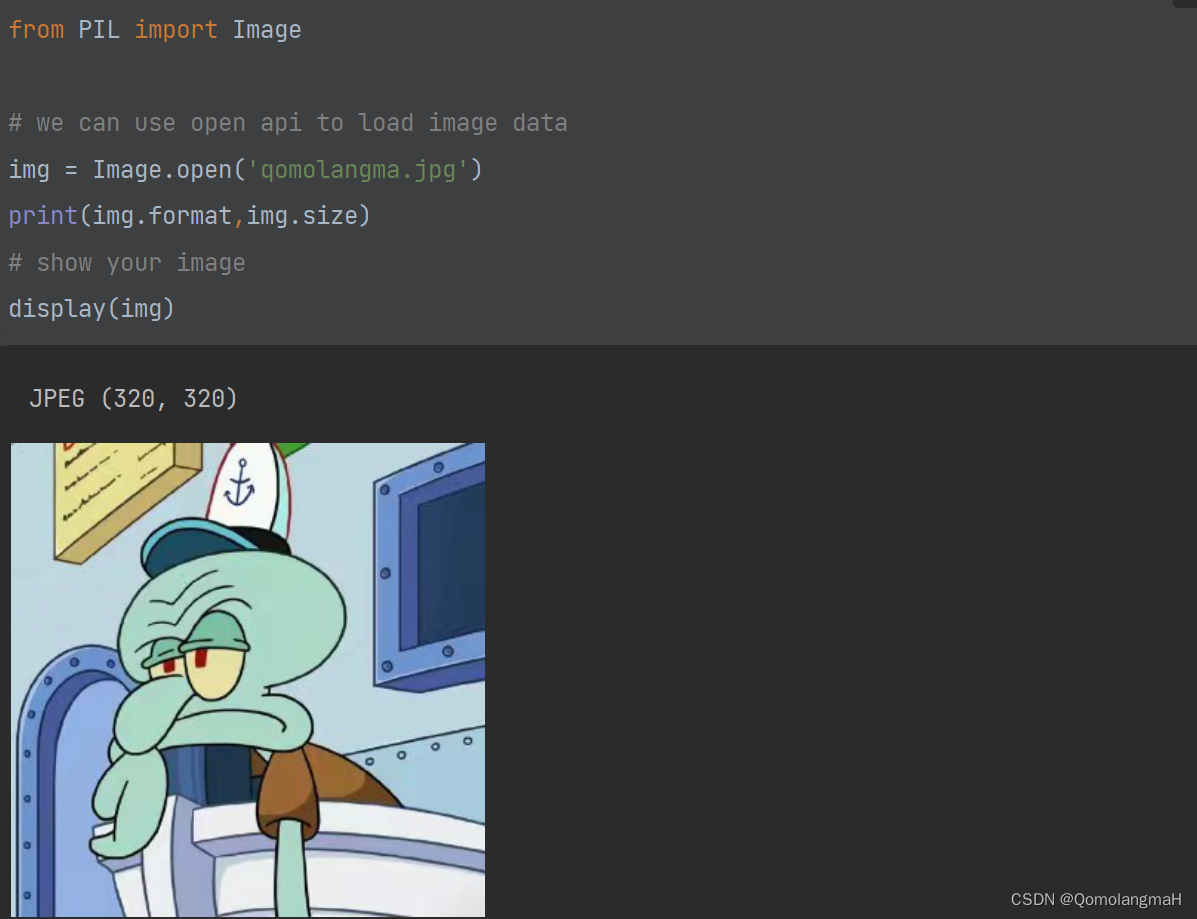
??下面,我將介紹如何使用 PIL 的 Image.open 方法讀取圖像,并使用 display 方法顯示圖像。展示了如何使用 save 方法將圖像保存到設備上、使用 Image.new 構建新的圖像。
a. 圖像讀取
from PIL import Image# we can use open api to load image data
img = Image.open('qomolangma.jpg')
print(img.format,img.size)
# show your image
display(img)
b. 圖像寫入
import os# we can utilize save() to write current image to device.
file_name = 'qomolangmah.jpg'
img.save(file_name)
print(os.path.join(os.getcwd(),file_name))
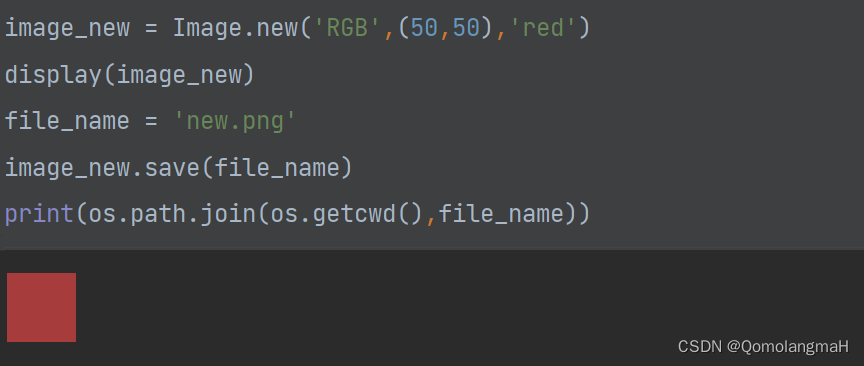
c. 構建新圖像
image_new = Image.new('RGB', (50, 50), 'red')
display(image_new)
file_name = 'new.png'
image_new.save(file_name)
print(os.path.join(os.getcwd(), file_name))
2. 圖像復制粘貼
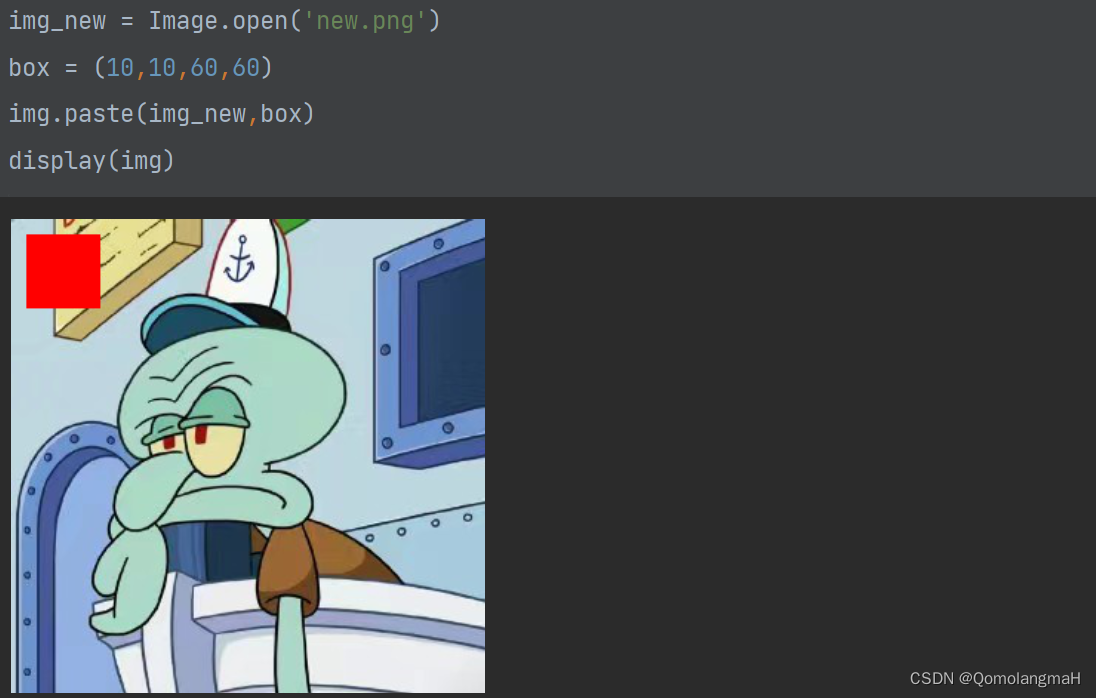
??PIL 提供了靈活的圖像復制和粘貼功能,下面我將介紹全局級別和局部級別的圖像復制,以及使用 crop 方法進行局部圖像復制。此外,還有圖像的粘貼和合并操作。
a. 圖像復制
img = Image.open('qomolangma.jpg')
img_copy = img.copy()
display(img_copy)
b. 圖像局部復制
rect = (0, 0, 100, 100)
img_copy_local = img.crop(rect)
display(img_copy_local)

c. 圖像粘貼
img_new = Image.open('new.png')
box = (10, 10, 60, 60)
img.paste(img_new, box)
display(img)
3. 幾何變換
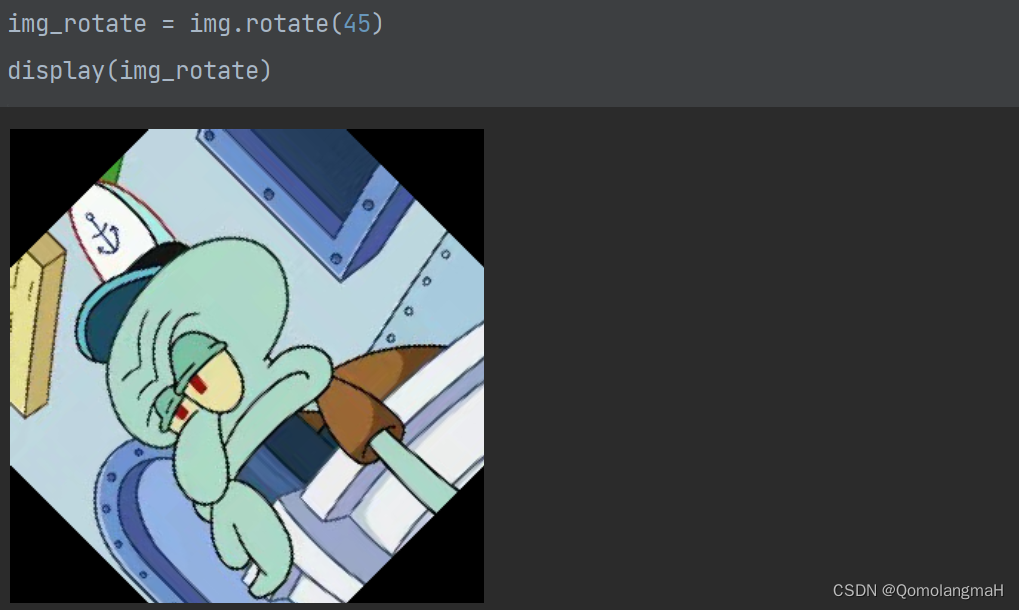
??圖像的幾何變換是圖像處理中的重要任務之一,下面我將詳細介紹圖像的調整大小、旋轉和翻轉操作。
a. 圖像調整大小
img = Image.open('qomolangma.jpg')
print(img.size)
img_resize = img.resize((512, 224))
print(img_resize.size)
b. 圖像旋轉
img_rotate = img.rotate(45)
display(img_rotate)
或使用:
img_rotate = img.transpose(Image.ROTATE_90)
img_rotate = img.transpose(Image.ROTATE_180)
img_rotate = img.transpose(Image.ROTATE_270)
display(img_rotate)
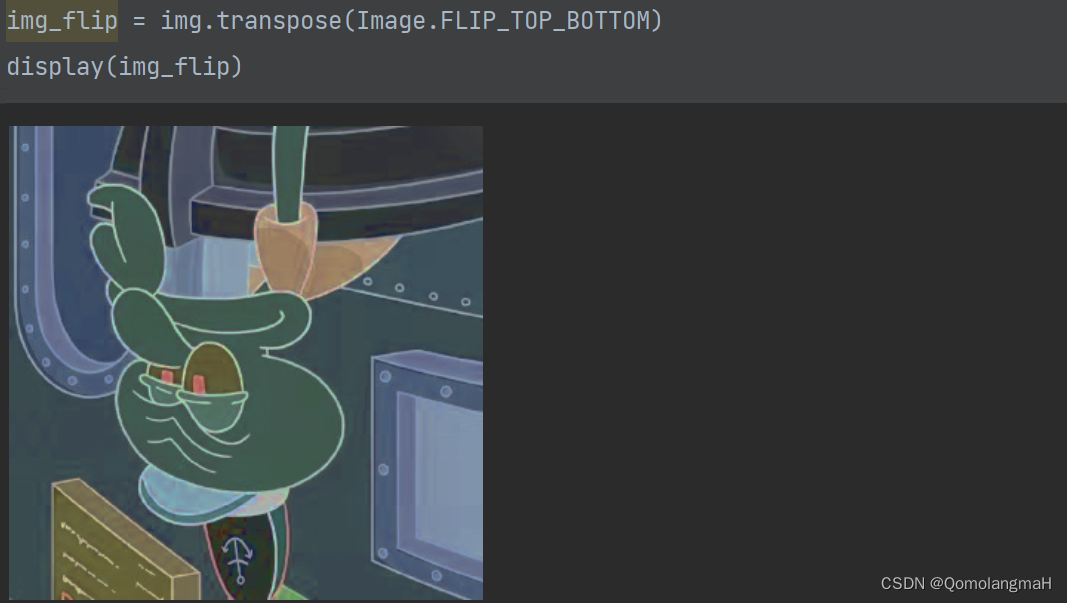
c. 圖像翻轉
img_flip = img.transpose(Image.FLIP_LEFT_RIGHT)
display(img_flip)
4. 圖像增強
??PIL 提供了 ImageEnhance 和 ImageFilter等 模塊,用于圖像的亮度、顏色、對比度和銳度的增強。下面,我將通過示例演示如何使用這些模塊進行圖像增強。
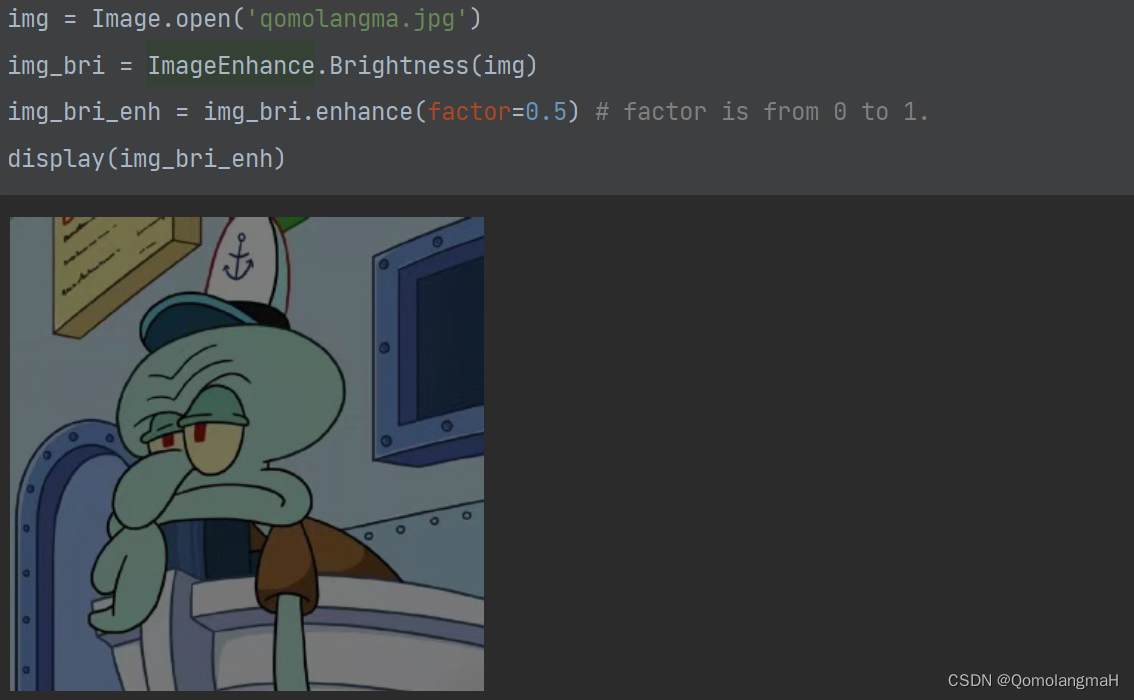
a. 圖像亮度增強
from PIL import ImageEnhanceimg = Image.open('qomolangma.jpg')
img_bri = ImageEnhance.Brightness(img)
img_bri_enh = img_bri.enhance(factor=0.5) # factor is from 0 to 1.
display(img_bri_enh)
b. 圖像顏色增強
img_col = ImageEnhance.Color(img)
img_col_enh = img_col.enhance(factor=1.5)  # factor is from 0 to postive infinity
display(img_col_enh)

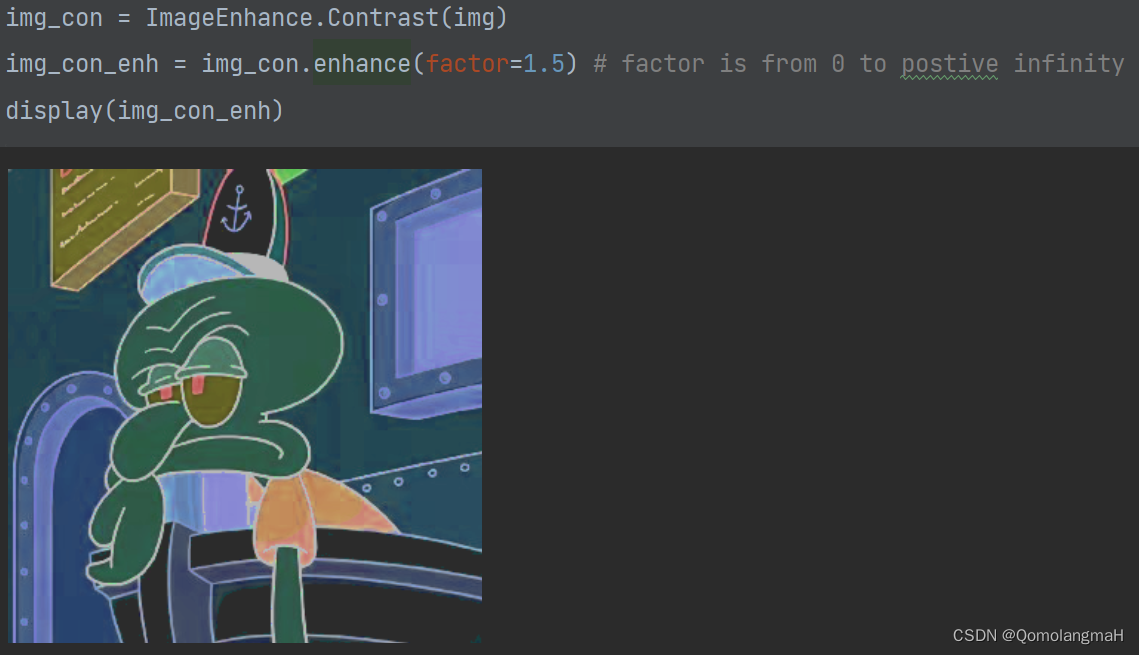
c. 圖像對比度增強
img_con = ImageEnhance.Contrast(img)
img_con_enh = img_con.enhance(factor=1.5)  # factor is from 0 to postive infinity
display(img_con_enh)
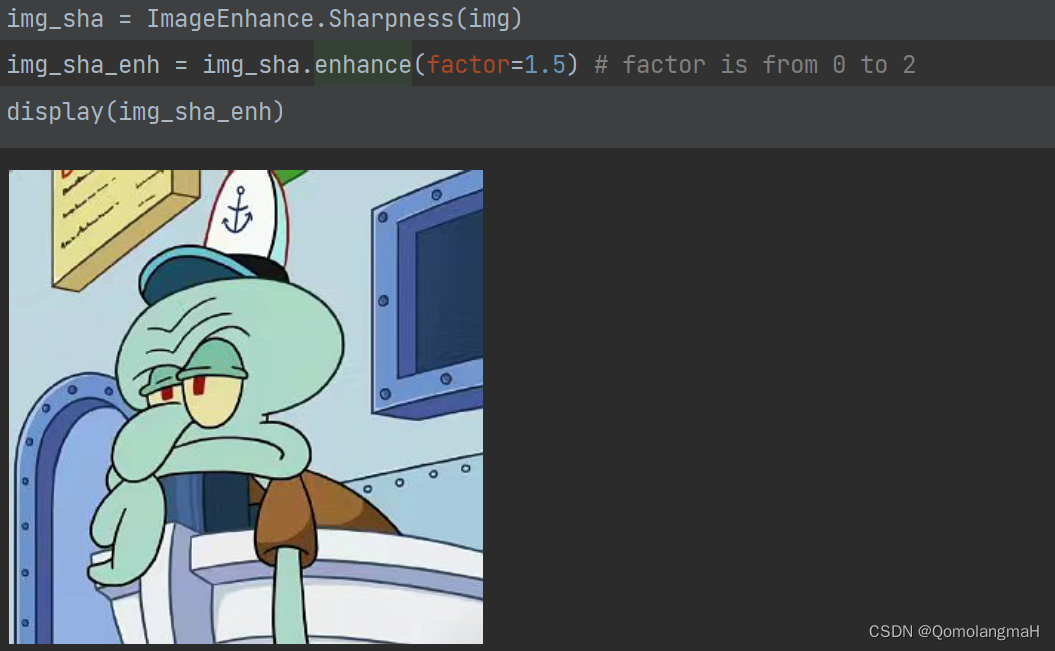
d. 圖像銳度增強
img_sha = ImageEnhance.Sharpness(img)
img_sha_enh = img_sha.enhance(factor=1.5)  # factor is from 0 to 2
display(img_sha_enh)
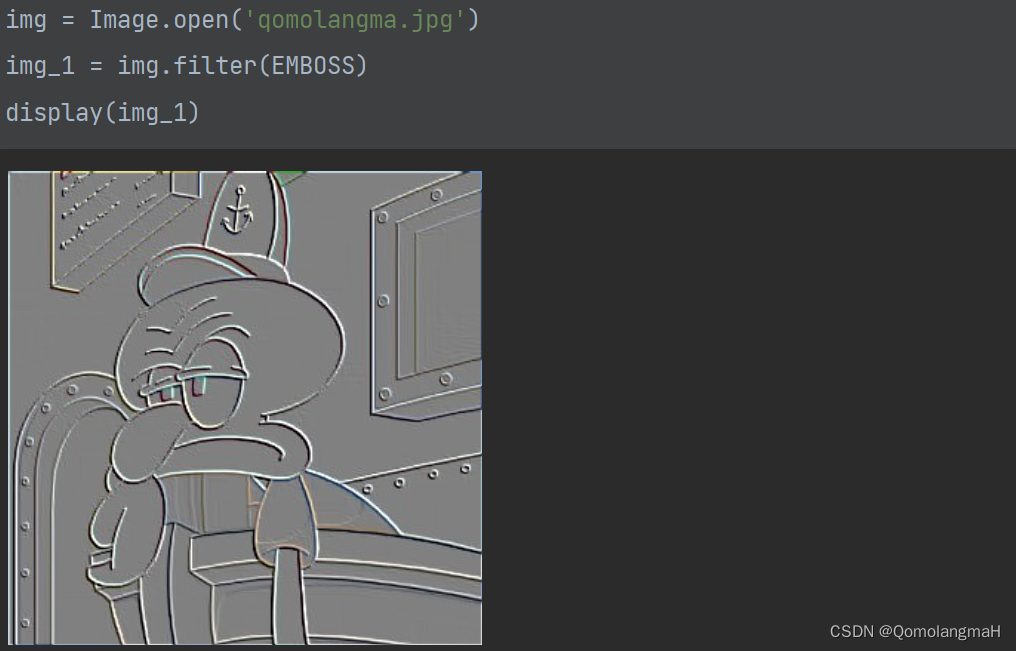
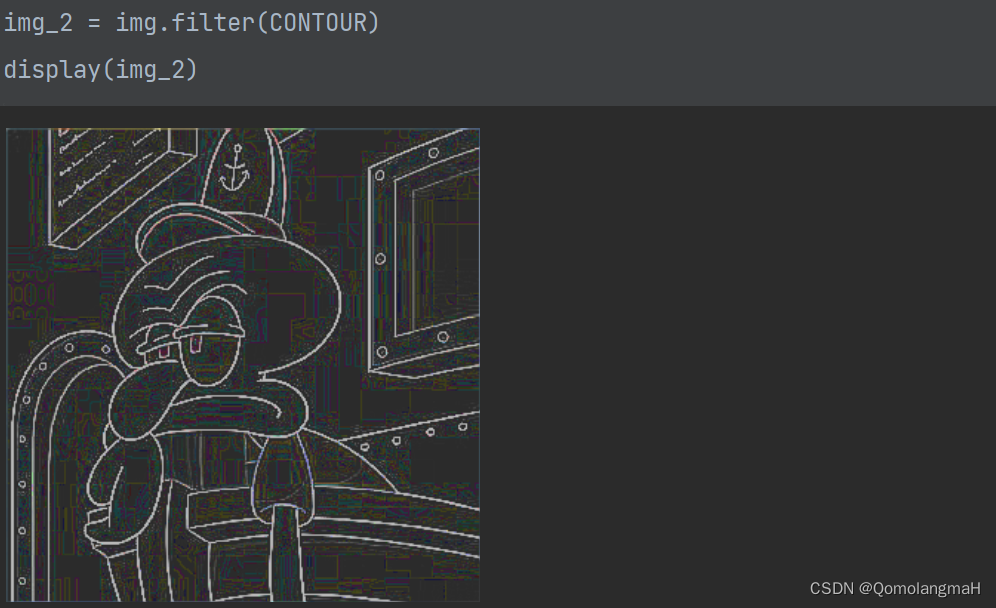
5. 圖像濾波
??PIL 的 ImageFilter 模塊提供了多種濾波操作,如浮雕(EMBOSS)和輪廓(CONTOUR)等。
a. 圖像濾波 - 浮雕
from PIL.ImageFilter import EMBOSS, CONTOURimg_1 = img.filter(EMBOSS)
display(img_1)
b. 圖像濾波 - 輪廓
img_2 = img.filter(CONTOUR)
display(img_2)


)


)


)
