一、收集單個日志文件
注意事項:
- logstah 服務默認啟動用戶和組是 logstash
- 被收集的日志文件有讀的權限并對寫入的文件有寫權限
- 而 logstash 是普通用戶
1.1 編輯 logstash 配置文件
vim /etc/logstash/conf.d/test.conf
input {file {path => "/var/log/syslog"type => "systemlog"}
}output {elasticsearch {hosts => ["10.0.0.31:9200"] index => "logstash-lck-testindex"}
}
1.2 檢測配置文件語法是否正確和啟動
#檢測配置文件語法是否正確
root@ubuntu1804:~# /usr/share/logstash/bin/logstash -f /etc/logstash/conf.d/test.conf -t
#啟動
root@ubuntu1804:~# /usr/share/logstash/bin/logstash -f /etc/logstash/conf.d/test.conf
1.3 生成數據并驗證
root@logstash1:~# echo "test" >> /var/log/syslog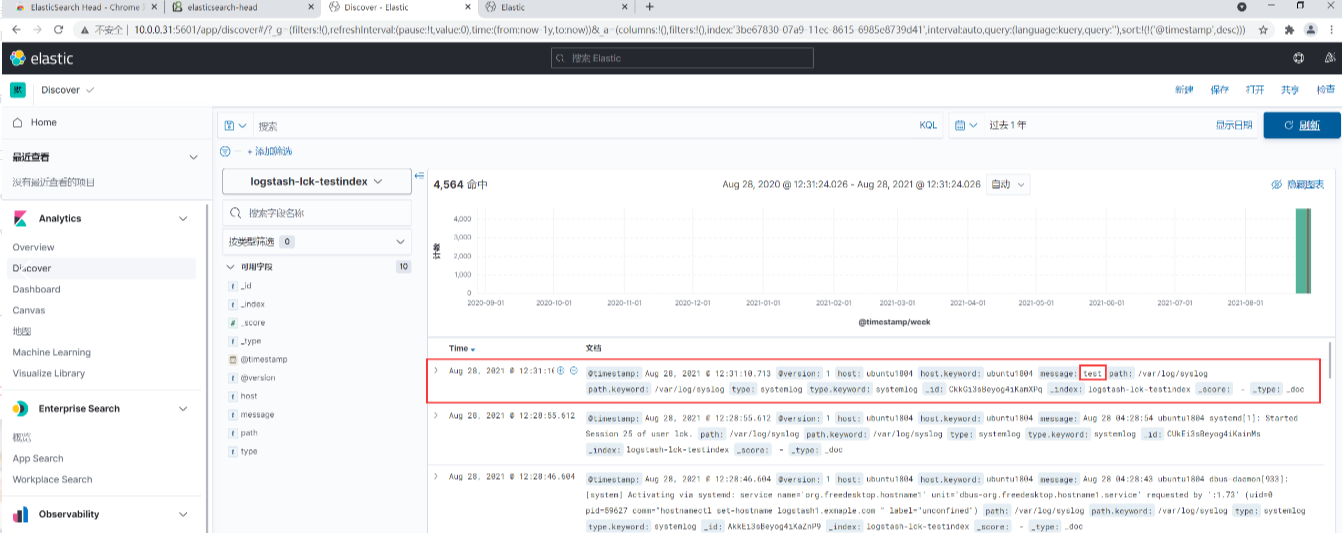
二、收集多個日志文件
2.1 編輯 logstash 配置文件
vim /etc/logstash/conf.d/test.conf
input {file {path => "/var/log/syslog"type => "systemlog"start_position => "beginning"stat_interval => "3 second"} file {path => "/var/log/vmware*.log"type => "vmwarelog"start_position => "beginning"stat_interval => "3 second"}
}output {if [type] == "systemlog" {elasticsearch {hosts => ["10.0.0.31:9200"] index => "logstash-lck-testindex"}}if [type] == "vmwarelog" {elasticsearch {hosts => ["10.0.0.31:9200"] index => "logstash-lck-vmwarelog-%{+YYYY.MM.dd}"}}
}
2.2 檢測配置文件語法是否正確和啟動
#檢測配置文件語法是否正確
root@ubuntu1804:~# /usr/share/logstash/bin/logstash -f /etc/logstash/conf.d/test.conf -t
#啟動
root@ubuntu1804:~# /usr/share/logstash/bin/logstash -f /etc/logstash/conf.d/test.conf
2.3 啟動服務,并驗證
#注冊成系統服務的啟動
systemctl restart logstash.service
#壓縮包方式的啟動
root@ubuntu1804:~# /usr/share/logstash/bin/logstash -f /etc/logstash/conf.d/test.conf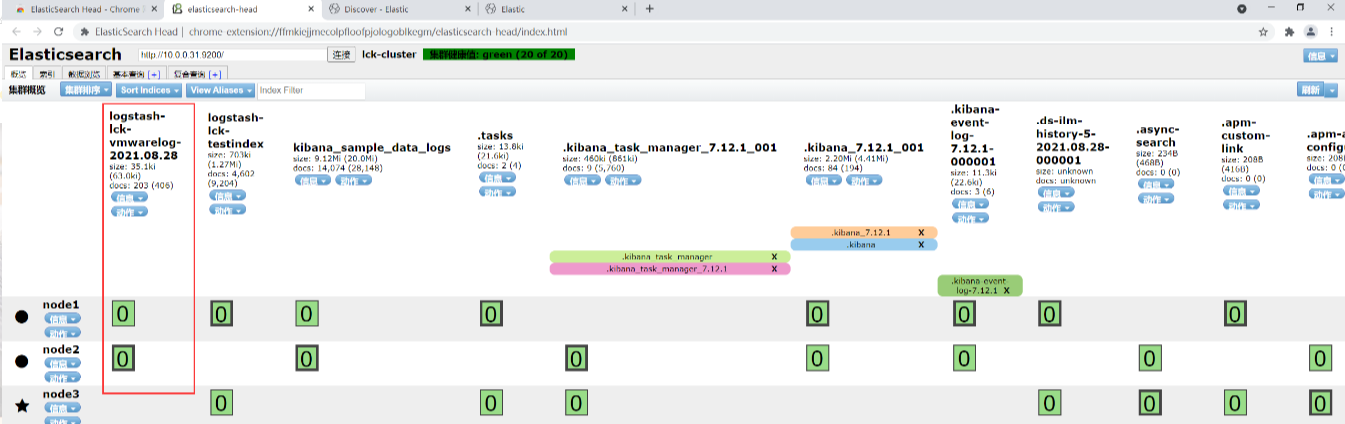
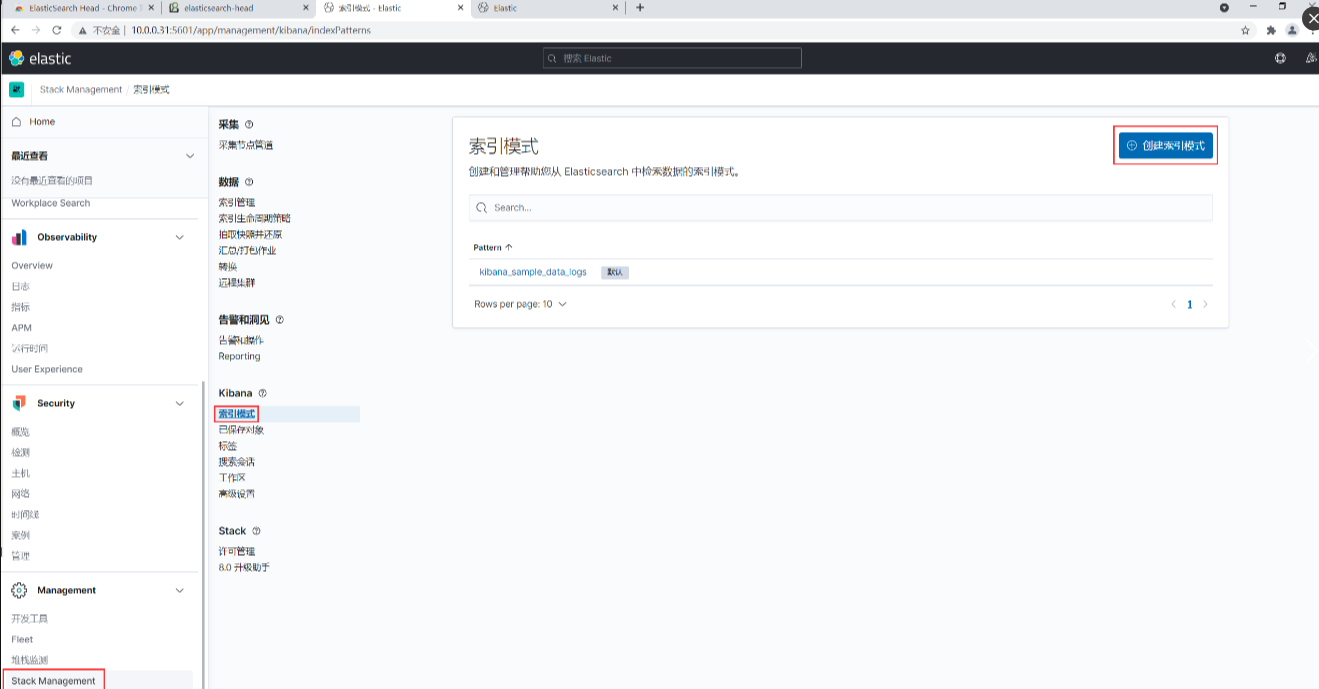
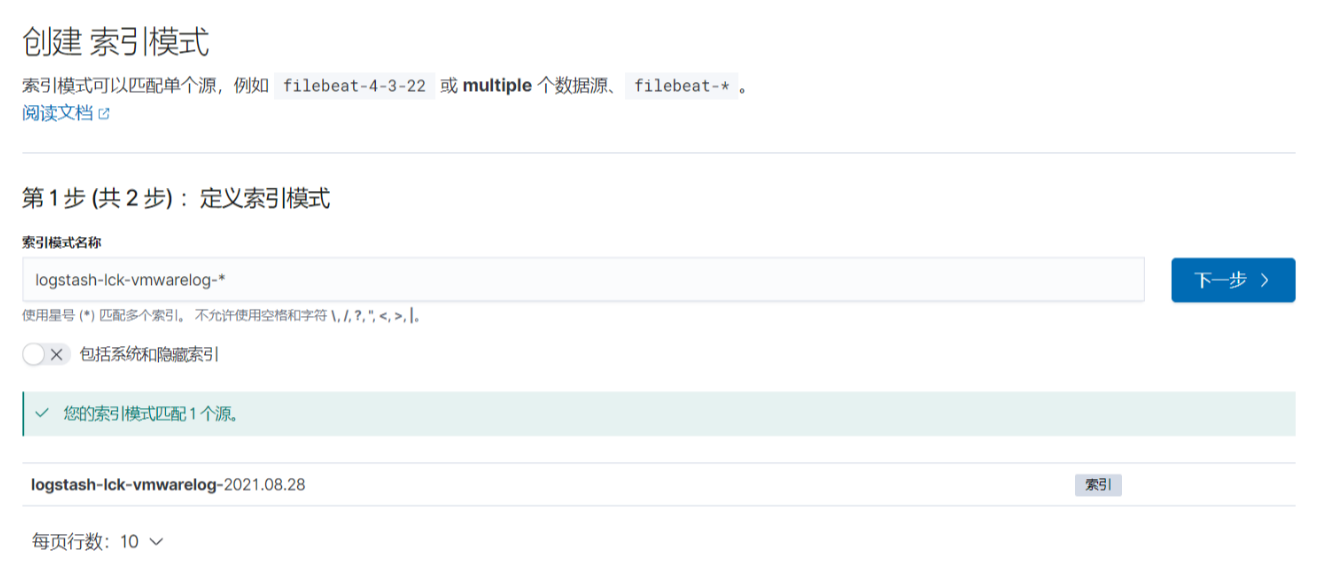
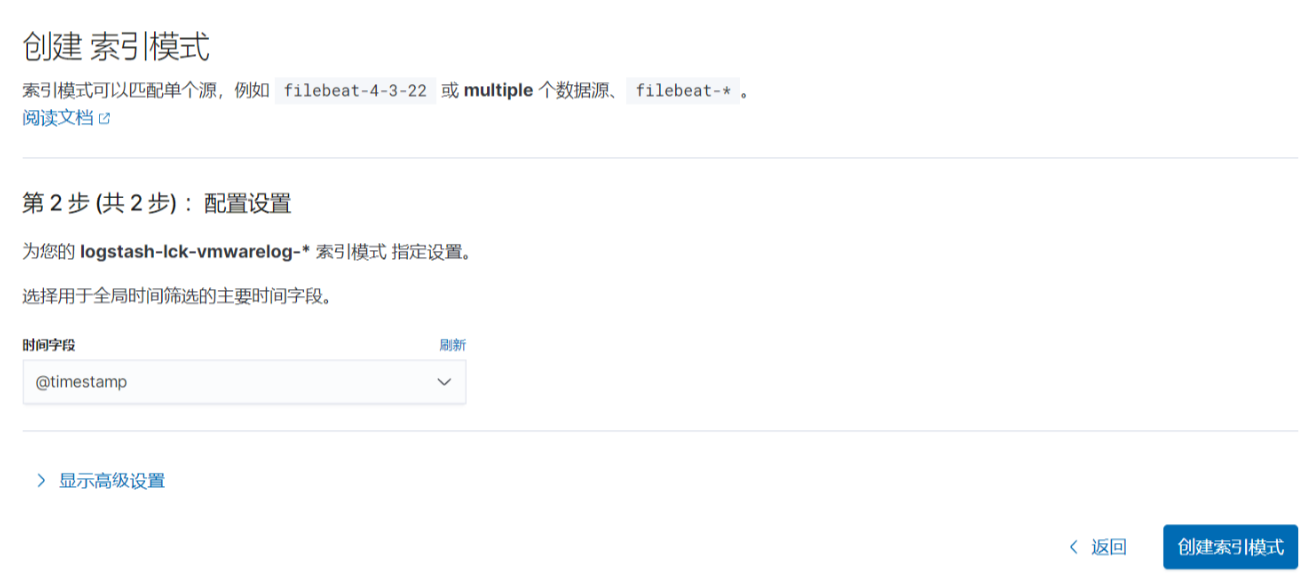
2.4 創建索引方便查詢日志
?
?


)
linux命令)


)


)

)


回答準確率)