flutter開發實戰-人臉識別相機使用
當需要拍攝的時候,需要檢測到人臉再進行后續的操作,這里使用的是face_camera
一、引入face_camera
在工程的pubspec.yaml中引入插件
# 檢測人臉face_camera: ^0.0.8iOS端需要設置相關權限
在info.plist文件中,設置相機等權限
<key>NSCameraUsageDescription</key><string>Take a photo for display</string><key>NSMicrophoneUsageDescription</key><string>Take a video for display</string><key>NSPhotoLibraryUsageDescription</key><string>Read your photos for display</string><key>UIApplicationSupportsIndirectInputEvents</key>二、人臉識別相機使用
第一步是在main.dart中初始化face_camera
void main() async{WidgetsFlutterBinding.ensureInitialized(); //Add thisawait FaceCamera.initialize(); //Add thisrunApp(const MyApp());
}
然后在應用程序中渲染組件,設置onCapture回調。
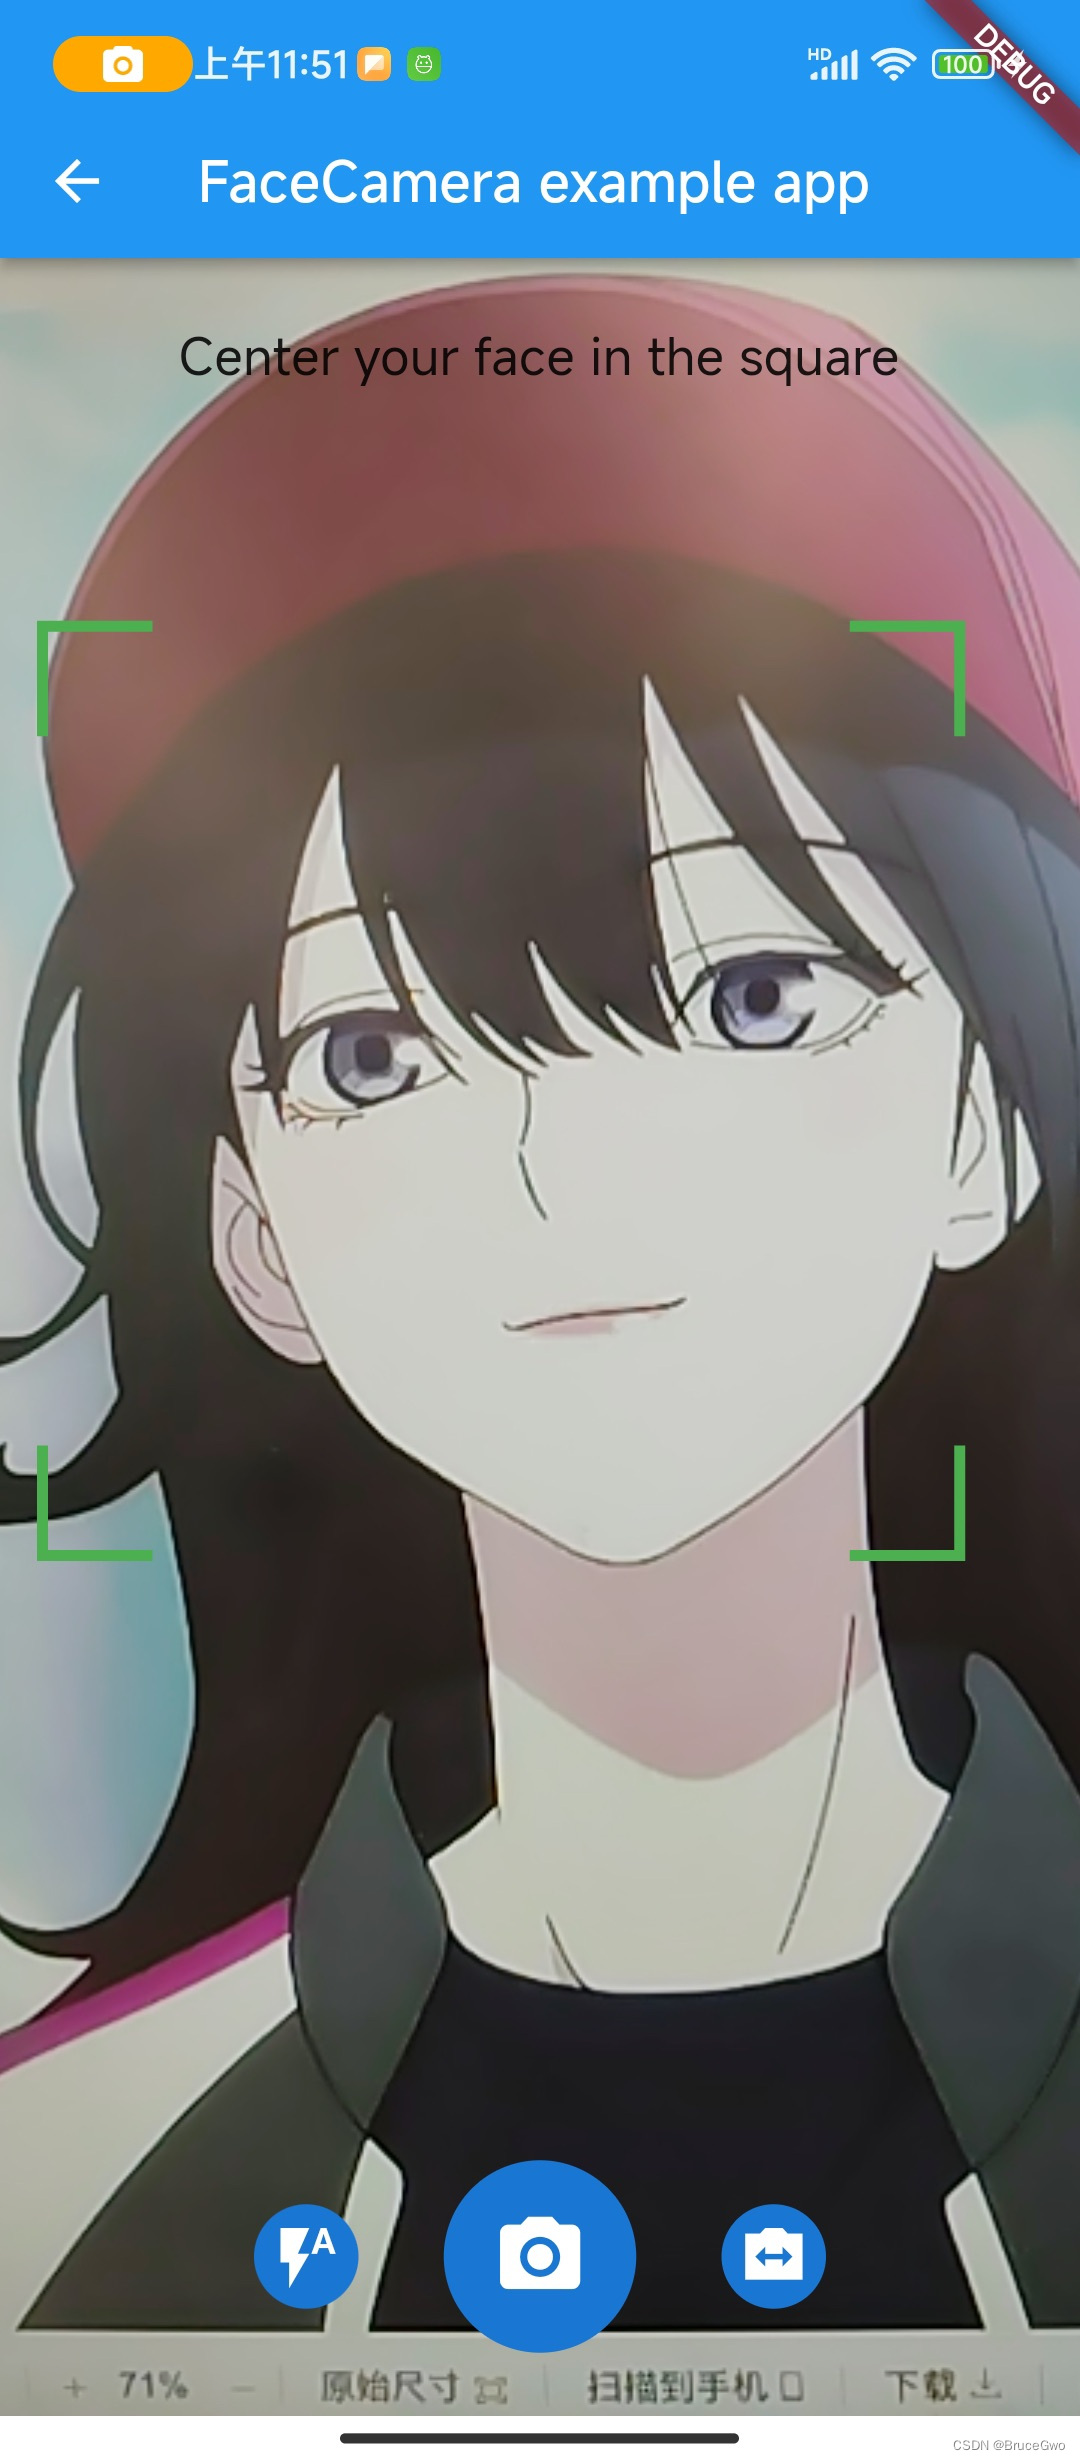
@overrideWidget build(BuildContext context) {return Scaffold(body: SmartFaceCamera(autoCapture: true,defaultCameraLens: CameraLens.front,message: 'Center your face in the square',onCapture: (File? image){},));}完整代碼如下
import 'dart:io';import 'package:flutter/material.dart';import 'package:face_camera/face_camera.dart';class FaceCameraPage extends StatefulWidget {const FaceCameraPage({Key? key}) : super(key: key);@overrideState<FaceCameraPage> createState() => _FaceCameraPageState();
}class _FaceCameraPageState extends State<FaceCameraPage> {File? _capturedImage;@overrideWidget build(BuildContext context) {return Scaffold(appBar: AppBar(title: const Text('FaceCamera example app'),),body: Builder(builder: (context) {if (_capturedImage != null) {return Center(child: Stack(alignment: Alignment.bottomCenter,children: [Image.file(_capturedImage!,width: double.maxFinite,fit: BoxFit.fitWidth,),ElevatedButton(onPressed: () => setState(() => _capturedImage = null),child: const Text('Capture Again',textAlign: TextAlign.center,style:TextStyle(fontSize: 14, fontWeight: FontWeight.w700),))],),);}return SmartFaceCamera(autoCapture: true,defaultCameraLens: CameraLens.front,onCapture: (File? image) {setState(() => _capturedImage = image);},onFaceDetected: (Face? face) {//Do something},messageBuilder: (context, face) {if (face == null) {return _message('Place your face in the camera');}if (!face.wellPositioned) {return _message('Center your face in the square');}return const SizedBox.shrink();});}),);}Widget _message(String msg) => Padding(padding: const EdgeInsets.symmetric(horizontal: 55, vertical: 15),child: Text(msg,textAlign: TextAlign.center,style: const TextStyle(fontSize: 14, height: 1.5, fontWeight: FontWeight.w400)),);
}
三、小結
flutter開發實戰-人臉識別相機使用
學習記錄,每天不停進步。

MySQL進階操作)


)


)

的維度)
)
)

![51 單片機[2-1]:點亮一個LED](http://pic.xiahunao.cn/51 單片機[2-1]:點亮一個LED)
)
