一 引言
近10年里以深度學習為代表的機器學習技術在圖像處理,語音識別,自然語言處理等領域里取得了非常多的突破,其背后的核心算法是深度學習為代表的AI基礎模型。
一般來講,我們進行AI項目研發時,遵循三個步驟。
第一步,我們需要針對目標任務選定一個合適的模型架構,然后訓練出滿足精度的模型,這就是模型設計;
第二步,我們需要基于第一步訓練好的模型,在不顯著降低其精度的前提下,對模型的冗余參數進行精簡,對高精度計算進行低精度近似,這就是模型壓縮;
第三步,將模型運用于實際的生產環境,即面向用戶的產品,這就是模型部署。
深度學習模型必須要部署到實際的生產環境中才能產生真正的應用價值。在各類落地場景中,有的是服務端應用,它需要模型有更高的精度、更復雜的功能;有的是嵌入式平臺應用,諸如手機等各類移動端設備與車載設備,它需要模型具有體積小、低延遲特性。因此我們在進行模型設計與部署的時候,需要根據應用場景選擇不同的模型和工具。當前模型優化和部署的工具非常多,常見的包括TensorRT、NCNN等;當前的硬件計算平臺也非常多,包括CPU、GPU,NPU、FPGA等。
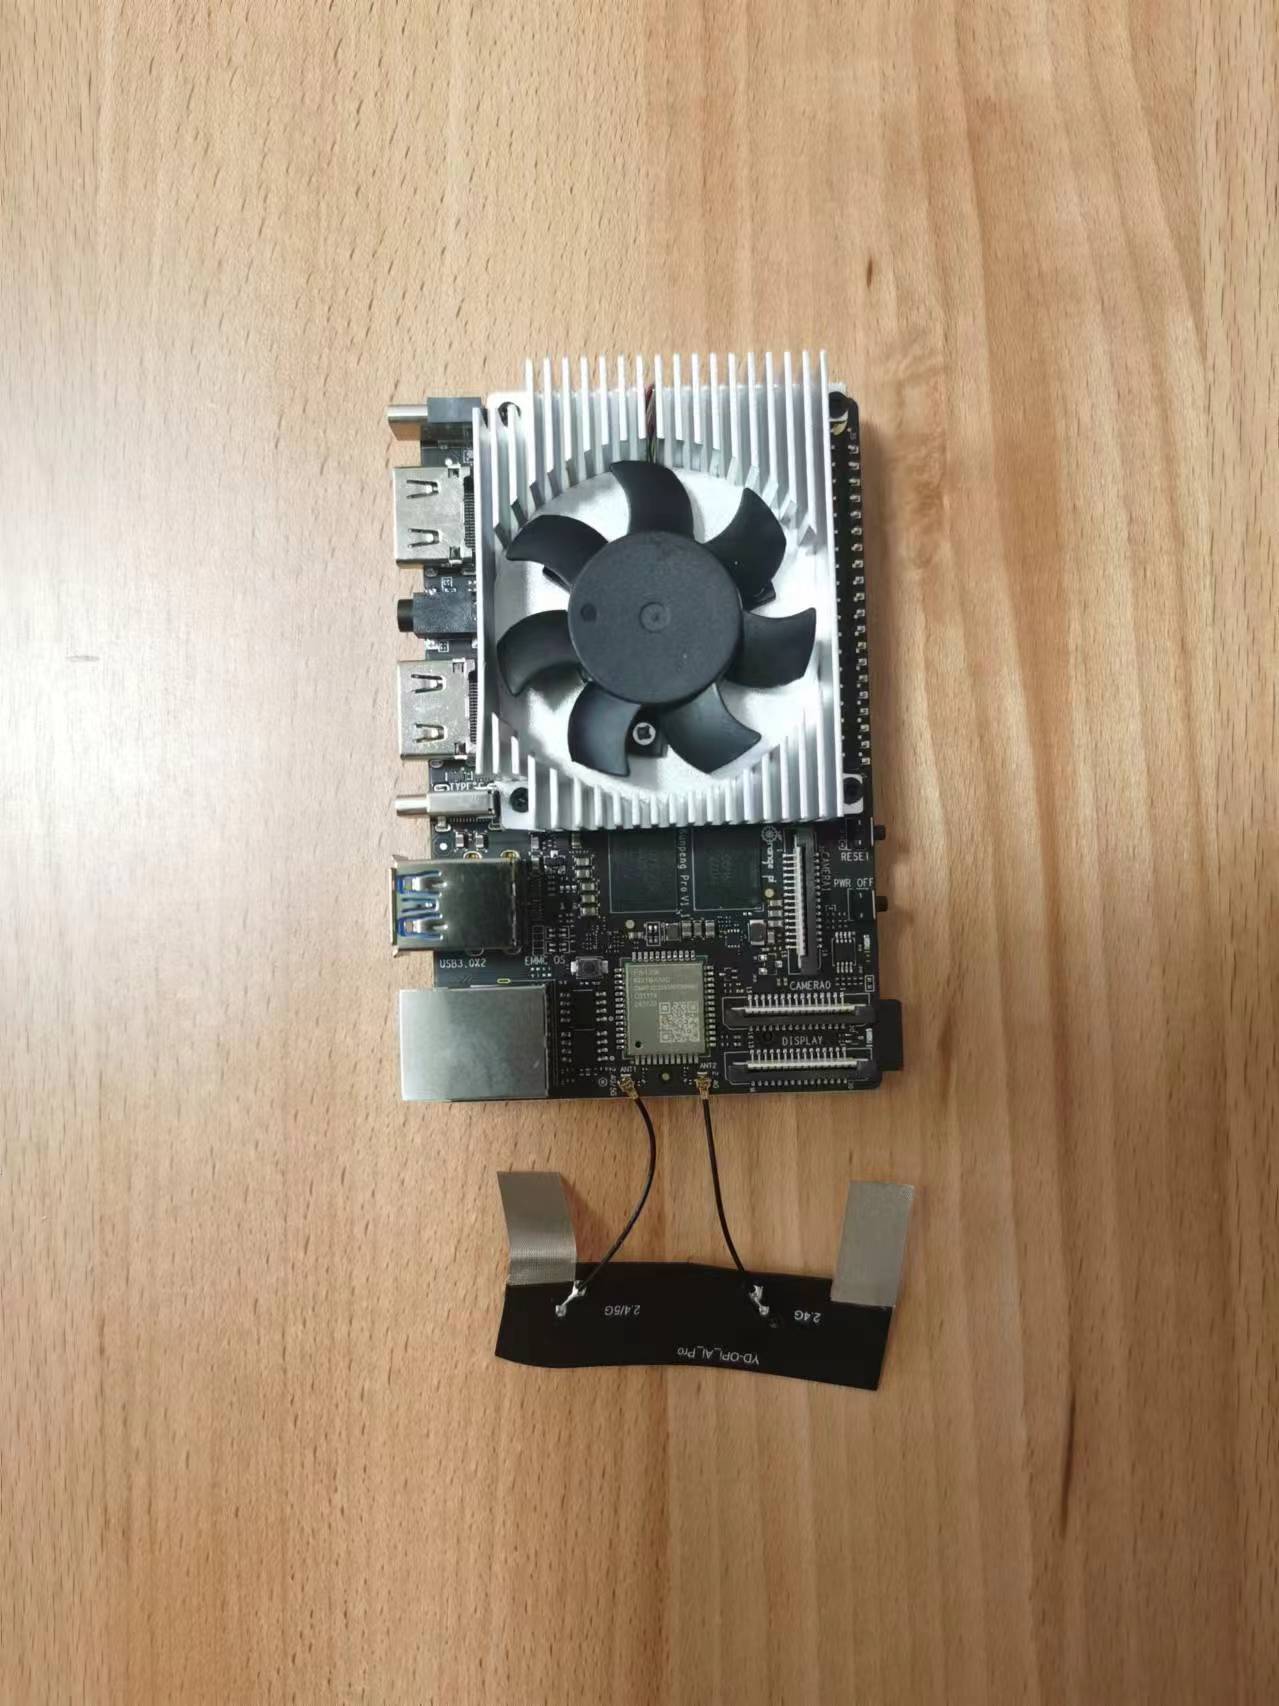
現在市面上有各種算力的嵌入式設備,強勁一點的如NVIDIA Jetson,弱一點的如樹莓派,本次我們從CSDN社區收到了一塊OrangePi Kunpeng Pro(香橙派開發板),正好來試一試這塊板子的使用與性能。
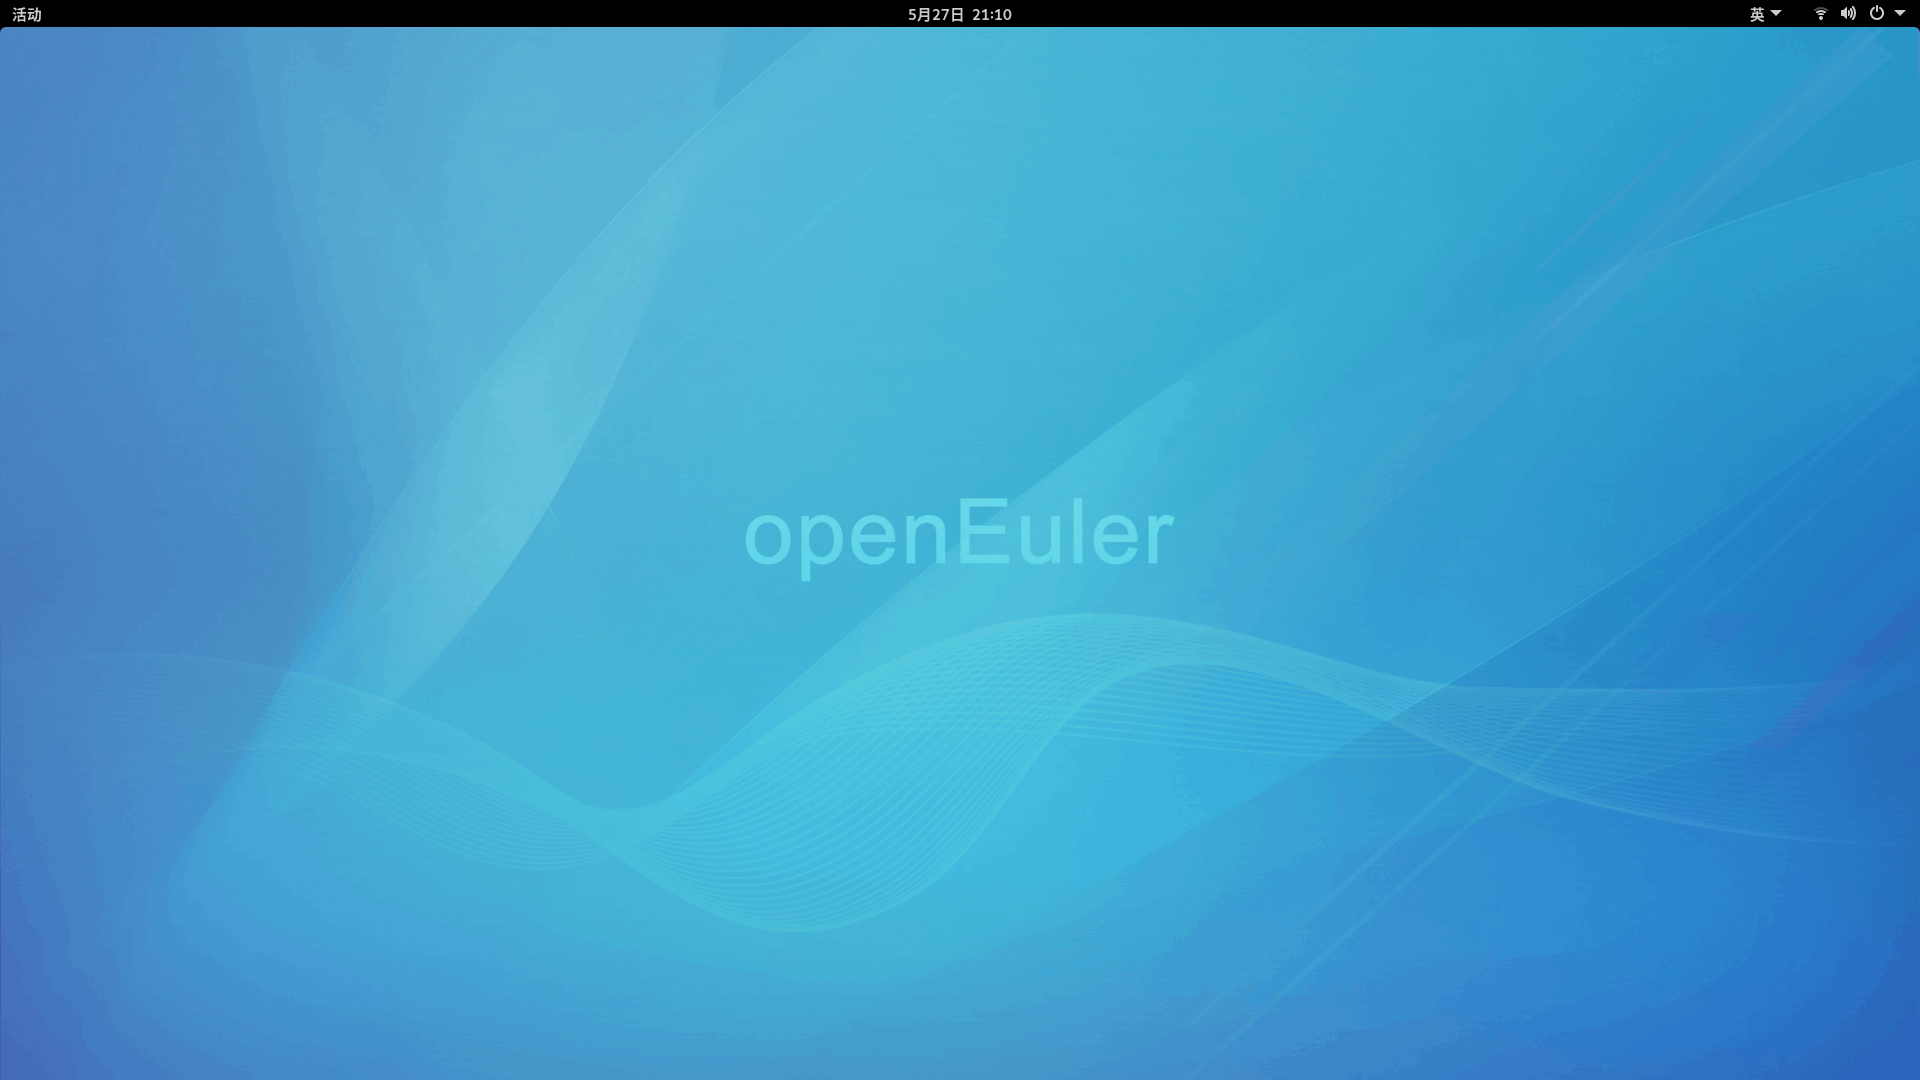
下面是這塊板子的實拍圖與開機界面。
?
二 熟悉板子
拿到板子后當然首先要熟悉一下基本情況,包括軟硬件相關信息。
第一步:使用/etc/os-release命令查看系統信息。
該板子的操作系統是openeuler 22.03(LTS-SP3),前身是華為自主研發的服務器操作系統EulerOS,其名字來自于1752年數學家歐拉所發現的歐拉公式。后來華為將其捐贈給開放原子開源基金會(OpenAtom Foundation)孵化及運營,項目地址為https://gitee.com/openeuler。
openEuler本質上也是一個Linux系統,每兩年推出一個LTS版本,每半年發布一次創新版,支持鯤鵬及其他多種處理器,許多系統底層命令與一般Linux系統無異,一般的文件與目錄操作等命令,即ls,cd,cp等均不變,軟件安裝則與centos一樣使用yum或者dnf管理。
第二步:修改一些相關配置
一個全新的Linux系統,總有一些東西需要先改一改,比如默認的軟件源。直接打開/etc/yum.repos.d/openEuler.repo,將其內容替換為以下內容。
[OS]name=OSbaseurl=https://mirrors.aliyun.com/openeuler/openEuler-22.03-LTS-SP2/OS/$basearch/enabled=1gpgcheck=1gpgkey=https://mirrors.aliyun.com/openeuler/openEuler-22.03-LTS-SP2/OS/$basearch/RPM-GPG-KEY-openEuler[everything]name=everythingbaseurl=https://mirrors.aliyun.com/openeuler/openEuler-22.03-LTS-SP2/everything/$basearch/enabled=1gpgcheck=1gpgkey=https://mirrors.aliyun.com/openeuler/openEuler-22.03-LTS-SP2/everything/$basearch/RPM-GPG-KEY-openEuler[EPOL]name=EPOLbaseurl=https://mirrors.aliyun.com/openeuler/openEuler-22.03-LTS-SP2/EPOL/main/$basearch/enabled=1gpgcheck=1gpgkey=https://mirrors.aliyun.com/openeuler/openEuler-22.03-LTS-SP2/OS/$basearch/RPM-GPG-KEY-openEuler[debuginfo]name=debuginfobaseurl=https://mirrors.aliyun.com/openeuler/openEuler-22.03-LTS-SP2/debuginfo/$basearch/enabled=1gpgcheck=1gpgkey=https://mirrors.aliyun.com/openeuler/openEuler-22.03-LTS-SP2/debuginfo/$basearch/RPM-GPG-KEY-openEuler[source]name=sourcebaseurl=https://mirrors.aliyun.com/openeuler/openEuler-22.03-LTS-SP2/source/enabled=1gpgcheck=1gpgkey=https://mirrors.aliyun.com/openeuler/openEuler-22.03-LTS-SP2/source/RPM-GPG-KEY-openEuler[update]name=updatebaseurl=https://mirrors.aliyun.com/openeuler/openEuler-22.03-LTS-SP2/update/$basearch/enabled=1gpgcheck=1gpgkey=https://mirrors.aliyun.com/openeuler/openEuler-22.03-LTS-SP2/OS/$basearch/RPM-GPG-KEY-openEuler[update-source]name=update-sourcebaseurl=https://mirrors.aliyun.com/openeuler/openEuler-22.03-LTS-SP2/update/source/enabled=1gpgcheck=1gpgkey=https://mirrors.aliyun.com/openeuler/openEuler-22.03-LTS-SP2/source/RPM-GPG-KEY-openEuler再運行命令更新
sudo dnf clean all
sudo dnf makecache
第三步:查看硬件配置
由于接下來我們要測試AI項目,因此對于板子的硬件能力心里還是要有底。

?

?可以看到是64bit系統,6個CPU,8GB內存,算力暫時不詳。
第四步:安裝一些必要的庫,包括opencv-cv,protobuf等。
sudo dnf install protobuf-compiler protobuf # 文件格式庫
sudo dnf install gtk2-devel gtk2-devel-docs # 桌面顯示庫
sudo dnf install pkg-config # 編譯器的輔助工具,可以幫助 GCC 找到所需要的頭文件與庫文件路徑
sudo dnf install mlocate # 文件查找庫
sudo dnf install opencv opencv-devel
sudo pip install opencv-python # opencv庫
sudo pip install torch # torch庫
sudo pip install torchvision # torchvision庫
sudo pip install onnxruntime # onnx庫
系統已經預裝了python3.9,后續使用如果還缺什么就用pip裝就是。
?
三 模型部署
接下來我們使用移動端NCNN框架,以及香橙派,來體驗典型的移動端模型部署流程,包括模型的格式轉換、模型量化、基于C++的模型推理部署。
框架介紹
本次我們選擇的部署框架是NCNN,它是一個在工業界被廣為使用的框架,具有非常好的性能。
NCNN是一個純C++實現的框架,無任何第三方庫依賴,不依賴 BLAS/NNPACK 等計算框架,提供了ARM NEON 匯編級良心優化,計算速度極快。NCNN提供了對所有主流操作系統的支持,如圖所示;
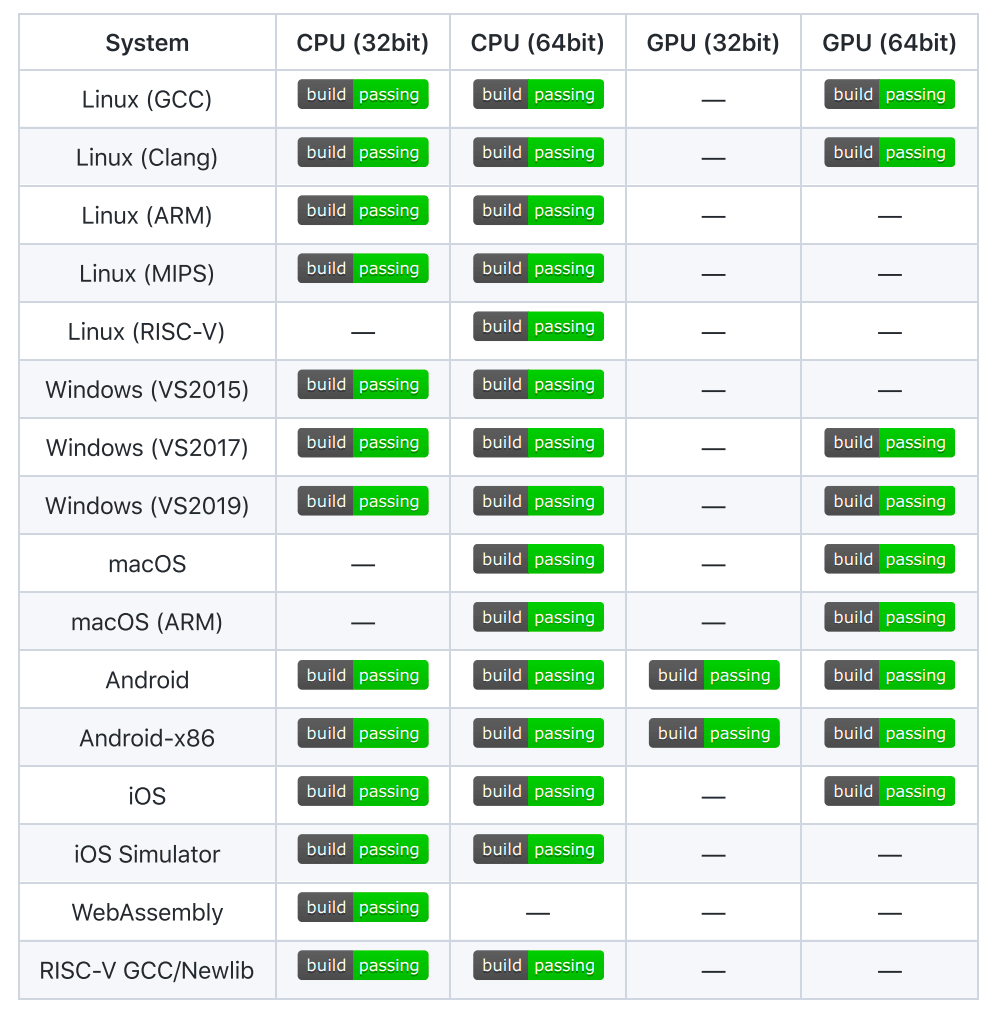
?
NCNN支持PaddlePaddle/PyTorch/TensorFlow/Caffe/MXNet/DarkNet/OneFlow/ONNX等深度學習框架文件格式,支持CNN、GAN等常用網絡模型結構;
NCNN支持Intel架構的CPU與GPU,AMD架構的CPU與GPU,Arm架構的CPU與GPU,高通架構的CPU與GPU,Apple架構的CPU與GPU,其中對高通公司的CPU,ARM公司的CPU以及Apple公司的CPU提供了非常高效率地優化加速;
NCNN支持FP32/FP16/INT8/UINT8等多種運算精度;
NCNN支持C/C++/Python API;
NCNN支持直接內存零拷貝引用加載網絡模型,可注冊自定義層實現并擴展;
要使用NCNN,首先需要下載源碼進行編譯安裝,相關代碼命令如下:
git clone https://github.com/Tencent/ncnn
cd ncnn
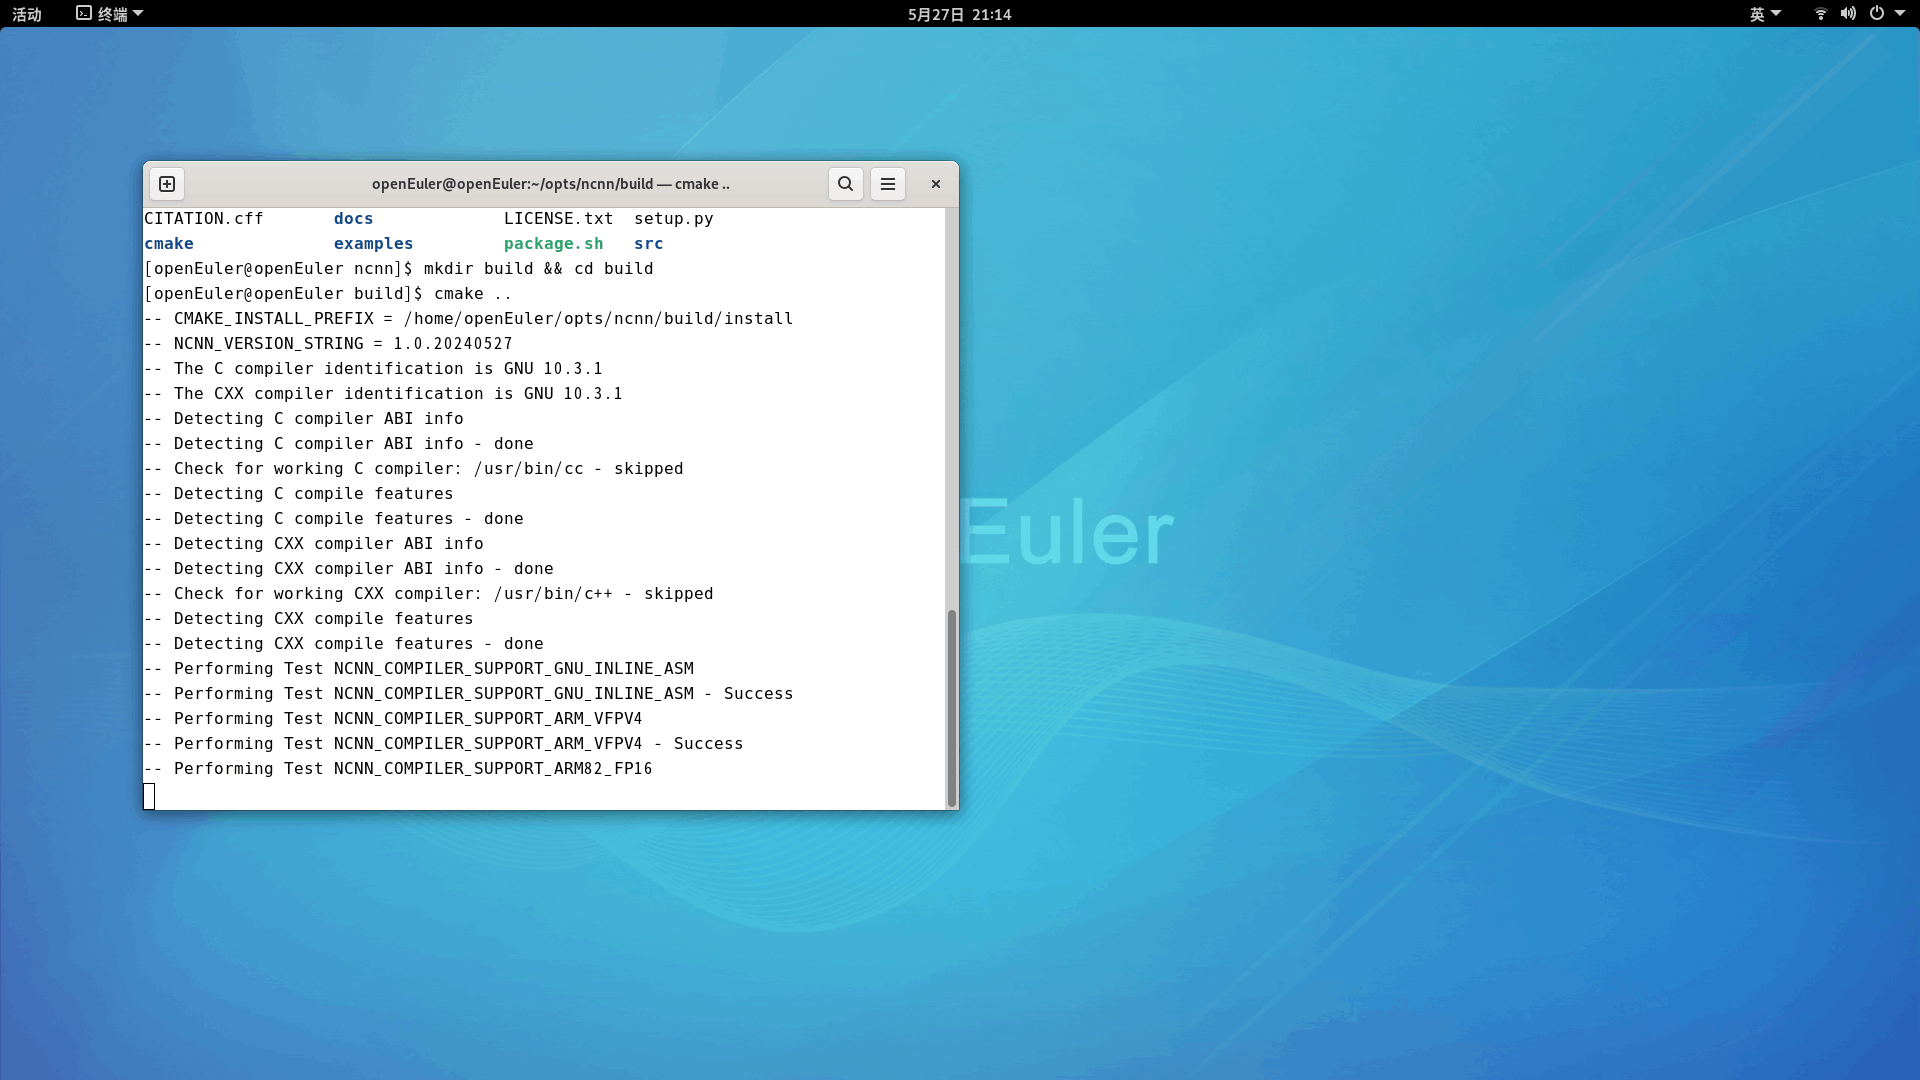
mkdir build && cd build
cmake ..
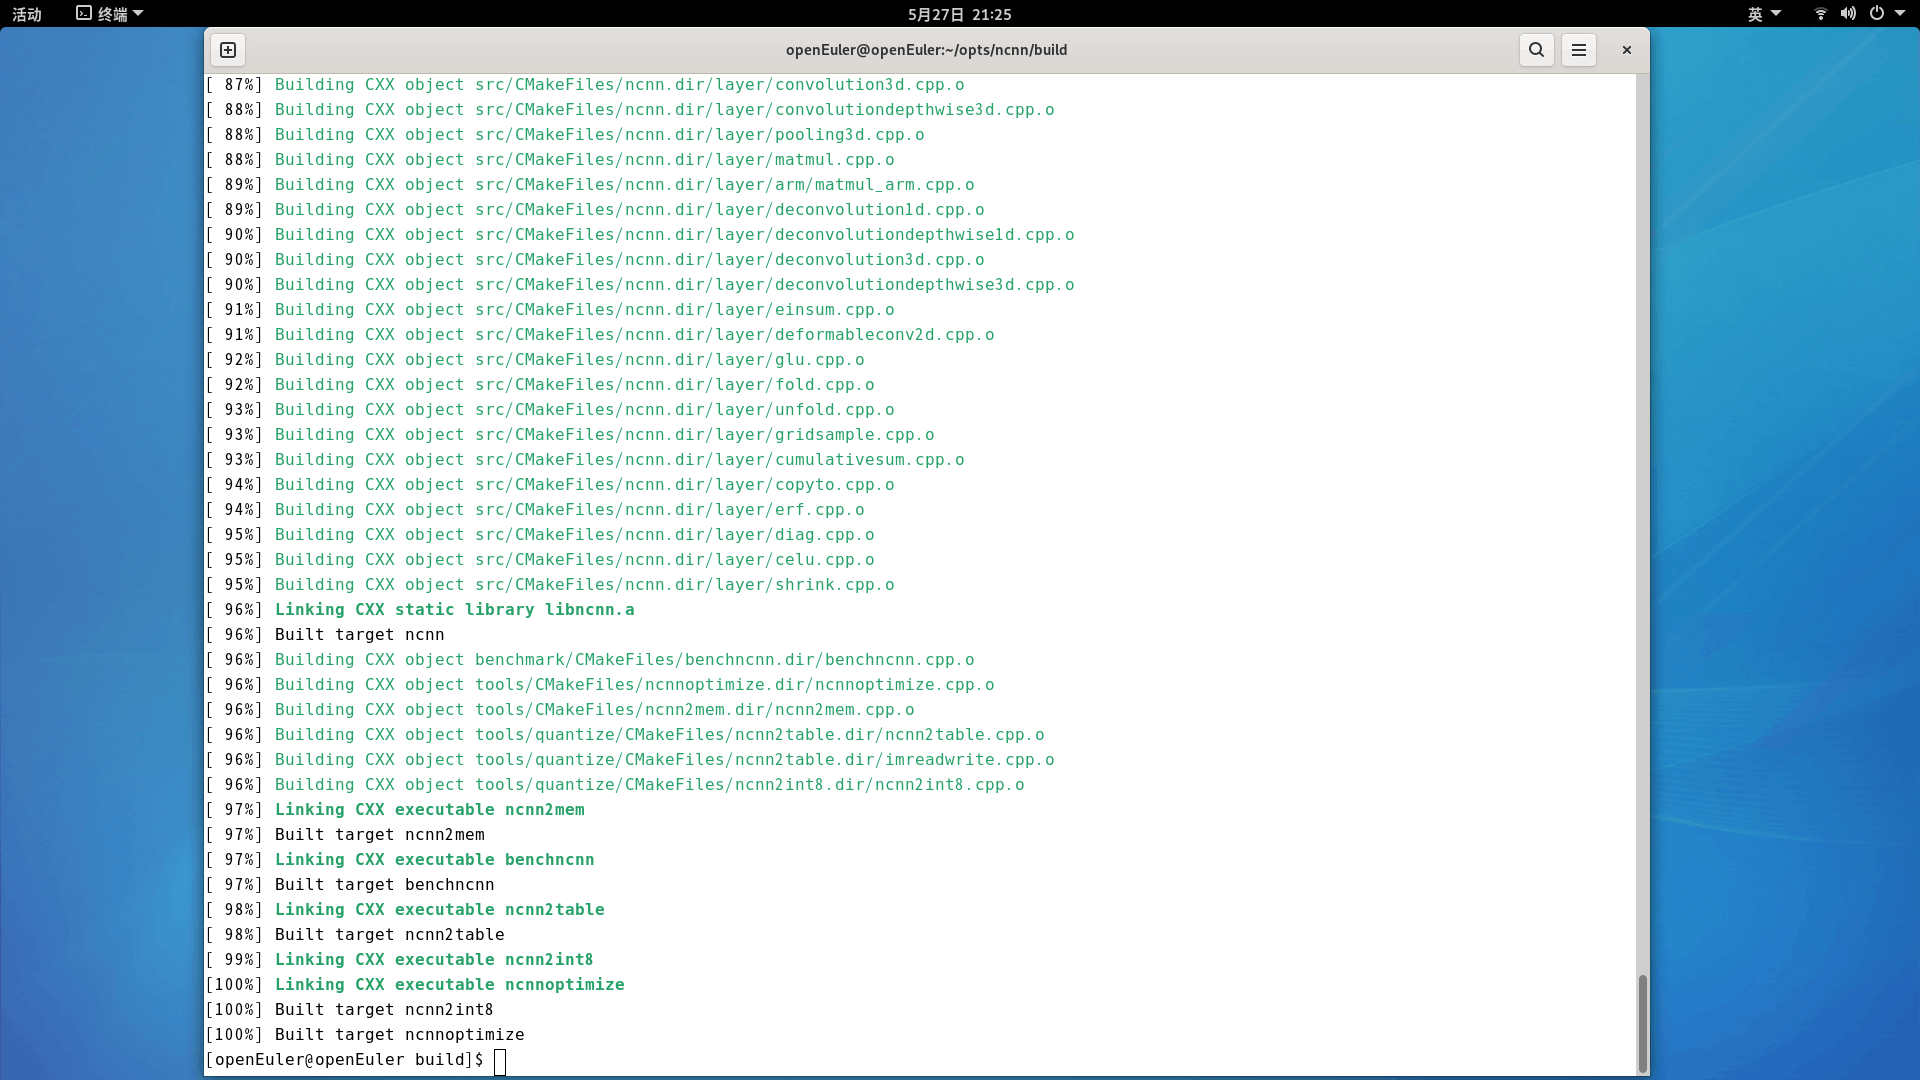
make -j
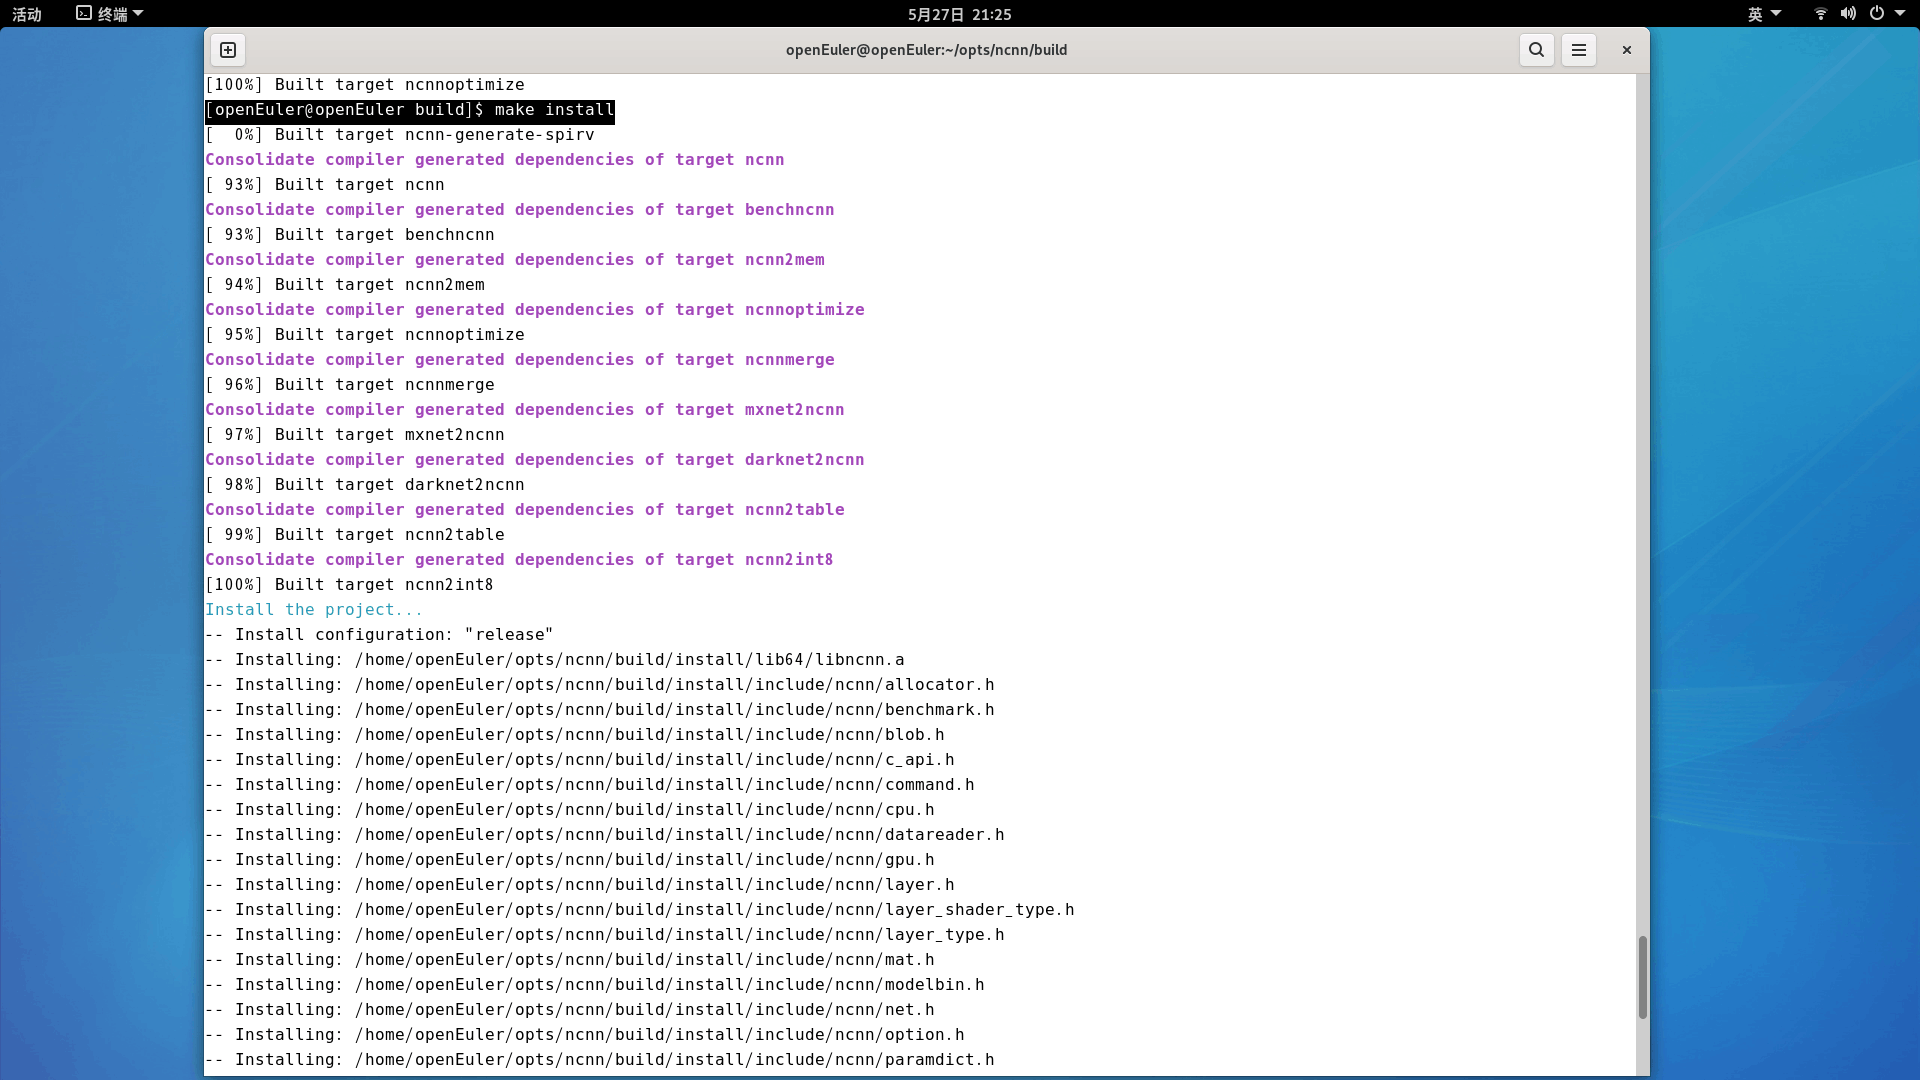
make install
?
?
?
安裝完之后,就可以在build/install目錄下看到生成的一系列可執行文件和需要的庫文件,它們分別存儲于bin子目錄和include子目錄。如果github訪問不了,就換gitee地址。
模型轉換與量化
在進行部署之前,需要對模型格式進行轉換,相關工具在ncnn根目錄/build/install/bin目錄下,包括???
caffe2ncnn:caffe模型轉換工具
darknet2ncnn: mxnet模型轉換工具
mxnet2ncnn: mxnet模型轉換工具
onnx2ncnn: onnx模型轉換工具
ncnn2table, ncnn2int8: 模型量化工具
ncnn2mem:模型加密可執行文件:
ncnnoptimize:模型優化可執行文件
ncnnmerge:模型合并可執行文件
完整的模型量化流程可以分為3步,以ONNX格式為例:
第一步,將ONNX格式的模型轉換為NCNN格式的模型,所使用的模型是一個訓練好的圖像分類模型。
其模型配置如下:
## 簡單模型定義
class simpleconv5(nn.Module):def __init__(self,nclass):super(simpleconv5,self).__init__()self.conv1 = nn.Conv2d(3, 32, 3, 2, 1, bias=False)self.bn1 = nn.BatchNorm2d(32)self.conv2 = nn.Conv2d(32, 64, 3, 2, 1, bias=False)self.bn2 = nn.BatchNorm2d(64)self.conv3 = nn.Conv2d(64, 128, 3, 2, 1, bias=False)self.bn3 = nn.BatchNorm2d(128)self.conv4 = nn.Conv2d(128, 256, 3, 2, 1, bias=False)self.bn4 = nn.BatchNorm2d(256)self.conv5 = nn.Conv2d(256, 512, 3, 2, 1, bias=False)self.bn5 = nn.BatchNorm2d(512)self.fc = nn.Linear(512, nclass)def forward(self , x):x = F.relu(self.bn1(self.conv1(x)))x = F.relu(self.bn2(self.conv2(x)))x = F.relu(self.bn3(self.conv3(x)))x = F.relu(self.bn4(self.conv4(x)))x = F.relu(self.bn5(self.conv5(x)))x = nn.AvgPool2d(7)(x)x = x.view(x.size(0), -1) x = self.fc(x)return x
onnx2ncnn simpleconv5.onnx simpleconv5.param simpleconv5.bin生成的ncnn格式的模型包括兩個文件,simpleconv5.param是網絡的配置文件,simpleconv5.bin是網絡的權重文件。
第二步,生成int8量化所需要的校準表。
ncnn2table models/simpleconv5.param models/simpleconv5.bin images.txt simpleconv5.table mean=[127.5,127.5,127.5] norm=[0.00784,0.00784,0.00784] shape=[48,48,3] pixel=RGB?其中ncnn2table工具默認使用基于KL散度的8bit量化算法,它輸入模型文件simpleconv5.param和simpleconv5.bin,校準表圖片路徑images.txt,預處理均值mean與標準化norm值,輸入圖片尺寸,RGB圖片的格式,輸出simpleconv5.table,即校準表。pixel=RGB表示輸入網絡的圖片是RGB格式,當我們使用OpenCV進行圖片讀取后是BGR格式,兩者需要進行區分。由于ncnn框架讀取的圖片數據像素值范圍是0到127,而模型訓練時采用的預處理操作包括除以255進行歸一化,再減去均值向量[0.5,0.5,0.5],除以方差向量[0.5,0.5,0.5],因此這里對應的預處理操作需要將歸一化操作合并到減均值操作和除以方差操作中,mean=255×[0.5,0.5,0.5]=[127.5,127.5,127.5], norm=1/255/[0.5,0.5,0.5]=[0.00784,0.00784,0.00784]
第三步,基于校準表進行量化。
量化前模型大小為6.4MB,量化后模型大小為1.6MB,8bit模型大小為float32模型大小的1/4,減少了存儲空間。
模型部署測試
接下來我們使用C++接口對模型進行部署測試,并比較量化前后的模型精度是否受到嚴重影響,測試的核心C++功能函數代碼如下:
#include "net.h"#include <algorithm>
#if defined(USE_NCNN_SIMPLEOCV)
#include "simpleocv.h"
#else
#include <opencv2/core/core.hpp>
#include <opencv2/highgui/highgui.hpp>
#include <opencv2/imgproc/imgproc.hpp>
#endif
#include <stdio.h>
#include <vector>
#include <cmath>
//推理函數
static int detect_simpleconv5net(const ncnn::Net &simpleconv5net,const cv::Mat& bgr, std::vector<float>& cls_scores)
{ncnn::Mat in = ncnn::Mat::from_pixels_resize(bgr.data, ncnn::Mat::PIXEL_BGR2RGB, bgr.cols, bgr.rows, 224, 224);//讀取圖片數據const float mean_vals[3] = {0.5f*255.f, 0.5f*255.f, 0.5f*255.f};const float norm_vals[3] = {1/0.5f/255.f, 1/0.5f/255.f, 1/0.5f/255.f};in.substract_mean_normalize(mean_vals, norm_vals); //預處理ncnn::Extractor ex = simpleconv5net.create_extractor();//創建推理引擎ex.input("input.1", in); //填充數據ncnn::Mat out;float start_time = cv::getTickCount(); //計算模型推理時間ex.extract("59", out); //獲得模型推理結果float end_time = cv::getTickCount();fprintf(stderr, "%s = %f %s\n", "inference time = ", (end_time-start_time)/cv::getTickFrequency()*1000, " ms");cls_scores.resize(out.w); //取softmax分類概率結果,指數減去固定值防止溢出處理float maxscore = 0.0;for (int j = 0; j < out.w; j++){if(out[j] >= maxscore) maxscore = out[j]; cls_scores[j] = out[j];}float sum = 0.0;for (int j = 0; j < out.w; j++){cls_scores[j] = std::exp(cls_scores[j]-maxscore);sum += cls_scores[j]; }for (int j = 0; j < out.w; j++){cls_scores[j] = cls_scores[j] / sum;}return 0;
}int main(int argc, char** argv)
{if (argc != 5){fprintf(stderr, "Usage: %s%s%s [modelparam modelbin imagepath resultpath]\n", argv[0], argv[1], argv[2], argv[3]);return -1;}const char* modelparam = argv[1];const char* modelbin = argv[2];const char* imagepath = argv[3];const char* resultpath = argv[4];//初始化模型ncnn::Net simpleconv5net;simpleconv5net.opt.use_vulkan_compute = true;simpleconv5net.load_param(modelparam);simpleconv5net.load_model(modelbin);cv::Mat image = cv::imread(imagepath, 1);if (image.empty()){fprintf(stderr, "cv::imread %s failed\n", imagepath);return -1;}//獲得topk的分類概率std::vector<float> cls_scores;detect_simpleconv5net(simpleconv5net, image, cls_scores);int topk = 1;int size = cls_scores.size();std::vector<std::pair<float, int> > vec;vec.resize(size);for (int i = 0; i < size; i++){vec[i] = std::make_pair(cls_scores[i], i);}std::partial_sort(vec.begin(), vec.begin() + topk, vec.end(),std::greater<std::pair<float, int> >());for (int i = 0; i < topk; i++){float score = vec[i].first;int index = vec[i].second;fprintf(stderr, "%d = %f\n", index, score);}//繪制結果std::string text;std::string label = "c="+std::to_string(vec[0].second);std::string prob = "prob="+std::to_string(vec[0].first);text.assign(label+"   ");text.append(prob);int font_face = cv::FONT_HERSHEY_COMPLEX; double font_scale = 0.75;int thickness = 2;//將文本框居中繪制cv::Mat showimage = image.clone();cv::resize(showimage,showimage,cv::Size(256,256));cv::Point origin; origin.x = showimage.cols / 20;origin.y = showimage.rows / 2;cv::putText(showimage, text, origin, font_face, font_scale, cv::Scalar(0, 255, 255), thickness, 8, 0);cv::namedWindow("image",0);cv::imshow("image",showimage);//cv::waitKey(0);cv::imwrite(resultpath,showimage);return 0;
}
NCNN中每一層的數據被保存為自定義的Mat類型數據,它使用from_pixels_resize函數將OpenCV讀取的Mat矩陣數據進行轉換,由于計算使用了匯編,非常高效。網絡定義為一個ncnn::Net類,格式與Caffe中的Net類非常相似,包含了layers和blobs成員變量,其中layers儲存了每一層的信息,blobs儲存了網絡的中間數據。
在進行推理時,首先根據net實例化一個ncnn::Extractor類,extractor中的net會被轉為const類。我們可以給extractor的任意一層送入數據,如extractor.input("data", in)就是給輸入數據層賦值。通過extractor.extract函數可以取出任意層的數據,在extract方法中,它會調用forward_layer方法遞歸地遍歷網絡。
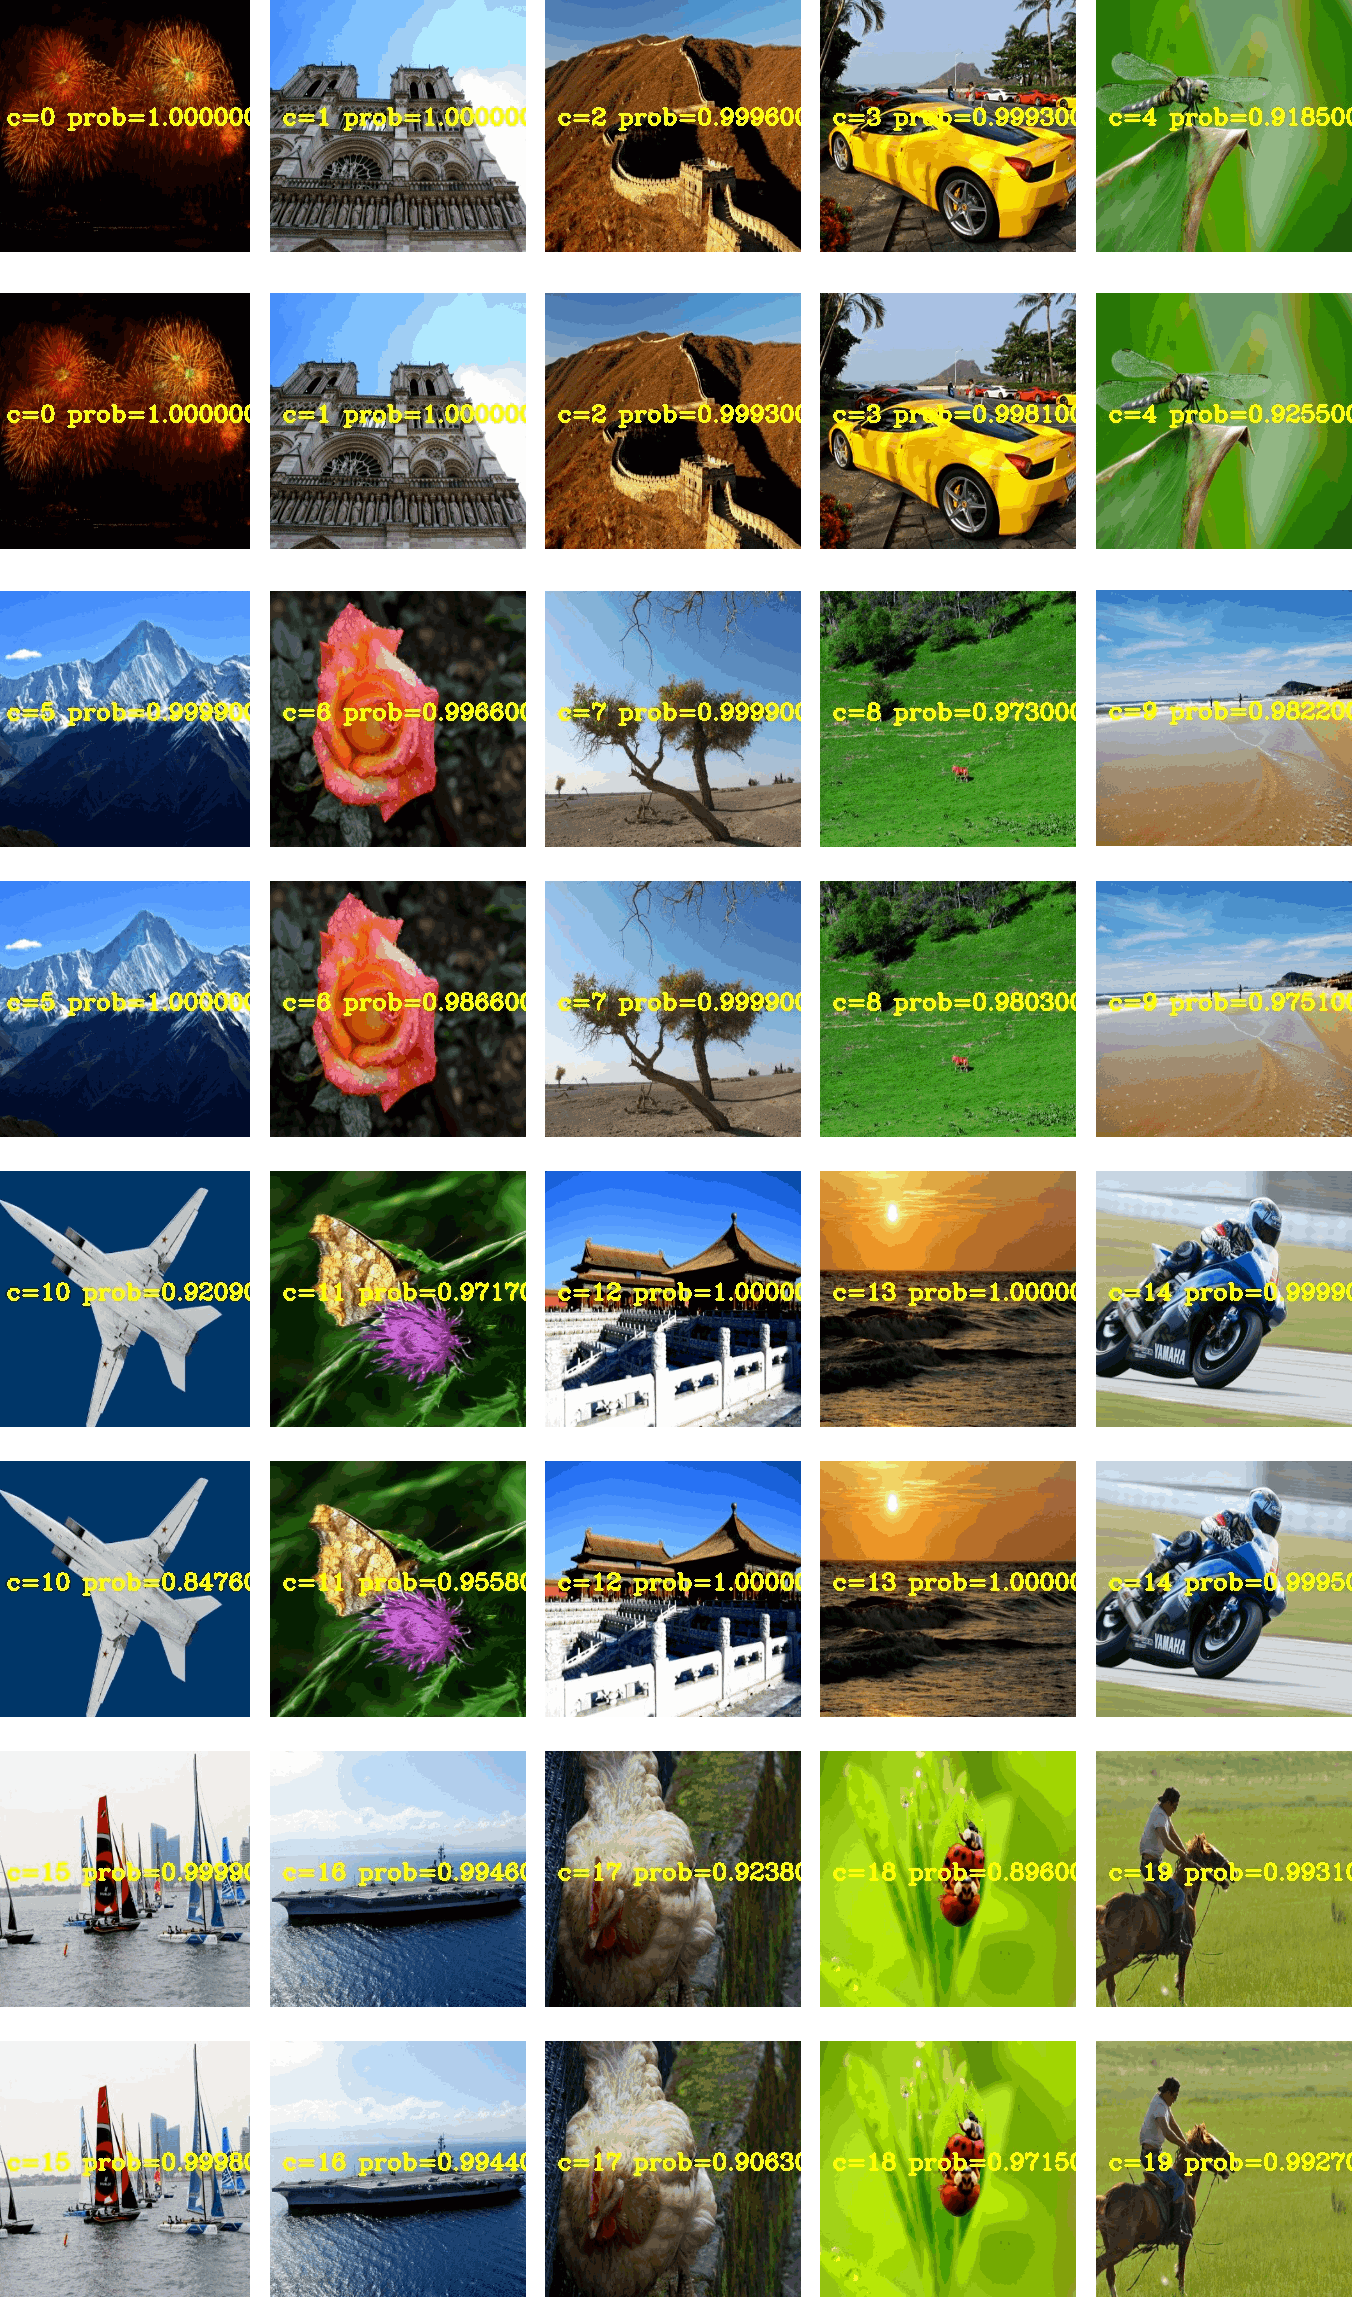
我們從20類中每一類隨機選取一張圖片來進行測試,比較量化前的模型推理結果和量化后的模型推理結果,下圖展示了每一張圖片的預測類別及經過Softmax映射后的概率,其中奇數行為量化前的模型推理結果,偶數行為量化后的模型推理結果。
?
從圖中樣本的預測結果可以看出,量化前后模型的預測概率是有差異的,但是差異非常小,大多在1%以內,所選測試圖片的預測結果都是正確的,說明該模型經過量化后精度沒有精度損失。
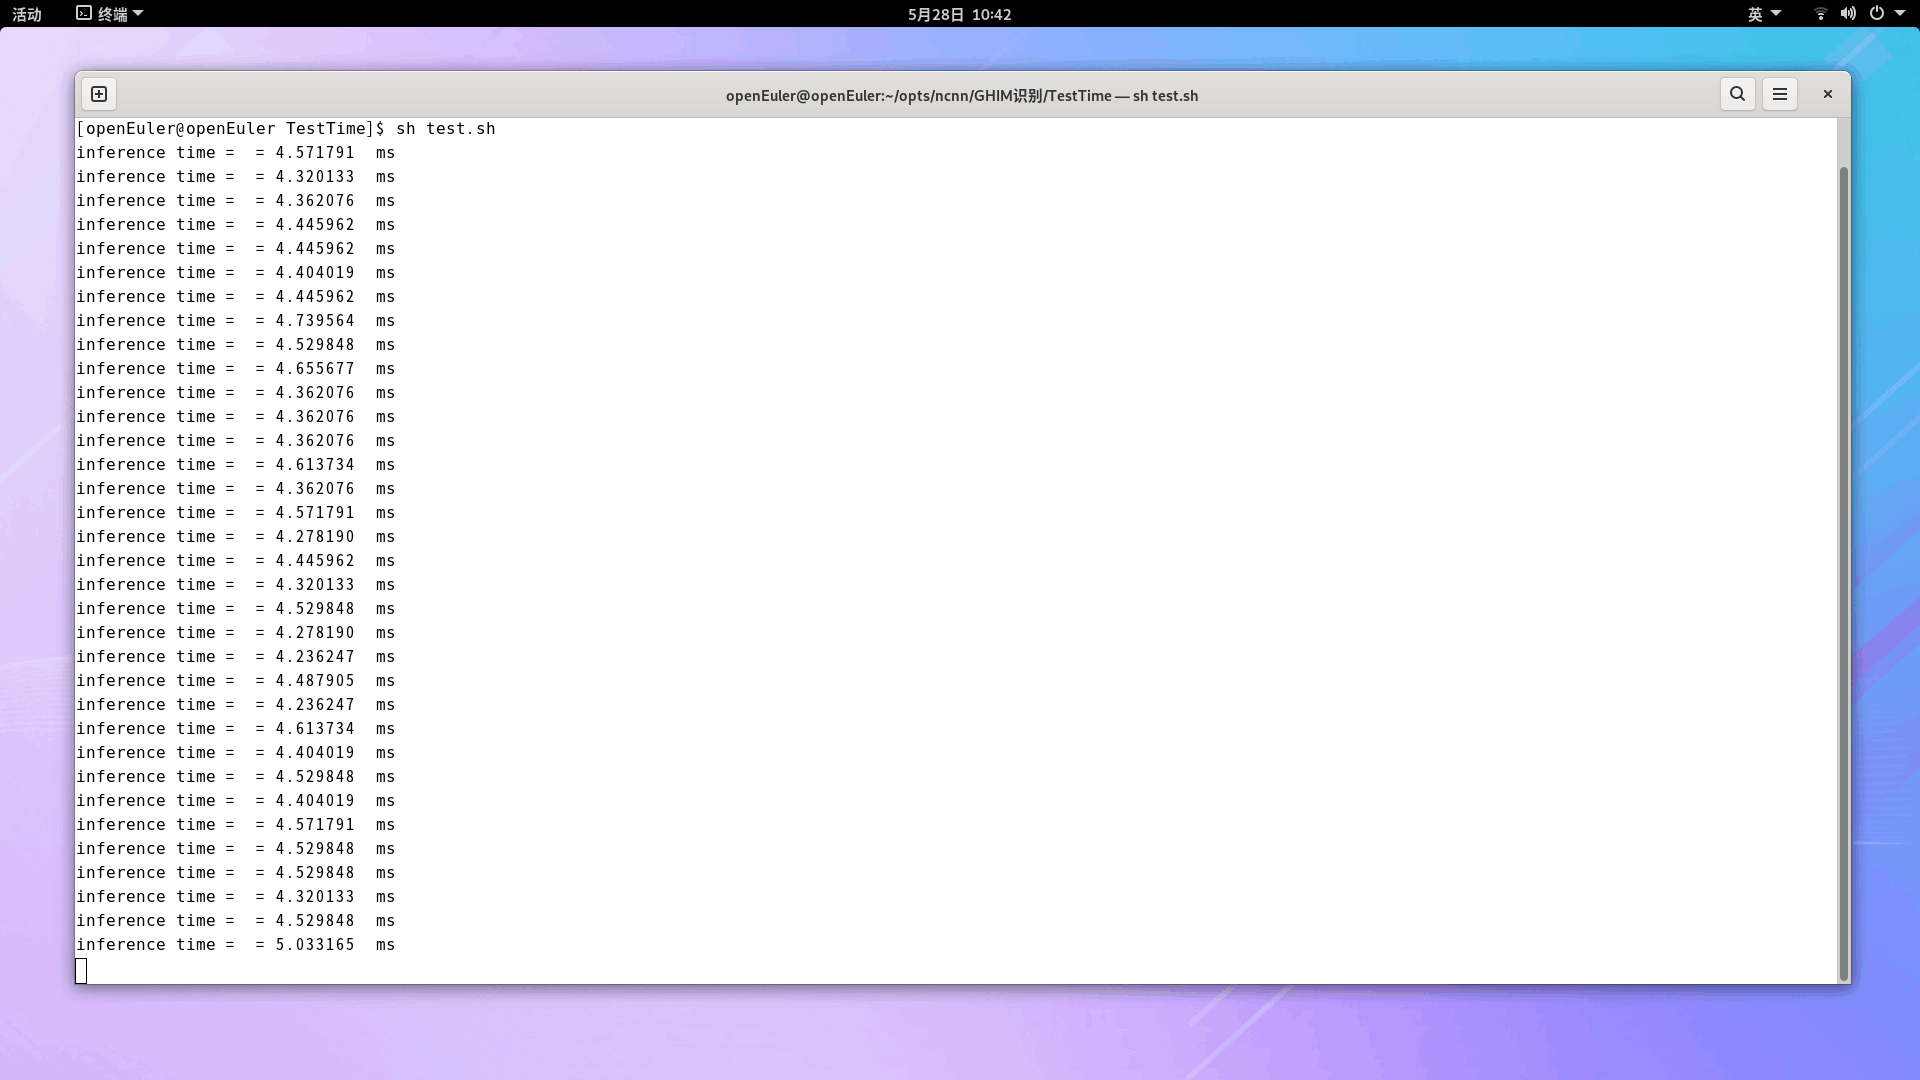
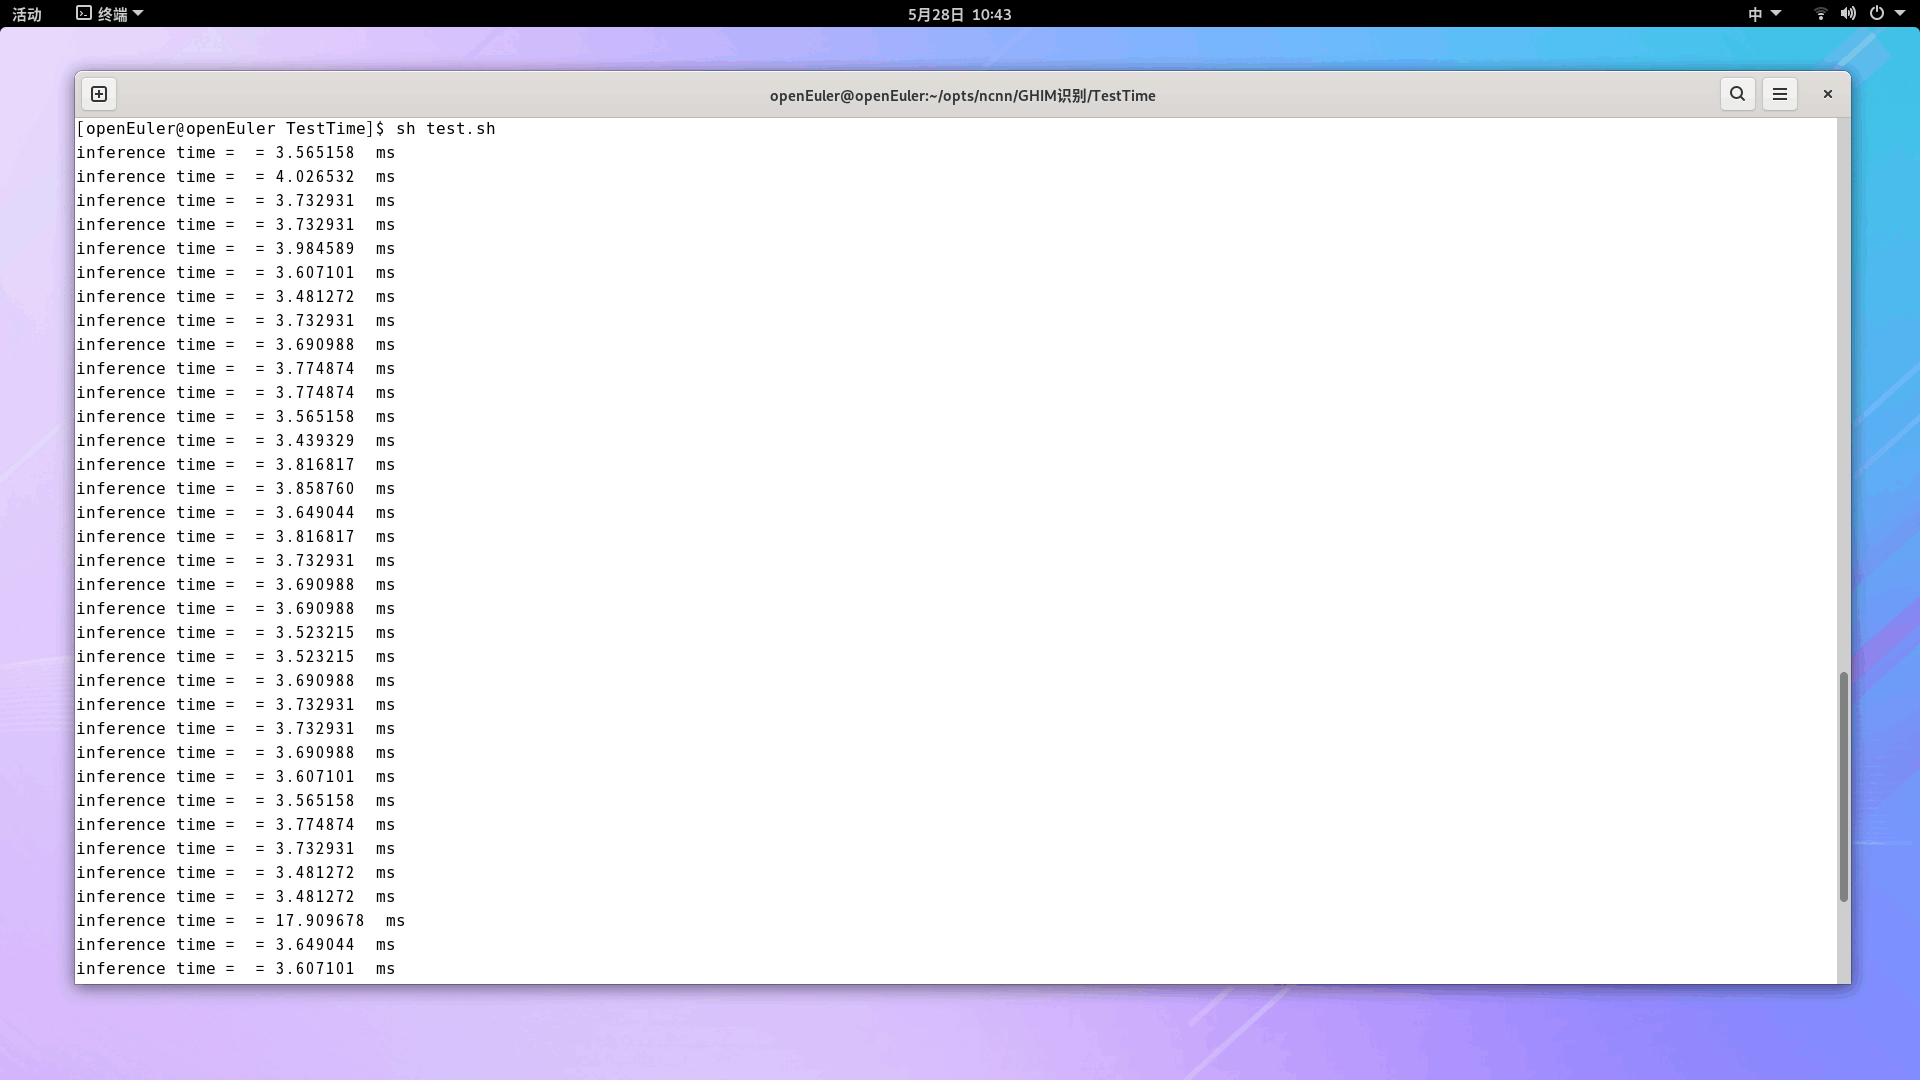
下圖從上到下分別展示了量化前和量化后的模型推理時間,每一張圖片的推理時間是通過重復100次推理后計算出來的平均值,這是為了讓推理時間的計算更加穩定。可以看出,對于大部分樣本,量化前模型的推理時間約為4.4ms左右,量化后模型的推理時間約為3.7ms左右,量化后模型的推理速度提升了16%,驗證了模型量化的加速效果。
?
?
?我們也用python對onnx模型以及原生pytorch模型進行了計時,計算了平均推理時間約為25ms,相關代碼如下:
#coding:utf8
import torch
import torchvision
from torchsummary import summary
import time
import cv2
import sys
import onnxruntime
import numpy as np
import PIL.Image as Image
import os,glob
from simpleconv5 import simpleconv5
torch.manual_seed(0)
os.environ['CUDA_LAUNCH_BLOCKING'] = '1'# 圖像預處理函數
def process_image(img):input_size = [224,224]mean = (0.5,0.5,0.5)std = (0.5,0.5,0.5)img = np.asarray(img.resize((input_size[0],input_size[1]),resample=Image.NEAREST)).astype(np.float32) / 255.0img[:,:,] -= meanimg[:,:,] /= stdimage = img.transpose((2,0,1))[np.newaxis, ...]return imageimgdir = "../GHIM-20"'''
##-----------------------test pytorch------------------------##
# 加載模型
model = simpleconv5(20)
modelpath = '../models/model_best.pth.tar'
model.load_state_dict(torch.load(modelpath,map_location='cpu')['state_dict'])
model.eval()
acc = 0.0
nums = 0.0
start_Inference = time.time()
for imgpath in glob.glob(os.path.join(imgdir, "**/*.jpg"),recursive=True):img = Image.open(imgpath).convert('RGB')data_input = process_image(img)input_data = torch.from_numpy(data_input)data_output = model(input_data)output = data_output.squeeze().cpu().detach().numpy()pred1 = output.argmax()label = int(imgpath.split('/')[-2])if label == pred1:acc += 1.0nums += 1.0end_Inference = time.time()
print('Inference use time='+str((end_Inference-start_Inference)*1000/nums)+' ms')
print("acc=",acc/nums)
'''##-----------------------test onnx------------------------##
onnx_path = '../models/simpleconv5.onnx'
result_path = 'onnx_results'
session = onnxruntime.InferenceSession(onnx_path)
inname = [input.name for input in session.get_inputs()]
outname = [output.name for output in session.get_outputs()]
acc = 0.0
nums = 0.0
print("inputs name:",inname,"|| outputs name:",outname)
start = cv2.getTickCount()
for imgpath in glob.glob(os.path.join(imgdir, "**/*.jpg"),recursive=True):img = Image.open(imgpath).convert('RGB')data_input = process_image(img)data_output = session.run(outname, {inname[0]: data_input})output = np.squeeze(data_output[0])pred1 = output.argmax()prob = output[pred1]label = int(imgpath.split('/')[-2])if label == pred1:acc += 1.0nums += 1.0
end = cv2.getTickCount()
print('ONNX Inference Time='+str((end-start)/nums/cv2.getTickFrequency()*1000)+' ms')
print("acc=",acc/nums)
可以看出,C++推理速度相比于python推理速度,有6倍左右的提升。量化后相比于量化前的提升速度并不大,這是因為香橙派本身的硬件足夠出色,筆者的MacBook Pro?Apple M2上的onnx推理時間也需要8ms左右。
總體來講,香橙派的性能比我之前的EAIDK-310開發套件性能強多了,同樣的模型EAIDK-310量化后的推理時間需要20ms以上,以后做嵌入式項目演示,就用香橙派 Kunpeng Pro了!


:和def __init__(self):的區別)

)


)


)
)

---PTA實驗C++)

main函數執行之前和之后的動作)

