文章目錄
- 前言
- 一、實戰模擬股票大盤工作臺
- 二、使用步驟
- 總結
前言
實戰模擬股票大盤工作臺
一、實戰模擬股票大盤工作臺
接上文,這兩天封裝好的組件直接應用,上源碼:
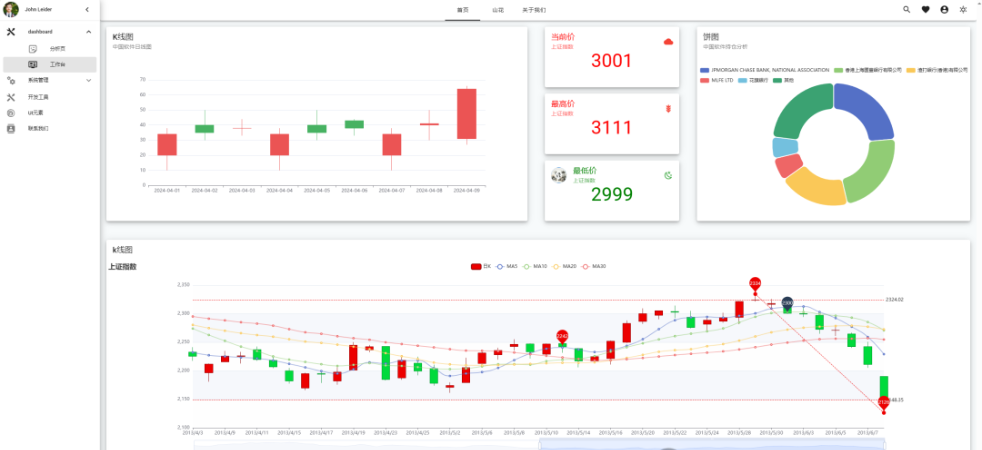
<template><div class="smart_house pb-5"><v-row ><v-col cols="12" sm="6"><v-hover v-slot="{ isHovering, props }" ><v-card subtitle="中國軟件日線圖" title="K線圖" class="elevation-10 ma-4" height="497" v-bind="props" :elevation="isHovering ? 24 : 6"><EChartsCandlestickReactive/></v-card></v-hover></v-col><v-col cols="12" sm="2"><v-hover v-slot="{ isHovering, props }"><v-card class="mx-auto ma-4 " style="color: red;" max-width="344" height="155" subtitle="上證指數" title="當前價"  v-bind="props" :elevation="isHovering ? 24 : 6"><template v-slot:append><v-icon color="red" icon="mdi-cloud"></v-icon></template><v-card-text class="text-h3 text-md-center" style="color: red;" >3001</v-card-text></v-card></v-hover><v-hover v-slot="{ isHovering, props }"><v-card class="mx-auto ma-4" style="color: red;" max-width="344" height="155" subtitle="上證指數" title="最高價"   v-bind="props" :elevation="isHovering ? 24 : 6"><template v-slot:append><v-icon color="red" icon="mdi-barley"></v-icon></template><v-card-text class="text-h3 text-md-center" style="color: red;">3111</v-card-text></v-card></v-hover><v-hover v-slot="{ isHovering, props }"><v-card class="mx-auto ma-4" style="color: green;" max-width="344" height="155" subtitle="上證指數" title="最低價 "  v-bind="props" :elevation="isHovering ? 24 : 6"><template v-slot:prepend><v-avatar color="blue-darken-2"><v-img alt="John" src="@/assets/images/avatar_big.png"></v-img></v-avatar></template><template v-slot:append><v-icon color="green" icon="mdi-weather-night"></v-icon></template><v-card-text class="text-h3 text-md-center" style="color: green;">2999</v-card-text></v-card></v-hover></v-col><v-col cols="12" sm="4" ><v-hover v-slot="{ isHovering, props }"><v-card class="mx-4 ma-4" height="497" subtitle="中國軟件持倉分析" title="餅圖" v-bind="props" :elevation="isHovering ? 24 : 6"><EChartsPieBorderRadiusType/></v-card></v-hover></v-col></v-row><v-row><v-col cols="12" sm="12" ><v-hover v-slot="{ isHovering, props }"><v-card class="mx-4 ma-2 " height="590" subtitle="" title="k線圖" v-bind="props" :elevation="isHovering ? 24 : 6"><EChartsCandlestickSh/></v-card></v-hover></v-col></v-row></div>
</template><script setup lang='ts' name="Home">import Navigation from "@/components/navigation/Navigation.vue"
import { reactive,ref } from "vue";
</script><style lang='scss' scoped>.smart_house {.camera_wrap {position: relative;border-radius: 6px;overflow: hidden;height: 365px;.label {max-width: 112px;line-height: 25px;padding: 0 6px;background: rgba(71, 69, 70, 0.2);position: absolute;left: 16px;top: 16px;color: rgba(255, 255, 255, 0.8);border-radius: 2px;span {display: inline-block;width: 10px;height: 10px;background: red;border-radius: 5px;}}.label.lk {left: auto;right: 16px;}}
}
.isMobile {.px-sm-3 {padding-right: 12px !important;padding-left: 12px !important;}.py-sm-1 {padding-top: 4px !important;padding-bottom: 4px !important;}.py1_no {padding-top: 0 !important;padding-bottom: 0 !important;}.sm_item_ {padding: 16px 12px 0 12px !important;}.sm_pt_1 {padding-top: 4px !important;}.music_card {// padding: ;.zjbg {display: none;}}
}
</style>
二、使用步驟
路由配置:
{path:'/',component:Layout,redirect: 'work',children: [{path: 'work',component: () => import('@/views/Work.vue'),name: 'work',meta: { title: '工作臺'}}]}
運行效果:
總結
最后,在學習 Vue 3 封裝 ECharts 的過程中,我們可以總結以下幾個關鍵點:
-
安裝依賴:首先需要安裝 ECharts 。
-
注冊組件:在 Vue 3 項目中,我們需要使用 defineComponent 和 app.component 方法來注冊 ECharts
組件。 -
引入封裝 ECharts:在需要使用 ECharts 的 Vue 組件中,我們需要引入 ECharts 和封裝好相應的圖表類型方便使用。
-
編寫圖表配置:根據需求編寫 ECharts 的配置項,包括圖表類型、數據、顏色等。
-
使用 ref 和 watch:為了實現圖表的響應式更新,我們需要使用 Vue 3 的 ref 和 watch
函數來監聽數據變化,并在數據變化時更新圖表。 -
銷毀圖表:在 Vue 組件銷毀時,需要調用 ECharts 的 dispose 方法來銷毀圖表實例,避免內存泄漏。
在生活的迷宮中,每個轉角都藏著未知的奇跡,勇敢向前,你的每一步都是答案。

法則)

)


)


事務消息,惰性隊列,優先隊列)


