簡介
OpenAtom OpenHarmony(以下簡稱“OpenHarmony”)是由開放原子開源基金會孵化及運營的開源項目,是面向全場景、全連接、全智能時代的智能物聯網操作系統。
多媒體子系統是OpenHarmony系統中的核心子系統,為系統提供了相機、音頻和視頻等多媒體功能。多媒體子系統的音頻模塊、音頻錄音功能可以提供兩套接口,一是由ohos.multimedia.media提供的AudioRecorder接口,能夠直接設置錄音保存的文件路徑,在錄制結束以后自動生成對應的錄音文件,代碼編寫比較簡單;二是由ohos.multimedia.audio提供的AudioCapturer接口,能夠獲得錄音過程中的PCM數據,并對數據進行處理。由于Capturer接口對于原始數據的處理更加靈活,今天就和大家介紹通過Capturer接口實現錄音變速的功能的方法。
效果展示
通過Capturer接口實現音頻的錄制,在錄制過程中對PCM數據進行重采樣實現聲音的快放和慢放。
首先設置錄音加速或者錄音減速,設置完成以后點擊“錄音開始”按鈕進行錄音,點擊“錄音結束”按鈕停止錄音,再通過點擊“播放開始”對錄音的音頻進行播放,播放的音頻是設置后的加速或者減速效果。
目錄結構

調用流程
1.Start的框架層調用流程

2. Read的框架層調用流程

源碼分析
1.首先看一下頁面的布局,主要分為四個模塊:
(1)設置錄音加速
<div style="text-color: aqua;margin-bottom: 20fp;"><text style="font-size: 30fp;">設置錄音加速:</text>
</div><div class="container"><button class="first" type="capsule" onclick="set_5_4">1.25倍速</button><button class="first" type="capsule" onclick="set_6_4">1.5倍速</button>
</div><div class="container"><button class="first" type="capsule" onclick="set_7_4">1.75倍速</button><button class="first" type="capsule" onclick="set_8_4">2倍速</button>
</div>
(2)設置錄音減速
<div style="text-color: aqua;margin-bottom: 20fp;margin-top: 20fp;"><text style="font-size: 30fp;">設置錄音減速:</text>
</div><div class="container"><button class="first" type="capsule" onclick="set_3_4">0.75倍速</button><button class="first" type="capsule" onclick="set_2_4">0.5倍速</button>
</div>
(3)錄音
<div style="text-color: aqua;margin-bottom: 20fp;margin-top: 20fp;"><text style="font-size: 30fp;">錄音:</text>
</div><div class="container"><button class="first" type="capsule" onclick="record">錄音開始</button><button class="first" type="capsule" onclick="recordstop">錄音結束</button>
</div>
(4)播放
<div style="text-color: aqua;margin-bottom: 20fp;margin-top: 20fp;"><text style="font-size: 30fp;">播放:</text>
</div><div class="container"><button class="first" type="capsule" onclick="play">播放開始</button><button class="first" type="capsule" onclick="playstop">播放結束</button>
</div><div class="container"><video if="{{ display }}" id="{{ videoId }}"class="video"src="{{url}}"autoplay="{{ autoplay }}"controls="{{ controlShow }}"muted="false"onseeked="seeked"onprepared="prepared"></video>
</div>
2.邏輯代碼在JS中:
(1)首先通過AudioCapturer接口獲取到PCM數據,再通過調用AudioCapturer的start接口來啟動錄音流程。
globalThis.capturer.start().then(function () {console.log("gyf start");globalThis.capturer.getBufferSize((err, bufferSize) => {if (err) {console.error('gyf getBufferSize error');} else {console.log("gyf bufferSize = " + bufferSize);globalThis.getBuf(bufferSize);}});
});
(2)啟動成功以后,getBuf會調用到getData函數,getData函數通過AudioCapturer的read方法來讀取數據,成功讀取到數據以后,通過handleBuffer函數對數據進行處理。handleBuffer函數的參數arrayBuffer就是通過read方法讀取出來的pcm數據,在handleBuffer中對數據進行了快速播放或者慢速播放的處理。
//循環調用read,進行數據的讀取
handleBuffer(arrayBuffer) {console.log("gyf handleBuffer");let result = new Uint8Array(arrayBuffer);console.log("gyf handleBuffer ================== " + result);let outData = this.test(result, up, down);fileio.writeSync(globalThis.fd, outData.buffer);globalThis.capturer.read(globalThis.bufSize, true).then(this.handleBuffer);
},getData(bufSize) {console.log("gyf getData");globalThis.capturer.read(bufSize, true).then(this.handleBuffer);
},getBuf(bufSize) {console.log("gyf getBuf");this.getData(bufSize);
},
(3)快速播放或者慢速播放是通過up和down兩個方法的組合來實現的,down方法的原理是對PCM數據進行插值處理,在相鄰兩點間插入down個采樣點,up方法的原理是間隔抽取,間隔up個點進行抽取采樣。
up(data, up) {if (1 == up) {return data;}let length = data.byteLength;let upLength = Math.round(length / up);var upData = new Uint8Array(upLength);for (var i = 0, j = 0; i < length; ) {if (j >= upLength) {break;}upData[j] = data[i];i += up;j++;}return upData;
},down(data, down) {if (1 == down) {return data;}let length = data.byteLength;let downLength = Math.round(length * down);var downData = new Uint8Array(downLength);for (var i = 0, j = 0; i < length - 1; ) {for (var k = 0; k < down; k++) {downData[j] = data[i];j++;}i++;}return downData;
},
(4)將down和up的方法組合調用,來實現1.25倍、1.5倍、1.75倍、2倍、0.75倍、0.5倍的速度播放。
test(data, up, down) {let downData = this.down(data, down);let upData = this.up(downData, up);return upData;
},
(5)播放wav格式的音頻文件,采集獲取PCM數據,需要我們根據設置的參數對pcm數據進行添加wav的頭部信息,通過創建AudioCapturer實例的時候設置采集音頻的參數,如采樣率、通道數、采樣格式等。
//音頻采集初始化
var audioStreamInfo = {samplingRate: audio.AudioSamplingRate.SAMPLE_RATE_8000,channels: audio.AudioChannel.CHANNEL_1,sampleFormat: audio.AudioSampleFormat.SAMPLE_FORMAT_U8,encodingType: audio.AudioEncodingType.ENCODING_TYPE_RAW
}var audioCapturerInfo = {source: audio.SourceType.SOURCE_TYPE_MIC,capturerFlags: 1
}var audioCapturerOptions = {streamInfo: audioStreamInfo,capturerInfo: audioCapturerInfo
}
let that = this;audio.createAudioCapturer(audioCapturerOptions,(err, data) => {if (err) {console.error(`gyf AudioCapturer Created : Error: ${err.message}`);}else {console.info('gyf AudioCapturer Created : Success : SUCCESS');that.capturer = data;}
});
(6)根據這些參數設置的信息需要對wav文件寫入文件頭,頭信息一般包含44個字節,里面需要設置三個chunk的信息(RIFF chunk、fmt chunk、data chunk),具體的信息可以查看官網的介紹WAV文件格式介紹:
//假設數據為1000秒鐘的時間(8000 * 1000)
encodeWAV() {var dataLen = 8000000;var sampleRate = 8000;var sampleBits = 8;var buffer = new ArrayBuffer(44);var data = new DataView(buffer);var channelCount = 1;   // 單聲道var offset = 0;// 資源交換文件標識符this.writeString(data, offset, 'RIFF'); offset += 4;// 下個地址開始到文件尾總字節數,即文件大小-8data.setUint32(offset, 36 + dataLen, true); offset += 4;// WAV文件標志this.writeString(data, offset, 'WAVE'); offset += 4;// 波形格式標志this.writeString(data, offset, 'fmt '); offset += 4;// 過濾字節,一般為 0x10 = 16data.setUint32(offset, 16, true); offset += 4;// 格式類別 (PCM形式采樣數據)data.setUint16(offset, 1, true); offset += 2;// 通道數data.setUint16(offset, channelCount, true); offset += 2;// 采樣率,每秒樣本數,表示每個通道的播放速度data.setUint32(offset, sampleRate, true); offset += 4;// 波形數據傳輸率 (每秒平均字節數) 單聲道×每秒數據位數×每樣本數據位/8data.setUint32(offset, channelCount * sampleRate * (sampleBits / 8), true); offset += 4;// 快數據調整數 采樣一次占用字節數 單聲道×每樣本的數據位數/8data.setUint16(offset, channelCount * (sampleBits / 8), true); offset += 2;// 每樣本數據位數data.setUint16(offset, sampleBits, true); offset += 2;// 數據標識符this.writeString(data, offset, 'data'); offset += 4;// 采樣數據總數,即數據總大小-44data.setUint32(offset, dataLen, true); offset += 4;return data;
},
總結
本文介紹了通過使用OpenHarmony音頻模塊的AudioCapturer接口實現錄音功能。AudioCapturer接口對于原始數據的處理非常靈活,能夠對采集的數據進行插值/抽值的重采樣處理,并將處理后的音頻處理保存至本地文件。由于本地文件使用的是WAV格式,故在寫數據前需要對WAV文件進行頭部信息的添加,這些信息可以根據創建AudioCapturer時設置的參數來進行設置,以此保證頭部信息的準確性,最后再通過應用層的video組件對音頻數據進行播放。
為了幫助到大家能夠更有效的學習OpenHarmony 開發的內容,下面特別準備了一些相關的參考學習資料:
OpenHarmony 開發環境搭建:https://qr18.cn/CgxrRy

《OpenHarmony源碼解析》:https://qr18.cn/CgxrRy
- 搭建開發環境
- Windows 開發環境的搭建
- Ubuntu 開發環境搭建
- Linux 與 Windows 之間的文件共享
- ……

系統架構分析:https://qr18.cn/CgxrRy
- 構建子系統
- 啟動流程
- 子系統
- 分布式任務調度子系統
- 分布式通信子系統
- 驅動子系統
- ……

OpenHarmony 設備開發學習手冊:https://qr18.cn/CgxrRy
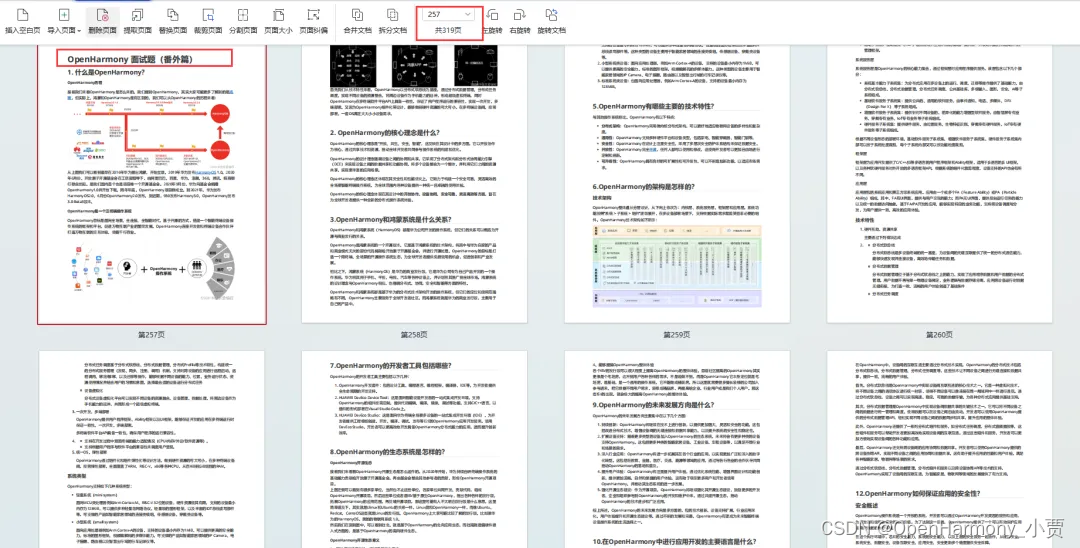
OpenHarmony面試題(內含參考答案):https://qr18.cn/CgxrRy


 —— 基礎概念(0))

:學習框架)

)


—集成炫酷的粒子特效)


 默認QtWidget應用包含什么?)
