目錄
1、相關文章
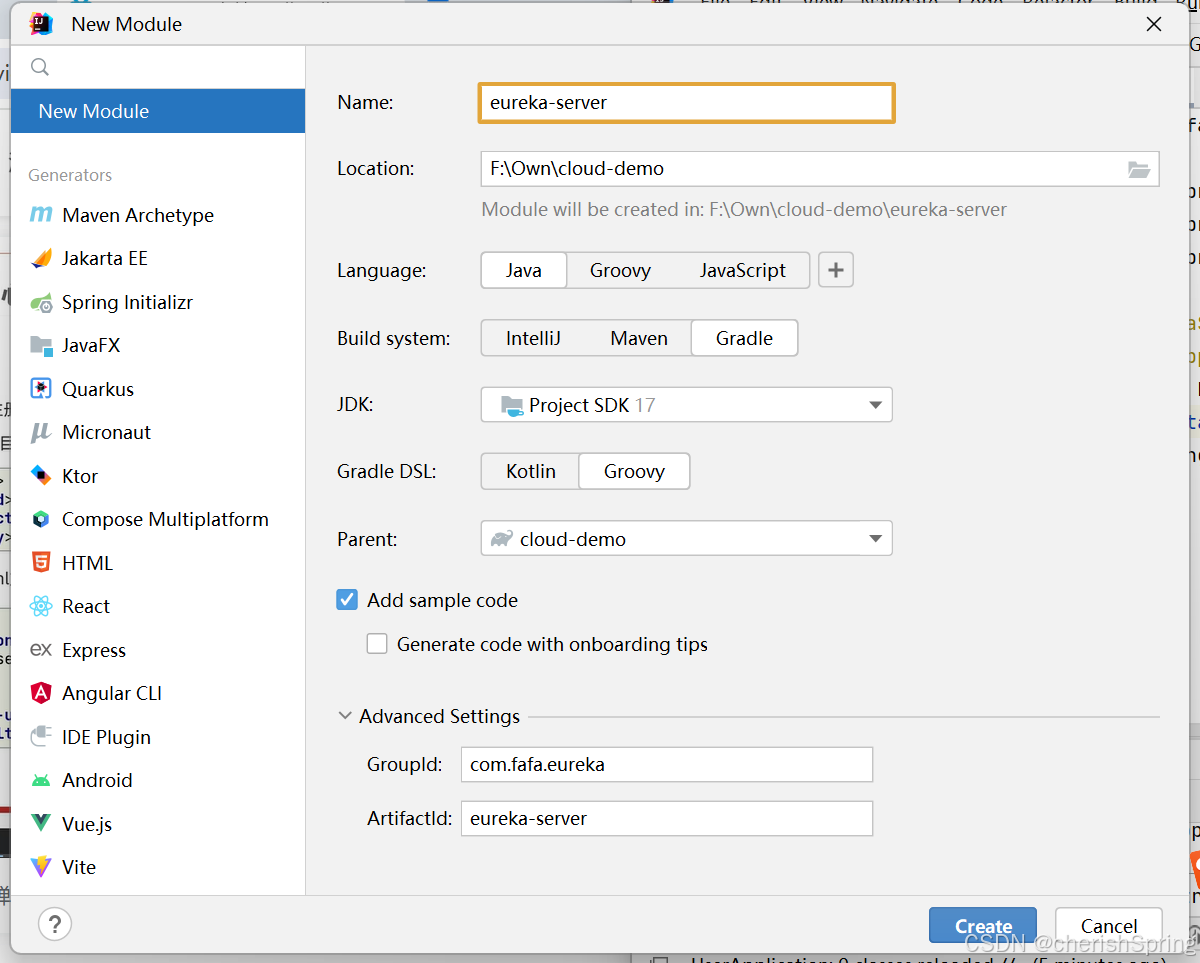
2、創建eureka-server子工程
3、父工程build.gradle引入版本依賴管理
4、子工程build.gradle引入依賴
5、將main重命名為EurekaApplication并修改代碼
6、添加application.yml文件
7、啟動工程并訪問
8、訪問界面如下
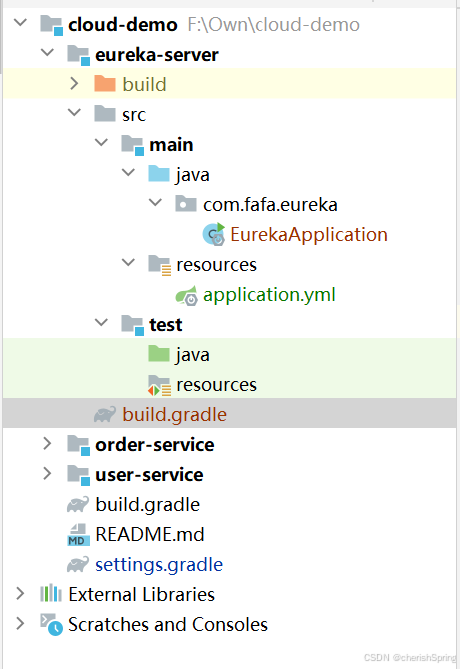
9、?完整目錄結構
1、相關文章
-
基礎工程:gradle7.6.1+springboot3.2.4創建微服務工程-CSDN博客
-
Eureka+Ribbon實現服務注冊與發現:Eureka+Ribbon實現服務注冊與發現-CSDN博客
2、創建eureka-server子工程
3、父工程build.gradle引入版本依賴管理
-
SpringCloud版本需根據SpringBoot參照[版本對照表]。
-
版本對照表地址:https://github.com/alibaba/spring-cloud-alibaba/wiki/版本說明。
-
dependencyManagement引入依賴版本管理包,其管理的依賴引入不需要再指定版本。
-
查看管理依賴版本[spring-cloud-dependencies]:https://mvnrepository.com/artifact/org.springframework.cloud/spring-cloud-dependencies/Hoxton.SR12
dependencyManagement {  //版本號需根據springboot版本確定imports { mavenBom "org.springframework.cloud:spring-cloud-dependencies:Hoxton.SR12" }
}
4、子工程build.gradle引入依賴
dependencies {//引入eureka-server依賴implementation 'org.springframework.cloud:spring-cloud-starter-netflix-eureka-server'
}
5、將main重命名為EurekaApplication并修改代碼
package com.fafa.eureka;  import org.springframework.boot.SpringApplication;
import org.springframework.boot.autoconfigure.SpringBootApplication;
import org.springframework.cloud.netflix.eureka.server.EnableEurekaServer;  @EnableEurekaServer
@SpringBootApplication
public class EurekaApplication {  public static void main(String[] args) {  SpringApplication.run(EurekaApplication.class, args);  }
}
6、添加application.yml文件
server:  port: 10086  spring:  application:  name: eureka-server
eureka:  client:  service-url:  # eureka的地址信息,可以是集群地址,逗號隔開  defaultZone: http://127.0.0.1:10086/eureka
7、啟動工程并訪問
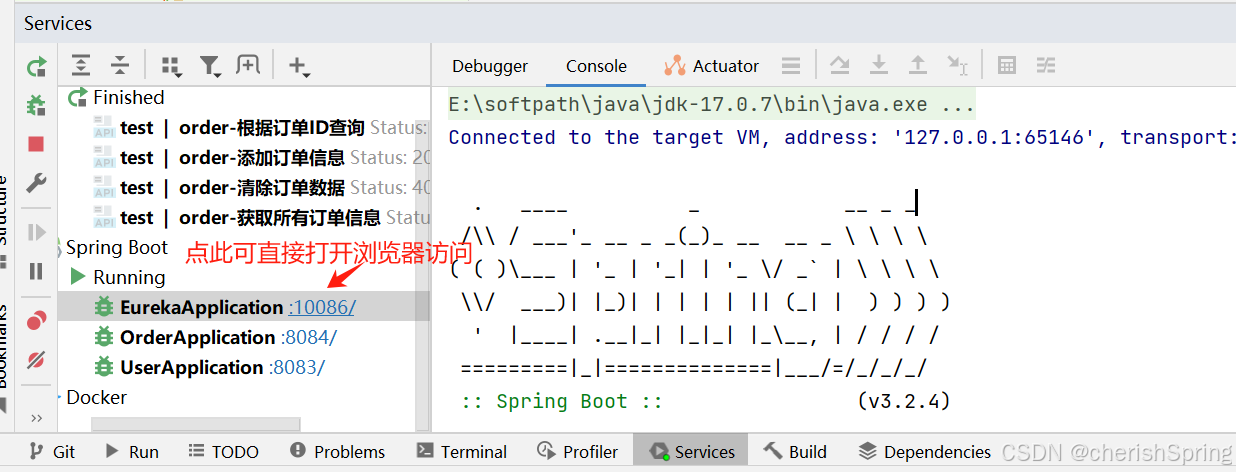
8、訪問界面如下
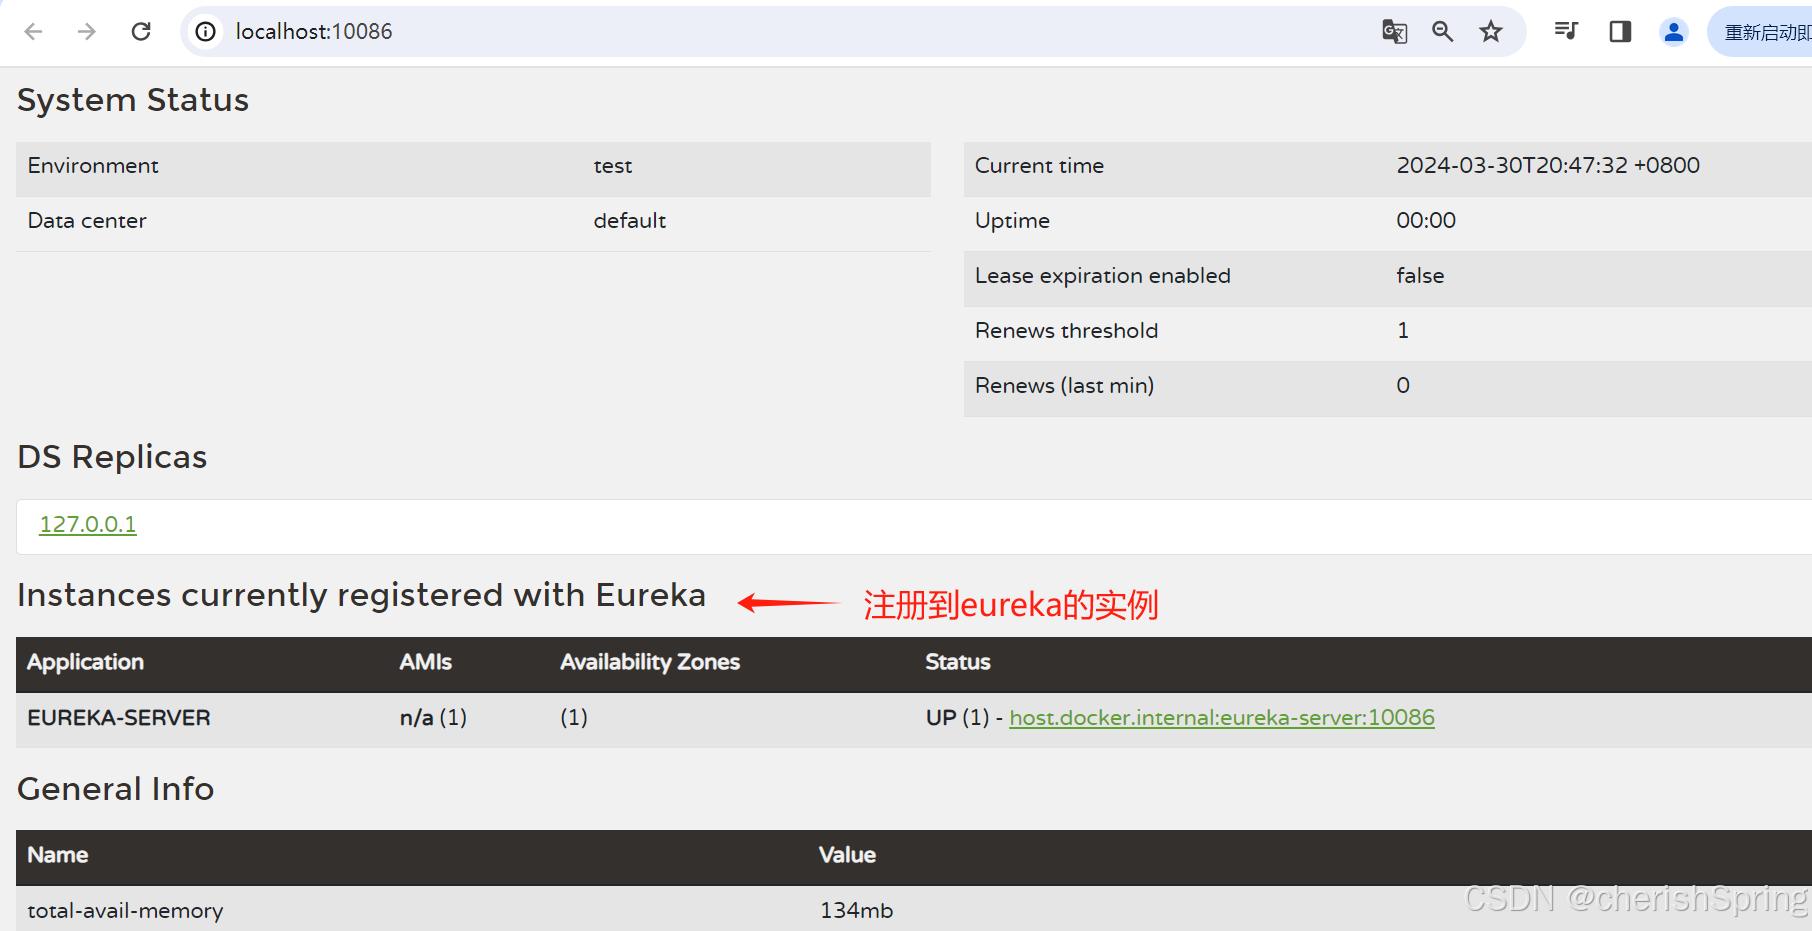
9、?完整目錄結構
)


)
)

)
 使用langchain進行AI開發 load documents(csv和文件夾))
)


)


![git fork的項目遠端標準協作流程 倉庫設置[設置成upstream]](http://pic.xiahunao.cn/git fork的項目遠端標準協作流程 倉庫設置[設置成upstream])
![[FFmpeg] 輸入輸出訪問 | 管道系統 | AVIOContext 與 URLProtocol | 門面模式](http://pic.xiahunao.cn/[FFmpeg] 輸入輸出訪問 | 管道系統 | AVIOContext 與 URLProtocol | 門面模式)


