Ubuntu 22.04.5 LTS 基于 kubesphere 安裝 cube studio
前置條件 已經成功安裝 kubesphere v4.3.1
參考教程:?https://github.com/data-infra/cube-studio/wiki/%E5%9C%A8-kubesphere-%E4%B8%8A%E6%90%AD%E5%BB%BA-cube-studio
1. 安裝基礎依賴
# ubuntu安裝基礎依賴
apt install -y socat conntrack ebtables ipset ipvsadm
2.?服務nodeport可用端口范圍要放大到10~60000
vi /etc/kubernetes/manifests/kube-apiserver.yaml修改添加apiserver配置spec:containers:- command:- kube-apiserver- --service-node-port-range=1-65535 # 添加這一行- --advertise-address=172.16.0.17修改后,通過reboot命令重啟機器
3.?如果使用containerd運行時,替換腳本中的docker命令
如果知道是否為containerd運行時, 通過命令?kubectl get nodes 看到節點?kubectl describe node node1 | grep "Container Runtime" , 輸出:?Container Runtime Version: ? ? containerd://1.7.27
# 替換拉取文件中的拉取命令
cd install/kubernetes/
sed -i 's/^docker/crictl/g' pull_images.sh
4.??對于kubekey部署的ipvs模式的k8s
通過如下命令可以檢查是否為ipvs模式的k8s
kubectl get configmap -n kube-system kube-proxy -o yaml | grep mode
輸出:??mode: ipvs
(1)要將install/kubernetes/start.sh 以及 start-with-kubesphere.sh 腳本最后面的kubectl patch svc istio-ingressgateway -n istio-system -p '{"spec":{"externalIPs":["'"$1"'"]}}'注釋掉。取消注釋代碼kubectl patch svc istio-ingressgateway -n istio-system -p '{"spec":{"type":"NodePort"}}'
(2)將配置文件install/kubernetes/cube/overlays/config/config.py中的 CONTAINER_CLI的值 改為 nerdctl,K8S_NETWORK_MODE的值 改為ipvs
其中安裝 nerdctl??nerdctl-2.0.4-linux-amd64.tar.gz
下載地址:?https://github.com/containerd/nerdctl/releases
解壓到 /usr/local/bin 目錄
tar zxvf nerdctl-2.0.4-linux-amd64.tar.gz -C /usr/local/bin nerdctl
5. 將k8s集群的kubeconfig文件(默認位置:~/.kube/config)復制到install/kubernetes/config文件中,然后執行下面的部署命令,其中xx.xx.xx.xx為機器內網的ip(不是外網ip)
解釋? (單機版本)
# 在k8s worker機器上執行如果只部署了k8s,沒有部署kubesphere,執行
sh start.sh xx.xx.xx.xx如果部署了k8s 同時部署了kubesphere,執行
sh start-with-kubesphere.sh xx.xx.xx.xx
由于我是單機版本的, 所以注釋掉 start.sh 下面的腳本, 不需要重新下載
#mkdir -p ~/.kube && rm -rf ~/.kube/config && cp config ~/.kube/config#ARCH=$(uname -m)#if [ "$ARCH" = "x86_64" ]; then
# ?wget https://cube-studio.oss-cn-hangzhou.aliyuncs.com/install/kubectl && chmod +x kubectl ?&& cp kubectl /usr/bin/ && mv kubectl /usr/local/bin/
#elif [ "$ARCH" = "aarch64" ]; then
# ?wget -O kubectl https://cube-studio.oss-cn-hangzhou.aliyuncs.com/install/kubectl-arm64 && chmod +x kubectl ?&& cp kubectl /usr/bin/ && mv kubectl /usr/local/bin/
#fi
6.??kubectl拿version時, 由于1.28版本高的原因問題會報錯
version=`kubectl version --short | awk '/Server Version:/ {print $3}'`修改成version=`kubectl version | awk '/Server Version:/ {print $3}'`按第5步執行, 由于腳本中沒有處理權限問題, 實際上應該使用root運行, 因為創建 /data目錄, 根本沒有考慮到其它用戶的問題, 所以在上述第五步, 把沒辦法要腳本注釋掉, 因為是當機版本, 如果是別的機器部署, 可以保持不動
由于我是安裝了kubesphere的, 所以我運行如下腳本執行安裝
如果部署了k8s 同時部署了kubesphere,執行cd /data1/cube-studio/install/kubernetes 這是我下載 cube-studio的對應目錄sh start.sh 10.33.34.166不要嘗試使用 start-with-kubesphere.sh , 容易出現istio啟不來的情況, 因為缺少了一些服務的安裝, 不過使用start.sh啟動也一樣遇到istio無法使用的問題部署成功后會顯示如下消息
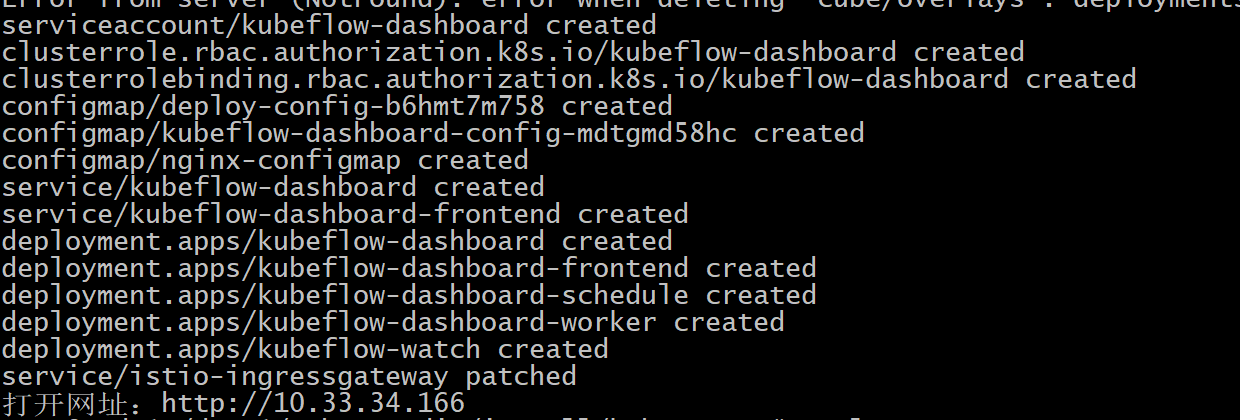
通過kubesphere查看也是沒有錯的
但是發現
2025-04-30T16:55:35.867847176+08:00 This Session's transaction has been rolled back due to a previous exception during flush. To begin a new transaction with this Session, first issue Session.rollback(). Original exception was: (pymysql.err.IntegrityError) (1452, 'Cannot add or update a child row: a foreign key constraint fails (`kubeflow`.`etl_pipeline`, CONSTRAINT `etl_pipeline_ibfk_1` FOREIGN KEY (`changed_by_fk`) REFERENCES `ab_user` (`id`))')
2025-04-30T16:55:35.867852596+08:00 [SQL: INSERT INTO etl_pipeline (created_on, changed_on, name, `describe`, project_id, workflow, dag_json, config, expand, created_by_fk, changed_by_fk) VALUES (%(created_on)s, %(changed_on)s, %(name)s, %(describe)s, %(project_id)s, %(workflow)s, %(dag_json)s, %(config)s, %(expand)s, %(created_by_fk)s, %(changed_by_fk)s)]
2025-04-30T16:55:35.867858045+08:00 [parameters: {'created_on': datetime.datetime(2025, 4, 30, 16, 55, 33, 497374), 'changed_on': datetime.datetime(2025, 4, 30, 16, 55, 33, 497402), 'name': 'dau', 'describe': 'dau計算', 'project_id': 1, 'workflow': 'airflow', 'dag_json': '{\n    "cos導入hdfs-1686184253953": {\n        "label": "數據導入",\n        "location": [\n            304,\n            96\n        ],\n        "color":  ... (7480 characters truncated) ... \n            "label": "數據導出"\n        },\n        "upstream": [\n            "hive出庫至hdfs-1686184293917"\n        ],\n        "task_id": 7\n    }\n}', 'config': '{\n    "alert_user": "admin"\n}', 'expand': '[]', 'created_by_fk': 1, 'changed_by_fk': 1}]
2025-04-30T16:55:35.867863640+08:00 (Background on this error at: https://sqlalche.me/e/14/gkpj) (Background on this error at: https://sqlalche.me/e/14/7s2a)
2025-04-30T16:55:35.867869011+08:00 begin add notebook
2025-04-30T16:55:35.867874369+08:00 This Session's transaction has been rolled back due to a previous exception during flush. To begin a new transaction with this Session, first issue Session.rollback(). Original exception was: (pymysql.err.IntegrityError) (1452, 'Cannot add or update a child row: a foreign key constraint fails (`kubeflow`.`etl_pipeline`, CONSTRAINT `etl_pipeline_ibfk_1` FOREIGN KEY (`changed_by_fk`) REFERENCES `ab_user` (`id`))')
2025-04-30T16:55:35.867879533+08:00 [SQL: INSERT INTO etl_pipeline (created_on, changed_on, name, `describe`, project_id, workflow, dag_json, config, expand, created_by_fk, changed_by_fk) VALUES (%(created_on)s, %(changed_on)s, %(name)s, %(describe)s, %(project_id)s, %(workflow)s, %(dag_json)s, %(config)s, %(expand)s, %(created_by_fk)s, %(changed_by_fk)s)]
2025-04-30T16:55:35.867903881+08:00 [parameters: {'created_on': datetime.datetime(2025, 4, 30, 16, 55, 33, 497374), 'changed_on': datetime.datetime(2025, 4, 30, 16, 55, 33, 497402), 'name': 'dau', 'describe': 'dau計算', 'project_id': 1, 'workflow': 'airflow', 'dag_json': '{\n    "cos導入hdfs-1686184253953": {\n        "label": "數據導入",\n        "location": [\n            304,\n            96\n        ],\n        "color":  ... (7480 characters truncated) ... \n            "label": "數據導出"\n        },\n        "upstream": [\n            "hive出庫至hdfs-1686184293917"\n        ],\n        "task_id": 7\n    }\n}', 'config': '{\n    "alert_user": "admin"\n}', 'expand': '[]', 'created_by_fk': 1, 'changed_by_fk': 1}]
2025-04-30T16:55:35.867916345+08:00 (Background on this error at: https://sqlalche.me/e/14/gkpj) (Background on this error at: https://sqlalche.me/e/14/7s2a)解決辦法: 如果可以刪除/data/k8s/infra/mysql的話。就把這個刪了,然后重啟mysql和kubeflow-dashboard
另外遇到?prometheus沒啟成功 的問題, 報錯
openebs.io/local_openebs-localpv-provisioner-7bf6f464c-c6j58_77b994b8-de73-4b58-8d29-e0fc8d194a38 ?failed to provision volume with StorageClass "local": claim.Spec.Selector is not supported
解決辦法:?kubectl edit prometheus k8s -n monitoring 將??selector 那一段刪掉 , 然后由于使用?openebs.io/local 記得將?ReadWriteMany 改成?ReadWriteOnce 否則報錯?openebs.io/local_openebs-localpv-provisioner-7bf6f464c-c6j58_77b994b8-de73-4b58-8d29-e0fc8d194a38 ?failed to provision volume with StorageClass "local": Only support ReadWriteOnce access mode
就算是這樣, 重啟也會失敗,需要到存儲那邊把 待綁定的pvc刪除掉, 系統會自動創建.
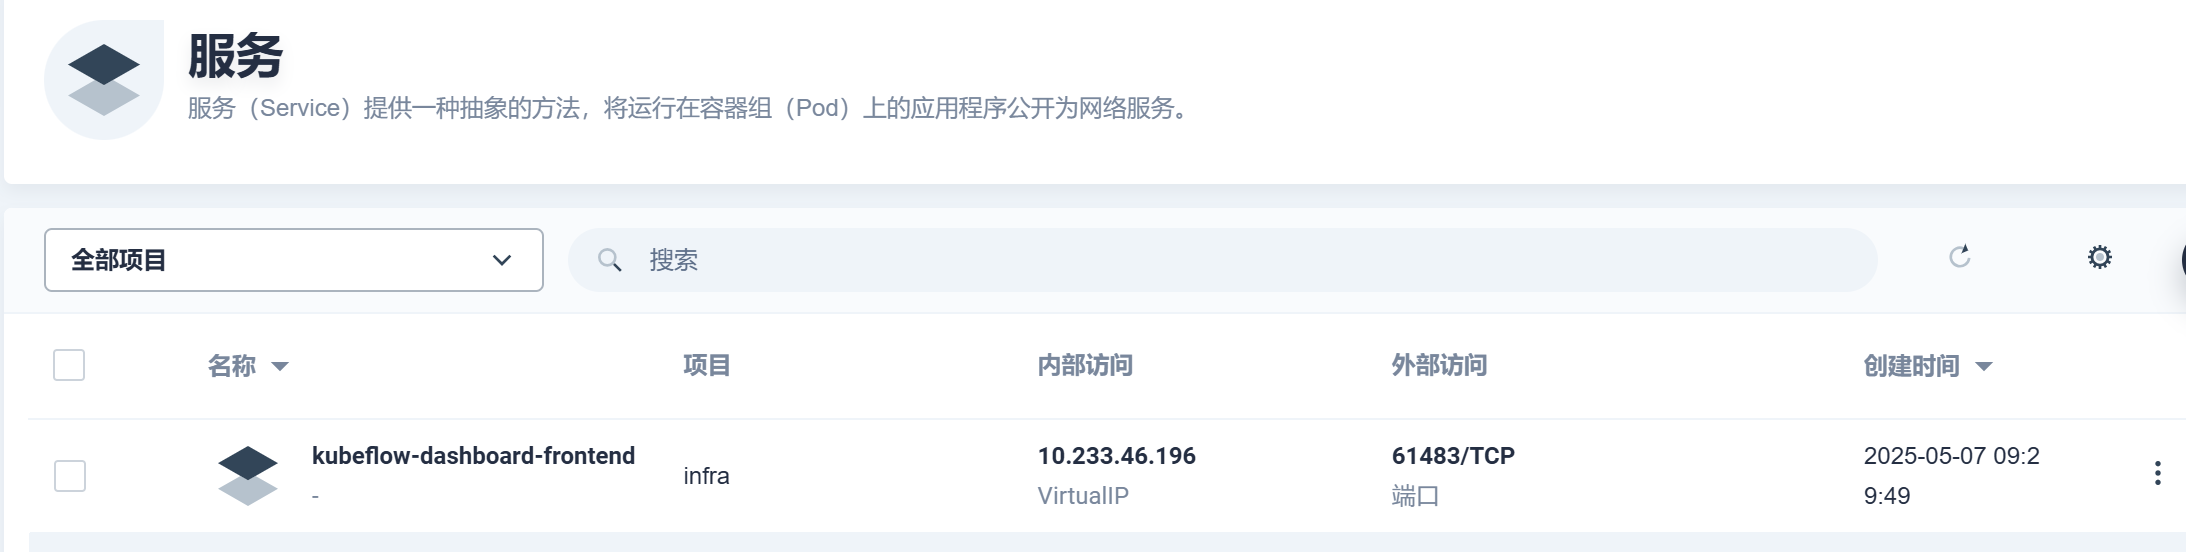
總結一下: 最終還是沒有用起來istio, 看著是啟動了, 但是訪問不了. 解決辦法是手工放開?kubeflow-dashboard-frontend 的服務進行訪問 , 但這樣的方式還是不行的, 里面的應用無法跳轉, 還是要解決istio的問題
最終發現 gateway沒有創建成功報錯了?
Error from server: error when creating "gateway.yaml": admission webhook "validation.istio.io" denied the request: configuration is invalid: port name must be set: number:80 ?protocol:"HTTP"
Error from server: error when creating "gateway.yaml": admission webhook "validation.istio.io" denied the request: configuration is invalid: port name must be set: number:8080 ?protocol:"HTTP"
解決辦法:? 修改gateway.yaml 文件 然后重新部署?kubectl apply -f gateway.yaml
port:
number: 80
name: http # 👈 必須加這一行
protocol: HTTP
port:
number: 8080
name: http-8080 # 👈 必須加 name
protocol: HTTP


)

)


