圖像透視變換詳解與實戰
在圖像處理中,透視變換(Perspective Transform) 是一種常見的幾何變換,用來將圖像中某個四邊形區域拉伸或壓縮,映射到一個矩形區域。常見應用場景包括:
糾正拍照時的傾斜(如手機拍發票、拍文檔)
從復雜背景中提取規則區域(如車牌識別)
圖像投影變換、鳥瞰視圖生成
本文將通過一個完整案例,帶你從圖像讀取、輪廓檢測,到透視變換、結果后處理,逐步完成發票/文件的自動矯正。
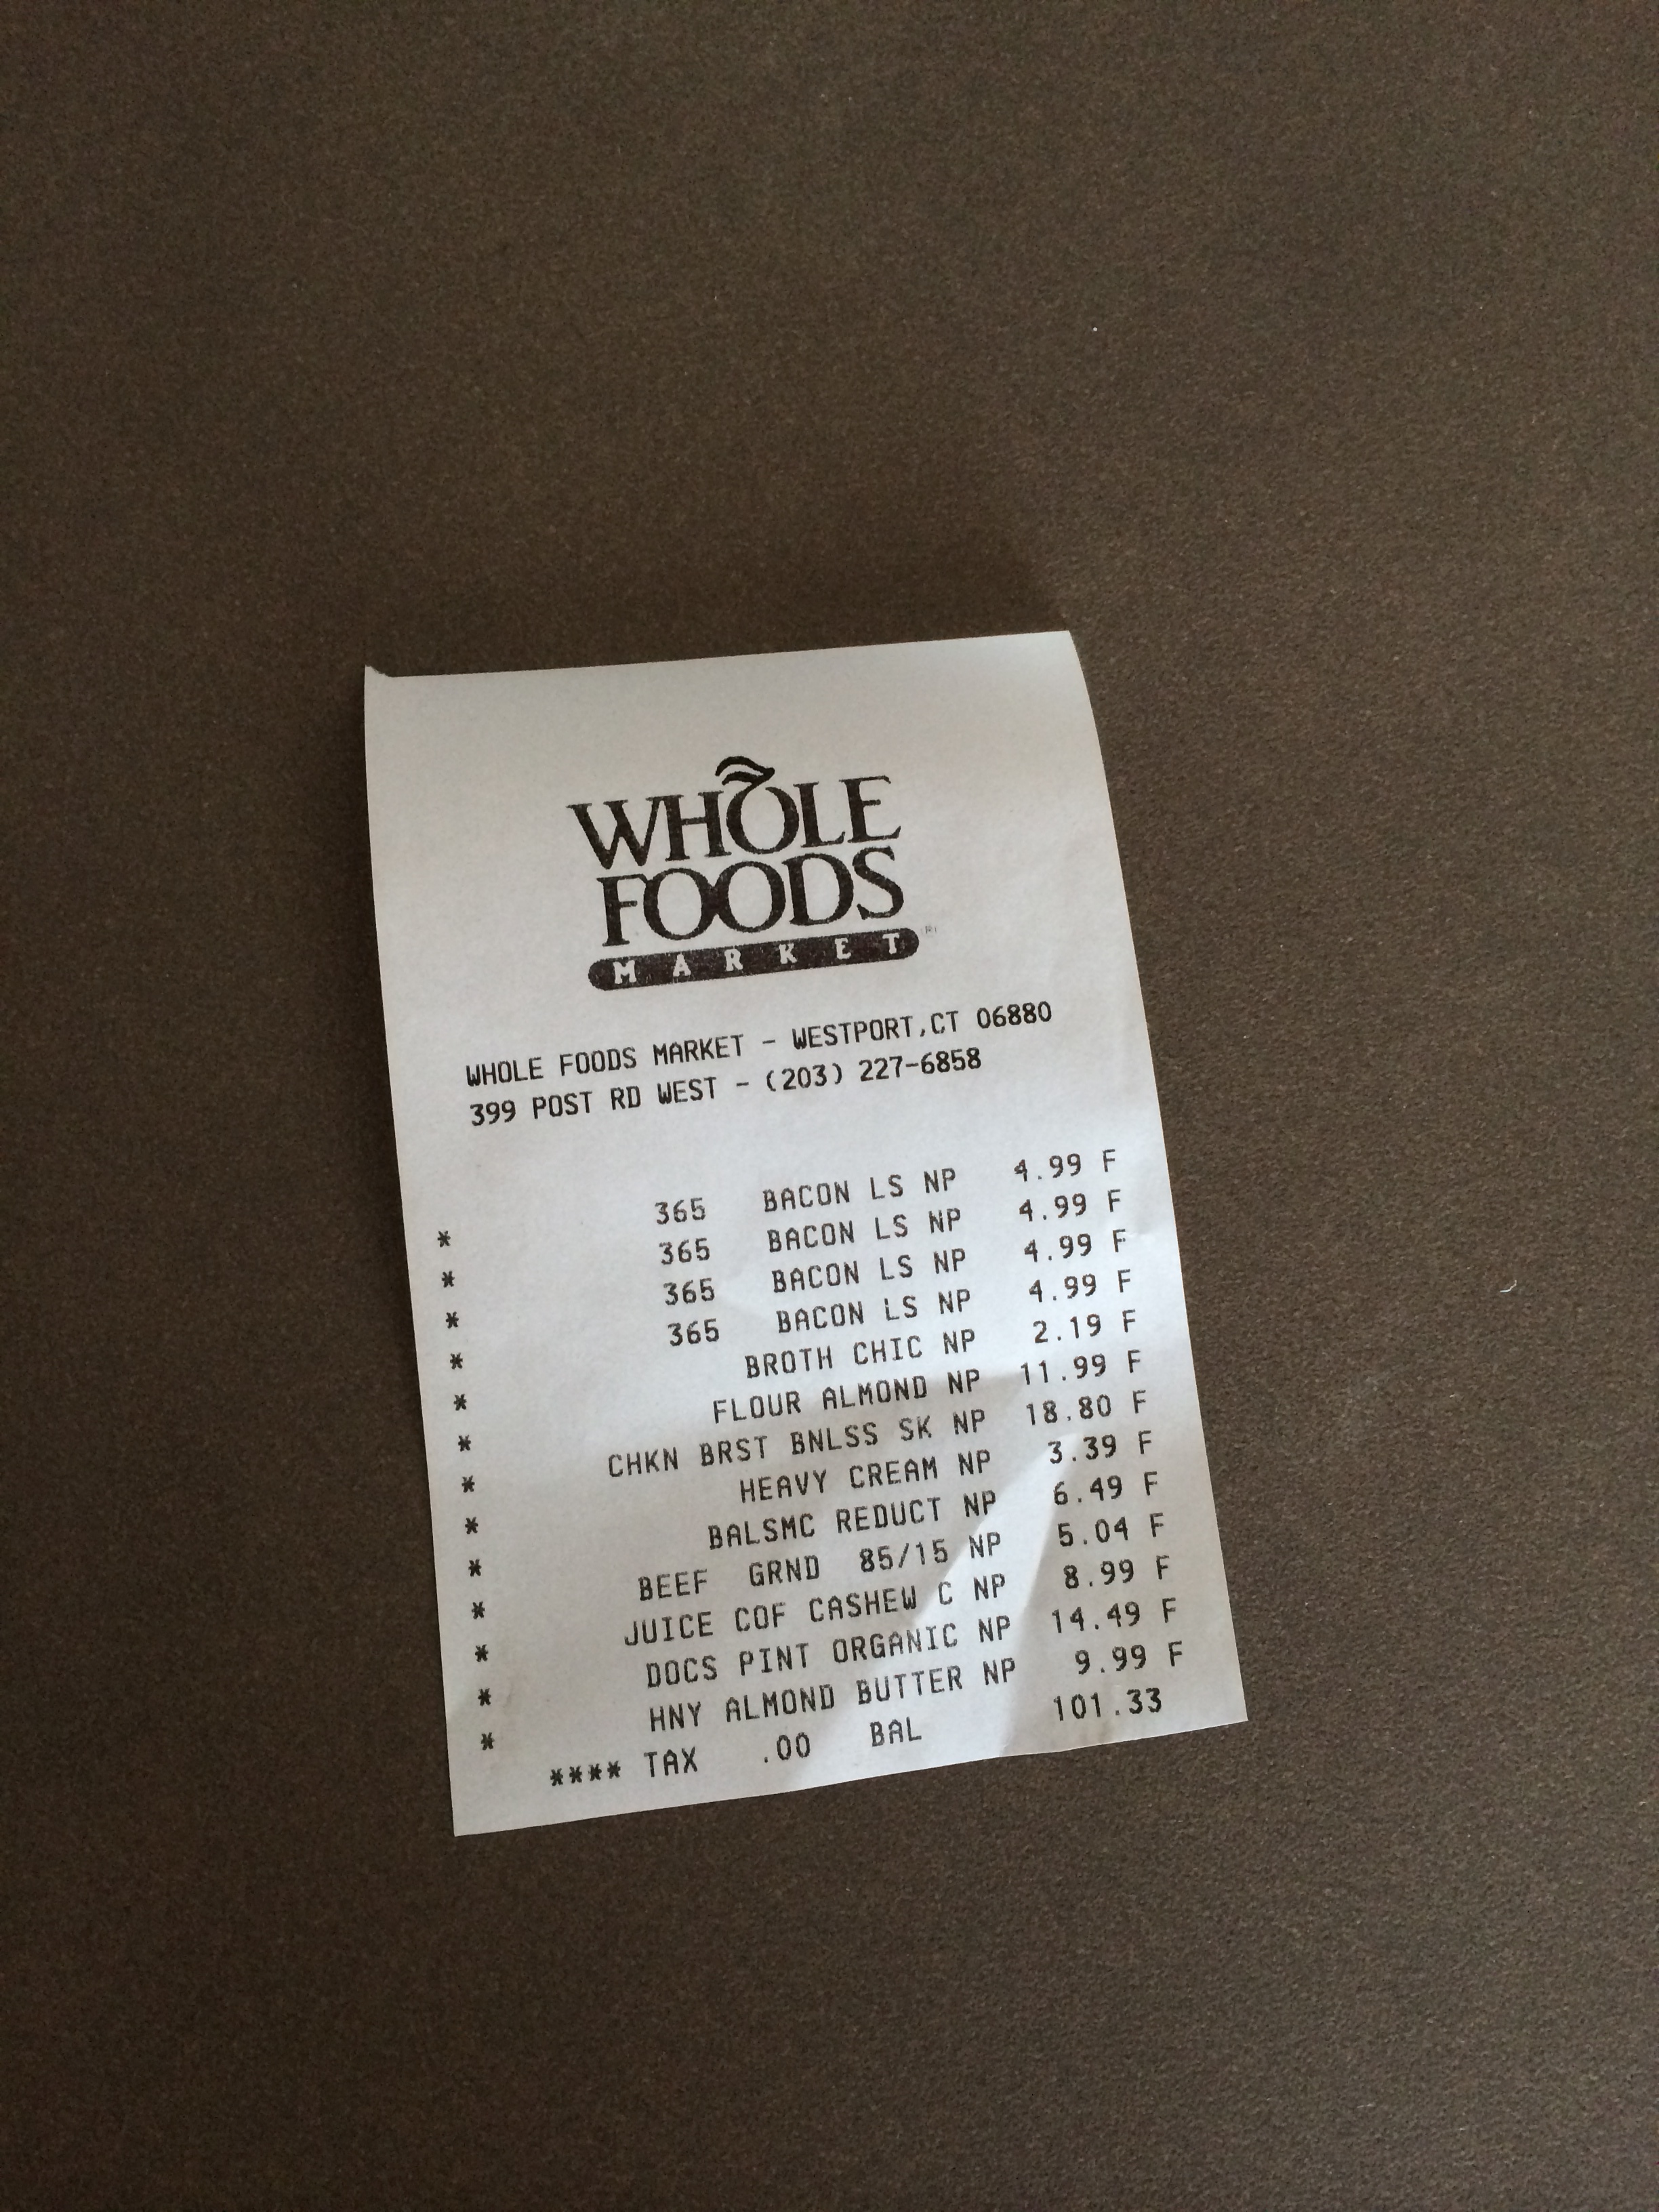
圖片準備:
1. 導入依賴與輔助函數
import numpy as np
import cv2
我們首先導入 NumPy 和 OpenCV,這是圖像處理的核心庫。
圖像顯示函數
def cv_show(name, img):"""顯示圖像"""cv2.imshow(name, img)cv2.waitKey(0)
cv2.imshow用于顯示圖像窗口cv2.waitKey(0)表示等待鍵盤輸入后才關閉窗口,便于逐步觀察每一步結果
2. 坐標排序函數:order_points
def order_points(pts):rect = np.zeros((4, 2), dtype="float32")s = pts.sum(axis=1)rect[0] = pts[np.argmin(s)] # 左上角點 (x+y最小)rect[2] = pts[np.argmax(s)] # 右下角點 (x+y最大)diff = np.diff(pts, axis=1)rect[1] = pts[np.argmin(diff)] # 右上角 (y-x最小)rect[3] = pts[np.argmax(diff)] # 左下角 (y-x最大)return rect
在透視變換中,必須保證四個點的順序一致(左上、右上、右下、左下),否則會導致映射結果錯誤。
該函數通過:
x+y 最小 → 左上角
x+y 最大 → 右下角
y-x 最小 → 右上角
y-x 最大 → 左下角
來對四點坐標排序,保證后續計算穩定。
3. 核心函數:透視變換
def four_point_transform(image,pts):rect = order_points(pts)(tl, tr, br, bl) = rectwidthA = np.sqrt(((br[0] - bl[0]) ** 2) + ((br[1] - bl[1]) ** 2))widthB = np.sqrt(((tr[0] - tl[0]) ** 2) + ((tr[1] - tl[1]) ** 2))maxWidth = max(int(widthA), int(widthB))heightA = np.sqrt(((tr[0] - br[0]) ** 2) + ((tr[1] - br[1]) ** 2))heightB = np.sqrt(((tl[0] - bl[0]) ** 2) + ((tl[1] - bl[1]) ** 2))maxHeight = max(int(heightA), int(heightB))dst = np.array([[0, 0], [maxWidth - 1, 0],[maxWidth - 1, maxHeight - 1],[0, maxHeight - 1]], dtype="float32")M = cv2.getPerspectiveTransform(rect, dst)warped = cv2.warpPerspective(image, M, (maxWidth, maxHeight))return warped
步驟解析:
排序四點:保證輸入順序一致
計算目標矩形寬高:根據兩條對邊長度取最大值,保證變換后不丟失內容
構建目標點集:從
(0,0)開始構建新的矩形頂點求取透視變換矩陣:
cv2.getPerspectiveTransform()執行透視變換:
cv2.warpPerspective()輸出矯正后的圖像
?resize?函數等比例縮放(保持寬高比)
只需指定?width?或?height?中的一個,自動計算另一個
def resize(image, width=None, height=None, inter=cv2.INTER_AREA):dim = None(h, w) = image.shape[:2]if width is None and height is None:return imageif width is None:r = height / float(h)dim = (int(w * r), height)else:r = width / float(w)dim = (width, int(h * r))resized = cv2.resize(image, dim, interpolation=inter)return resized4. 圖像預處理與輪廓檢測
image = cv2.imread('order.jpg')
cv_show('image',image)# 縮小圖像,便于處理
ratio = image.shape[0]/500
orig = image.copy()
image = resize(orig,height=500)
cv_show('1',image)print('STEP 1: 輪廓檢測')
gray = cv2.cvtColor(image, cv2.COLOR_BGR2GRAY) # 轉灰度
# 自動閾值二值化,突出目標區域
edged = cv2.threshold(gray, 0, 255, cv2.THRESH_BINARY | cv2.THRESH_OTSU)[1]
# 尋找所有輪廓
cnts = cv2.findContours(edged.copy(), cv2.RETR_LIST, cv2.CHAIN_APPROX_SIMPLE)[-2]
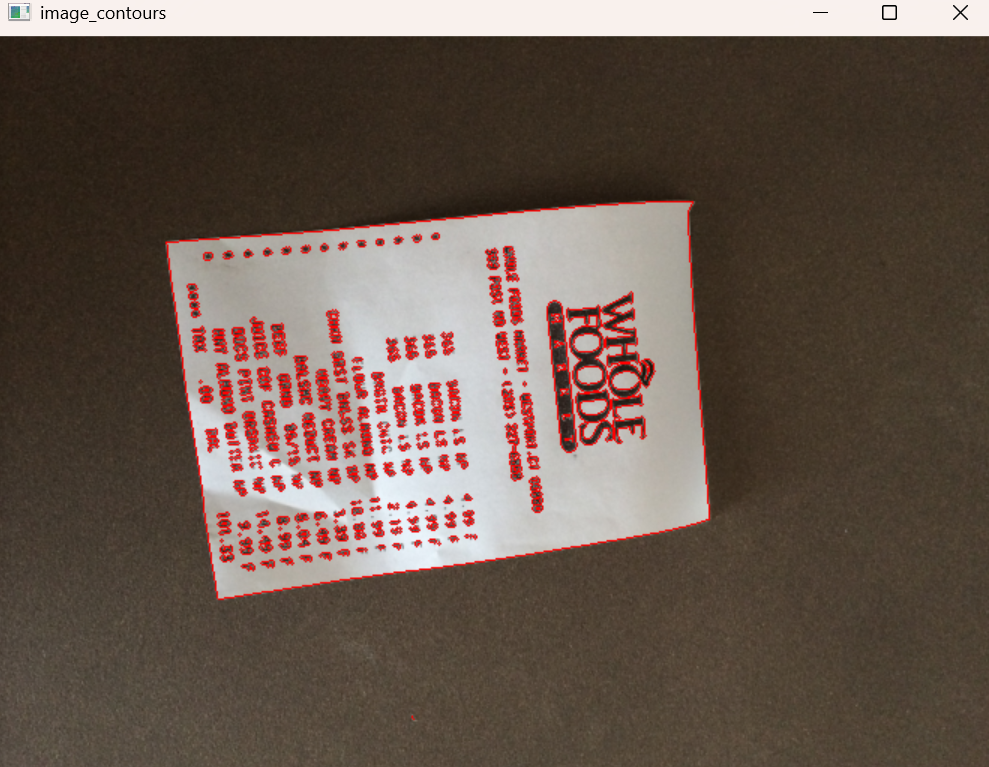
# 繪制所有輪廓,便于可視化
image_contours = cv2.drawContours(image.copy(), cnts, -1, (0, 0, 255), 1)
cv_show('image_contours', image_contours)這里先將圖像灰度化、二值化,再使用 cv2.findContours 獲取所有輪廓。然后在圖像上繪制輪廓,便于確認檢測效果。
5. 找到最大輪廓(目標區域)
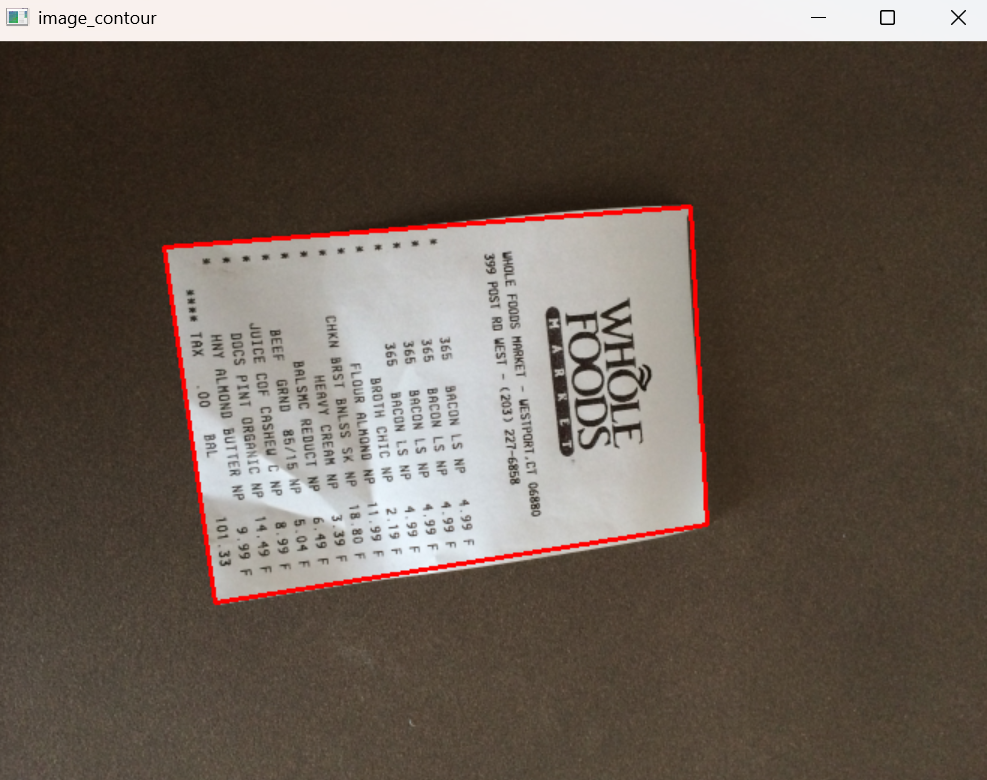
# 找到最大輪廓并逼近為四邊形
print("STEP 2: 獲取最大輪廓")
screenCnt = sorted(cnts, key=cv2.contourArea, reverse=True)[0]  # 按面積排序,取最大
peri = cv2.arcLength(screenCnt, True)  # 計算周長
screenCnt = cv2.approxPolyDP(screenCnt, 0.05 * peri, True)  # 多邊形逼近,保留主要拐點
image_contour = cv2.drawContours(image.copy(), [screenCnt], -1, (0, 0, 255), 2)
cv_show('image_contour', image_contour)
sorted(..., key=cv2.contourArea, reverse=True)按面積排序,取最大輪廓(一般就是發票/文件區域)cv2.approxPolyDP多邊形逼近,得到近似四邊形輪廓
6. 透視矯正 & 后處理
warped = four_point_transform(orig,screenCnt.reshape(4,2)*ratio)
cv2.imwrite('invoice_new.jpg',warped)
cv_show('xx',warped)# 轉灰度并二值化
gray1=cv2.cvtColor(warped,cv2.COLOR_BGR2GRAY)
warped1=cv2.threshold(gray1,120,255,cv2.THRESH_BINARY)[1]
warped1=resize(warped1,height=500)
cv_show('warped1',warped1)# 腐蝕操作,去除噪點
kernel=np.ones((2,2),np.uint8)
erosion = cv2.erode(warped1,kernel,iterations=1)
cv_show('erosion',erosion)# 旋轉圖像
rotated_image1 =np.rot90(erosion, k=1)
cv_show('rotated_image1',rotated_image1)
后處理步驟:
二值化:提高文字對比度,便于后續OCR識別
腐蝕:去除孤立噪點,讓邊緣更干凈
旋轉:如果方向不正,可手動或自動旋轉至正方向

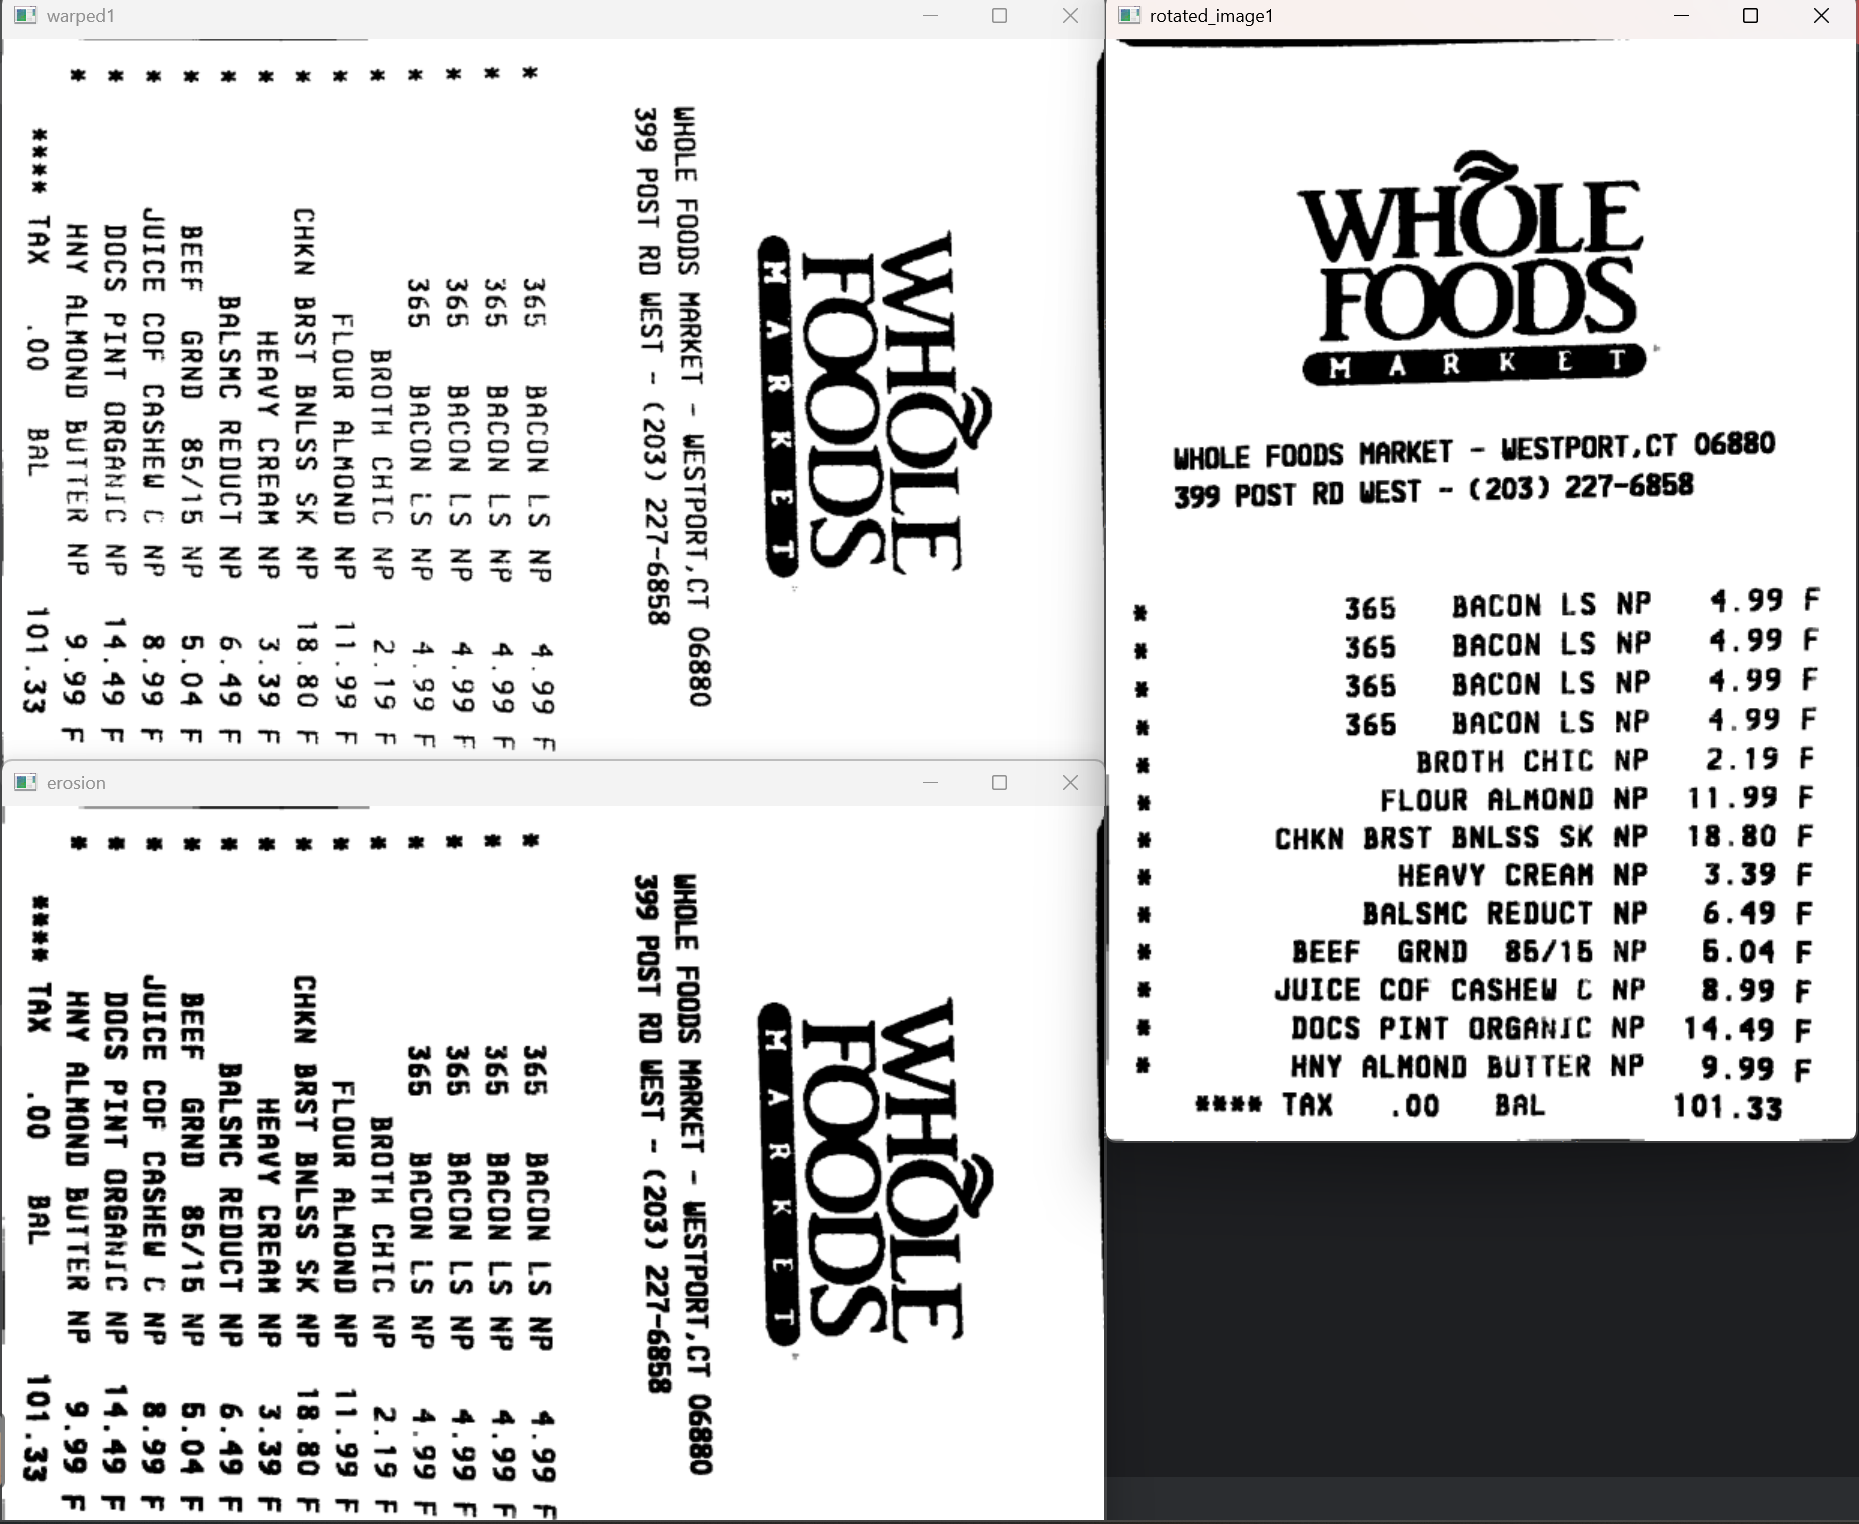
7. 效果展示與應用
通過上述步驟,我們將一張傾斜、帶背景的發票圖像,處理成一個平整、純背景的圖像,便于后續的文字識別(OCR)。
這種方法廣泛應用于:
發票/合同掃描矯正
車牌識別
桌面投影儀矯正
透視校正后的AR場景識別
總結
本文完整實現了:
圖像預處理:縮放、灰度化、二值化
輪廓檢測:提取最大矩形區域
四點排序:確保透視變換穩定
透視矯正:將任意四邊形映射到規則矩形
后處理:二值化、腐蝕、旋轉
透視變換是圖像幾何處理中的關鍵技術,掌握它能夠讓你解決很多實際問題,尤其是文檔掃描、圖像矯正類任務。


:(十三)堆的應用)


)
)

