一、常用shell命令
#1、創建topic
bin/kafka-topics.sh --create --zookeeper localhost:2181 --replications 1 --topic test#2、查看創建的topic
bin/kafka-topics.sh --list --zookeeper localhost:2181#3、生產者發布消息命令
(執行完此命令后在控制臺輸入要發送的消息,回車即可)
bin/kafka-console-producer.sh --broker-list 192.168.91.231:9092,192.168.91.231:9093,192.168.91.231:9094 --topic test#4、消費者接受消息命令
bin/kafka-console-consumer.sh --zookeeper localhost:2181 --topic test --from-beginning#5、kafka啟動
首先啟動zookeeper zkServer.sh start(相當于一個server,kafka會連接這個server)
bin/kafka-server-start.sh config/server.properties # 啟動kafka#6、查看kafka節點數目
在zookeeper中查看,登錄客戶端bin/zkCli.sh 執行ls /brokers/ids 查看節點數目及節點ID,[0,1,2]#7、kafka中的概念
生產者 Producer、代理Broker、消費者Consumer、主題Topic、分區 Partition、消費者組 Consumer Group#8、查看主顆信息
bin/kafka-topics.sh --zookeeper 192.168.91.231:2181 [加其他選項]eg:
bin/kafka-topics.sh --zookeeper 192.168.91.231:2181 --describe
bin/kafka-topics.sh --describe --zookeeper localhost:2181 --topic test#9、為主題創建分區
一共創建八個分區,編號分別為0~7
bin/kafka-topics.sh --zookeeper 192.168.91.231:2181 --alter -partitions 8 -topic test#10、查看kafka進程
ps -eflgrep server.properties
ps -eflgrep server-1.properties
ps -eflgrep server-2.properties#11、kafka宕機重啟后,消息不會丟失#12、kafka其中一個broker宕機后,對消費者和生產者影響很小(命令行下測試)
消費者會嘗試連接,連接不到,返回java.net.ConnectException:Connection refused異常 生產者可能會在發送消息的時候報異常,但會很快連接到其他broker,繼續正常使用#13.查看kafka消息隊列的積壓情況
bin/kafka-consumer-groups.sh --zookeeper 192.168.91.231:2181 --describe --group console-consumer-37289#14.kafka 中查看所有的group列表信息
bin/kafka-consumer-groups.sh --zookeeper 192.168.91.231:2181 --list
二、python操作kafka
本地安裝與啟動(基于Docker)
#1、下載zookeeper鏡像與kafka鏡像:
docker pull registry.cn-shanghai.aliyuncs.com/egon-k8s-test/kafka-zookeeper:3.4.6
docker pull registry.cn-shanghai.aliyuncs.com/egon-k8s-test/wurstmeister-kafka:2.13-2.8.1
#2、本地啟動zookeeper
docker run -d --name zookeeper -p 2181:2181 -t registry.cn-shanghai.aliyuncs.com/egon-k8s-test/kafka-zookeeper:3.4.6
#3、本地啟動kafka(注意下述代碼,將kafka啟動在9092端口)
docker run -d --name kafka --publish 9092:9092 --link zookeeper \
--enV KAFKA ZO0KEEPER CONNECT=zookeeper:2181 \
--enV KAFKA ADVERTISED HOST NAME=192.168.71.113 \
--enV KAFKA ADVERTISED PORT=9092 \
registry.cn-shanghai.aliyuncs.com/egon-k8s-test/wurstmeister-kafka:2.13-2.8.1
上面寫的localhost沒有影響,查看端口如下
# netstat -tuanlp | grep 9092
tcp 0 0 0.0.0.0:9092 0.0.0.0:*LISTEN 102483/docker-proxy
tcp6 00:::9092 :::* LISTEN 102487/docker-proxy
#4、進入kafka bash
docker exec it kafka bash
cd /opt/kafka/bin
#5、創建Topic,分區為2,Topic name為'kafka_demo'
kafka-topics.sh --create --zookeeper zookeeper:2181 \
--replication-factor 1 --partitions 2 --topic kafka_demo
kafka-topics.sh --create --zookeeper zookeeper:2181 \
--replication-factor 1 --partitions 2 --topic egon
數據存在哪里
[root@web02 ~]# docker exec -it kafka bash
bash-5.1#
bash-5.1#
bash-5.1#
bash-5.1# ls /kafka/
kafka-logs-f33383f9c414
bash-5.1#
bash-5.1#
bash-5.1#
bash-5.1# 1s /kafka/kafka-logs-f33383f9c414/
kafka_demo-0 kafka_demo-1
egon-0 egon-1
.........
bash-5.1#
bash-5.1#
bash-5.1#
bash-5.1# ls /kafka/kafka-logs-f33383f9c414/egon-0
00000000000000000000.index0000000000000000000.timeindex
00000000800000080000.1og leader-epoch-checkpoint
#6、查看當前所有topic
kafka-topics.sh --zookeeper zookeeper:2181 --list
#7、命令行操作
$docker exec -ti kafka sh
/ # cd /opt/kafka/bin
/ # kafka-console-producer.sh --bootstrap-server 192.168.71.113:9092 --topic test_topic
然后一行行輸入,回車即發送一條消息
>111
>222
>333
另外一個終端
$ docker exec -ti kafka sh
/ # cd /opt/kafka/bin
/ # kafka-console-consumer.sh --bootstrap-server 192.168.71.113:9092 --topic test_topic --from-beginning可以收到消息
111
222
333
#8、安裝kafka-python
pip install kafka-python
代碼示例:
# pip3 install kafka-python # 版本是2.0.2
from kafka import KafkaProducer, KafkaConsumer
import json
import threading
import time# Kafka broker address
bootstrap_servers = '192.168.71.113:9092'# Topic name
topic = 'test_topic'# Producer function
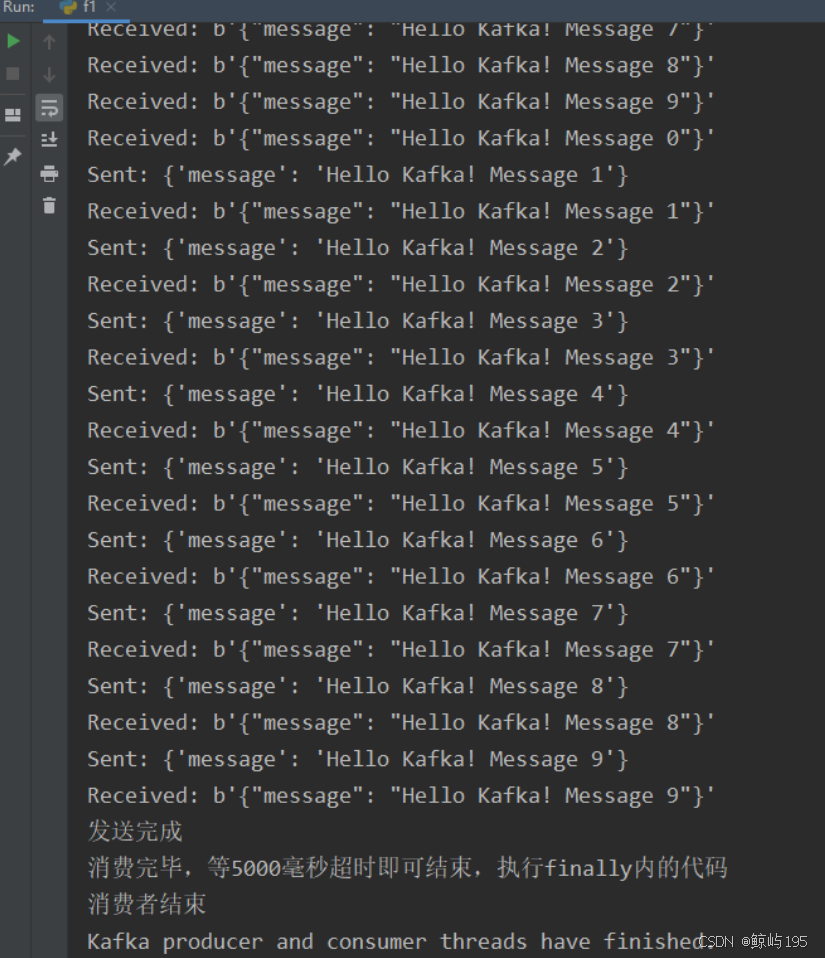
def kafka_producer():producer = KafkaProducer(bootstrap_servers=bootstrap_servers,value_serializer=lambda v: json.dumps(v).encode('utf-8'))try:for i in range(10):message = {'message': f'Hello Kafka! Message {i}'}producer.send(topic, value=message)print(f"Sent: {message}")time.sleep(1)else:print("發送完成")except Exception as ex:print(f"Exception occurred: {ex}")finally:producer.close()# Consumer function
def kafka_consumer():consumer = KafkaConsumer(topic,bootstrap_servers=bootstrap_servers,auto_offset_reset='earliest',consumer_timeout_ms=5000) # 設置超時時間為1秒try:for message in consumer:print(f"Received: {message.value}")else:print("消費完畢,等5000毫秒超時即可結束,執行finally內的代碼")except Exception as ex:print(f"Exception occurred: {ex}")finally:print("消費者結束")consumer.close()# Create threads for producer and consumer
producer_thread = threading.Thread(target=kafka_producer)
consumer_thread = threading.Thread(target=kafka_consumer)# Start both threads
producer_thread.start()
consumer_thread.start()# Wait for threads to complete
producer_thread.join()
consumer_thread.join()print("Kafka producer and consumer threads have finished.")執行結果:
? ? ? ? ? ? ? ? ??


)


