一、入手uni-app
官方文檔:uni-app官網
1.創建uni-app項目
1.1通過HBuilderX進行創建
官方地址:HBuilderX-高效極客技巧
1.2通過命令行創建
// js 版本的
npx degit dcloudio/uni-preset-vue#vite 項目名
npx degit dcloudio/uni-preset-vue#vite-alpha 項目名// ts版本的
npx degit dcloudio/uni-preset-vue#vite-ts my-vue3-project
js版本的鏈接:下載倉庫 · DCloud/uni-preset-vue - Gitee.com
ts版本的鏈接:下載倉庫 · DCloud/uni-preset-vue - Gitee.com
若使用 npx 下載的時候失敗,可以換手機熱點試試
注:下面我用的都是uni-app+ts
2.引入組件庫
2.1 uni-ui
// uni-ui
pnpm @dcloudio/uni-ui
配置自動導入組件
// pages.json
{// 組件自動導入"easycom": {"autoscan": true,"custom": {// uni-ui 規則如下配置 "^uni-(.*)": "@dcloudio/uni-ui/lib/uni-$1/uni-$1.vue" }},"pages": [// …省略]
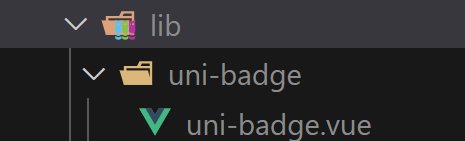
}這個自動導入的方法很好用,在項目中我們有一些組件是在一個模塊內,那么我們可以讓這些組件有個同樣的前綴名,然后通過正則表達式把這些組件整合在一起,然后可以全局調用了,不需要在使用某一個組件的時候再格外調用,減少了一些代碼的重復。比如說這里的:^uni-(.*)": "@dcloudio/uni-ui/lib/uni-$1/uni-$1.vue ,意思就是組件以 'uni-' 開頭的就會被找到,這個路徑就是組件的路徑 '$1' 是占位符,所以如果當我想用 uni-badge 的時候,我就不需要再去 impor導入它,直接就能用,因為這個組件的路徑是:@dcloudio/uni-ui/lib/uni-badge/uni-badge.vue
舉一反三
我們在項目中一般會有一個公共組件對吧,我們就可以用上來,如果結構是這樣的
/src/components/LN-compent1.vue/LN-compent2.vue/LN-... 這個時候就可以在custom里面加上,這樣使用這些組件的時候就不用苦哈哈的去導入了
"easycom": {"autoscan": true,"custom": {// uni-ui 規則如下配置 "^uni-(.*)": "@dcloudio/uni-ui/lib/uni-$1/uni-$1.vue" ,"^LN-(.*)": "@/components/LN-$1.vue"}2.2安裝聲明文件
pnpm i -D @uni-helper/uni-app-types@latest @uni-helper/uni-ui-types@latest然后需要在tsconfig.json 里面進行配置
{// "extends": "@vue/tsconfig/tsconfig.json","compilerOptions": {"allowJs": true,"sourceMap": true,"baseUrl": ".","paths": {"@/*": ["./src/*"]},"lib": ["esnext", "dom"],// 從這里開始都是自己配置的"types": ["@dcloudio/types","miniprogram-api-typings","@uni-helper/uni-app-types","@uni-helper/uni-ui-types"]},"vueCompilerOptions": {"plugins": ["@uni-helper/uni-app-types/volar-plugin"]},"include": ["src/**/*.ts", "src/**/*.d.ts", "src/**/*.tsx", "src/**/*.vue"]
}
2.3?pinia
pnpm i pinia-plugin-persistedstate跟之前web端的一樣,如果想實現持久化就需要用上persist
{persist:true
}
不過uni-app為了兼容多端的API,需要這么寫
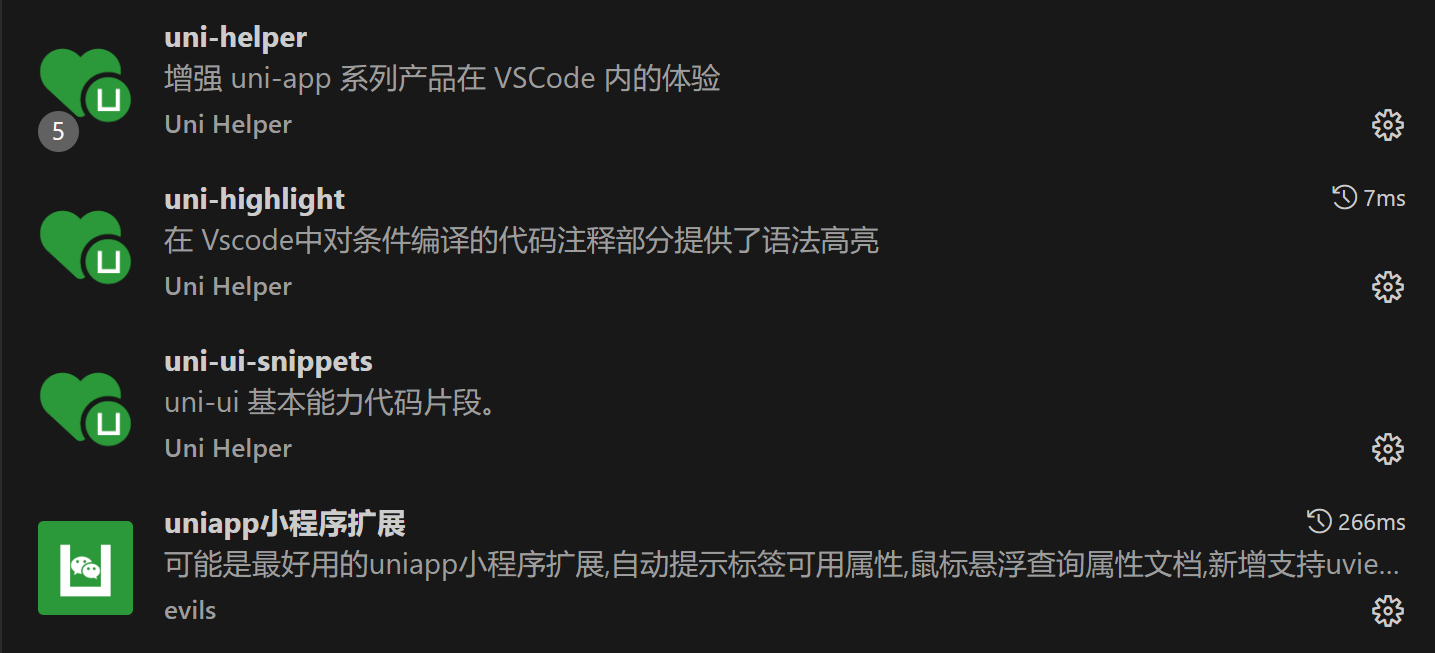
persist: {// 調整為兼容多端的APIstorage: {setItem(key, value) {uni.setStorageSync(key, value) },getItem(key) {return uni.getStorageSync(key) },},}2.4 vscode中的插件
3.攔截器
不管是什么端的攔截器,無非就是響應攔截和請求攔截,區別就是web之前我用的axios,這里用的uni.request
import { useMemberStore } from '@/stores'const baseURL = 'https://pcapi-xiaotuxian-front-devtest.itheima.net'// 攔截器配置
const httpInterceptor = {// 攔截前觸發invoke(options: UniApp.RequestOptions) {// 不是以http開頭的if (!options.url.startsWith('http')) {options.url = baseURL + options.url}// 請求超時options.timeout = 10000// 添加小程序請求頭標識options.header = {'source-client': 'miniapp',...options.header,}// 添加 token 請求頭標識const memberStore = useMemberStore()const token = memberStore.profile?.tokenif (token) {options.header.Authorization = token}},
}// 攔截request請求
uni.addInterceptor('request', httpInterceptor)
// 攔截 uploadFile 文件上傳
uni.addInterceptor('uploadFile', httpInterceptor)type Data<T> = {code: stringmsg: stringresult: T
}export const http = <T>(options: UniApp.RequestOptions) => {return new Promise<Data<T>>((resolve, reject) => {uni.request({...options,success(res) {if (res.statusCode >= 200 && res.statusCode < 300) {resolve(res.data as Data<T>)} else if (res.statusCode === 401) {// 401錯誤  清理用戶信息,跳轉到登錄頁const memberStore = useMemberStore()memberStore.clearProfile()uni.navigateTo({ url: '/pages/login/login' })reject(res)} else {uni.showToast({icon: 'none',title: (res.data as Data<T>).msg || '請求錯誤',})reject(res)}},fail(err) {uni.showToast({icon: 'none',title: '網絡錯誤,換個網絡試試',})reject(err)},})})
}
二、三大件的寫法
1.所有的塊級標簽都用<view>標簽代替了
2.span、label等等所有內聯元素替換為text標簽
3.img替換成了image
三、路由
1.路由的配置在pages.json
2.路由跳轉使用uni.navigateTo而不是router.push()了
四、其他
1.盡量不要用npm,要不然提交發布的時候,如果體積太大會失敗
2.在使用import.meta.env.DEV 進行開發的時候,要記得去tsconfig.json 里面配置;不然就會報錯:
"僅當 '--module' 選項為 'es2020'、'es2022'、'esnext'、'system'、'node16'、'node18'、'node20' 或 'nodenext' 時,才允許使用 'import.meta' 元屬性。"
"module": "ESNext", // 或 "es2020"、"node16" 等錯誤提示中允許的值
"moduleResolution": "bundler", // 配合Vite等構建工具時推薦,或對應 "node16"
注:import.meta.env.DEV?是 Vite 構建工具提供的環境變量,用于判斷當前是否為開發環境。如果是開發環境就為true。
3.TS有一個很重要的點,就是他的數據類型是顯式的,當我們定義某個對象的type的時候,特別是從后端獲取到的某個數據的類型參數的時候,要記得和后端保持一致,不然也會報錯;
比如說:我在數據庫里的數據是
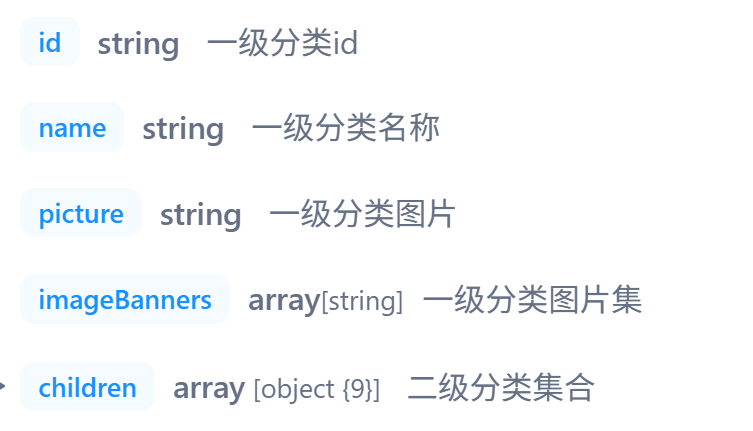
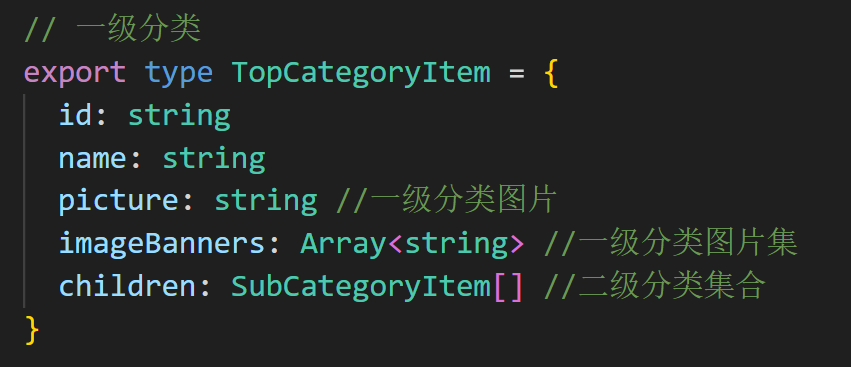
那么我定義這個返回的數據對象的類型里面的參數名要一模一樣的對應好
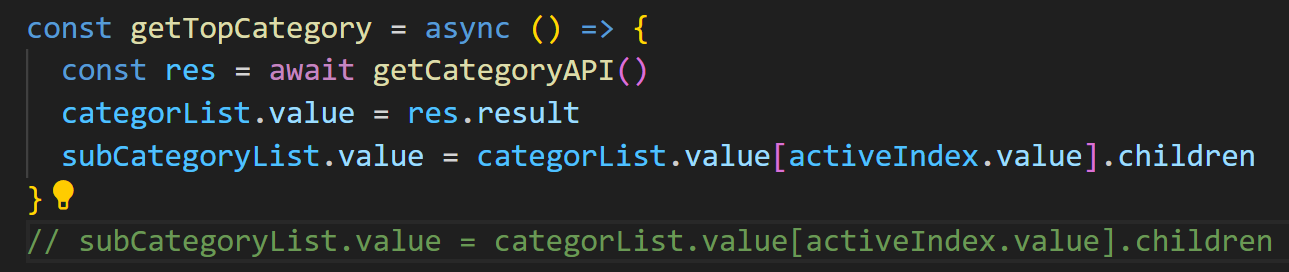
4.在使用封裝好的網絡請求的時候,要渲染的數據要在請求中獲取,不要在其他區域傳遞
比如說:我有一個封裝好的getCategoryAPI,subCategoryList要在這個函數里面完成,不要丟到外面去引用,不然會報錯找不到children,但是事實上children也是包含在內的參數
。。。有發現問題繼續在這個博文更新

—— 棧和隊列)

 等實戰代碼,免費股票數據接口大全)


 -- MQTT篇)
”)


)


