一、Leaf
在當今日益數字化的世界里,軟件系統的開發已經成為了幾乎所有行業的核心。然而,隨著應用程序的規模不斷擴大,以及對性能和可擴展性的需求不斷增加,傳統的軟件架構和設計模式也在不斷地面臨挑戰。其中一個主要挑戰就是如何有效地處理分布式環境中的唯一標識問題。這正是分布式ID 的重要性所在。
分布式ID的實現方式有多種多樣,常見的包括 UUID、Snowflake 算法、Twitter 的 Snowflake 算法、基于數據庫的自增長ID 等。每種方式都有其適用的場景和優缺點。
比如常見的 UUID , 標準型式包含32個16進制數字,以連字號分為五段,形式為8-4-4-4-12的36個字符,優點是性能非常高,本地生成,沒有網絡消耗,但缺點也顯而易見,首先不易于存儲,UUID太長,16字節128位,通常以36長度的字符串表示,很多場景不適用。其次信息不安全,基于MAC地址生成UUID的算法可能會造成MAC地址泄露,這個漏洞曾被用于尋找梅麗莎病毒的制作者位置。也不適合作為DB的主鍵。MySQL官方有明確的建議主鍵要盡量越短越好。
基于數據庫的自增長ID 的方式,實現起來非常簡單,并且ID是單向自增順序的,但缺點也很明顯,過度依賴于 DB 數據庫,在并發量高的情況下數據庫成為了性能瓶頸。
基于Snowflake 算法的方式,可以解決上述提到的問題,并且穩定性和靈活性都非常高,但強依賴于機器時鐘,如果機器上時鐘回撥,會導致發號重復或者服務會處于不可用狀態。
既然如此,那下面我們來認識更強大的分布式ID生成器 Leaf ,它是美團開源的分布式 ID 生成器,旨在解決分布式系統中的唯一標識生成問題,確保在分布式環境下生成的 ID 具有全局唯一性、順序性和高性能。
Leaf 實現了Leaf-segment和Leaf-snowflake兩種方案。
Leaf-segment是一種基于數據庫的分布式 ID 生成方案,原始基于數據庫的自增長ID 方案,每次獲取ID都得讀寫一次數據庫,造成數據庫壓力大,該方案利用proxy server批量獲取,每次獲取一個segment(step決定大小)號段的值。用完之后再去數據庫獲取新的號段,可以大大的減輕數據庫的壓力。各個業務不同的發號需求用biz_tag字段來區分,每個biz-tag的ID獲取相互隔離,互不影響。如果以后有性能需求需要對數據庫擴容,不需要上述描述的復雜的擴容操作,只需要對biz_tag分庫分表就行。
Leaf-snowflake方案完全沿用snowflake方案的bit位設計,對于workerID的分配,使用Zookeeper持久順序節點的特性自動對snowflake節點配置wokerID,對于時鐘回撥問題,解決方案如下:

更多介紹可以參考官方信息:
官方介紹地址:https://tech.meituan.com/2017/04/21/mt-leaf.html
github:https://github.com/Meituan-Dianping/Leaf.git
下面一起來實踐下Leaf的使用。
首先拉取 Leaf SpringBoot 封裝依賴源碼:
git clone -b feature/spring-boot-starter https://github.com/Meituan-Dianping/Leaf.git
cd leaf
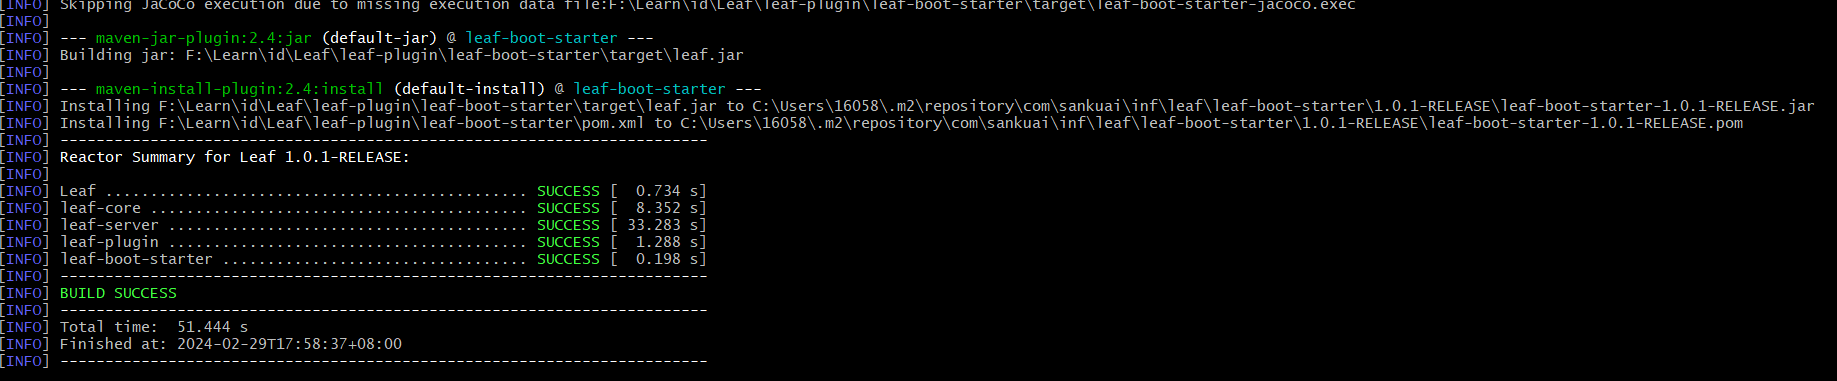
使用 Maven 將 Leaf 打到本地倉庫中
mvn clean install -Dmaven.test.skip=true
打包成功后,可以創建一個 SpringBoot 項目,在 pom 中加入下面依賴:
<dependency><artifactId>leaf-boot-starter</artifactId><groupId>com.sankuai.inf.leaf</groupId><version>1.0.1-RELEASE</version><exclusions><exclusion><groupId>com.alibaba</groupId><artifactId>druid</artifactId></exclusion><exclusion><groupId>mysql</groupId><artifactId>mysql-connector-java</artifactId></exclusion></exclusions></dependency><dependency><groupId>com.alibaba</groupId><artifactId>druid</artifactId><version>1.1.6</version></dependency><dependency><groupId>mysql</groupId><artifactId>mysql-connector-java</artifactId></dependency>
二、Leaf-segment 方式使用
首先創建leaf使用的數據庫:
CREATE DATABASE leaf
創建ID規則表:
CREATE TABLE `leaf_alloc` (`biz_tag` varchar(128)  NOT NULL DEFAULT '',`max_id` bigint(20) NOT NULL DEFAULT '1',`step` int(11) NOT NULL,`description` varchar(256)  DEFAULT NULL,`update_time` timestamp NOT NULL DEFAULT CURRENT_TIMESTAMP ON UPDATE CURRENT_TIMESTAMP,PRIMARY KEY (`biz_tag`)
) ENGINE=InnoDB;
寫入兩個 biz_tag:
insert into leaf_alloc(biz_tag, max_id, step, description) values('test1', 1, 2000, '測試1');
insert into leaf_alloc(biz_tag, max_id, step, description) values('test2', 1, 2000, '測試2');
項目中加入leaf 和數據庫配置:
leaf:name: test1segment:enable: trueurl: jdbc:mysql://localhost:3306/leaf?useUnicode=true&characterEncoding=utf8&serverTimezone=GMTusername: rootpassword: root
生成ID測試:
@Slf4j
@SpringBootTest
class LeafIdApplicationTests {@Resourceprivate SegmentService segmentService;@Testvoid contextLoads() {// 生成 1000 個IDStopWatch sw = new StopWatch();sw.start();for (int i = 0; i < 1000; i++) {long id1 = segmentService.getId("test1").getId();long id2 = segmentService.getId("test2").getId();log.info("id1: {}, id2: {}", id1, id2);}sw.stop();log.info(sw.prettyPrint());}}
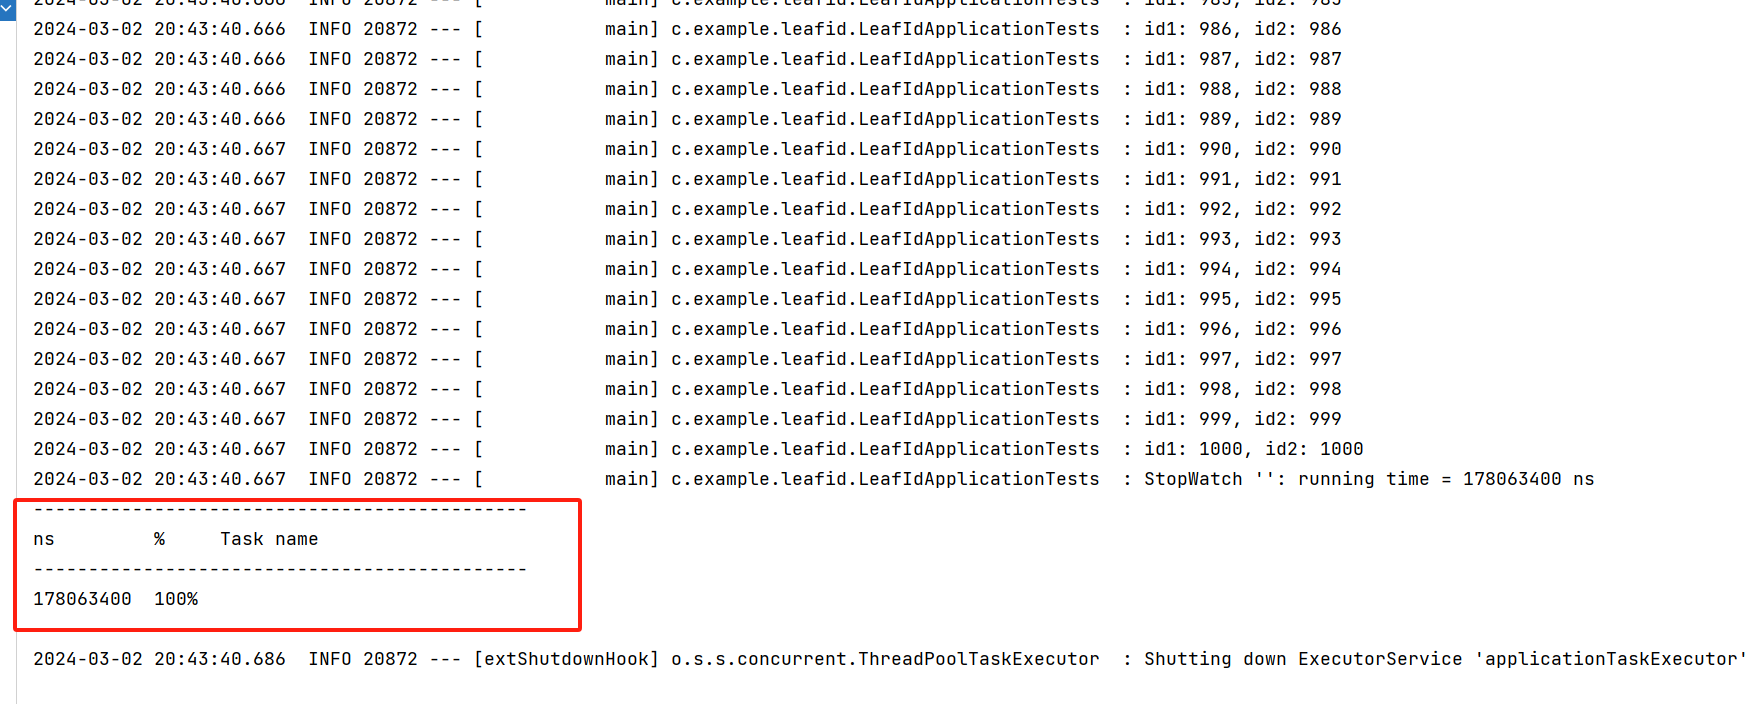
可以看到在約 0.178 秒的時間,為兩個業務場景生成了 1000個ID。
三、Leaf-snowflake 方式使用
這種模式依賴于 Zookeeper ,所以在實驗前你需要有一個運行中的 Zookeeper 服務。
這種模式操作ZK使用 curator,因此需要引入 curator 的依賴:
<dependency><groupId>org.apache.curator</groupId><artifactId>curator-recipes</artifactId><version>2.12.0</version>
</dependency>
在配置文件中開啟Leaf-snowflake 模式:
leaf:name: test1segment:enable: trueurl: jdbc:mysql://localhost:3306/leaf?useUnicode=true&characterEncoding=utf8&serverTimezone=GMTusername: rootpassword: rootsnowflake:enable: trueaddress: 127.0.0.1port: 2181
生成ID測試:
@Slf4j
@SpringBootTest
class LeafIdApplicationTests {@Resourceprivate SegmentService segmentService;@Resourceprivate SnowflakeService snowflakeService;@Testvoid contextLoads() {// 生成 1000 個IDStopWatch sw = new StopWatch();sw.start();for (int i = 0; i < 1000; i++) {long id1 = snowflakeService.getId("test1").getId();long id2 = snowflakeService.getId("test2").getId();log.info("id1: {}, id2: {}", id1, id2);}sw.stop();log.info(sw.prettyPrint());}}
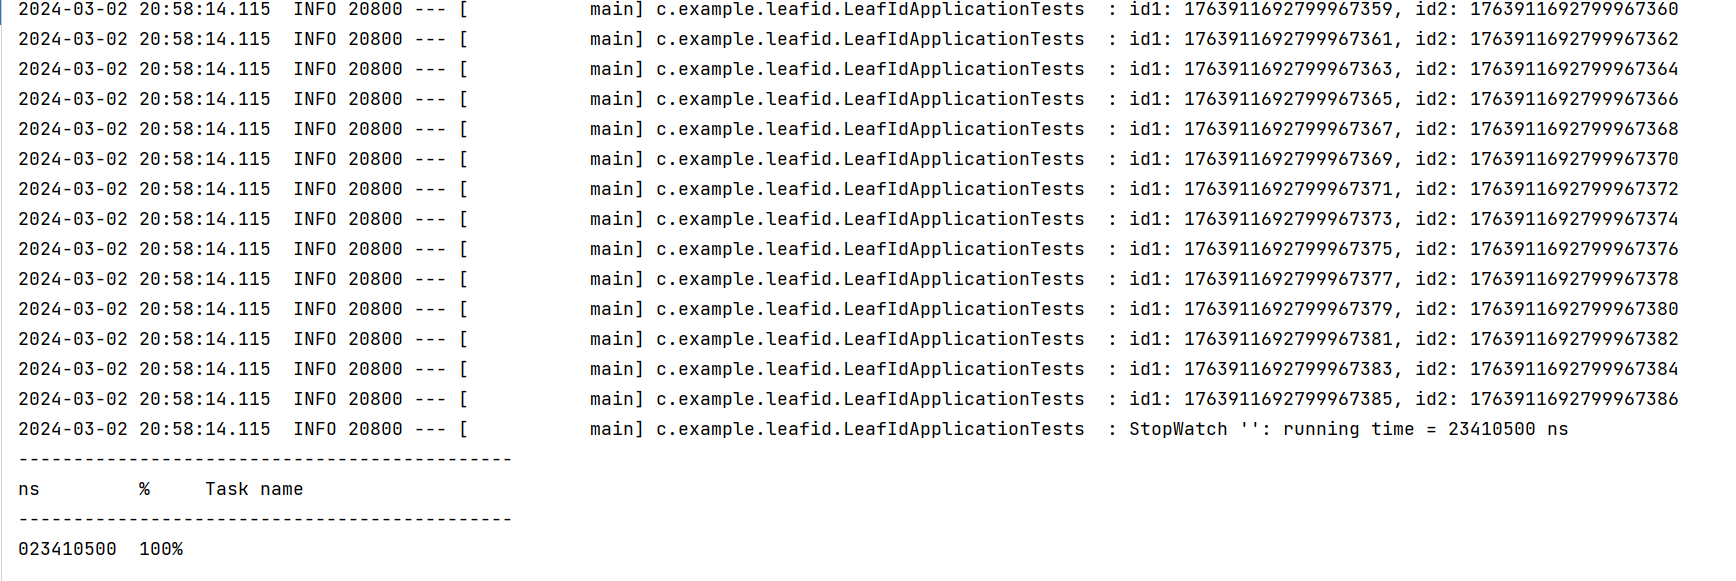
可以看到相比于上面數據庫模式,僅需要約 0.0234105 秒,性能更高,而且做到ID不是順序+1式增長。

)
)


 has no effect)


-過擬合與正則化技術)


![LeetCode 刷題 [C++] 第121題.買賣股票的最佳時機](http://pic.xiahunao.cn/LeetCode 刷題 [C++] 第121題.買賣股票的最佳時機)
