文章目錄
- 安裝 helm
- 通過 helm 安裝 sonar
- 配置 SonarQube 服務器
- 創建 SonarQube 管理員令牌
- SonarQube 配置添加到 ks-installer
- 創建 Webhook 服務器
- 將 SonarQube 服務器添加至 Jenkins
- 將 sonarqubeURL 添加到 KubeSphere 控制臺
- 重啟服務
- 為新項目創建 SonarQube Token
官方文檔: 將 SonarQube 集成到流水線
安裝 helm
先安裝helm,可參考文章 CentOS7 安裝 helm
通過 helm 安裝 sonar
安裝命令
helm upgrade --install sonarqube sonarqube --repo https://charts.kubesphere.io/main -n kubesphere-devops-system --create-namespace --set service.type=NodePort
安裝成功

查看 SonarQube 的狀態
kubectl get pod -n kubesphere-devops-system

輸出 sonar 訪問地址
export NODE_PORT=$(kubectl get --namespace kubesphere-devops-system -o jsonpath="{.spec.ports[0].nodePort}" services sonarqube-sonarqube)
export NODE_IP=$(kubectl get nodes --namespace kubesphere-devops-system -o jsonpath="{.items[0].status.addresses[0].address}")
echo http://$NODE_IP:$NODE_PORT

默認賬號:admin
默認密碼:admin
成功訪問,ip:32525
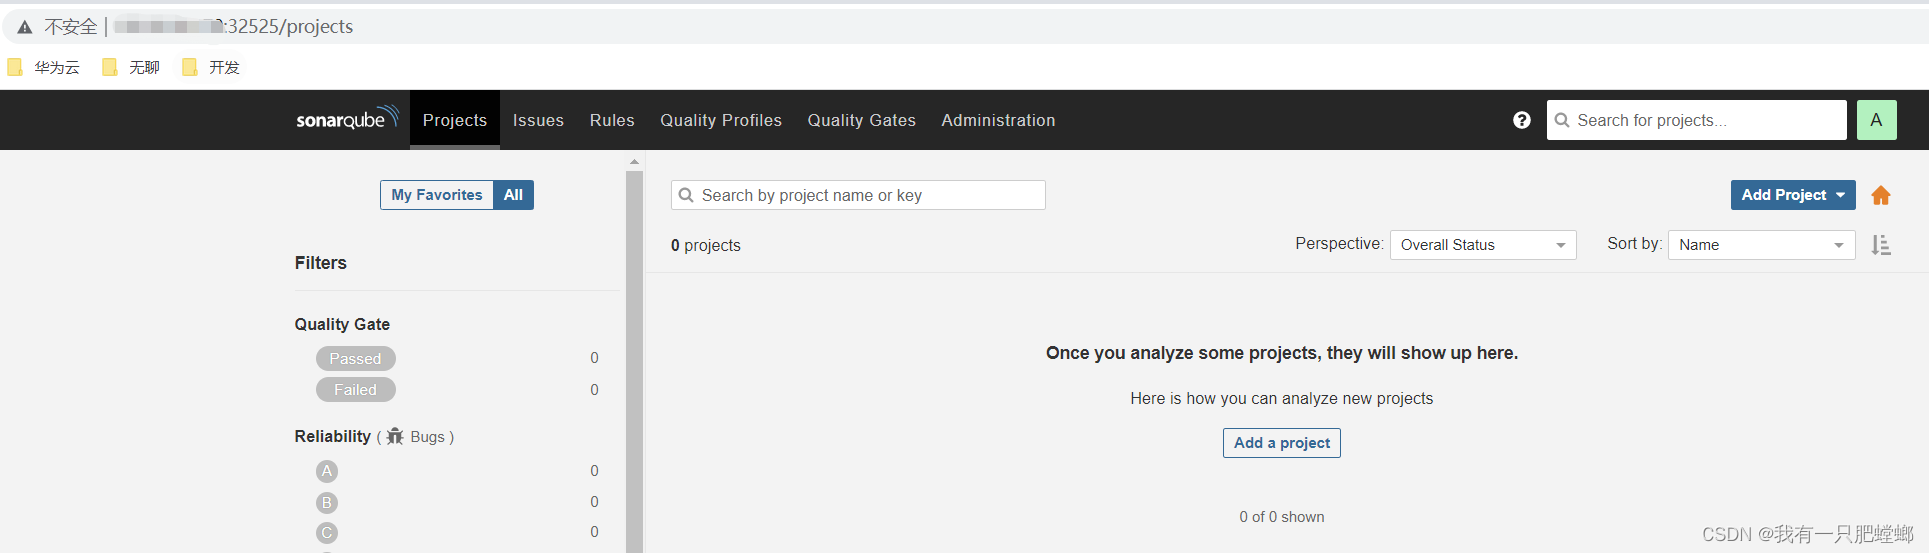
?
配置 SonarQube 服務器
創建 SonarQube 管理員令牌
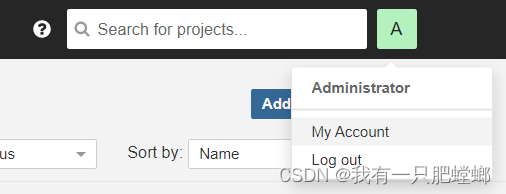
點擊右上角字母 A,然后從菜單中選擇 My Account 以轉到 Profile 頁面。
點擊 Security 并輸入令牌名稱,例如 kubesphere

復制 token 并保存好
SonarQube 配置添加到 ks-installer
編輯 ks-installer,或在自定義資源中搜索 ClusterConfiguration,點擊 ks-installer 右側的按鈕 ,選擇編輯 YAML
kubectl edit cc -n kubesphere-system ks-installer
- externalSonarUrl:sonar 的訪問地址
- externalSonarToken:上一步生成的 token
devops:enabled: truejenkinsJavaOpts_MaxRAM: 2gjenkinsJavaOpts_Xms: 512mjenkinsJavaOpts_Xmx: 512mjenkinsMemoryLim: 2GijenkinsMemoryReq: 1500MijenkinsVolumeSize: 8Gisonarqube: # Add this field manually.externalSonarUrl: http://10.xx.xx.xx:32525externalSonarToken: xxxxxx
檢查安裝過程
kubectl logs -n kubesphere-system $(kubectl get pod -n kubesphere-system -l 'app in (ks-install, ks-installer)' -o jsonpath='{.items[0].metadata.name}') -f
創建 Webhook 服務器
獲取 SonarQube Webhook 的地址。
export NODE_PORT=$(kubectl get --namespace kubesphere-devops-system -o jsonpath="{.spec.ports[0].nodePort}" services devops-jenkins)
export NODE_IP=$(kubectl get nodes --namespace kubesphere-devops-system -o jsonpath="{.items[0].status.addresses[0].address}")
echo http://$NODE_IP:$NODE_PORT/sonarqube-webhook/

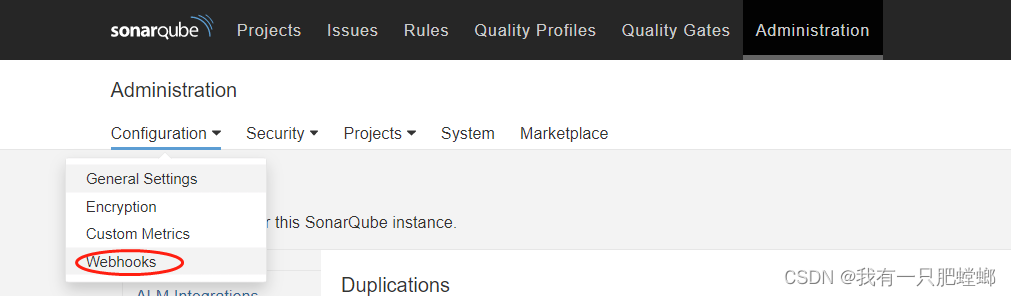
依次點擊 Administration、Configuration 和 Webhooks 創建一個 Webhook
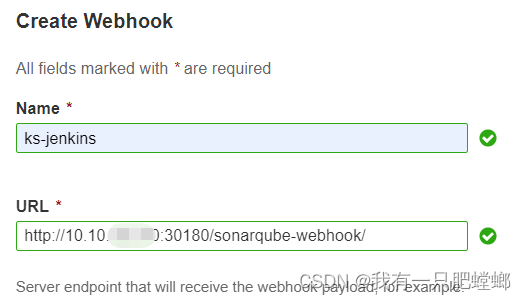
新建

- name:自定義
- url:上面獲取的 Webhook
將 SonarQube 服務器添加至 Jenkins
獲取 Jenkins 的地址
export NODE_PORT=$(kubectl get --namespace kubesphere-devops-system -o jsonpath="{.spec.ports[0].nodePort}" services devops-jenkins)
export NODE_IP=$(kubectl get nodes --namespace kubesphere-devops-system -o jsonpath="{.items[0].status.addresses[0].address}")
echo http://$NODE_IP:$NODE_PORT

默認賬號:admin
默認密碼:P@88w0rd
如果報錯
WARNING o.s.c.s.ResourceBundleMessageSource#getResourceBundle: ResourceBundle [org.acegisecurity.messages] not found for MessageSource: Can’t find bundle for base name org.acegisecurity.messages, locale en
WARNING o.a.p.l.a.BindAuthenticator2#handleBindException: Failed to bind to LDAP: userDnuid=admin,ou=Users,dc=kubesphere,dc=io username=admin
javax.naming.AuthenticationException: [LDAP: error code 49 - Invalid Credentials]
可以修改密碼,參考文章 KubeSphere3.0我在部署devops服務之后,jenkins無法使用ldap賬號登錄
kubectl patch users admin -p '{"spec":{"password":"Admin123456"}}' --type='merge' && kubectl annotate users admin iam.kubesphere.io/password-encrypted-
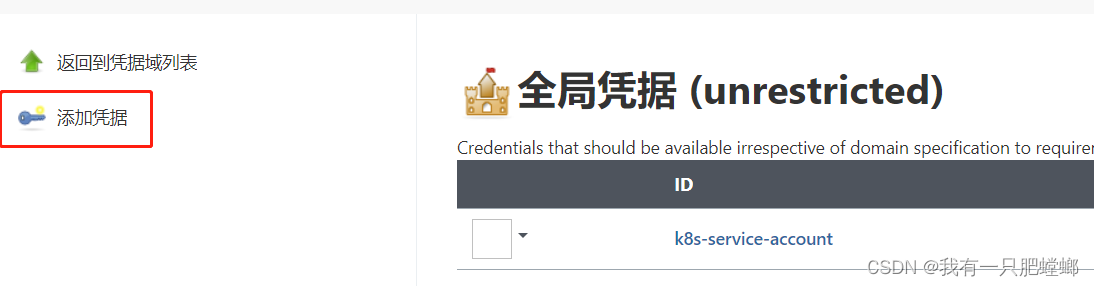
系統管理 - Manage Credentials - Jenkins - 全局憑據
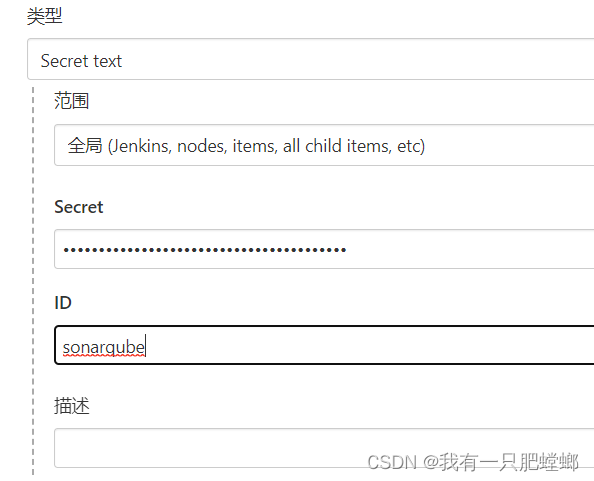
Secret text - 全局 - 上面創建的 token
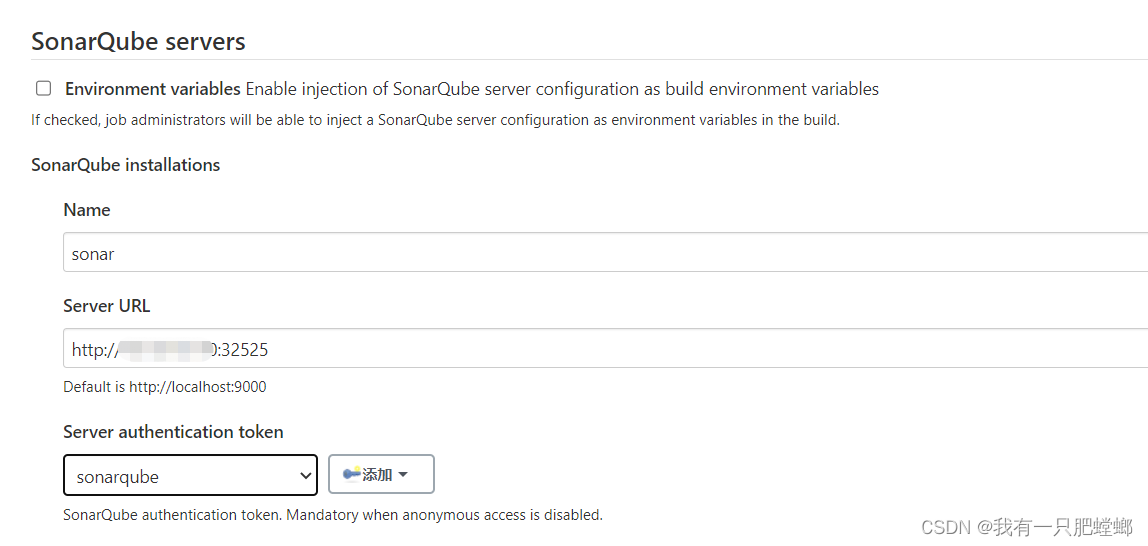
點擊 系統管理 - 系統配置 - SonarQube servers - Add SonarQube - 選擇sonarqube
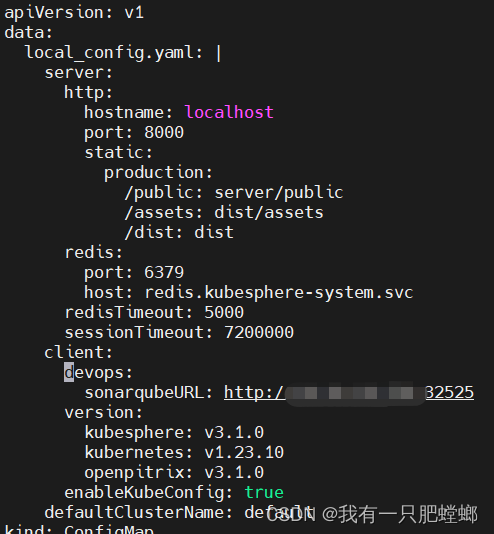
將 sonarqubeURL 添加到 KubeSphere 控制臺
編輯 config
kubectl edit cm -n kubesphere-system ks-console-config
搜尋到 data.client.enableKubeConfig,在下方添加 devops 字段并指定 sonarqubeURL。
重啟服務
kubectl -n kubesphere-devops-system rollout restart deploy devops-apiserver
kubectl -n kubesphere-system rollout restart deploy ks-console
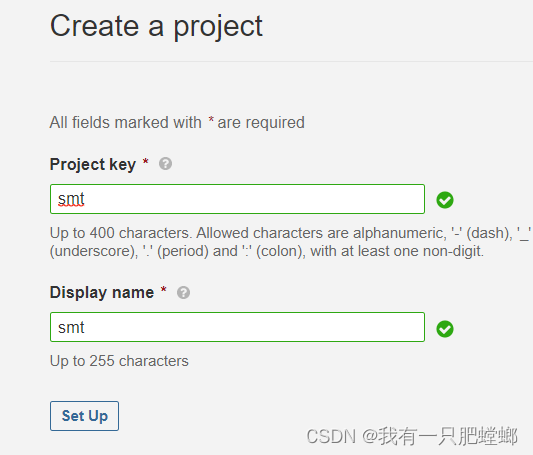
為新項目創建 SonarQube Token
創建項目
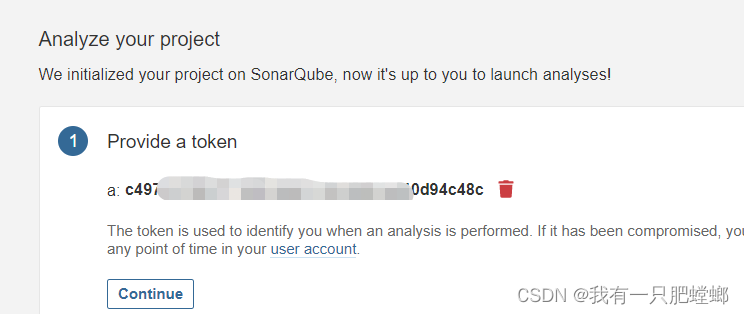
創建 token
得到 mvn 發布命令

執行命令

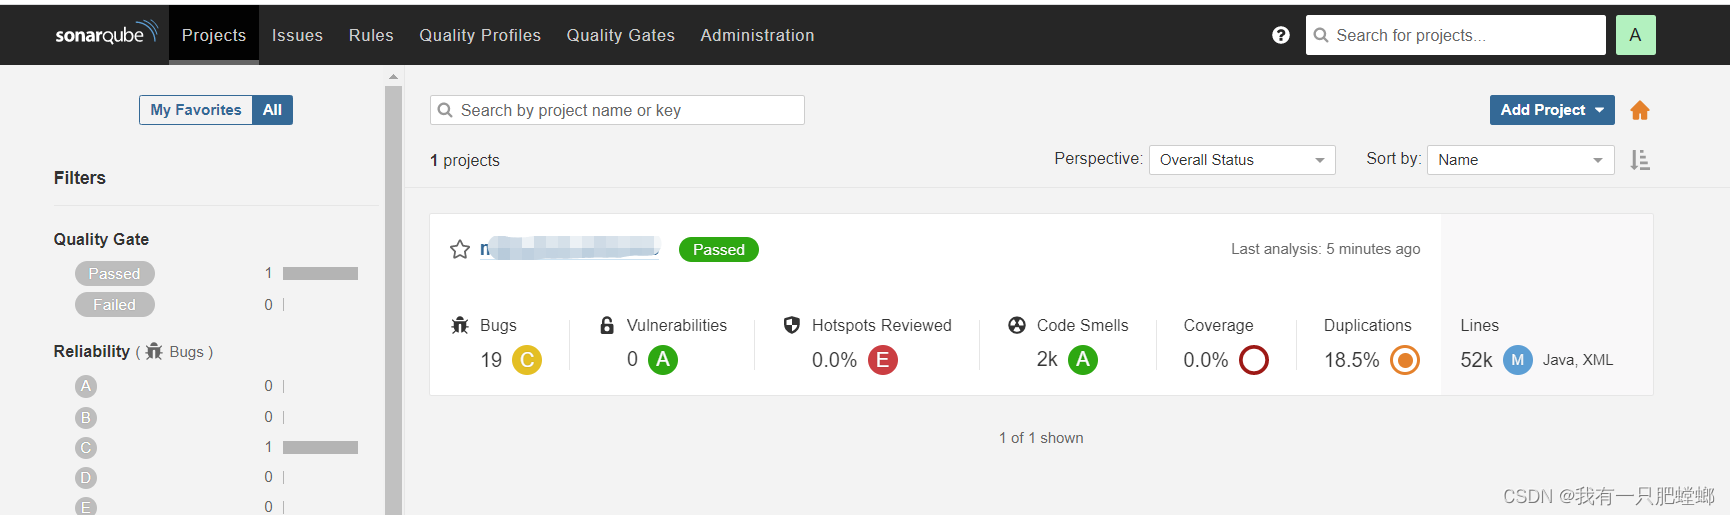
成功發布到 sonar


)

![[leetcode] 707 設計鏈表](http://pic.xiahunao.cn/[leetcode] 707 設計鏈表)


)
