Django框架 靚號管理(增刪改查)

新建一個項目 backend
使用pycharm創建app
startapp app
項目目錄
C:\code\backend
├── app
|  ├── admin.py
|  ├── apps.py
|  ├── migrations
|  ├── models.py
|  ├── tests.py
|  ├── views.py
|  └── __init__.py
├── backend
|  ├── asgi.py
|  ├── settings.py
|  ├── urls.py
|  ├── wsgi.py
|  └── __init__.py
├── manage.py
├── templates
└── venv├── Lib├── pyvenv.cfg└── Scripts
創建模型
app/models.py
from django.db import models# Create your models here.
class PrettyNum(models.Model):mobile = models.CharField(verbose_name='手機號', max_length=11)# 想要循序為空 null = True blank =Treeprice = models.IntegerField(verbose_name='價格', default=0)level_choices = ((1, "1級"),(2, '2級'),(3, '3級'),)level = models.SmallIntegerField(verbose_name='級別', choices=level_choices, default=1)status_choices = ((1, "已占用"),(2, "未使用"))status = models.SmallIntegerField(verbose_name="狀態", choices=status_choices, default=2)
數據庫配置并注冊app
backend/settings.py
INSTALLED_APPS = ['django.contrib.admin','django.contrib.auth','django.contrib.contenttypes','django.contrib.sessions','django.contrib.messages','django.contrib.staticfiles',#注冊app'app.apps.AppConfig'
]#這里使用mysql數據庫
DATABASES = {'default': {'ENGINE': 'django.db.backends.mysql','NAME': 'tmpdb', #這里填寫數據名稱'USER': 'root','PASSWORD': '自定義數據庫密碼','HOST': 'mysql所在服務器IP','PORT':'mysql服務端口','OPTIONS':{"init_command":"SET sql_mode='STRICT_TRANS_TABLES'",}}
}
遷移數據模型
makemigrations
migrate
查看數據庫表
mysql> show tables;
+----------------------------+
| Tables_in_tmpdb            |
+----------------------------+
| app_prettynum              |
| auth_group                 |
| auth_group_permissions     |
| auth_permission            |
| auth_user                  |
| auth_user_groups           |
| auth_user_user_permissions |
| django_admin_log           |
| django_content_type        |
| django_migrations          |
| django_session             |
+----------------------------+
在數據庫模擬創建數據
mysql> SELECT * FROM app_prettynum ;
+----+------------+-------+-------+--------+
| id | mobile     | price | level | status |
+----+------------+-------+-------+--------+
|  1 | 123456     |    19 |     1 |      1 |
|  2 | 123457686  |    17 |     1 |      1 |
|  3 | 1234576888 |    10 |     1 |      1 |
|  4 | 1234576888 |    10 |     1 |      1 |
|  5 | 1234576888 |    10 |     1 |      1 |
|  6 | 1234576888 |    10 |     1 |      1 |
|  7 | 1234576888 |    10 |     1 |      1 |
+----+------------+-------+-------+--------+
靚號列表
- url
- 函數
- 獲取所有靚號
- 通過html+render將靚號羅列出
backend/urls.py
from django.contrib import admin
from django.urls import path
from app import viewsurlpatterns = [path('admin/', admin.site.urls),# 列表path('pretty/list/', views.pretty_list),
]
app/views.py
from django.shortcuts import renderfrom app.models import *# Create your views here.
def pretty_list(req):"""靚號列表"""# 選擇倒敘排序queryset = PrettyNum.objects.all().order_by("-price")return render(req, 'pretty_list.html', {"queryset": queryset})
在app下創建templates目錄
app/templates/pretty_list.html
<!DOCTYPE html>
<html>
<head><title>靚號列表</title><meta charset="utf-8"><meta name="viewport" content="width=device-width, initial-scale=1"><link rel="stylesheet" href="https://cdn.staticfile.org/twitter-bootstrap/3.3.7/css/bootstrap.min.css"><script src="https://cdn.staticfile.org/jquery/2.1.1/jquery.min.js"></script><script src="https://cdn.staticfile.org/twitter-bootstrap/3.3.7/js/bootstrap.min.js"></script>
</head>
<body>
<div class="panel panel-default"><!-- Default panel contents --><div class="panel-heading">Panel heading</div><div class="panel-body"></div><!-- Table --><table class="table"><thead><tr><th>ID</th><th>號碼</th><th>價格</th><th>級別</th><th>狀態</th><th>操作</th></tr></thead><tbody>{% for obj in queryset %}<tr><th>{{ obj.id }}</th><th>{{ obj.mobile }}</th><th>{{ obj.price }}</th><th>{{ obj.get_level_display }}</th><th>{{ obj.get_status_display }}</th></tr>{% endfor %}</tbody></table>
</div></body>
</html>
啟動服務,訪問

準備提交添加
backend/urls.py
from django.contrib import admin
from django.urls import path
from app import viewsurlpatterns = [path('admin/', admin.site.urls),# 列表path('pretty/list/', views.pretty_list),# 添加path('pretty/add/', views.pretty_add),
]
app/views.py
from django.core.validators import RegexValidator
from django.shortcuts import render, redirect
from django import forms
from app.models import *# Create your views here.
def pretty_list(req):"""靚號列表"""# 選擇倒敘排序queryset = PrettyNum.objects.all().order_by("-price")return render(req, 'pretty_list.html', {"queryset": queryset})class PrettyModelForm(forms.ModelForm):class Meta:model = PrettyNumfields = ['mobile', 'price', 'level', 'status']def pretty_add(request):"""添加"""if request.method == "GET":form = PrettyModelForm()return render(request, 'pretty_add.html', {"form": form})form = PrettyModelForm(data=request.POST)if form.is_valid():form.save()return redirect('/pretty/list/')return render(request, 'pretty_add.html', {"form": form})
app/templates/pretty_add.html
<!DOCTYPE html>
<html>
<head><meta charset="utf-8"><title>添加</title><link rel="stylesheet" href="https://cdn.staticfile.org/twitter-bootstrap/3.3.7/css/bootstrap.min.css"><script src="https://cdn.staticfile.org/jquery/2.1.1/jquery.min.js"></script><script src="https://cdn.staticfile.org/twitter-bootstrap/3.3.7/js/bootstrap.min.js"></script>
</head>
<body><div style="padding: 100px 100px 10px;"><form method="post" novalidate>{% csrf_token %}{% for filed in form %}<div><label>{{ filed.label }}</label>{{ filed }}</div>{% endfor %}<button type="submit" class="button">提交</button></form>
</div></body>
</html>
編輯靚號
- 列表頁面:/pretty/數字/edit/
- url
- 函數
- 根據ID獲取當前編輯對象
- ModelForm配合,默認顯示數據
- 提交修改
backend/urls.py
from django.contrib import admin
from django.urls import path
from app import viewsurlpatterns = [path('admin/', admin.site.urls),# 列表path('pretty/list/', views.pretty_list),# 添加path('pretty/add/', views.pretty_add),# 編輯path('pretty/<int:nid>/edit/', views.pretty_edit),
]
app/views.py
from django.core.validators import RegexValidator
from django.shortcuts import render, redirect
from django import forms
from app.models import *class PrettyEditModelForm(forms.ModelForm):mobile = forms.CharField(disabled=True, label="手機號")  # 不允許修改class Meta:model = PrettyNumfields = ['mobile', 'price', 'level', 'status']def pretty_edit(request, nid):row_obj = PrettyNum.objects.filter(id=nid).first()if request.method == "GET":form = PrettyEditModelForm(instance=row_obj)return render(request, 'pretty_edit.html', {"form": form})form = PrettyEditModelForm(data=request.POST, instance=row_obj)if form.is_valid():form.save()return redirect('/pretty/list/')return render(request, 'pretty_edit.html', {"form": form})
app/templates/pretty_edit.html
<!DOCTYPE html>
<html>
<head><meta charset="utf-8"><title>添加</title><link rel="stylesheet" href="https://cdn.staticfile.org/twitter-bootstrap/3.3.7/css/bootstrap.min.css"><script src="https://cdn.staticfile.org/jquery/2.1.1/jquery.min.js"></script><script src="https://cdn.staticfile.org/twitter-bootstrap/3.3.7/js/bootstrap.min.js"></script>
</head>
<body><div style="padding: 100px 100px 10px;"><form method="post" novalidate>{% csrf_token %}{% for filed in form %}<div><label>{{ filed.label }}</label>{{ filed }}</div>{% endfor %}<button type="submit" class="button">提交</button></form>
</div></body>
</html>
查詢
根據電話號碼查詢
app/views.py
#Get方法
def pretty_list(request):"""靚號列表"""# 選擇倒敘排序data_dict = {}val = request.GET.get('q')queryset = queryset = PrettyNum.objects.all().filter(**data_dict).order_by("-price")if val:data_dict["mobile__contains"] = valqueryset = PrettyNum.objects.all().filter(**data_dict).order_by("-price")return render(request, 'pretty_list.html', {"queryset": queryset})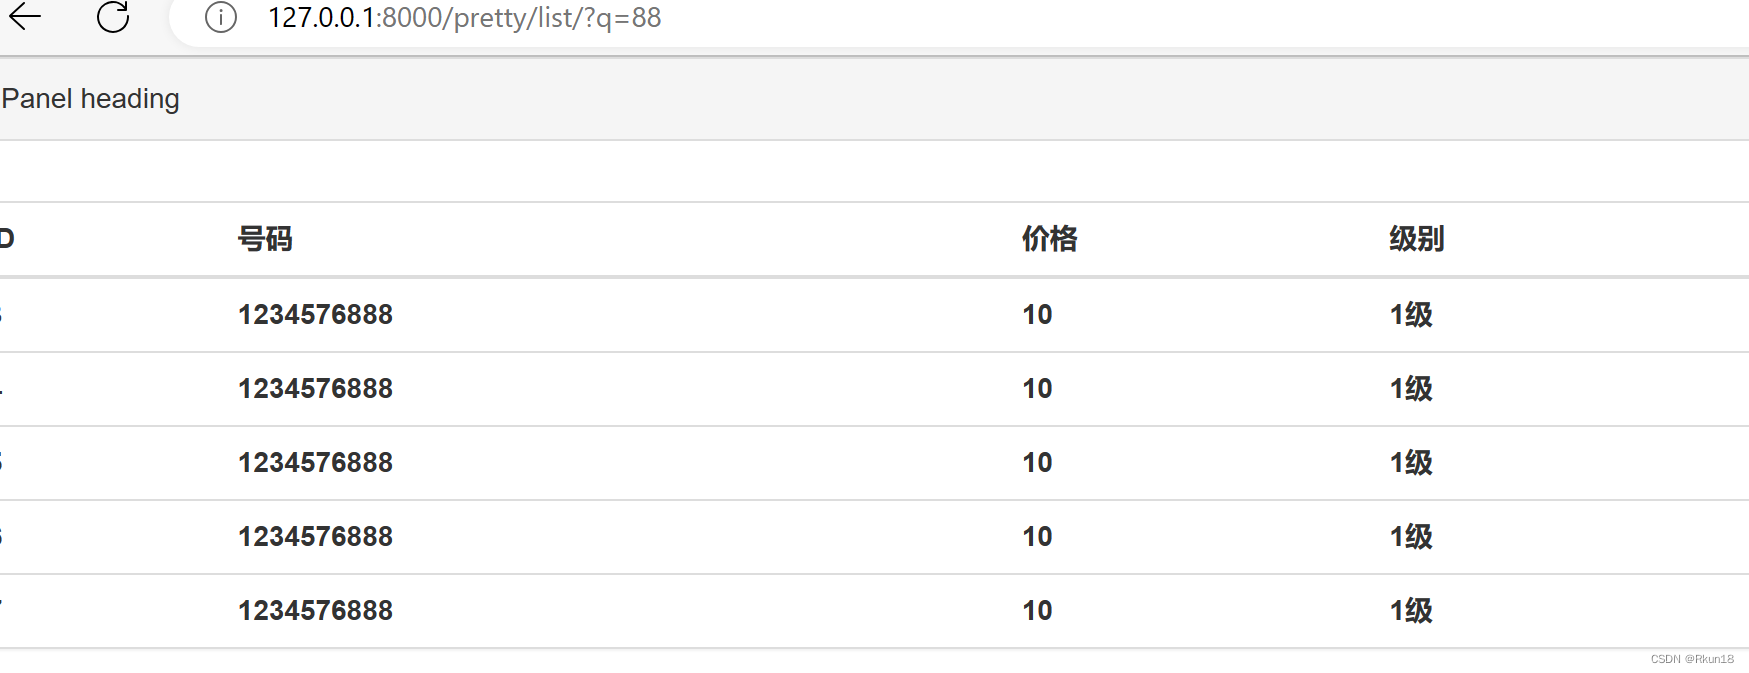


)


