Python threading模塊
2種調用方式
直接調用
| 1 2 3 4 5 6 7 8 9 10 11 12 13 14 15 16 17 18 19 | import?threadingimport?timedef?sayhi(num):?#定義每個線程要運行的函數????print("running on number:%s"?%num)????time.sleep(3)if?__name__?==?'__main__':????t1?=?threading.Thread(target=sayhi,args=(1,))?#生成一個線程實例????t2?=?threading.Thread(target=sayhi,args=(2,))?#生成另一個線程實例????t1.start()?#啟動線程????t2.start()?#啟動另一個線程????print(t1.getName())?#獲取線程名????print(t2.getName()) |
繼承式調用
| 1 2 3 4 5 6 7 8 9 10 11 12 13 14 15 16 17 18 19 20 21 | import?threadingimport?timeclass?MyThread(threading.Thread):????def?__init__(self,num):????????threading.Thread.__init__(self)????????self.num?=?num????def?run(self):#定義每個線程要運行的函數????????print("running on number:%s"?%self.num)????????time.sleep(3)if?__name__?==?'__main__':????t1?=?MyThread(1)????t2?=?MyThread(2)????t1.start()????t2.start() |
?第二種有點傻
基本語法
is_alive() 當前活躍的線程
例子:
car1 = threading.Thread(target=car,args=('bmw',))
car1.start()
print(car1.is_alive())
if car1.is_alive():print('33')
if not car1.is_alive():print('444')
執行結果:
bmw wait red light
True
33
例子對比:
car1 = threading.Thread(target=car,args=('bmw',))
# car1.start()   注釋掉
print(car1.is_alive())
if car1.is_alive():print('33')
if not car1.is_alive():print('444')
執行結果:
False
444
?
Join ()
等待!其實就wait()。
等待該線程執行完畢
Daemon()
守護進程!有句話怎么說來著!守護進程被吞噬!
# _*_coding:utf-8_*_
import time
import threadingstart_time=time.time()
def run(n):print('[%s]------running----\n' % n)time.sleep(2)print('--done--%s'%n)def run2(n):print('[%s]------running----\n' % n)time.sleep(5)print('--done--%s'%n)
lis_1=[]
t1 = threading.Thread(target=run, args=('run%1',))
t2 = threading.Thread(target=run2, args=('run%2',))lis_1.append(t1)
lis_1.append(t2)
# t2.setDaemon(True)# 將main線程設置為Daemon線程,它做為程序主線程的守護線程,當主線程退出時,m線程也會退出,由m啟動的其它子線程會同時退出,不管是否執行完任務
t1.start()
t2.start()
#  看下就懂了,不懂試一試就想起來了
t1.join()
t2.join()print("---end time----",time.time()-start_time)
?
線程鎖(互斥鎖Mutex)
lock()
為什么上鎖?因為好多線程同時修改一個數據,有先后順序,有的沒干完,就被gil了,所以對修改數據的地方加把鎖,保證該數據的正確性!
lock?=?threading.Lock()?#生成全局鎖
不帶鎖例子:
| 1 2 3 4 5 6 7 8 9 10 11 12 13 14 15 16 17 18 19 20 21 | import?timeimport?threadingdef?addNum():????global?num?#在每個線程中都獲取這個全局變量????print('--get num:',num )????time.sleep(1)????num??-=1?#對此公共變量進行-1操作num?=?100??#設定一個共享變量thread_list?=?[]for?i?in?range(100):????t?=?threading.Thread(target=addNum)????t.start()????thread_list.append(t)for?t?in?thread_list:?#等待所有線程執行完畢????t.join()print('final num:', num ) |
?
帶鎖例子:
| 1 2 3 4 5 6 7 8 9 10 11 12 13 14 15 16 17 18 19 20 21 22 23 | import?timeimport?threadingdef?addNum():????global?num?#在每個線程中都獲取這個全局變量????print('--get num:',num )????time.sleep(1)????lock.acquire()?#修改數據前加鎖????num??-=1?#對此公共變量進行-1操作????lock.release()?#修改后釋放num?=?100??#設定一個共享變量thread_list?=?[]lock?=?threading.Lock()?#生成全局鎖for?i?in?range(100):????t?=?threading.Thread(target=addNum)????t.start()????thread_list.append(t)for?t?in?thread_list:?#等待所有線程執行完畢????t.join()print('final num:', num ) |
RLock(遞歸鎖)
這個主要針對函數甲里邊包涵函數乙,函數乙又有函數丙
繞進去了,很麻煩,用lock的話容易死循環,所以用Rlock,一鍵上鎖,保證不亂。例子看看就好。
| 1 2 3 4 5 6 7 8 9 10 11 12 13 14 15 16 17 18 19 20 21 22 23 24 25 26 27 28 29 30 31 32 33 34 35 36 37 38 | import?threading,timedef?run1():????print("grab the first part data")????lock.acquire()????global?num????num?+=1????lock.release()????return?numdef?run2():????print("grab the second part data")????lock.acquire()????global??num2????num2+=1????lock.release()????return?num2def?run3():????lock.acquire()????res?=?run1()????print('--------between run1 and run2-----')????res2?=?run2()????lock.release()????print(res,res2)if?__name__?==?'__main__':????num,num2?=?0,0????lock?=?threading.RLock()????for?i?in?range(10):????????t?=?threading.Thread(target=run3)????????t.start()while?threading.active_count() !=?1:????print(threading.active_count())else:????print('----all threads done---')????print(num,num2) |
Semaphore(信號量)
互斥鎖 同時只允許一個線程更改數據,而Semaphore是同時允許一定數量的線程更改數據 ,比如廁所有3個坑,那最多只允許3個人上廁所,后面的人只能等里面有人出來了才能再進去。
例子:
| 1 2 3 4 5 6 7 8 9 10 11 12 13 14 15 16 17 18 19 20 21 | import?threading,timedef?run(n):????semaphore.acquire()????time.sleep(1)????print("run the thread: %s\n"?%n)????semaphore.release()if?__name__?==?'__main__':????num=?0????semaphore??=?threading.BoundedSemaphore(5)?#最多允許5個線程同時運行????for?i?in?range(20):????????t?=?threading.Thread(target=run,args=(i,))????????t.start()while?threading.active_count() !=?1:????pass?#print threading.active_count()else:????print('----all threads done---')????print(num) |
?
Events ?
重點,標識符,event可以理解成對全局變量不停的修改,!!!!!!這個我感覺后邊能用的到,用event來驗證result
語法有
event = threading.Event()
創建標識符
?
event.set( )
設置標識符
?
event.wait( )
等待標識符出現,一旦出現立刻執行后邊的代碼
print(‘殺啊!!’)
event.wait()
print( ‘撤退!!,殺個瘠薄’
?
event.clear( )
清空標志位
通過Event來實現兩個或多個線程間的交互
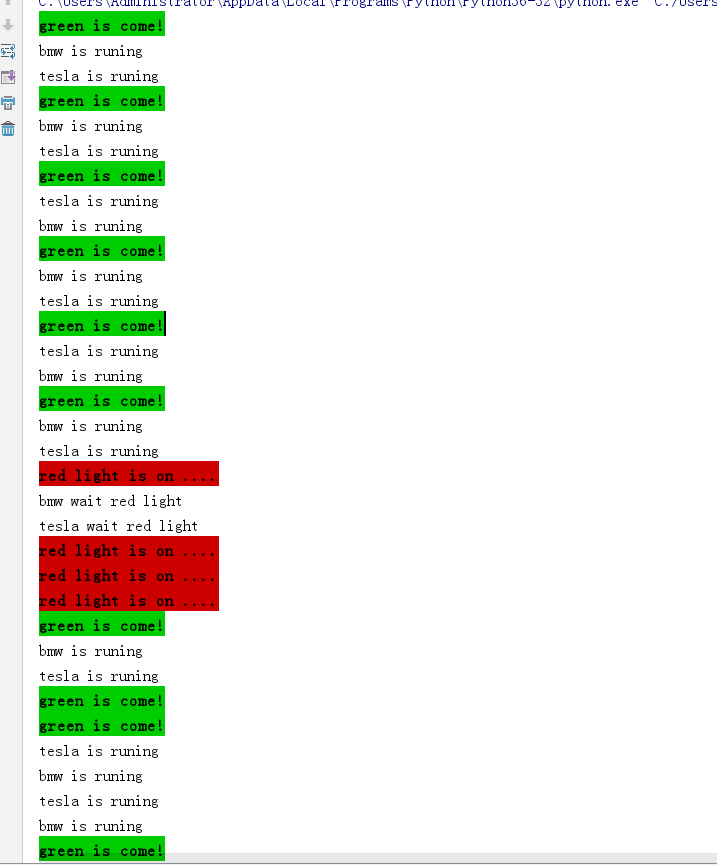
紅綠燈例子!!
import time
import threadingevent=threading.Event()def car(name):while True:if event.is_set():print('%s is runing'%name)time.sleep(1)else:print('%s wait red light' % name)event.wait()time.sleep(1)def light():conent = 0event.set()while True:if conent >5 and conent <10:event.clear()print('\033[41;1mred light is on ....\033[0m')elif conent >10:event.set()conent = 0else:print('\033[42;1mgreen is come!\033[0m')time.sleep(1)conent += 1light = threading.Thread(target=light,)car2 = threading.Thread(target=car,args=('tesla',))car1 = threading.Thread(target=car,args=('bmw',))
light.start()
car1.start()
car2.start()
運行結果
?


數組)


)


