使用asp.net core Identity
IdentityServer靈活的設計中有一部分是可以將你的用戶和他們的數據保存到數據庫中的。如果你以一個新的用戶數據庫開始,那么,asp.net core Identity是一個選擇。這個示例演示了如何在IdentityServer中使用asp.net core Ientity.
該示例假設你已經完成了前面的所有示例,這個示例將要用asp.net core Identity 模板創建一個新的項目,新項目會替換掉之前的IdentityServer。而其它的工程則沒有影響。
新建一個asp.net core Identity工程
第一步是在你的解決方案中添加一個asp.net core Identity的工程。考慮到大量的代碼都來源于asp.net core Identity,所以這里直接使用visual studio的一個模板。你最后得把舊的IdentityServer刪除。但是你還得配置一下。
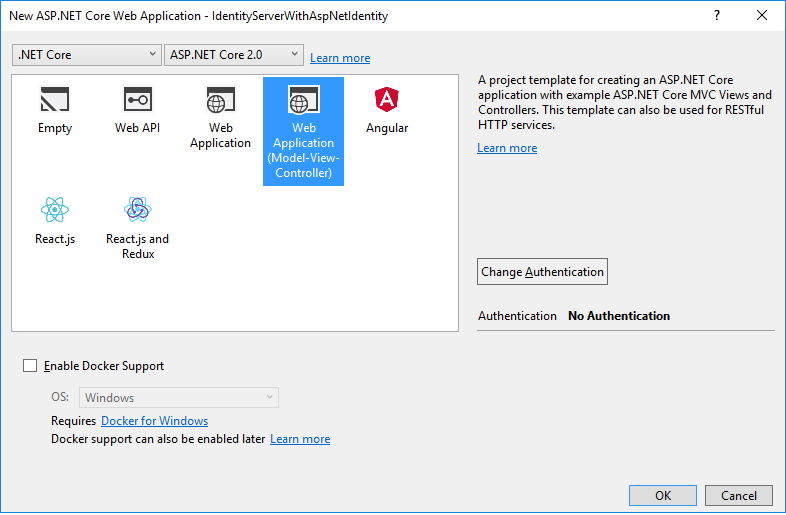
那就從創建一個asp.net core web app開始把:

然后選擇MVC模板:
然后在更改身份驗證這里選擇“個人用戶賬戶”: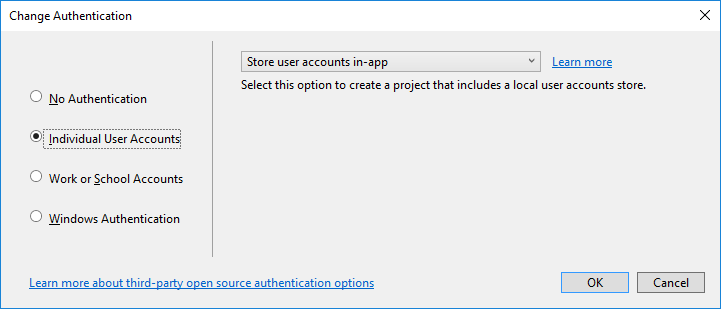
最后,當你選擇好之后,點擊確定。
修改宿主
別忘了把端口調整到5000.
這樣才能兼容之間創建好的客戶端和API。
添加IdentityServer的包
添加IdentityServer4.AspNetIdentity的nuget包。因為它依賴IdentityServer包,所以會自動的將IdentityServer4添加到項目中來。

Scopes和客戶端的配置
雖然是一個新的項目,我們仍然可以將舊項目中的代碼粘貼過來用一下。你現在將之前的IdentityServer中的Config類中的代碼粘貼到新項目中。
有一個改變的地方是需要禁用一下確認頁面的東西,因為我們現在還沒有配置關于確認頁面的任何東西。所以我們將RequireConsent設置為false:
new Client
{ClientId = "mvc",ClientName = "MVC Client",AllowedGrantTypes = GrantTypes.HybridAndClientCredentials,RequireConsent = false,ClientSecrets ={new Secret("secret".Sha256())},RedirectUris           = { "http://localhost:5002/signin-oidc" },PostLogoutRedirectUris = { "http://localhost:5002/signout-callback-oidc" },AllowedScopes ={IdentityServerConstants.StandardScopes.OpenId,IdentityServerConstants.StandardScopes.Profile,"api1"},AllowOfflineAccess = true
}
配置IdentityServer
還是和之前一樣,需要在ConfigureServices和Configure這兩個Startup中的方法中進行配置。
ConfigureServices
下面的代碼顯示了工程創建的時候生成的一些樣本代碼和底部添加的關于IdentityServer的代碼。在之前的示例中,AddTestUsers擴展方法用來將用戶注冊到DI中,但是這會兒我們用AddAspNetIdentity取代了。這個方法需要一個泛型的類型參數,這個類型參數的類型是你asp.net Identity User的類型。
public void ConfigureServices(IServiceCollection services)
{services.AddDbContext<ApplicationDbContext>(options =>options.UseSqlServer(Configuration.GetConnectionString("DefaultConnection")));services.AddIdentity<ApplicationUser, IdentityRole>().AddEntityFrameworkStores<ApplicationDbContext>().AddDefaultTokenProviders();// Add application services.services.AddTransient<IEmailSender, EmailSender>();services.AddMvc();// configure identity server with in-memory stores, keys, clients and scopes
    services.AddIdentityServer().AddDeveloperSigningCredential().AddInMemoryPersistedGrants().AddInMemoryIdentityResources(Config.GetIdentityResources()).AddInMemoryApiResources(Config.GetApiResources()).AddInMemoryClients(Config.GetClients()).AddAspNetIdentity<ApplicationUser>();
}
需要注意的是關于IdentityServer的邏輯應該寫到AddIdentity方法之后。因為其中有一些方法被重寫了。
Configure
這里展示了創建工程的時候生成的代碼,還有添加了UseIdentityServer。
public void Configure(IApplicationBuilder app, IHostingEnvironment env)
{if (env.IsDevelopment()){app.UseDeveloperExceptionPage();app.UseBrowserLink();app.UseDatabaseErrorPage();}else{app.UseExceptionHandler("/Home/Error");}app.UseStaticFiles();// app.UseAuthentication(); // not needed, since UseIdentityServer adds the authentication middleware
    app.UseIdentityServer();app.UseMvc(routes =>{routes.MapRoute(name: "default",template: "{controller=Home}/{action=Index}/{id?}");});
}
創建數據庫
現在已經給出了一個新的項目,你需要創建數據庫。你可以通過項目目錄下的命令行工具來執行dotnet?ef?database?update?-c?ApplicationDbContext,像這樣:

但我一般都會在程序包管理控制臺上輸入update-database
創建一個用戶
接下來,你需要運行應用并將一個用戶創建到數據庫中。點擊注冊(Register)按鈕:

?
?然后在注冊頁面上注冊一個用戶:

現在,你已經擁有了一個用戶,你可以登陸了。
在MVC客戶端上面登陸
運行MVC客戶端應用,然后你可以點擊Secure這個鏈接來進行登陸:

你會被重定向到asp.net Identity的登陸頁面上,輸入你新創建的那個用戶的信息:

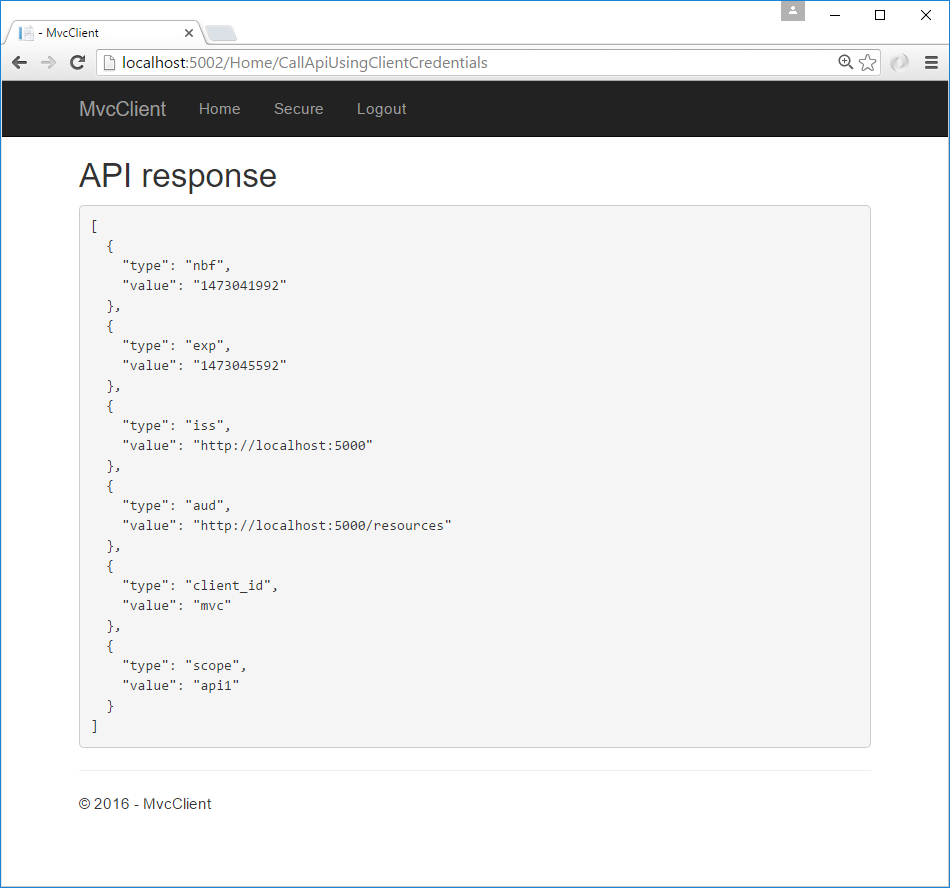
然后你會被跳轉到確認頁面上,然后又迅速的重定向回MVC客戶端(因為我們配置了RequireConsetn=false了。)。然后,關于你的user的一些claim回被列出來。

客戶端可以代表你的用戶來訪問api,通過點擊Call API using application identity:
下一步
先前的示例項目中有確認頁面、錯誤頁面和登出頁面,這些缺失的部分你可以直接復制粘貼過來用。一旦你完成了,那個舊的項目就沒用了。。然后你需要將RequireConsent改成true。
最后,放上源碼:直接點擊下載?sample code for this quickstart?吧。
?


)
)

)


詳解)


)


