文章目錄
- 寫在前面
- 實驗目標
- 實驗內容
- 1. 創建項目
- 2. 導入框架
- 3. 配置項目
- 前端代碼
- 后端代碼
- 4. 運行項目
- 注意事項
- 寫在后面
寫在前面
本期內容:基于Django與Bootstrap的在線計算器
實驗環境:
- vscode
- python(3.11.4)
- django(4.2.7)
- bootstrap(3.4.1)
- jquery(3.7.1)
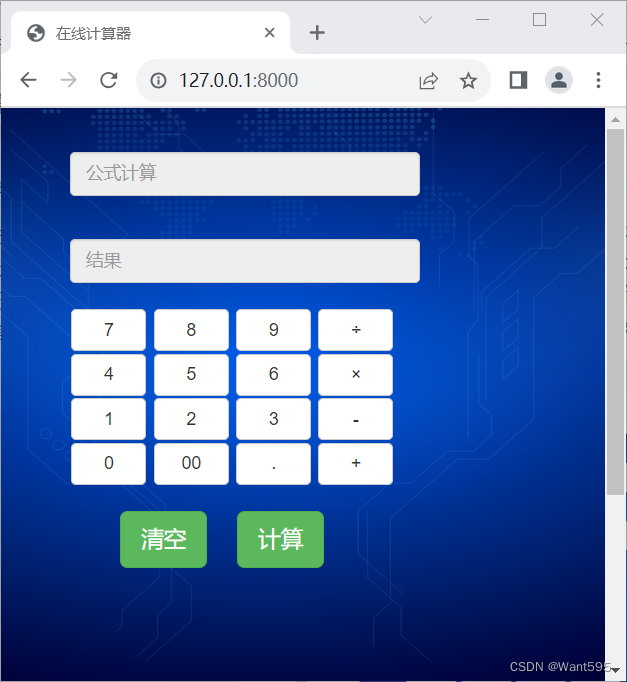
實驗目標
項目功能主要是實現一個在線計算器。在輸入框中輸入計算式,單擊“計算”按鈕可以在輸出框中輸出結果。前端采用了 Bootstrap進行制作,提供輸入框和按鈕讓用戶進行信息輸入,然后將計算式通過 Ajax方式傳輸給后臺進行計算。后臺采用Django 進行開發,獲取到前端發送的數據后利用Python的子進程模塊subprocess來計算式子,并將計算結果返回給前端進行顯示。
實驗內容
1. 創建項目
1.打開vscode命令行輸入以下命令創建一個名為jsq的項目
django-admin startproject jsq
2.利用cd命令切換到manage.py文件所在目錄,輸入以下命令創建一個名為app的應用
cd jsq
python manage.py startapp app
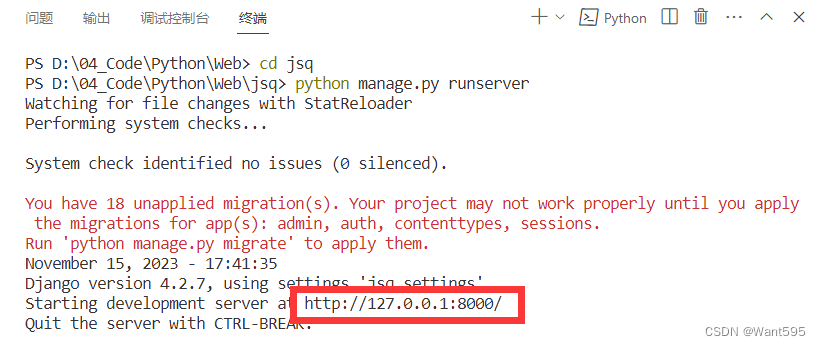
3.輸入以下命令啟動項目
python manage.py runserver
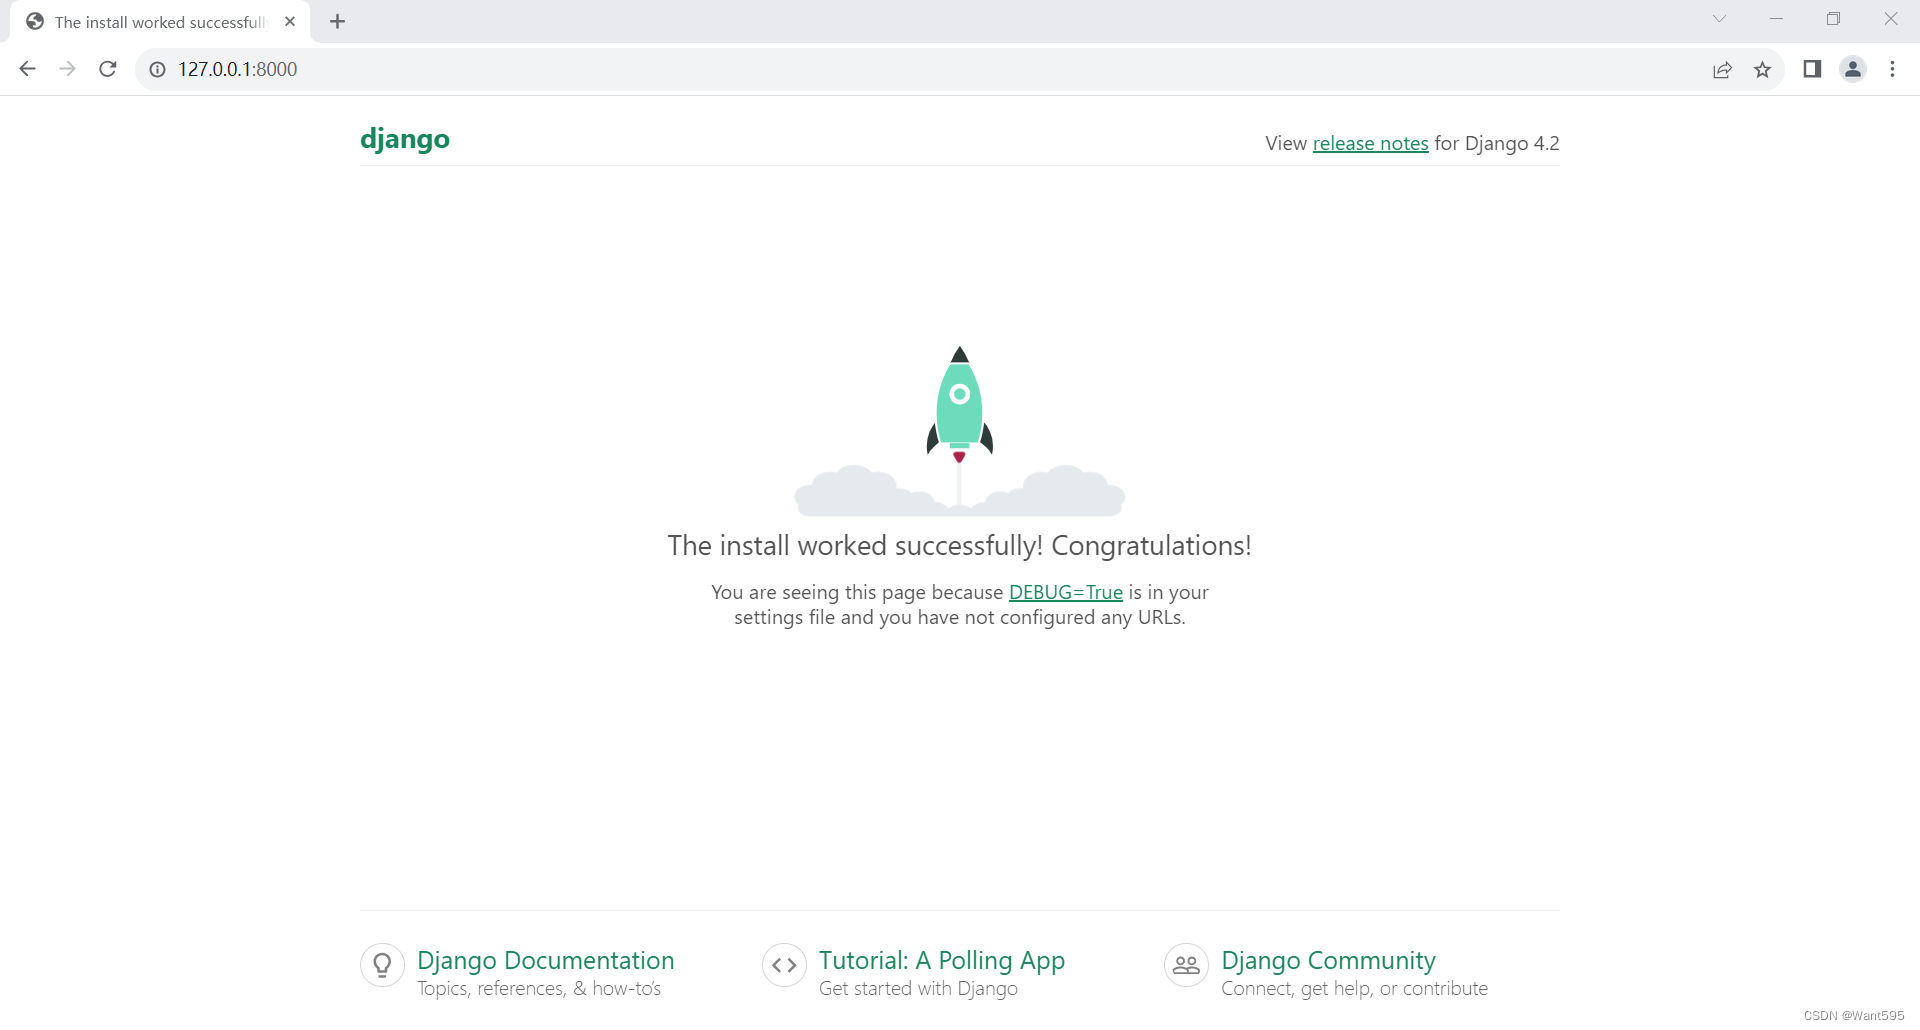
4.在瀏覽器中輸入“http://127.0.0.1:8000”檢查web界面是否啟動成功
出現如下界面說明web界面啟動成功
2. 導入框架
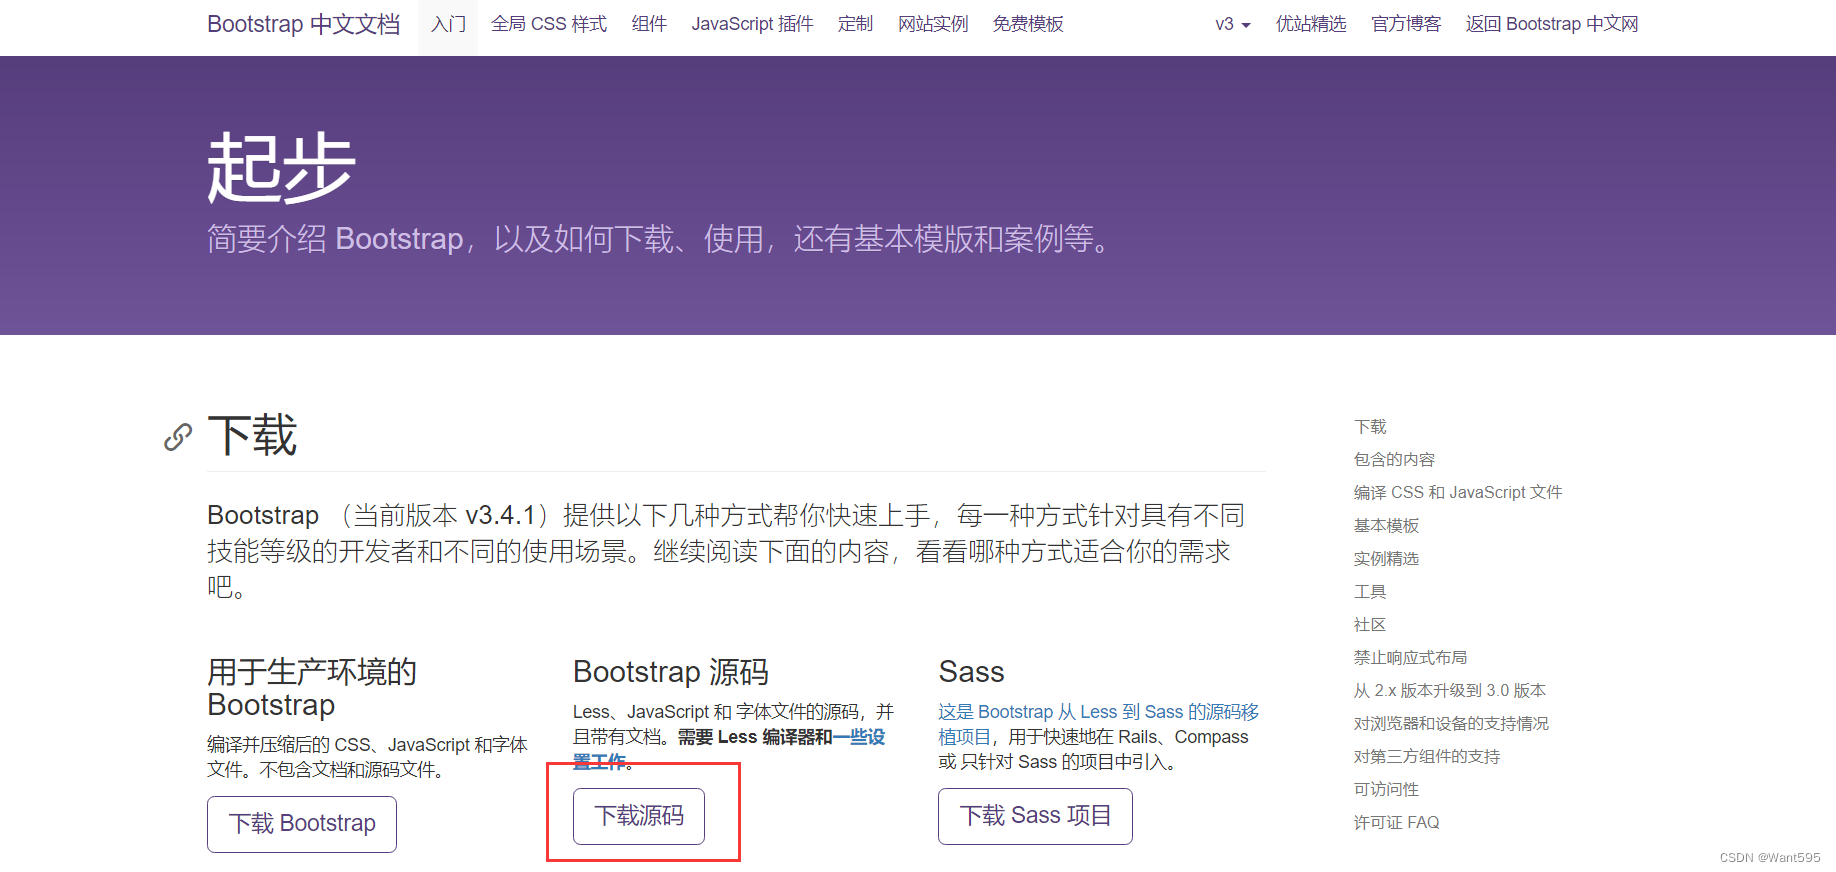
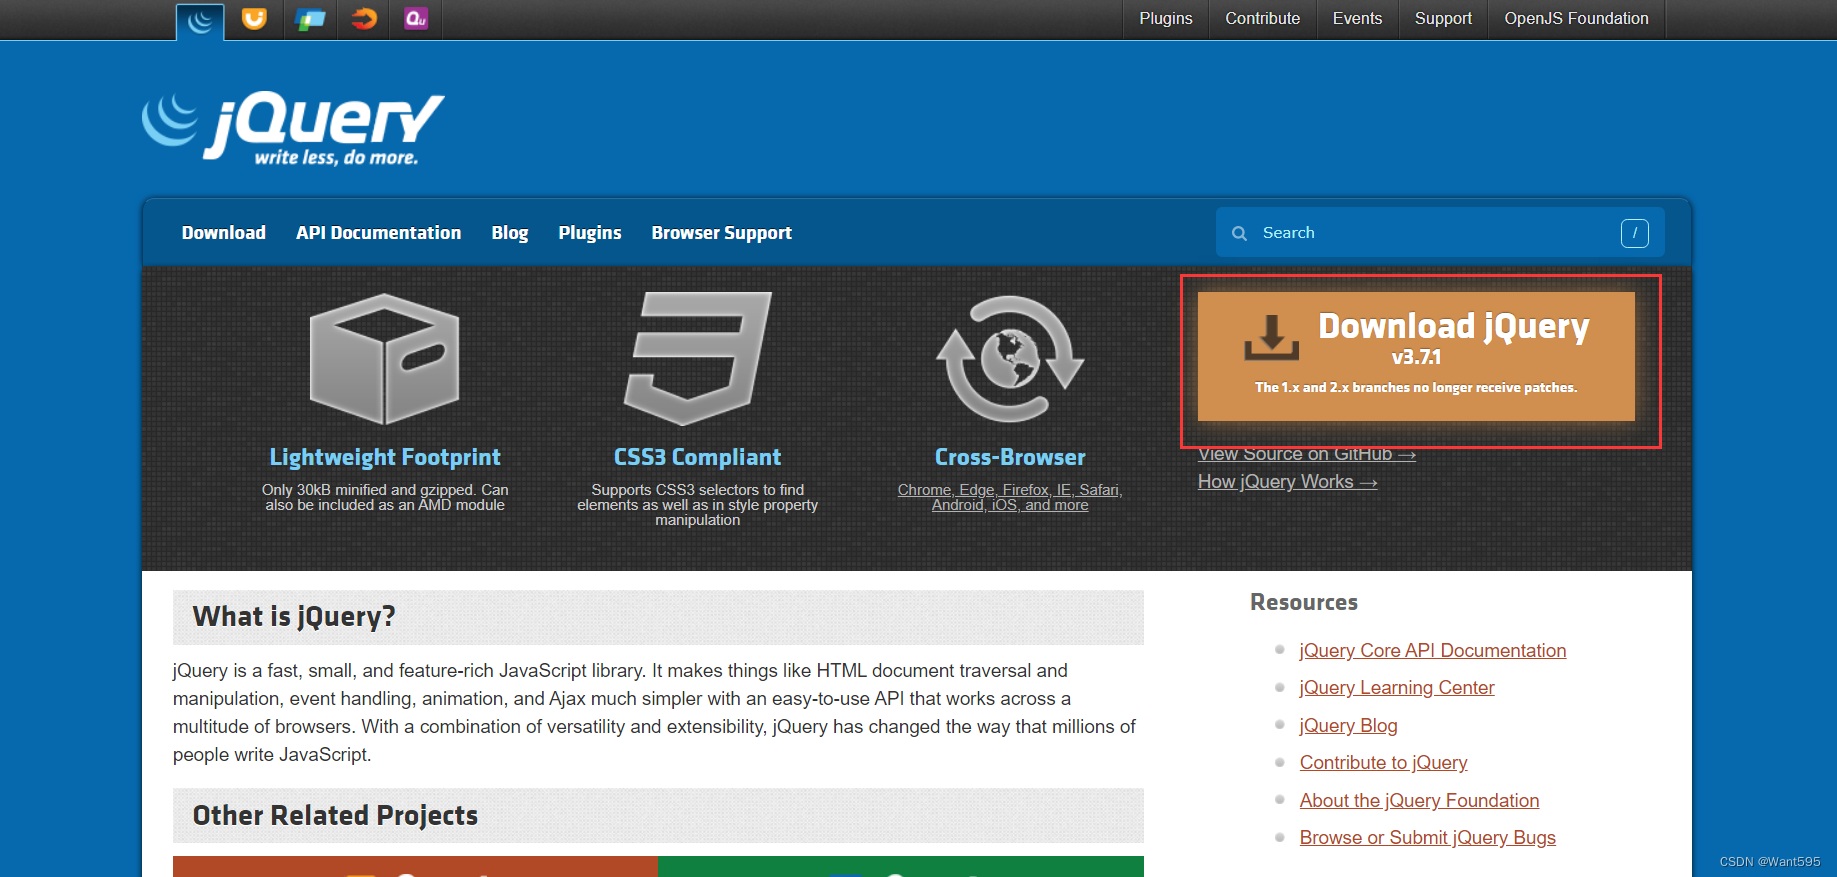
1.在官網下載bootstrap源代碼后解壓
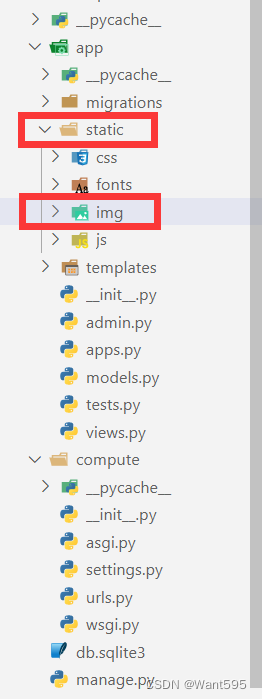
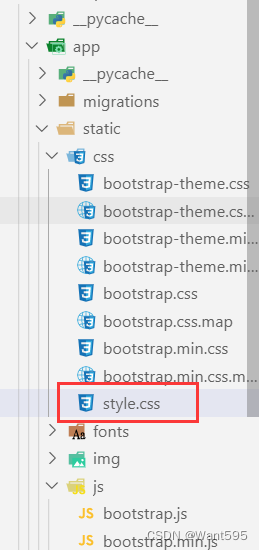
2.在app文件夾下創建一個static子文件夾
3.在解壓的文件中找到dist文件夾,將該文件夾中的css,fonts,js三個子文件夾復制到static文件夾下面,并在static文件夾中新建一個名為img的子文件夾(用于存放圖片)
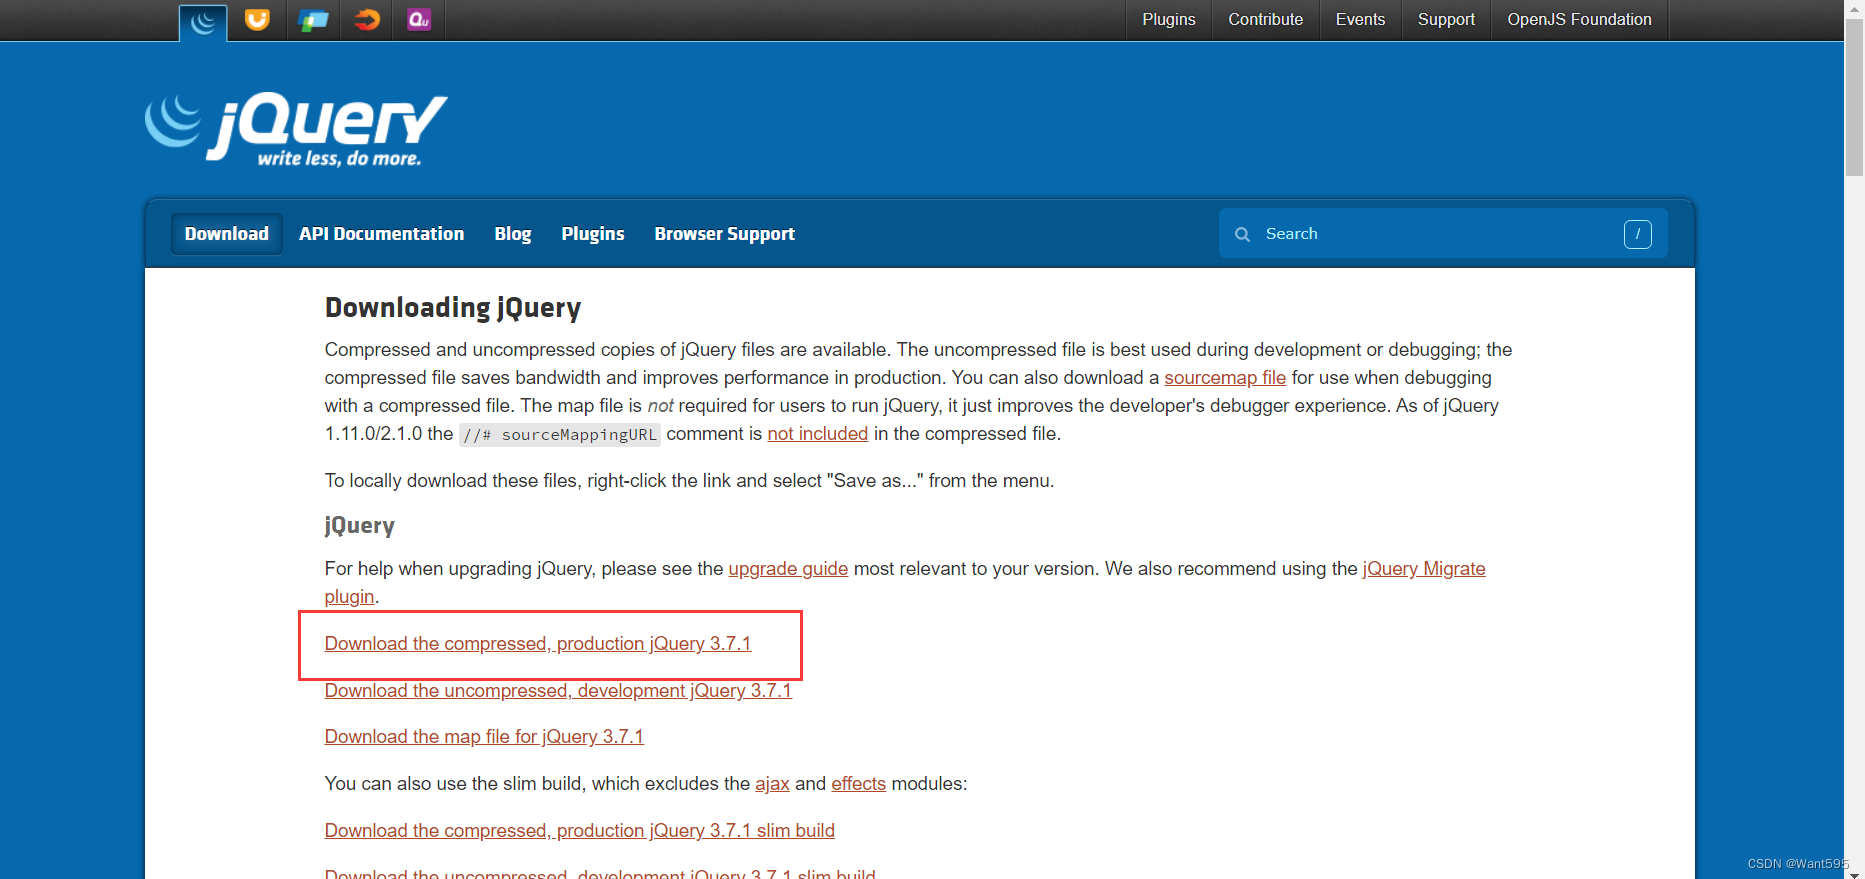
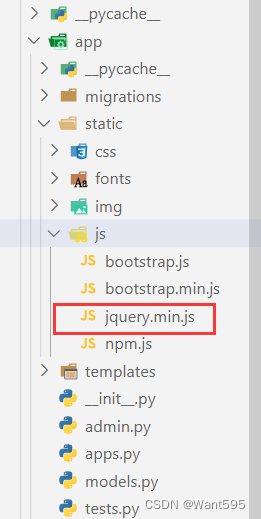
4.進入jQuery官網,復制網頁內容,保存為jquery.min.js文件放到static目錄下的js子文件夾中。
3. 配置項目
前端代碼
1.在app文件夾下創建一個templates子文件夾,然后在templates文件夾下面創建一個index.html文件,編輯該文件,填入以下代碼:
{% load static %}
<!DOCTYPE html>
<html><head><meta charset = "utf-8"><meta http-equiv = "X-UA-Compatible" content = "IE=edge"><meta name = "viewport" content = "width=device-width,initial-scale=1"><title>在線計算器</title><link rel = "stylesheet" href = "{% static 'css/bootstrap.min.css' %}"/><link rel = "stylesheet" href = "{% static 'css/style.css'%}"/><script src = "{% static 'js/jquery.min.js' %}"></script><script src = "{% static 'js/bootstrap.min.js' %}"></script></head><body><div class="container-fluid"><div class = "row"><div class = "col-xs-1 col-sm-4"></div><div id = "computer" class="col-xs-10 col-sm-6"><input type="text" id="txt_code" name="txt_code" value="" class="form-control input_show" placeholder="公式計算" disabled/><input type="text" id="txt_result" name="txt_result" value="" class="form-control input_show" placeholder="結果" disabled/><br /><div><button type="button" class="btn btn-default btn_num" onclick="fun_7()">7</button><button type="button" class="btn btn-default btn_num" onclick="fun_8()">8</button><button type="button" class="btn btn-default btn_num" onclick="fun_9()">9</button><button type="button" class="btn btn-default btn_num" onclick="fun_div()">÷</button><br/><button type="button" class="btn btn-default btn_num" onclick="fun_4()">4</button><button type="button" class="btn btn-default btn_num" onclick="fun_5()">5</button><button type="button" class="btn btn-default btn_num" onclick="fun_6()">6</button><button type="button" class="btn btn-default btn_num" onclick="fun_mul()">×</button><br/><button type="button" class="btn btn-default btn_num" onclick="fun_1()">1</button><button type="button" class="btn btn-default btn_num" onclick="fun_2()">2</button><button type="button" class="btn btn-default btn_num" onclick="fun_3()">3</button><button type="button" class="btn btn-default btn_num" onclick="fun_sub()">-</button><br/><button type="button" class="btn btn-default btn_num" onclick="fun_0()">0</button><button type="button" class="btn btn-default btn_num" onclick="fun_00()">00</button><button type="button" class="btn btn-default btn_num" onclick="fun_dot()">.</button><button type="button" class="btn btn-default btn_num" onclick="fun_add()">+</button></div><div><br/><button type = "button" class = "btn btn-success btn-lg btn_clear"id = "lgbut_clear" onclick="fun_clear()">清空</button><button type = "button" class = "btn btn-success btn-lg"id = "lgbut_compute">計算</button></div></div><div class="col-xs-1 col-sm-2"></div></div></div><div class="extendContent"></div><script>var x = document.getElementById("txt_code");var y = document.getElementById("txt_result");function fun_1(){x.value += '1';}function fun_2(){x.value += '2';}function fun_3(){x.value += '3';}function fun_4(){x.value += '4';}function fun_5(){x.value += '5';}function fun_6(){x.value += '6';}function fun_7(){x.value += '7';}function fun_8(){x.value += '8';}function fun_9(){x.value += '9';}function fun_add(){x.value += '+';}function fun_sub(){x.value += '-';}function fun_mul(){x.value += '*';}function fun_div(){x.value += '/';}function fun_0(){x.value += '0';}function fun_00(){x.value += '00';}function fun_dot(){x.value += '.';}function fun_clear(){x.value = '';y.value = '';}</script><script>function ShowResult(data){var y = document.getElementById('txt_result')y.value = data['result']}</script><script>$('#lgbut_compute').click(function(){$.ajax({url:'/compute/',type:'POST',data:{'code':$('#txt_code').val()},dataType:'json',success:ShowResult})})</script></body></html>
2.在css文件夾中創建一個style.css文件并填入以下內容:
body{background-image:url("../img/bg.jpg");background-position:center 0;background-repeat: no-repeat;background-attachment: fixed;background-size: cover;-webkit-background-size:cover;-o-background-size:cover;-moz-background-size:cover;-ms-background-size:cover;}.input_show{margin-top:35px;max-width:280px;height:35px;
}.btn_num{margin:1px 1px 1px 1px;width:60px;
}.btn_clear{margin-left:40px;margin-right:20px;
}.extendContent{height:300px;
}
后端代碼
1.配置視圖處理函數,編輯views.py文件,填入以下代碼:
from django.shortcuts import render
import subprocess
from django.views.decorators.http import require_POST
from django.http import JsonResponse
from django.views.decorators.csrf import csrf_exempt
import warningswarnings.filterwarnings('ignore')# Create your views here.
def home(request):return render(request, 'index.html')def run_code(code):try:code = 'print(' + code + ')'output = subprocess.check_output(['python', '-c', code],universal_newlines=True,stderr=subprocess.STDOUT,timeout=30)except subprocess.CalledProcessError as e:output = '公式輸入有誤'return output@csrf_exempt
@require_POST
def compute(request):code = request.POST.get('code')result = run_code(code)return JsonResponse(data={'result':result})
2.配置settings.py文件,找到INSTALLED_APPS字段,將創建的app應用添加進來,代碼如下:
INSTALLED_APPS = ['django.contrib.admin','django.contrib.auth','django.contrib.contenttypes','django.contrib.sessions','django.contrib.messages','django.contrib.staticfiles','app', #在此處添加應用
]
找到ALLOWED_HOSTS字段并修改,編輯代碼如下:
ALLOWED_HOSTS = ['*',]
3.配置訪問路由,編輯urls.py文件,填入以下代碼:
from django.contrib import admin
from django.urls import path
from app.views import home, computeurlpatterns = [path('admin/', admin.site.urls),path('', home, name='home'),path('compute/', compute, name='compute'),
]
4. 運行項目
在終端切換到manage.py文件所在目錄,輸入以下命令運行項目,然后在瀏覽器中輸入“http://127.0.0.1:8000”查看運行結果
python manage.py runserver
出現以下結果說明運行成功!
注意事項
若計算時遇到問題:
0.01s - Debugger warning: It seems that frozen modules are being used, which may0.00s - make the debugger miss breakpoints. Please pass-Xfrozen_modules=off0.00s - to python to disable frozen modules.0.00s - Note: Debugging will proceed. Set PYDEVD_DISABLE_FILE_VALIDATION=1 to disable this validation.
可以嘗試在啟動 Django 服務時添加 --noreload 參數來解決這個問題。如下所示:
python manage.py runserver --noreload
這個問題是由于 Django 的自動重載機制導致的,自動重載機制會導致 Python 解釋器重新加載模塊,從而導致調試器無法正確地識別斷點位置。使用 --noreload 參數可以禁用自動重載機制,并避免這個問題的發生。
寫在后面
我是一只有趣的兔子,感謝你的喜歡!

)


)


)


