一、 安裝MySQL
0.0)查詢mariadb,有就去0.1),沒有就不管直接去1)
rpm -qa | grep mariadb
0.1)卸載mariadb
rpm -e --nodeps 查詢出來的內容
二、安裝MySQL
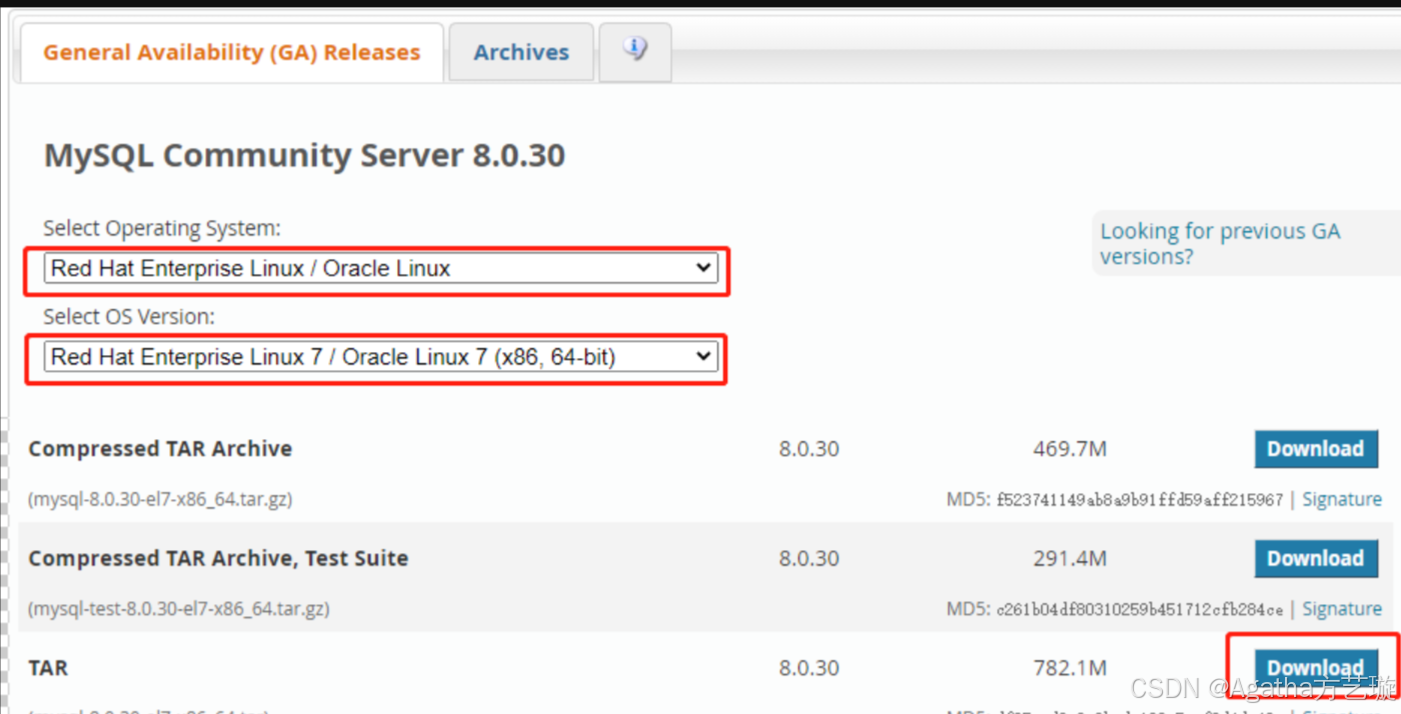
1.下載資源包 官網下載
MySQL官網下載地址:https://dev.mysql.com/downloads/mysql/
2.解壓
注:本文安裝包上傳到/tools解壓到了 /usr/local/ 目錄下
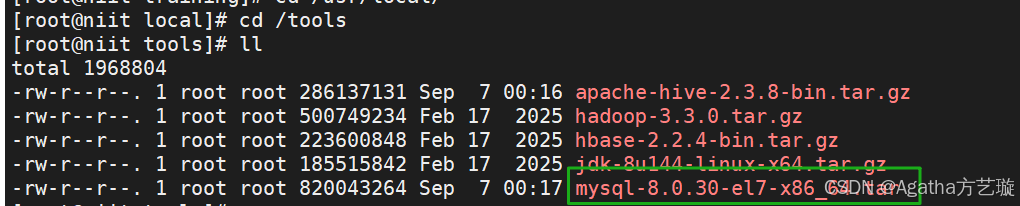
進入安裝包目錄
cd /tools
拆分tar包
tar -xvf mysql-8.0.30-el7-x86_64.tar -C /usr/local/
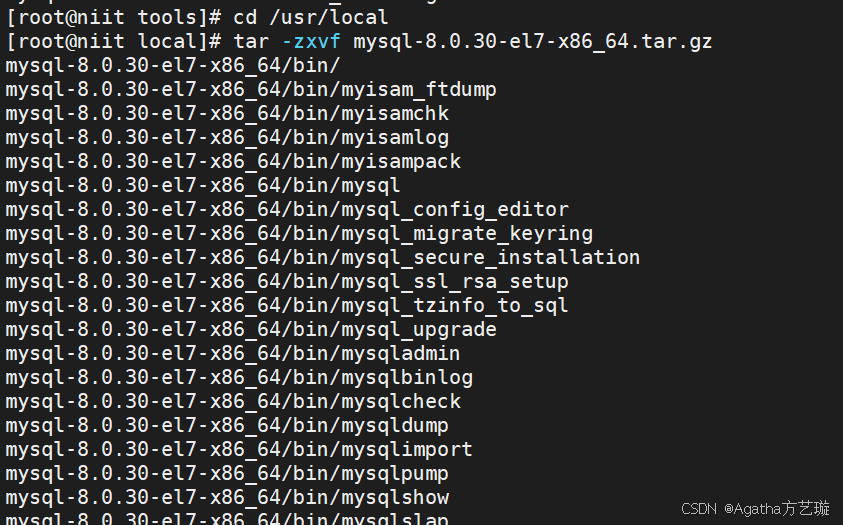
解壓安裝包
cd /usr/local/
tar -zxvf mysql-8.0.30-el7-x86_64.tar.gz
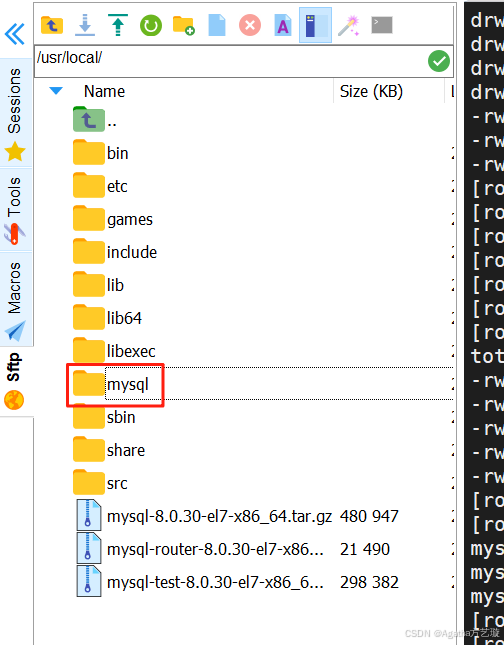
將解壓后的文件夾重命名為mysql
mv mysql-8.0.30-el7-x86_64/ mysql
創建存儲數據文件
在重命名后的mysql文件夾中創建data文件夾
mkdir mysql/data
設置用戶組并賦權
創建用戶組
groupadd mysql
創建用戶
-r:創建系統用戶
-g:指定用戶組
useradd -r -g mysql mysql
更改屬主和數組
chown -R mysql:mysql /usr/local/mysql/
更改權限
chmod -R 755 /usr/local/mysql/
初始化MySQL
進入MySQL的bin目錄
cd /usr/local/mysql/bin/
初始化
./mysqld --initialize --user=mysql --datadir=/usr/local/mysql/data --basedir=/usr/local/mysql
這里會打印臨時密碼,一會登錄用得到自己注意

3.配置參數文件
vi /etc/my.cnf
配置文件修改為以下內容,也可以根據自己需要設置參數。
[client]
port = 3306
socket = /usr/local/mysql/data/mysql.sock
default-character-set = utf8mb4[mysql]
default-character-set = utf8mb4[mysqld]
character-set-client-handshake = FALSE
character-set-server = utf8mb4
collation-server = utf8mb4_general_ci
init_connect = 'SET NAMES utf8mb4'port = 3306
socket = /usr/local/mysql/data/mysql.sock
skip-external-locking
key_buffer_size = 16M
max_allowed_packet = 1M
table_open_cache = 64
sort_buffer_size = 512K
net_buffer_length = 8K
read_buffer_size = 256K
read_rnd_buffer_size = 512K
myisam_sort_buffer_size = 8M
datadir = /usr/local/mysql/data
#lower_case_table_names=1
#如果要設置lower_case_table_names可以在初始化里面設置 ./mysqld --initialize --user=mysql --datadir=/usr/local/mysql/data --basedir=/usr/local/mysql --lower_case_table_names=1[mysqldump]
quick
max_allowed_packet = 16M[mysql]
no-auto-rehash[myisamchk]
key_buffer_size = 20M
sort_buffer_size = 20M
read_buffer = 2M
write_buffer = 2M[mysqlhotcopy]
interactive-timeout
配置后修改 /etc/my.cnf 的權限為777
chmod 777 /etc/my.cnf
啟動MySQL
/usr/local/mysql/support-files/mysql.server start
設置軟連接,并重啟MySQL
ln -s /usr/local/mysql/support-files/mysql.server /etc/init.d/mysql
ln -s /usr/local/mysql/bin/mysql /usr/bin/mysql
ln -s /usr/local/mysql/mysql.sock /var/mysql.sock
service mysql restart
登錄并更改密碼
mysql -u root -p
Enter password: 輸入初始化隨機密碼
兩種改密方式二選一
alter user 'root'@'localhost' identified by '123456';
set password for root@localhost = '123456';
開放遠程連接
mysql>use mysql;
msyql>update user set user.Host='%' where user.User='root';
mysql>flush privileges;    //刷新權限
安裝Hive
a. 創建一個test數據庫測試一下是否正常:
create database test;
b. 使用數據庫mysql:
use mysql;
c. 輸入命令看配置
select host, user, authentication_string, plugin from user;

我們需要一個 hiveuser 對應 % 的用戶,所以加一個
CREATE USER 'hiveuser'@'%' IDENTIFIED BY '123456';
加好了,查看一下,就有% hiveuser 的用戶了
select host, user, authentication_string, plugin from user;

要是太長了串行了可以省略點查看
select host, user from user;

f. 給hiveuser授權一下
GRANT ALL ON *.* TO 'hiveuser'@'%';
g. 手動更新配置:
flush privileges;
二、安裝 Hive:
1)把apache-hive-2.3.8-bin.tar.gz 下載后 用mobaxterm放到 /tools文件夾
鏈接:https://pan.baidu.com/s/1NBplQ4GYGfsa25aSK7I8OQ?pwd=vzji
提取碼:vzji
–來自百度網盤超級會員V6的分享
2)解壓文件
tar -zvxf /tools/apache-hive-2.3.8-bin.tar.gz -C /training/
3)進入 /training 文件夾
cd /training
重命名移動文件夾為hive
mv apache-hive-2.3.8-bin hive
4) 設置環境變量
vi ~/.bash_profile
加進去
export HIVE_HOME=/training/hive
export PATH=$PATH:$HIVE_HOME/bin
:wq 保存退出后,更新環境變量文件
source ~/.bash_profile
5) Hive配置文件更改
進入配置文件夾
cd /training/hive/conf
復制備份hive-env.sh.template并命名為hive-env.sh
cp hive-env.sh.template hive-env.sh
復制備份hive-default.xml.template并命名為hive-site.xml
cp hive-default.xml.template hive-site.xml
6) 配置 hive-site.xml,這個文件內容特別多,所以一次性刪光了再往里面加東西
進入文件
vi hive-site.xml
直接鍵盤敲6000dd,此命令意思是刪除6000行,不要復制
6000 dd
如果還沒刪空,就多來幾次6000dd
刪空后加入以下內容,注意復制進去的時候不要少了>符號之類的小錯誤,此文件涉及到之前設置的密碼123456,如果你不一樣,記得改
#Enter the insert mode by pressingi and then copy this code to the file and save and exit using- :wq.
<?xml version="1.0" encoding="UTF-8" standalone="no"?>
<?xml-stylesheet type="text/xsl" href="configuration.xsl"?>
<configuration>
<!-- WARNING!!! This file is auto generated for documentation purposes ONLY! -->
<!-- WARNING!!! Any changes you make to this file will be ignored by Hive.   -->
<!-- WARNING!!! You must make your changes in hive-site.xml instead.         -->
<!-- Hive Execution Parameters -->
<property>
<name>hive.default.fileformat</name>
<value>TextFile</value>
</property>
<property>
<!--The port is changed to your own port. Here is the onhive database in the connection database. If not, create it later -->
<name>javax.jdo.option.ConnectionURL</name>
<value>jdbc:mysql://localhost/metastore</value>
<description>JDBC connect string for a JDBC metastore</description>
</property>
<property>
<name>javax.jdo.option.ConnectionDriverName</name>
<!--The latest version of the jar package to connect to MySQL All write com.mysql.cj.jdbc.Driver, if it is the old version with com.mysql.jdbc.Driver-->
<value>com.mysql.cj.jdbc.Driver</value>
<description>Driver class name for a JDBC metastore</description>
</property>
<property>
<!--Connect to MySQL username-->
<name>javax.jdo.option.ConnectionUserName</name>
<value>root</value>
<description>username to use against metastore database</description>
</property>
<property>
<!--Connect MySQL password -->
<name>javax.jdo.option.ConnectionPassword</name>
<value>123456</value>
<description>password to use against metastore database</description>
</property>
</configuration>
7)配置 hive-env.sh
進入文件
vi hive-env.sh
在文件最底下加,注意hadoop版本和java版本以及路徑是否和我一樣,不一樣記得換
export HADOOP_HOME=/training/hadoop-3.3.0
export HIVE_CONF_DIR=/training/hive/conf
export HIVE_AUX_JARS_PATH=/training/hive/lib
export JAVA_HOME=/training/jdk1.8.0_144
export HIVE_HOME=/training/hive
8)把 MySQL的 connected jar文件放到 hive/lib 文件夾下
鏈接:https://pan.baidu.com/s/1gD2M8Gr9IFOkOA4EghfWLg?pwd=32r8
提取碼:32r8
–來自百度網盤超級會員V6的分享

9)進入 /training/hadoop-3.3.0/share/hadoop/hdfs/lib/
找到這個瓜娃27,把它下載到桌面上留著


10)進入 /training/hive/lib
把瓜娃27放進去,并且刪除這個瓜娃14

11)啟動Hadoop
start-all.sh
12) 復制一個窗口進入這個路徑
cd /training/hive/scripts/metastore/upgrade/mysql/
輸入命令后輸密碼123456 進入mysql
mysql -u root –p
輸命令創建數據庫metastore用于存儲元數據
create database metastore;
12) 回到Linux代碼頁面初始化mysql
schematool -dbType mysql -initSchema
成功的話會有這個提示
Starting metastore schema initialization to 2.3.8 Initialization
script hive-schema-2.3.8.mysql.sql Initialization script completed
schemaTool completed
13)進入hive測試;
進hive命令行
hive
創建庫
create database hive1;
顯示庫,可以看到hive1
show databases;
退出
exit;
14)用hdfs看看剛剛的hive1
hdfs dfs -ls /user/hive/warehouse

關掉hadoop
stop-all.sh
:idea2025.1.3版本啟動springboot服務輸入jvm參數解決辦法)


)

)


】系統可靠性分析與設計詳解:構建高可用軟件系統的核心技術)
+ 最小棧解決方案)
