蘭生幽谷,不為莫服而不芳;
君子行義,不為莫知而止休。
0.準備
1)防火墻和SELinux
| systemctl stop firewalld systemctl disable firewalld setenforce 0 sed -i 's/^SELINUX=.*/SELINUX=disabled/' /etc/selinux/config |
(很不好的習慣,但省事)
3)yum源
1.按照必要工具:dhcp、tftp-server、http、syslinux(提供pxe引導所需的配置文件)
| yum install -y dhcp tftp-server httpd tftp |
2.配置dhcp
| cd? /etc/dhcp vi dhcpd.conf |
配置文件:
| subnet 192.168.100.0 netmask 255.255.255.0{ ??????? range 192.168.100.30??? 192.168.100.60; ??????? default-lease-time????? 3600; ??????? filename "pxelinux.0"; ??????? next-server???? 192.168.100.111; } |
以宿主物理機做平臺,測試一下:
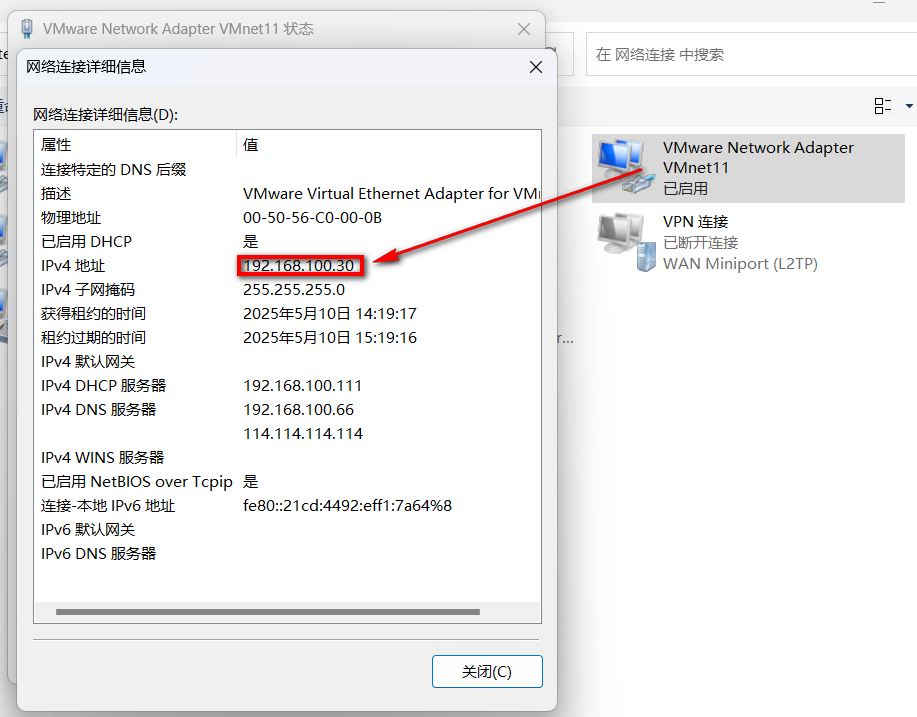
圖16- 1
3.配置tftp
vi /etc/xinetd.d/tftp??? (disable處改為no)
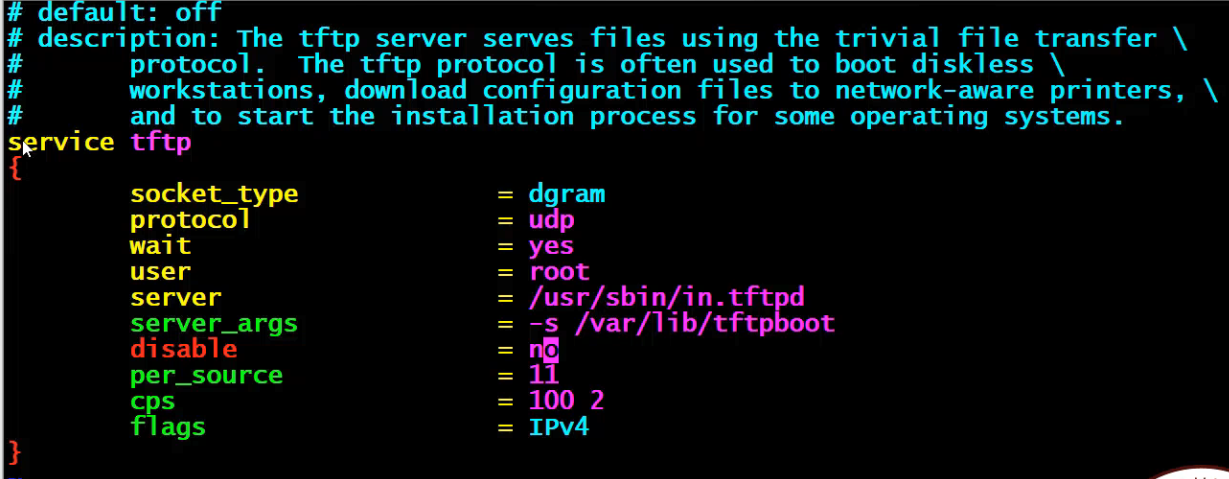
圖16- 2
重新啟動tftp
systemctl restart tftp.socket
4.配置apache
1)保證安裝光驅插入,且處于已連接狀態
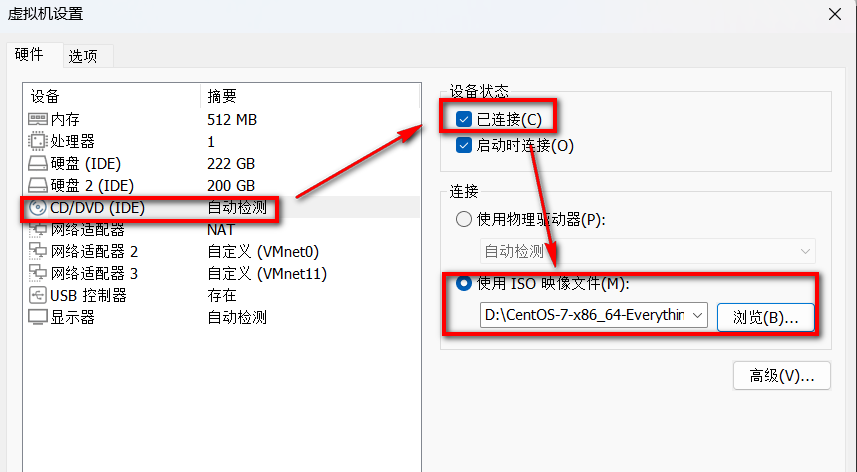
圖16- 3
啟動httpd:出錯了!
查看一下,端口怎么被占用的,處理后重新啟動
| [root@shell ~]# netstat -tulnp | grep :80 tcp??????? 0????? 0 0.0.0.0:80????????????? 0.0.0.0:*?????????????? LISTEN????? 1051/nginx: master tcp6?????? 0????? 0 :::80?????????????????? :::*??????????????????? LISTEN????? 1051/nginx: master [root@shell ~]# systemctl stop nginx [root@shell ~]# systemctl disable nginx Removed symlink /etc/systemd/system/multi-user.target.wants/nginx.service. [root@shell ~]# systemctl start httpd [root@shell ~]# systemctl enable httpd Created symlink from /etc/systemd/system/multi-user.target.wants/httpd.service to /usr/lib/systemd/system/httpd.service. |
在apache默認目錄下創建Centos目錄,并將光盤掛上去
| mkdir -p var/www/html/Centos [root@shell html]# mount -t iso9660 /dev/sr0? /var/www/html/Centos |
以臺式機為平臺,測試一下
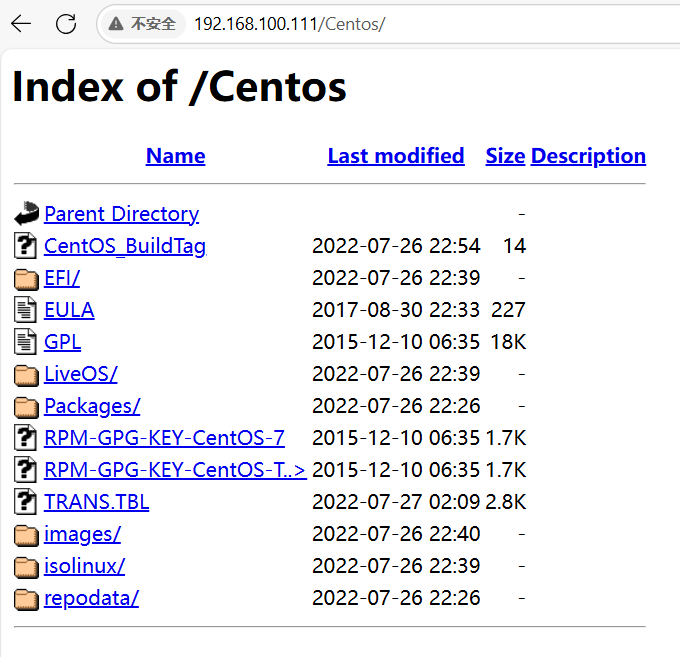
圖16- 5
拷貝pxe自動部署所需的配置文件
| [root@shell tftpboot]# cp /usr/share/syslinux/pxelinux.0? ./ [root@shell tftpboot]# cp /usr/share/syslinux/menu.c32 ./ [root@shell ~]# mount -t iso9660 /dev/sr0? /var/www/html/Centos [root@shell tftpboot]# cp /var/www/html/Centos/isolinux/vmlinuz ./ [root@shell tftpboot]# cp /var/www/html/Centos/isolinux/initrd.img ./ [root@shell tftpboot]# ls initrd.img? menu.c32? pxelinux.0? vmlinuz [root@shell tftpboot]# mkdir pxelinux.cfg? && cd? pxelinux.cfg [root@shell pxelinux.cfg]# cat default default menu.c32 timeout 300 prompt 0 label 1 menu label ^1)Install CentOS7.9.2207 menu default kernel vmlinuz append initrd=initrd.img method=http://192.168.100.111/Centos ks=http://192.168.100.111/ks.cfg |
準備部署系統的配置文件cs.cfg
| [root@shell pxelinux.cfg]# cd /var/www/html [root@shell html]# cp ~/anaconda-ks.cfg ./ [root@shell html]# mv anaconda-ks.cfg ks.cfg [root@shell html]# chmod +r ks.cfg [root@shell html]# vi ks.cfg |
紅色部分是根據自己的實際情況,需要改動的:
| …… # cdrom url --url http://192.168.100.111/Centos7 # Use graphical install #graphical text …… # Root password rootpw wu …… clearpart --all --initlabel …… poweroff |
說明:為了省事,root口令是明文,且很短。用戶登錄后自行改動。
5.重啟httpd tftp.socket dhcpd三個服務
至此,服務器端部署完畢。
6.新建需要部署Centos系統的虛擬機
1)vmware workstation:文件--》新建虛擬機
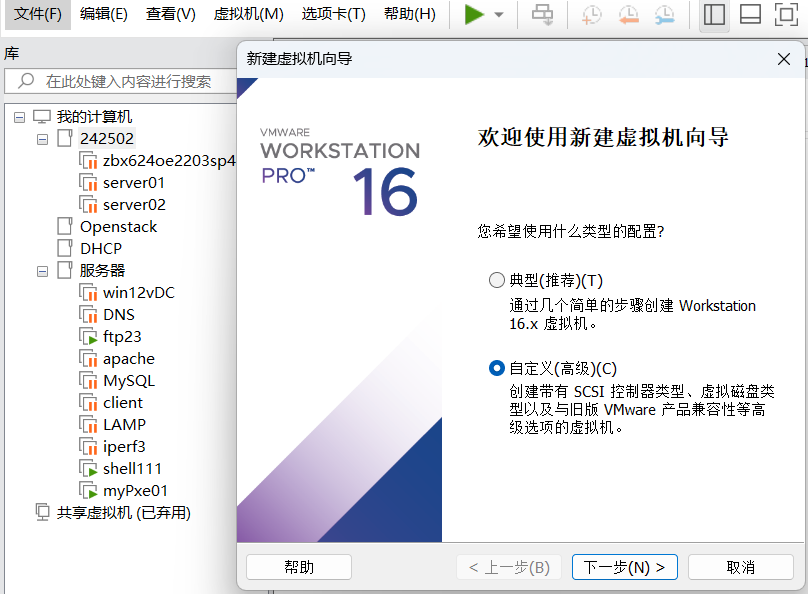
圖16- 6

圖16- 7
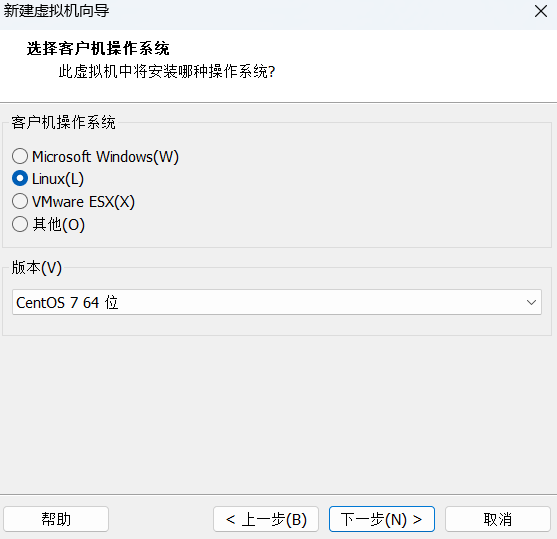
圖16- 8
據網上說,內存一定要2GB以上,否則會死機。

圖16- 9
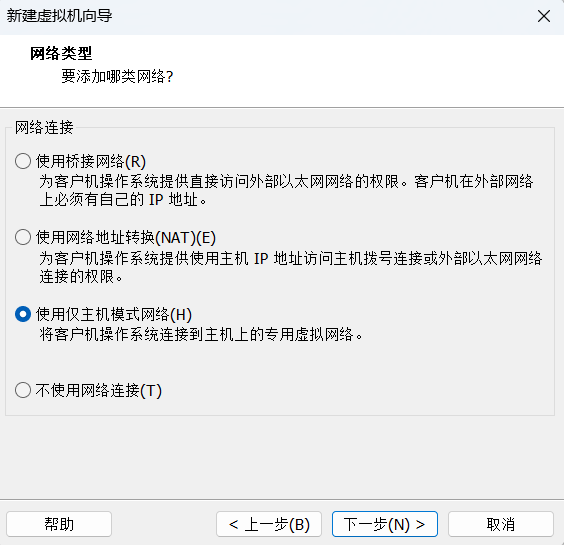
圖16- 10
改一下網卡,處于DHCP管控的IP網卡之下
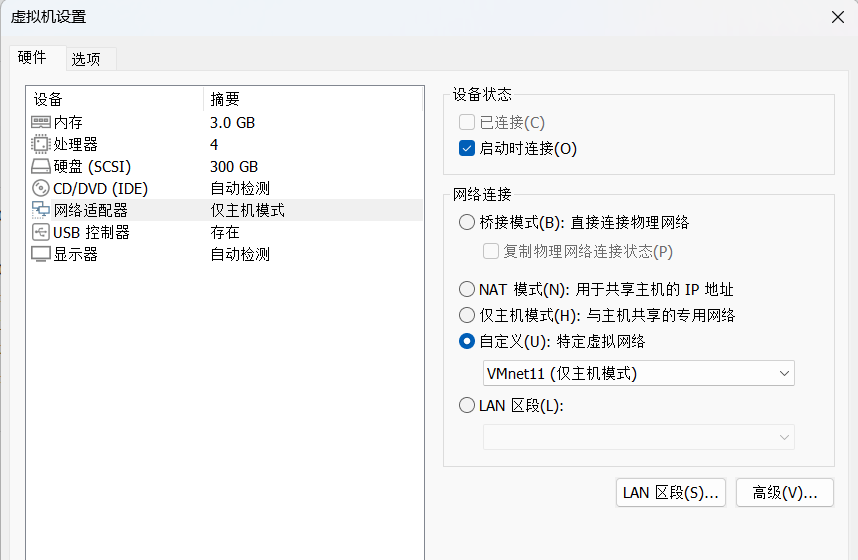
圖16- 11
啟動新建的虛擬機:
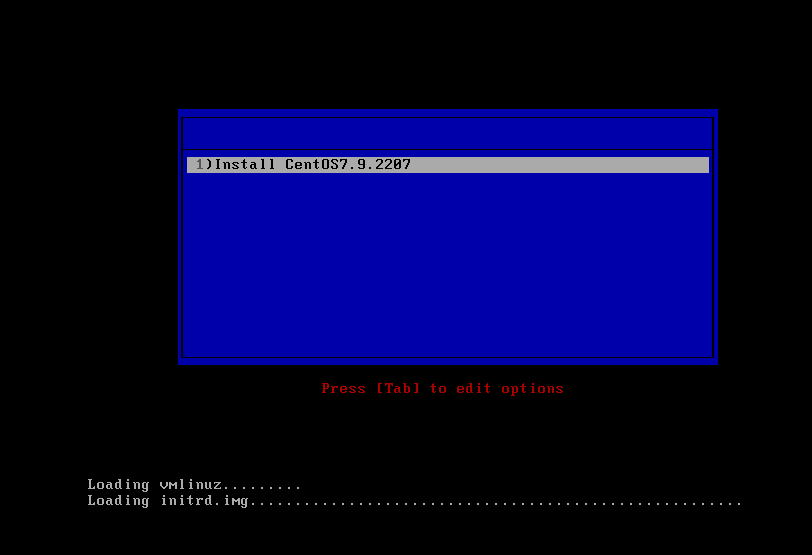
圖16- 12
出錯了!
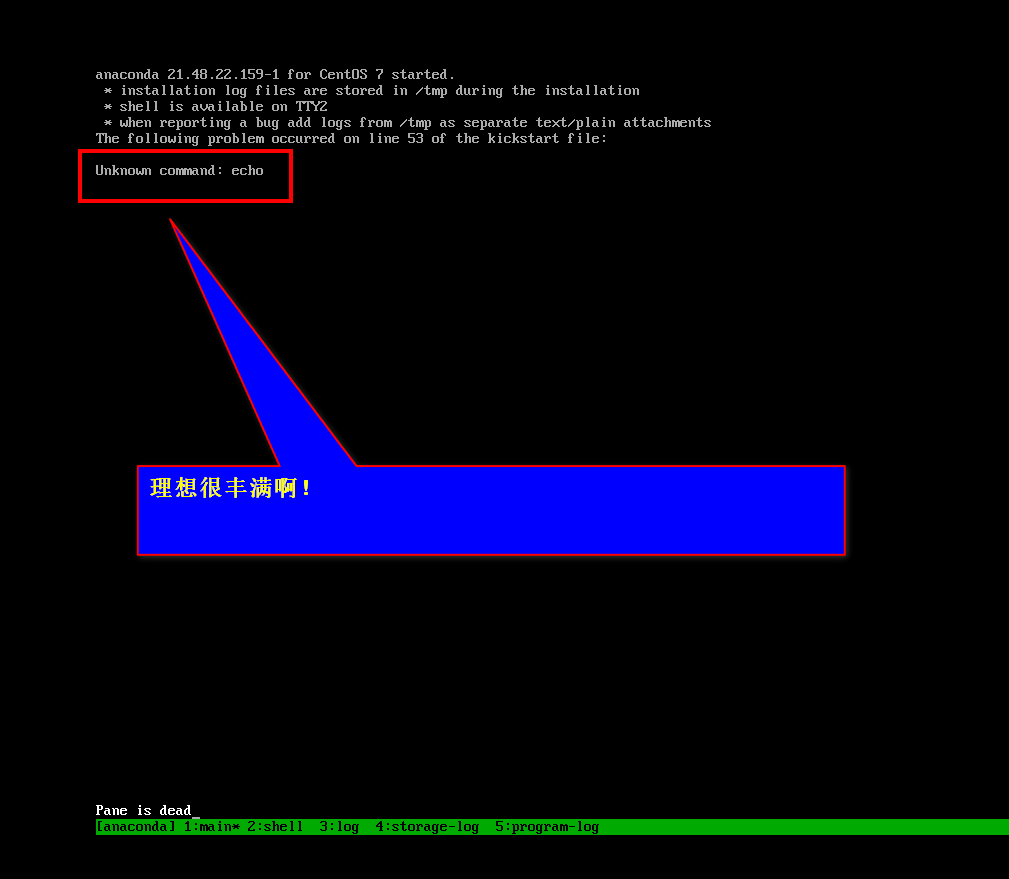
圖16- 13
得把cs.cfg的echo行刪掉
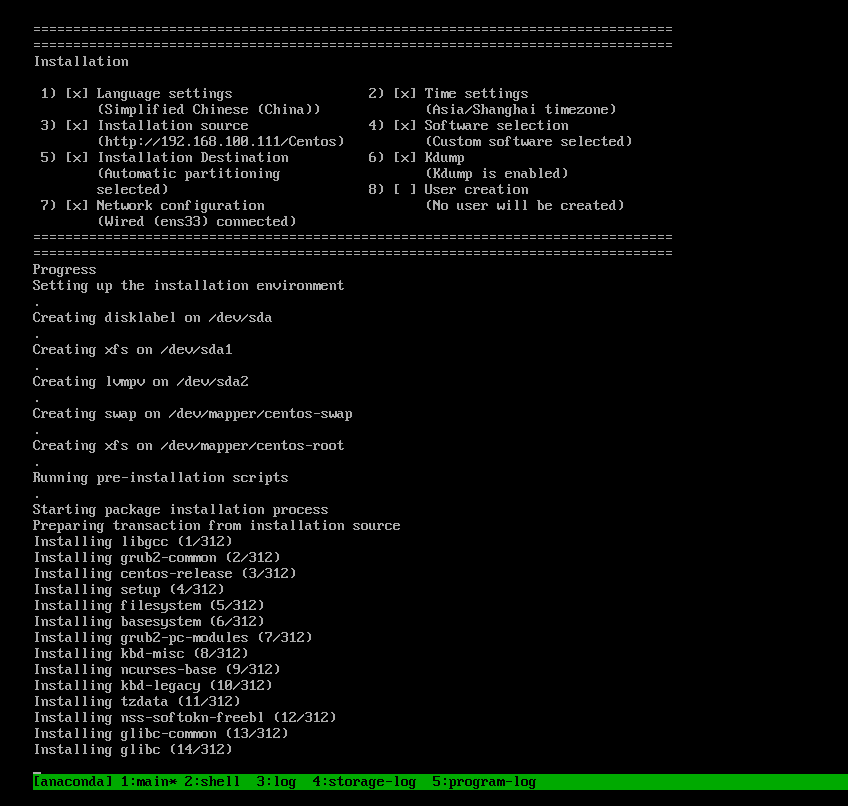
圖16- 14
部署完畢。
登錄測試,做好網卡配置
看看網卡
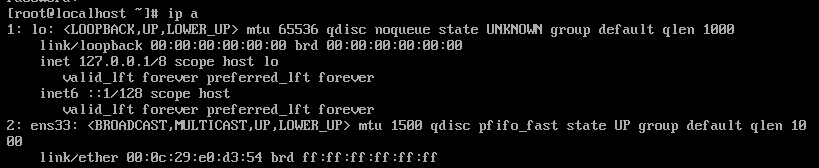
圖16- 15
改變該虛擬機的網卡
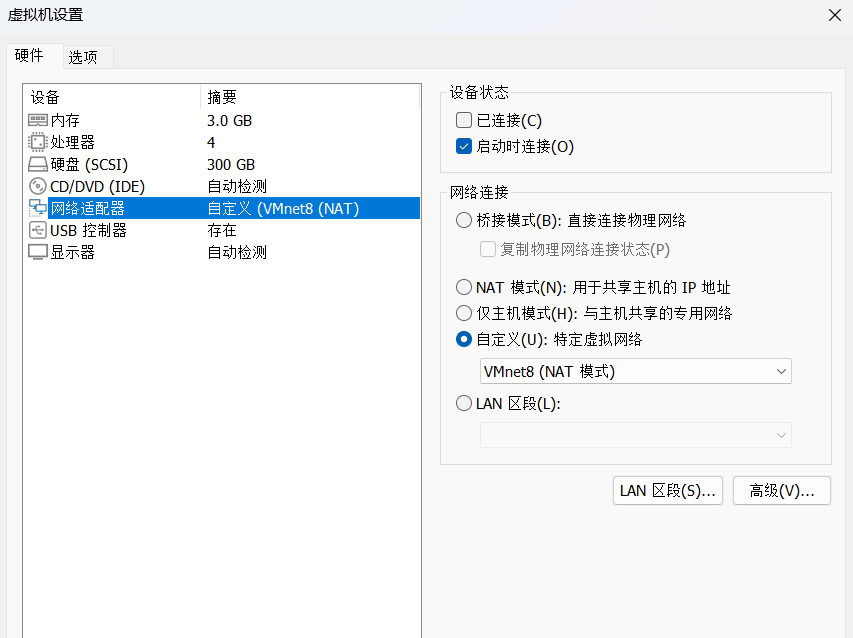
圖16- 16
看看配置文件
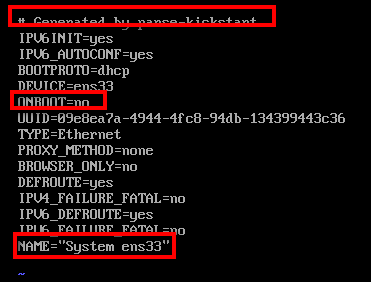
圖16- 17
是kickstart自動生成的配置文件,好像和自己手動安裝的不一樣。我們做下面的改動工作
| …… ONBOOT=no …… NAME=ens33 …… #UUID…… …… |
重啟一下網絡
| nmcli c reload ens33 nmcli c up ens33 |
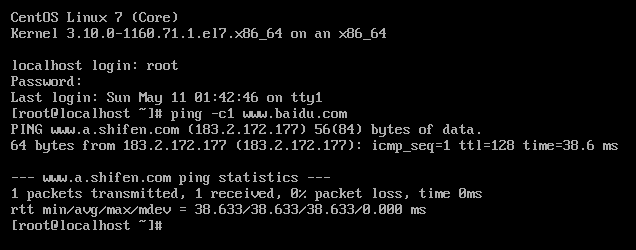
圖16- 18
剩下的就是搭建yum源等工作了。
是專為LLM(大語言模型)應用設計的標準化協議)

![解決 TimeoutError: [WinError 10060] 在 FramePack項目中連接 Hugging Face 超時的問題](http://pic.xiahunao.cn/解決 TimeoutError: [WinError 10060] 在 FramePack項目中連接 Hugging Face 超時的問題)


)


)