?博主主頁: 33的博客?
??文章專欄分類:項目日記??
🚚我的代碼倉庫: 33的代碼倉庫🚚
🫵🫵🫵關注我帶你了解更多項目內容

目錄
- 1.前言
- 2.后端模塊
- 3數據庫設計
- 4.mapper實現
- 4.1UserInfoMapper
- 4.2BlogMapper
- 5.總結
1.前言
當我第一次使用csdn的時候,我完全被它的功能吸引,可以通過別人的文章來解答我們的疑惑,自己也可以記錄學習心得等,當時我就想要是我也能實現一個這樣的網站就好了,現在,當我的知識儲備量達到一定的程度,我也可以簡單實現像csdn的網站了,接下來,我們就一起完成吧!
2.后端模塊
相信大家對csdn的核心功能都是非常熟悉的,那么我們就模擬csdn來實現自己的博客系統,那么一個博客系統的核心功能主要包含前端模塊和后端模塊,而后端需要提供以下功能
- 1.用戶注冊:當用戶第一次登錄該頁面需要注冊用戶名和密碼。
- 2.用戶登錄:根據用戶名和密碼,判斷用戶的信息是否正確。
- 3.博客列表展示:查詢博客列表。
- 4.作者個人頁:根據用戶id,返回博客信息。
- 5.博客詳情信息:根據博客ID返回博客信息。
- 6.博客編輯:根據ID,返回博客,根據用戶輸入信息,更新博客。
- 7.博客刪除,根據ID,進行博客刪除。
- 8.寫博客:根據輸入信息進行博客添加。
再進行分析實體類主要由:用戶實體,博客實體。
3數據庫設計
我們先設計用戶表用于存儲用戶信息和博客信息。
用戶表:
DROP TABLE IF EXISTS java_blog_spring.user;CREATE TABLE java_blog_spring.user(`id` INT NOT NULL AUTO_INCREMENT,`user_name` VARCHAR ( 128 ) NOT NULL,`password` VARCHAR ( 128 ) NOT NULL,`github_url` VARCHAR ( 128 ) NULL,`delete_flag` TINYINT ( 4 ) NULL DEFAULT 0,`create_time` DATETIME DEFAULT now(),`update_time` DATETIME DEFAULT now(),PRIMARY KEY ( id ),UNIQUE INDEX user_name_UNIQUE ( user_name ASC )) ENGINE = INNODB DEFAULT
CHARACTER
SET = utf8mb4 COMMENT = '??表';
博客表:
drop table if exists java_blog_spring.blog;CREATE TABLE java_blog_spring.blog (`id` INT NOT NULL AUTO_INCREMENT,`title` VARCHAR(200) NULL,`content` TEXT NULL,`user_id` INT(11) NULL,`delete_flag` TINYINT(4) NULL DEFAULT 0,`create_time` DATETIME DEFAULT now(),`update_time` DATETIME DEFAULT now(),PRIMARY KEY (id))ENGINE = InnoDB DEFAULT CHARSET = utf8mb4 COMMENT = '博客表';
添加信息:
新增??信息
insert into java_blog_spring.user (user_name,
password,github_url)values("波妞","123456","https://gitee.com/thirtythree-code");insert into java_blog_spring.user (user_name,
password,github_url)values("龍貓","123456","https://gitee.com/thirtythree-code");insert into java_blog_spring.blog (title,content,user_id) values("第?篇博客
","111我是博客正?我是博客正?我是博客正?",1);insert into java_blog_spring.blog (title,content,user_id) values("第?篇博客","222我是博客正?我是博客正?我是博客正?",2);
根據數據庫屬性實現實體類:
@Data
public class UserInfo {private Integer id;private String UserName;private String password;private String githubUrl;private Integer deleteFlag;private Date createTime;private Date updateTime;
}
@Data
public class BlogInfo {private  Integer id;private  String title;private String content;private Integer userId;private boolean isLoginUser;private Integer deleteFlag;private Date createTime;private Date updateTime;
}
4.mapper實現
我們先根據上訴信息進行數據層的實現。數據層主要從MySQL中獲取數據用戶信息和博客信息。
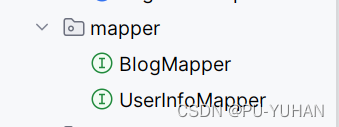
我們先創建一個mapper的包,然后在包中創建兩個mapper類:
我們使用Mybaitis框架,完成數據庫操作,那么就需要先進行數據庫的配置:
spring:datasource:url: jdbc:mysql://127.0.0.1:3306/java_blog_spring?characterEncoding=utf8&useSSL=falseusername: rootpassword: 123456driver-class-name: com.mysql.cj.jdbc.Driver
mybatis:configuration:map-underscore-to-camel-case: true #配置駝峰自動轉換log-impl: org.apache.ibatis.logging.stdout.StdOutImpl #打印sql語句
4.1UserInfoMapper
在UserInfoMapper中主要根據用戶輸入姓名或者id查詢用戶信息:
@Select("select * from user where delete_flag=0 and user_name=#{userName}")public UserInfo selectByName(String userName);/** 根據用戶ID查詢用戶信息* */@Select("select * from user where delete_flag=0 and id=#{id}")public UserInfo selectById(Integer id);
4.2BlogMapper
只要完成博客系統的核心內容:查詢所有博客,更新博客,發布博客
/** 查詢博客列表* */@Select("select * from blog where delete_flag=0 order by create_time desc")public List<BlogList> selectAll();@Select("select * from blog where delete_flag=0 and id=#{id}")public BlogInfo selectById(Integer id);/*** 更新博客*/Integer updateBlog(BlogInfo blogInfo);/*** 發布博客*/@Insert("insert into blog (title, content, user_id) values (#{title}, #{content}, #{userId})")Integer insertBlog(BlogInfo blogInfo);
在更新的時候我們采用xml實現,而不采用注解來實現,使用xml的時候我們需要在配置文件中進行路徑的配置。
mybatis:mapper-locations:classpath:mapper/**Mapper.xml
再進行更新操作:
<?xml version="1.0" encoding="UTF-8"?>
<!DOCTYPE mapper PUBLIC "-//mybatis.org//DTD Mapper 3.0//EN" "http://mybatis.org/dtd/mybatis-3-mapper.dtd">
<mapper namespace="com.example.springblog.mapper.BlogMapper">//實現對應的類<update id="updateBlog">//實現對應的方法update blog<set><if test="title!=null">title = #{title},</if><if test="content!=null">content = #{content},</if><if test="userId!=null">user_id = #{userId},</if><if test="deleteFlag!=null">delete_flag = #{deleteFlag},</if></set> where id=#{id}</update>
</mapper>
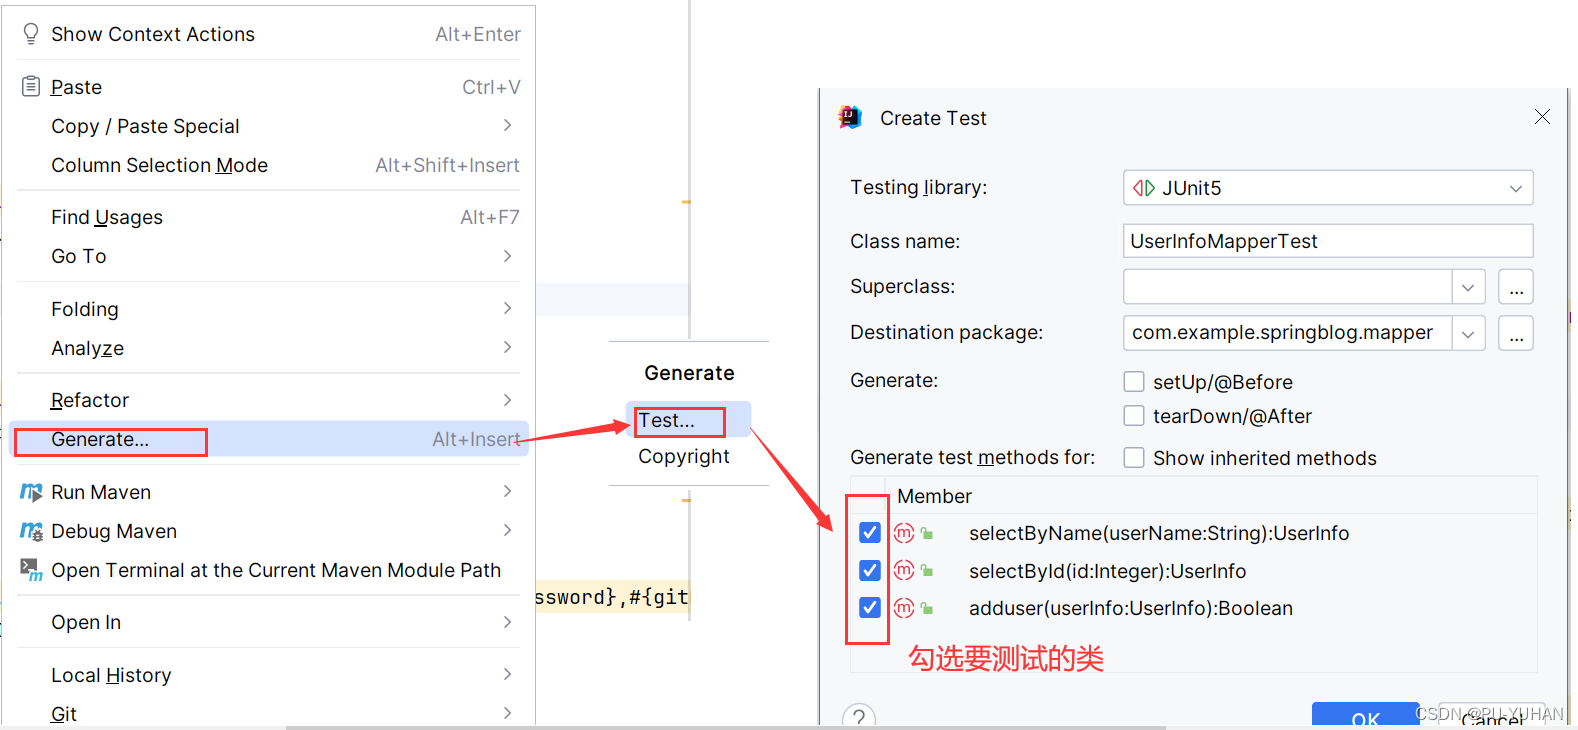
到這里我們已經完成了數據層的數據庫實現。我i嗎可以自動生成測試類進行測試:
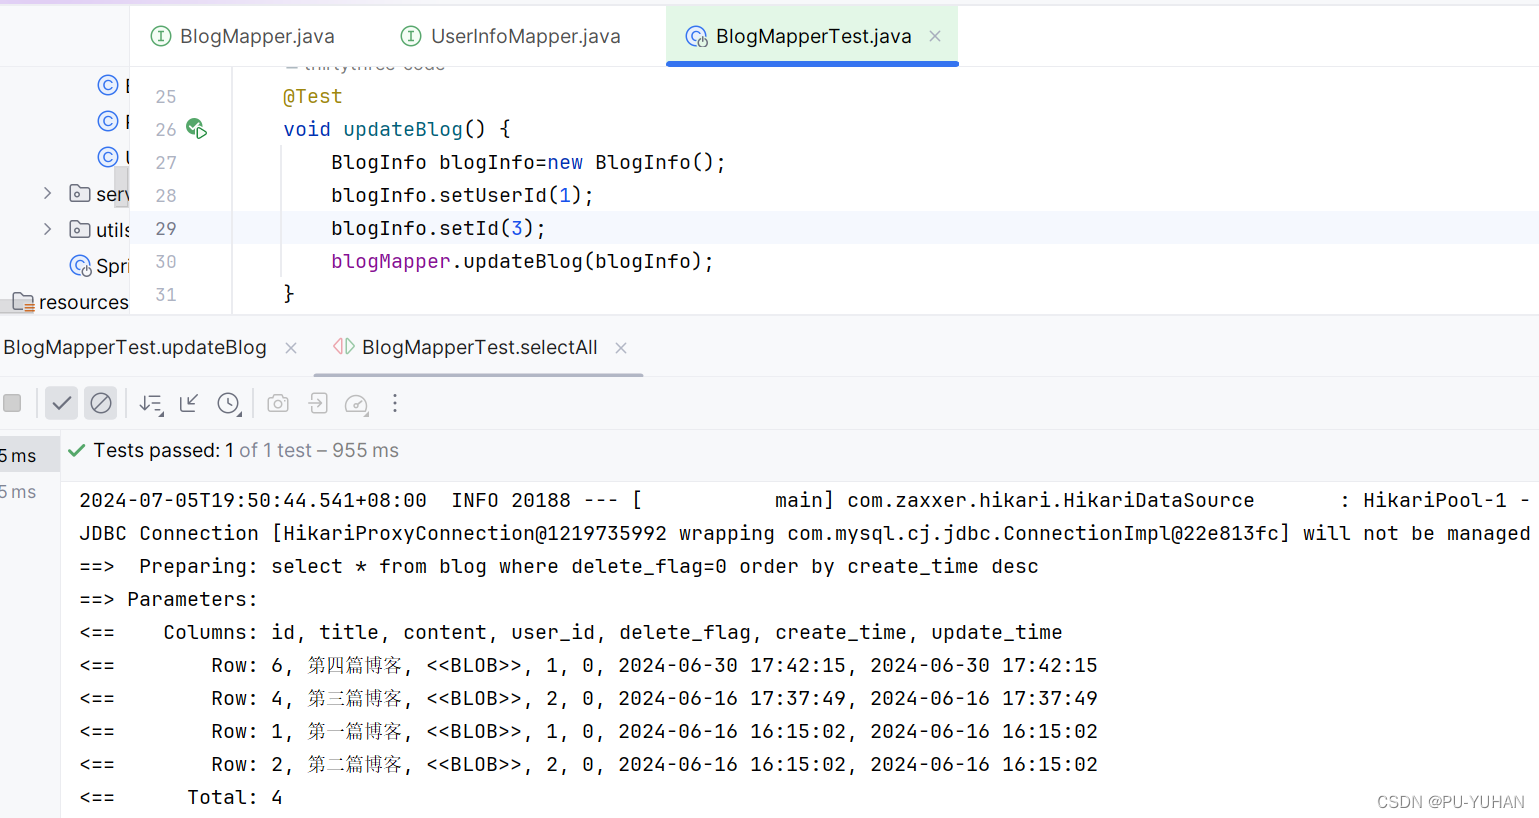
我以selectAll方法測試為例子,可以通過結果了解到它已經查找到數據庫所有內容,同學們可以對其他方法進行測試。
5.總結
這一部分我們主要數數據庫進行了設計,并對數據層進行了實現和測試,在下一篇文章中,我們就對用戶登錄和博客進行實現。
下期預告:項目日記(二)
:貼片電容的類別、封裝介紹,AD21導入貼片電容、原理圖和封裝庫3D模型)


