Zabbix Server 采用源碼包部署,數據庫采用 MySQL8.0 版本,zabbix-web 使用 nginx+php 來實現。具體信息如下:
| 軟件名 | 版本 | 安裝方式 |
| Zabbix Server | 6.0.3 | 源碼安裝 |
| Zabbix Agent | 6.0.3 | 源碼安裝 |
| MySQL | 8.0.28 | yum安裝 |
| Nginx | 1.20.1 | yum安裝 |
| Php | 7.4.29 | yum安裝 |
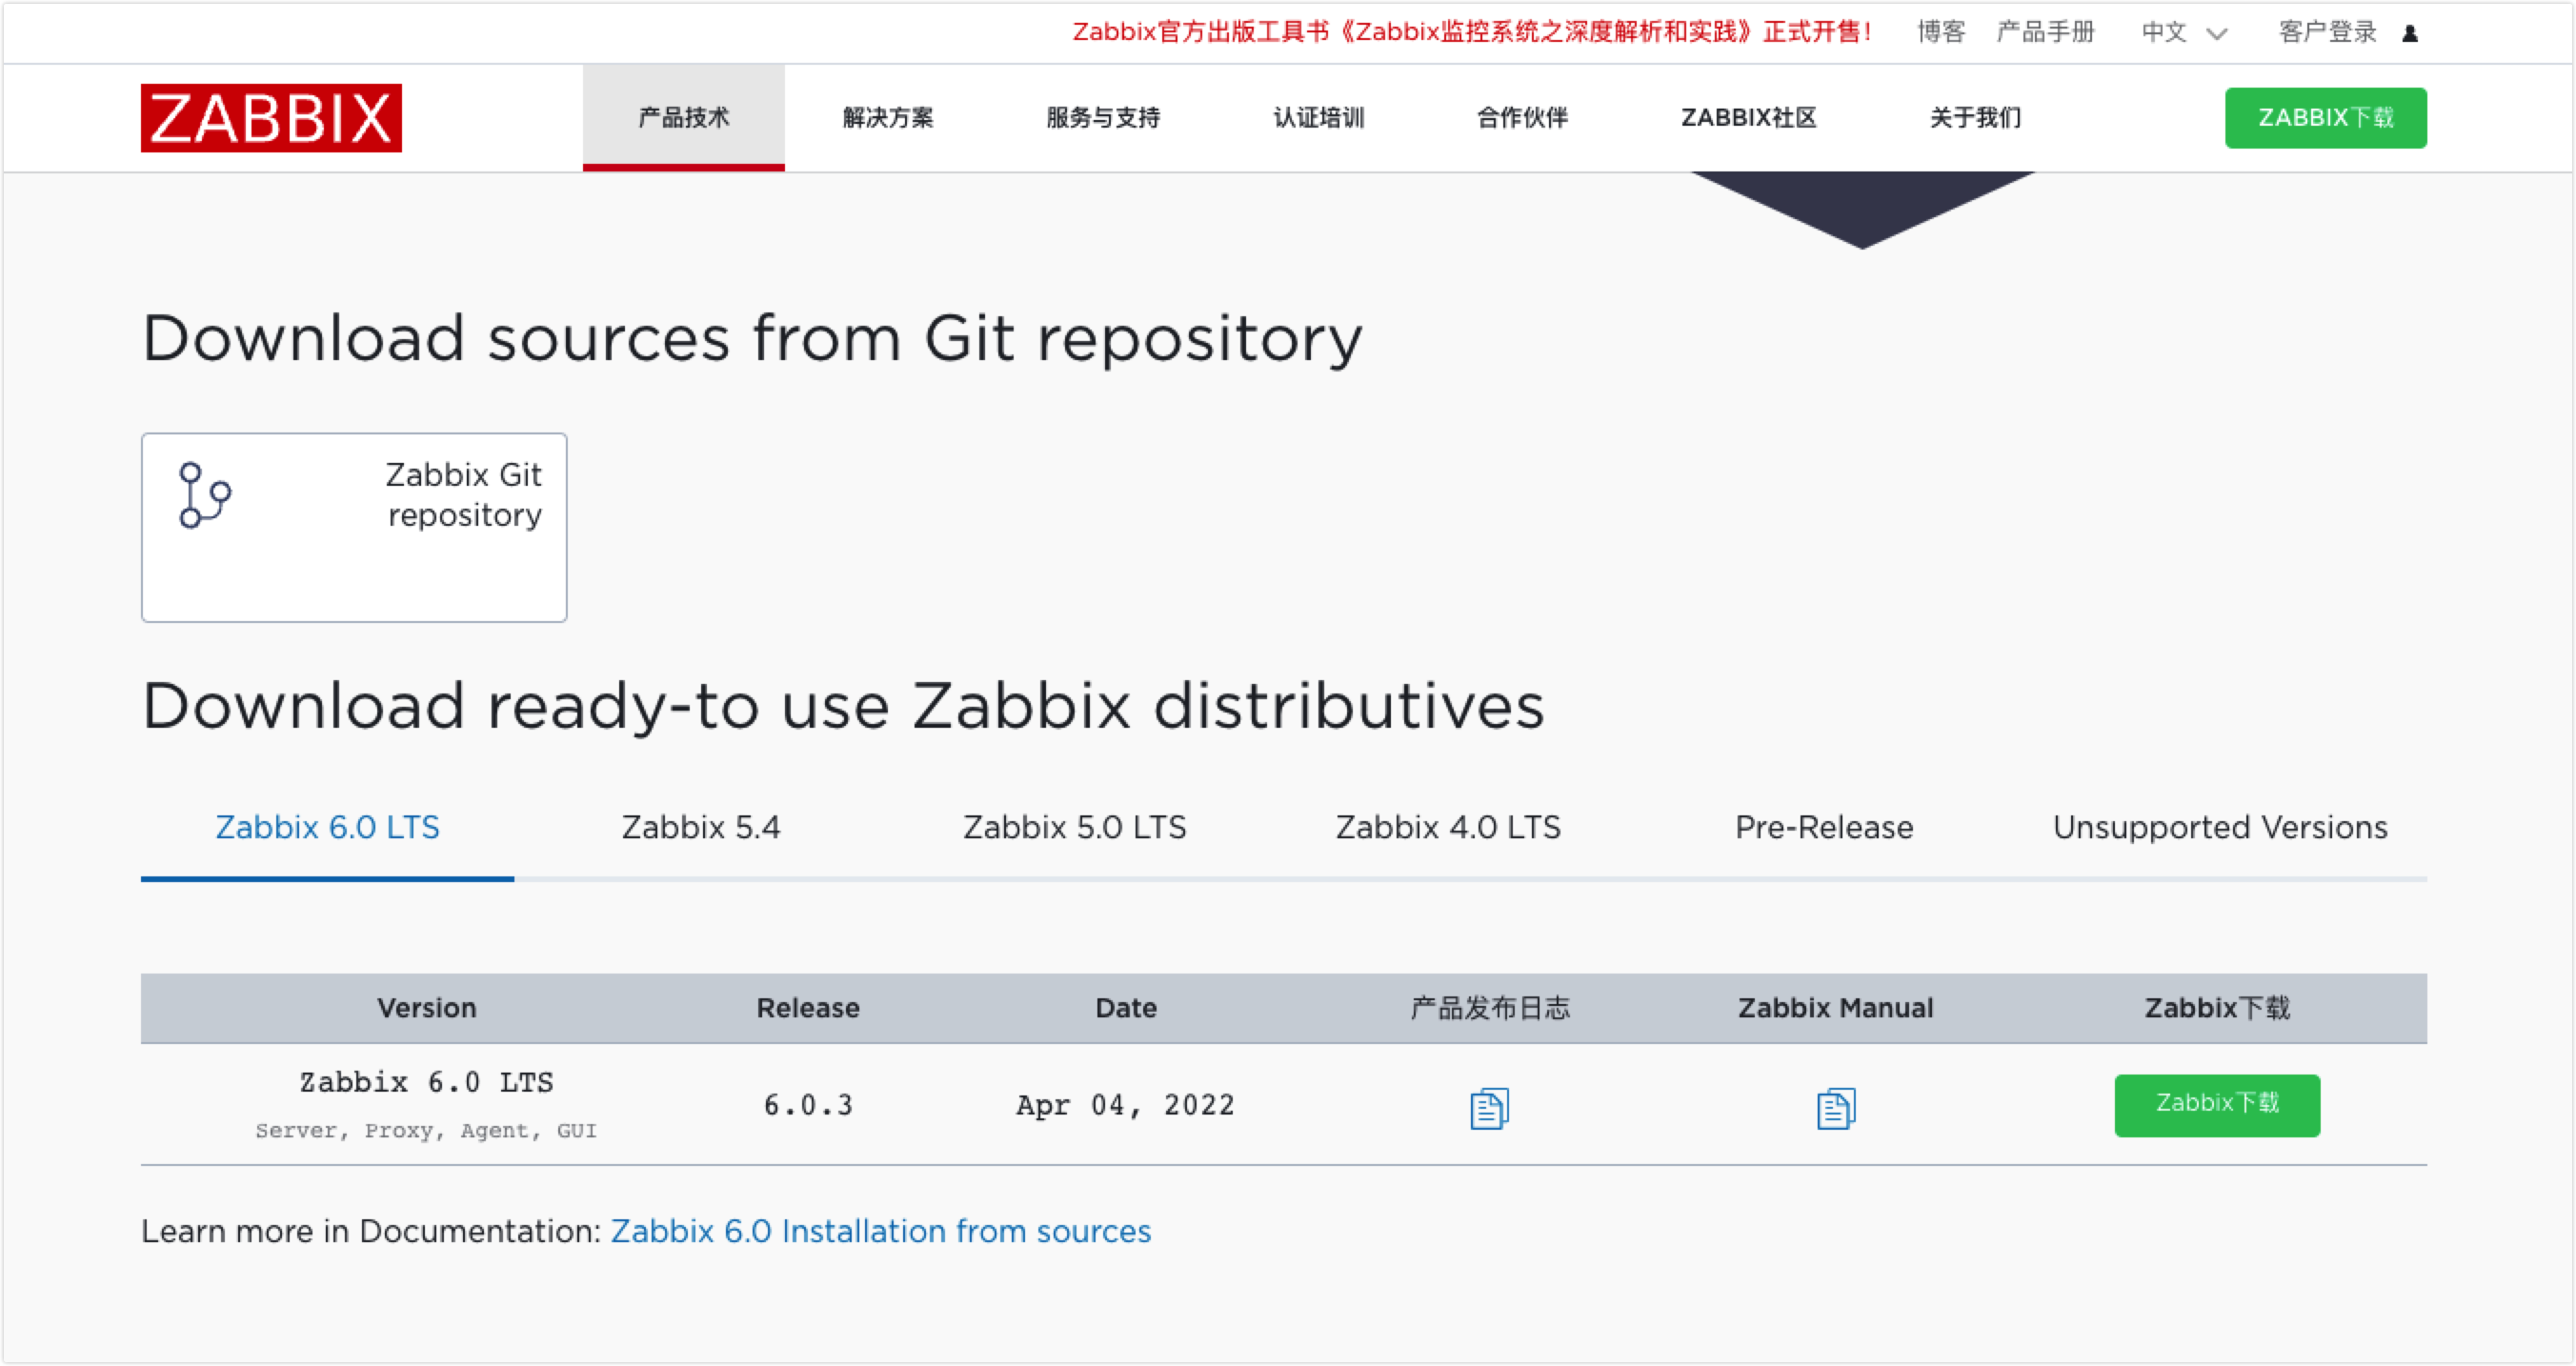
官網參考文檔:3 Installation from sources
1. 安裝nginx
1.添加CentOS 7 Nginx yum資源庫
yum -y install  http://nginx.org/packages/centos/7/noarch/RPMS/nginx-release-centos-7-0.el7.ngx.noarch.rpm
2、安裝nginx
[root@localhost ~]# yum -y install nginx   //安裝nginx
3.啟動并設置開機自啟
systemctl enable nginx
systemctl start nginx
4.檢查端口和進程
ss -tuanlp|grep nginx
ps -ef|grep nginx
2. 安裝php-fpm
1.安裝源
yum install -y epel-release
yum install -y http://rpms.remirepo.net/enterprise/remi-release-7.rpm
2.安裝YUM管理工具
yum -y install yum-utils
3. 查看PHP(可忽略此步驟)
yum search php74
4.安裝PHP
yum install -y php74-php-gd  php74-php-pdo php74-php-mbstring php74-php-cli php74-php-fpm php74-php-mysqlnd php74-php-pecl-redis6  php74-php-bcmath php74-php-xml php74-php-ldap
5.查詢配置文件路徑
# rpm -ql php74-php-fpm |grep www.conf
/etc/opt/remi/php74/php-fpm.d/www.conf
6.修改/etc/opt/remi/php74/php-fpm.d/www.conf中user和group為nginx
sed -i 's#user = apache#user = nginx#g' /etc/opt/remi/php74/php-fpm.d/www.conf
sed -i 's#group = apache#group = nginx#g' /etc/opt/remi/php74/php-fpm.d/www.conf
7.啟動FPM
systemctl enable php74-php-fpm
systemctl start php74-php-fpm
3. 安裝MySQL
3.1. 下載mysql源,安裝,并修改密碼
wget https://repo.mysql.com//mysql80-community-release-el7-7.noarch.rpm
rpm -ivh mysql80-community-release-el7-7.noarch.rpm
#修改為不校驗
sed -i 's/gpgcheck=1/gpgcheck=0/g' /etc/yum.repos.d/mysql-community.repo
yum -y install mysql-community-server
mysql -V
systemctl restart mysqld
pass=`grep "temporary password" /var/log/mysqld.log|awk '{print $NF}'`
mysql -uroot -p$pass
mysql>alter user root@localhost identified by 'Mysql123...';
3.2. 創建zabbix需要的數據庫
mysql> create database zabbix character set utf8 collate utf8_bin;
mysql> create user 'zabbix'@'%' identified by 'Zabbix123...';
mysql> grant all privileges on zabbix.* to 'zabbix'@'%' with grant option;
4. 安裝Zabbix-server
下載軟件包:Download Zabbix sources
4.1. 解壓軟件包
tar -zxvf zabbix-6.0.3.tar.gz4.2. 創建 zabbix 用戶
useradd zabbix -s /sbin/nologin4.3. 初始化數據(進入解壓目錄下的 database 目錄下)
cd zabbix-6.0.3/database/mysql
mysql -uzabbix -pZabbix123... zabbix < schema.sql
mysql -uzabbix -pZabbix123... zabbix < images.sql
mysql -uzabbix -pZabbix123... zabbix < data.sql
4.4. 安裝編譯所需的依賴,這里根據啟用的模塊不一樣,所需要的依賴也不一樣
yum install gcc mysql-devel libevent-devel libcurl-devel libxml2-devel libssh2-devel OpenIPMI-devel net-snmp-devel go java-devel -y
yum install -y mysql-devel pcre-devel openssl-devel zlib-devel libxml2-devel net-snmp-devel ? net-snmp
libssh2-devel OpenIPMI-devel libevent-devel openldap-devel ? libcurl-devel
4.5. 進行編譯安裝
cd /app/tools/zabbix-6.0.31
./configure --sysconfdir=/etc/zabbix/ --enable-server --with-mysql --with-net-snmp --with-libxml2 --with-ssh2 --with-openipmi --with-zlib --with-libpthread --with-libevent --with-openssl  --with-libcurl --with-libpcre
make install
4.6. 修改配置文件
]# egrep -v '^$|^#' /etc/zabbix/zabbix_server.conf
ListenPort=10051
LogFile=/tmp/zabbix_server.log
DBName=zabbix
DBUser=zabbix
DBPassword=Zabbix123...
Timeout=4
LogSlowQueries=3000
StatsAllowedIP=127.0.0.1
4.7. 配置systemd啟動
cat <<EOF > /etc/systemd/system/zabbix-server.service
[Unit]
Description=Zabbix Server
After=syslog.target network.target network-online.target[Service]
Type=simple
User=zabbix
ExecStart=/usr/local/sbin/zabbix_server -c /etc/zabbix/zabbix_server.conf
RemainAfterExit=yes[Install]
WantedBy=multi-user.target
EOF
4.8. 加入開機啟動并啟動
systemctl daemon-reload
systemctl enable zabbix-server --now
systemctl status zabbix-server
ps -ef|grep zabbix-server
5. 安裝zabbix-web
5.1. 修改zabbix依賴php的相關配置,/etc/opt/remi/php74/php.ini
]# egrep -n '^(max_.*_time|post_max)' /etc/opt/remi/php74/php.ini
388:max_execution_time = 300
398:max_input_time = 600
694:post_max_size = 80Msystemctl restart php74-php-fpm.service
5.2. 添加nginx的zabbix域名相關
]# cat /etc/nginx/conf.d/zabbix.conf
server {listen 80;server_name zabbix.tom.cn;root /app/code/zabbix;location / {index index.php;}location ~ \.php$ {fastcgi_pass   127.0.0.1:9000;fastcgi_index  index.php;fastcgi_param SCRIPT_FILENAME   $document_root$fastcgi_script_name;fastcgi_param  SCRIPT_NAME      $fastcgi_script_name;include        fastcgi_params;}
}
5.3. 將 Zabbix 源碼包中的 PHP 文件復制到 Nginx 的根目錄下。
mkdir -p /app/code/zabbix
cp -r /app/tools/zabbix-6.0.31/ui/* /app/code/zabbix
chown -R nginx.nginx /app/code/zabbix/
5.4. 重啟nginx
nginx -t
systemctl restart nginx
6. Web界面配置
6.1. 訪問Web界面,如下圖,并選擇自己所使用的語言

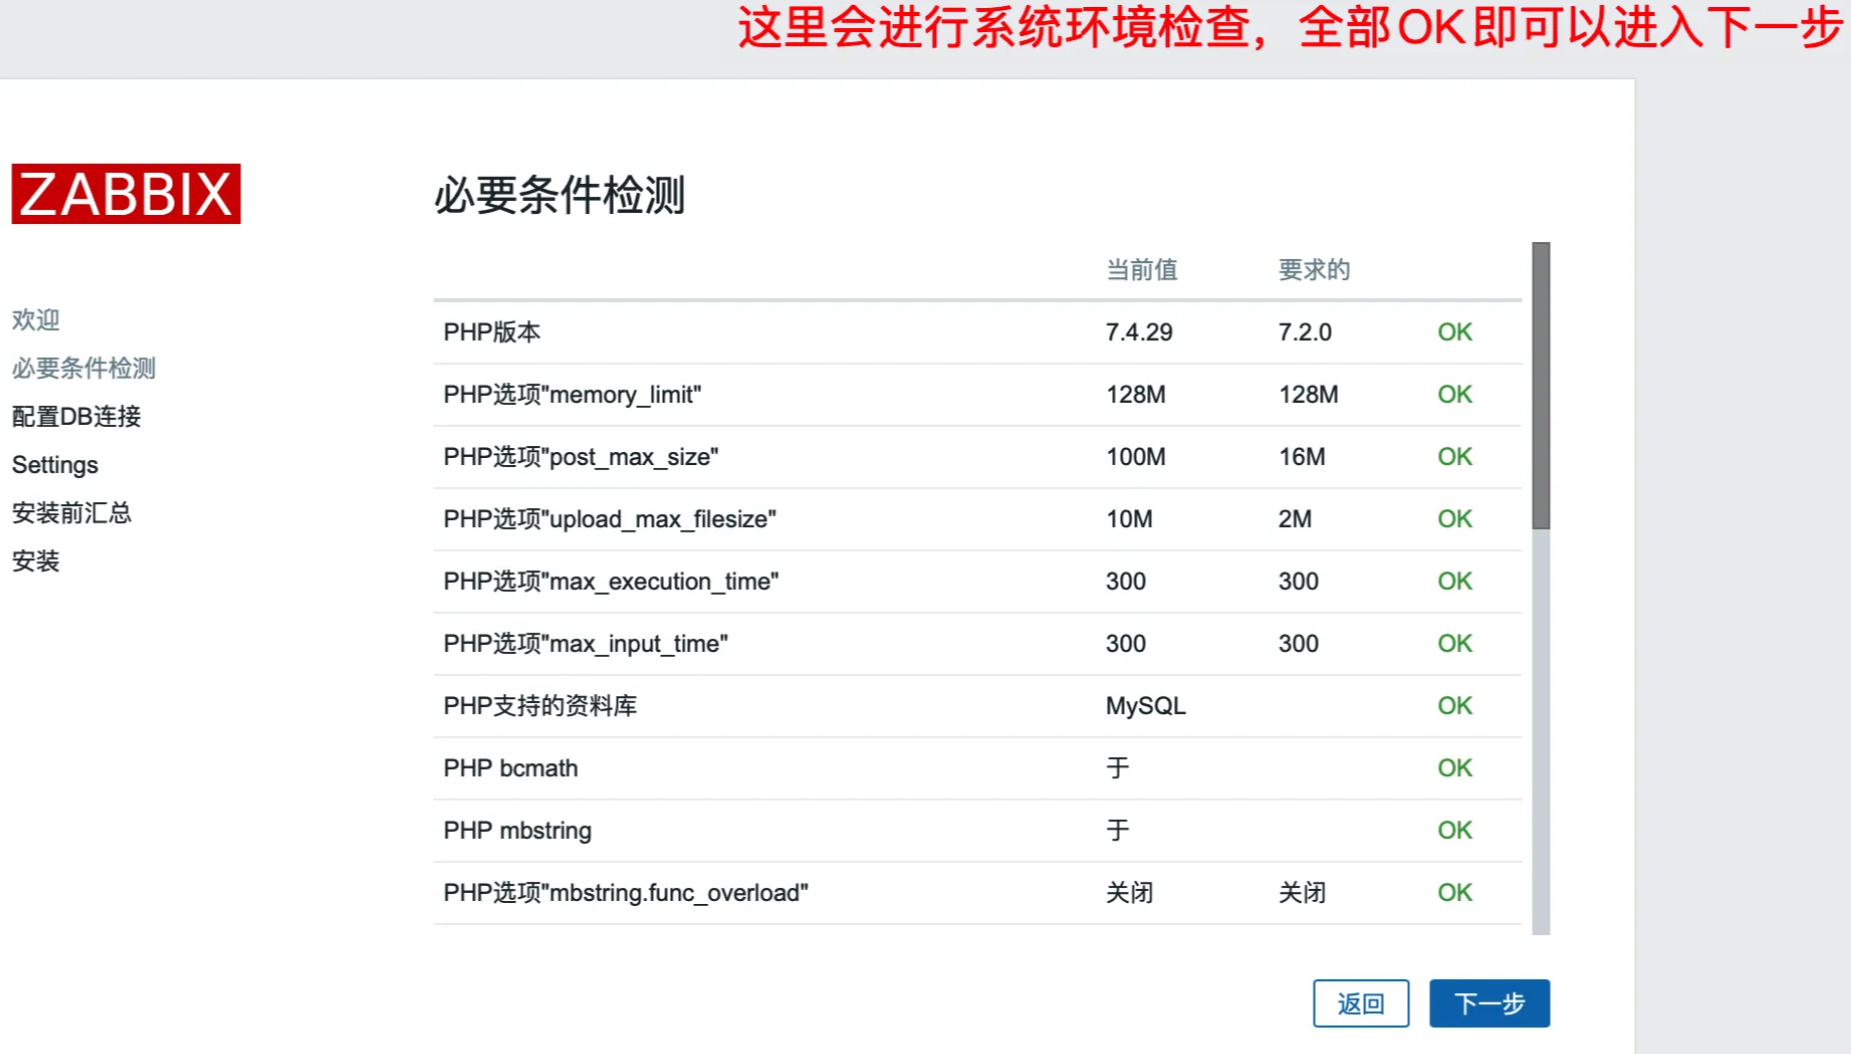
6.2. 基礎環境檢測
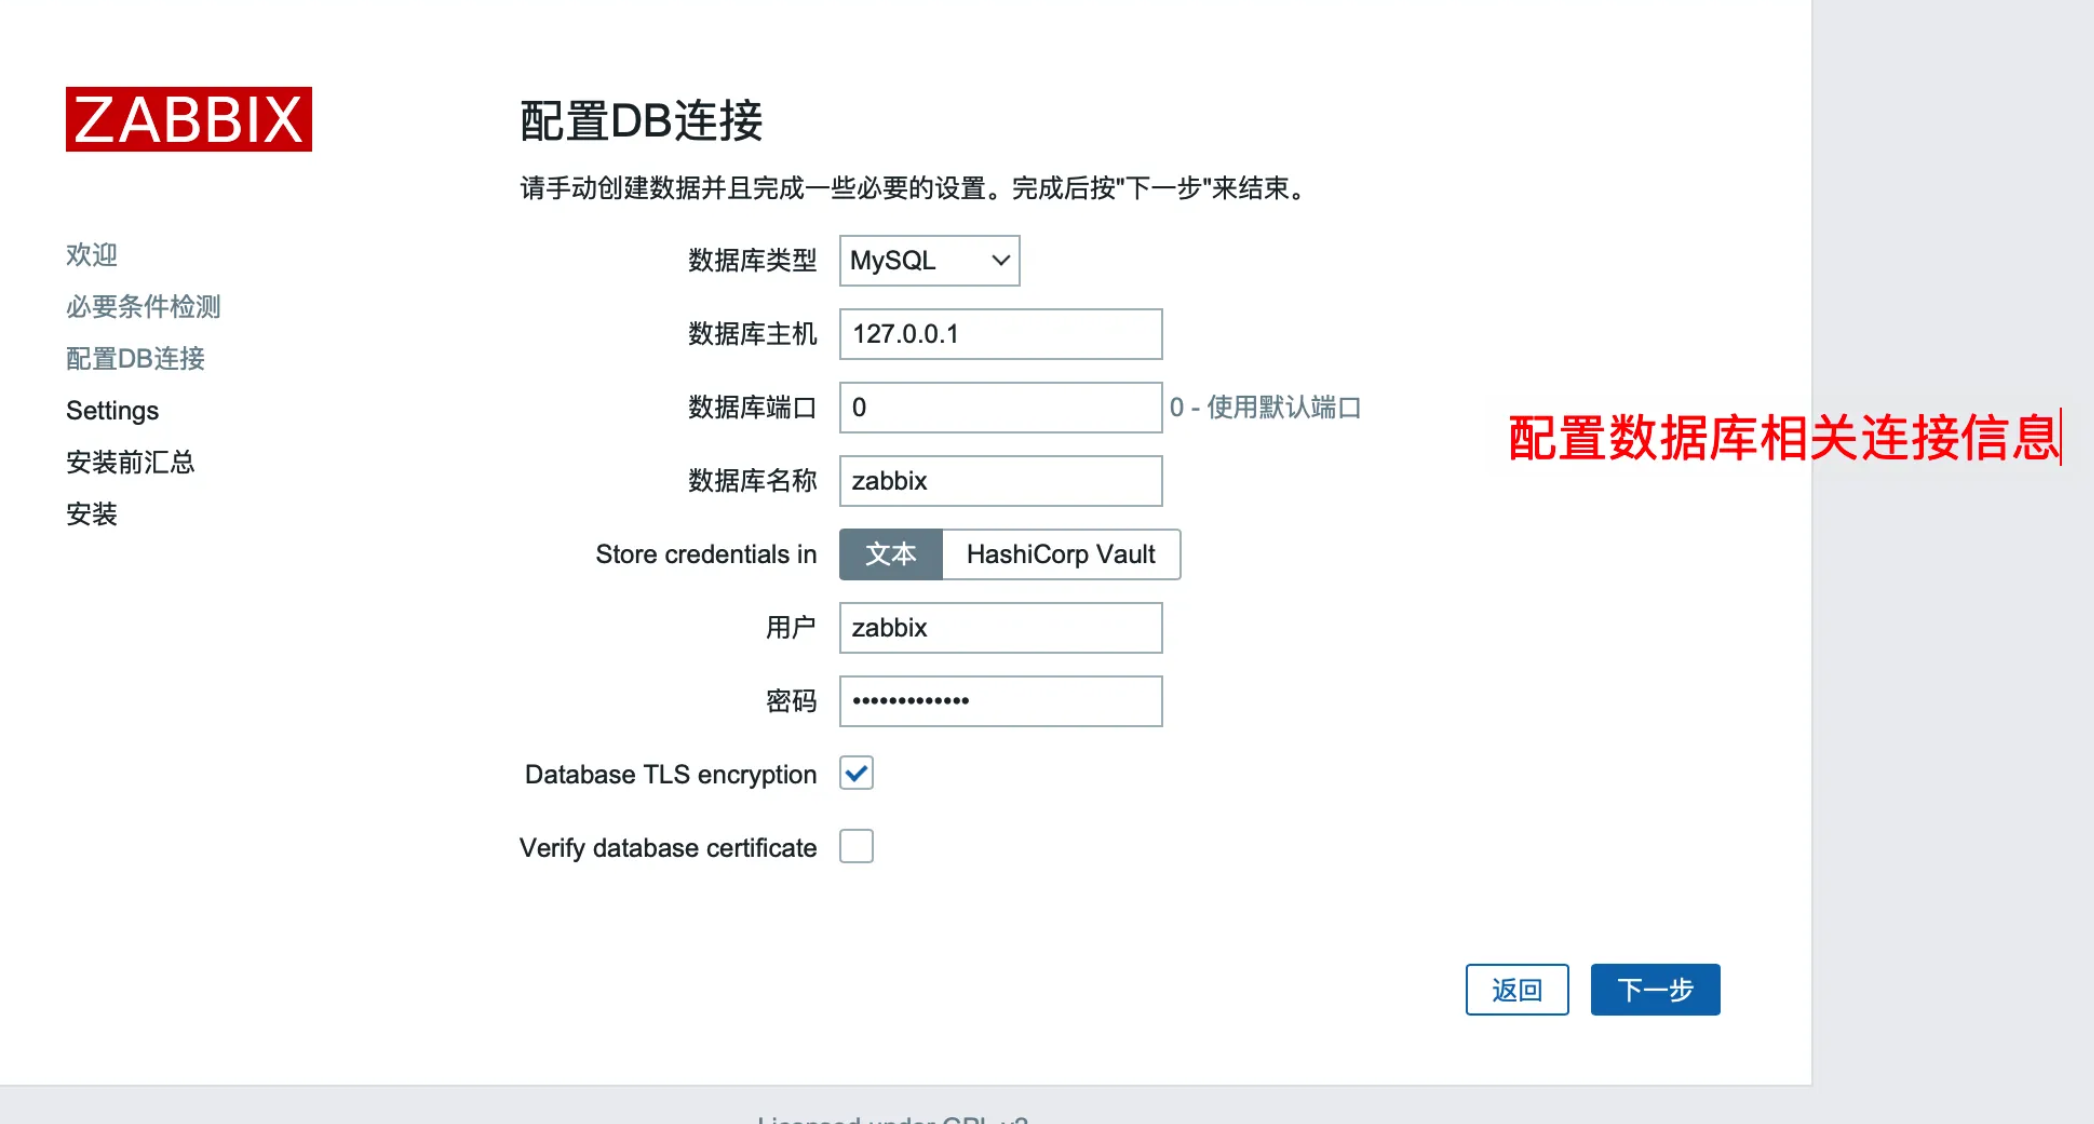
6.3. 配置數據庫連接信息
6.4. 配置主機名稱和時區

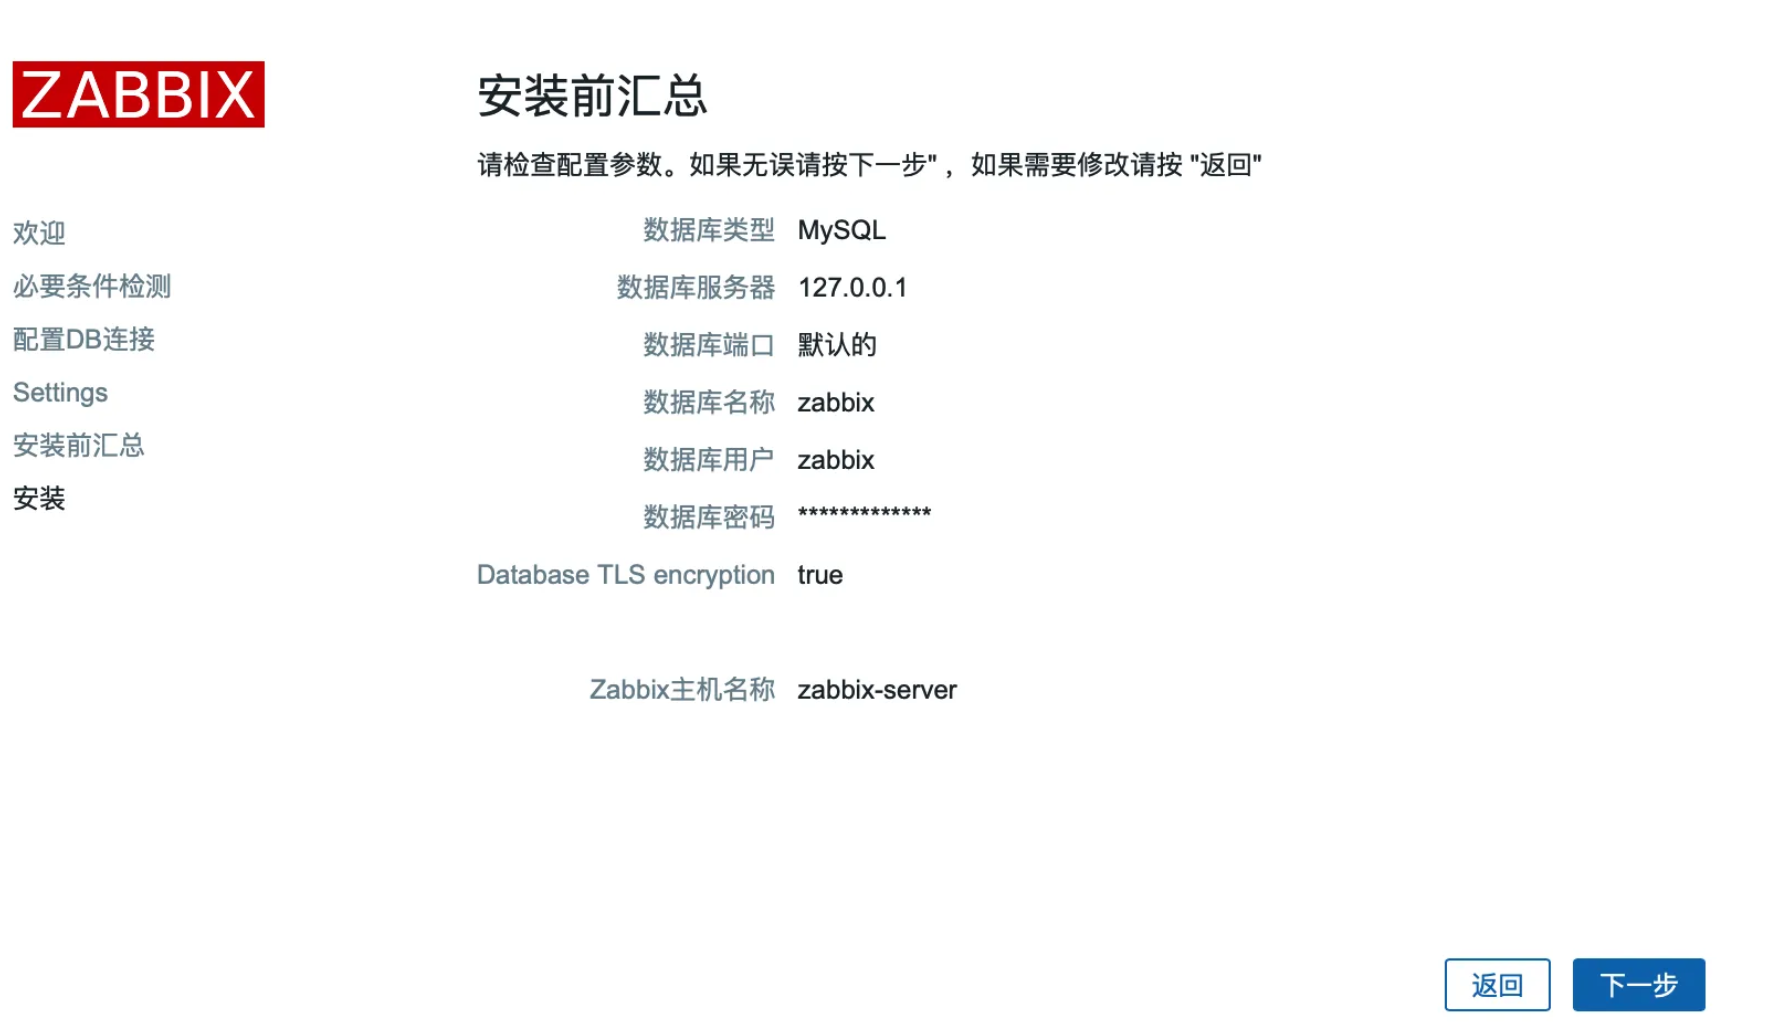
6.5. 檢查配置
6.6. 配置完成后如下圖所示,點擊完成。
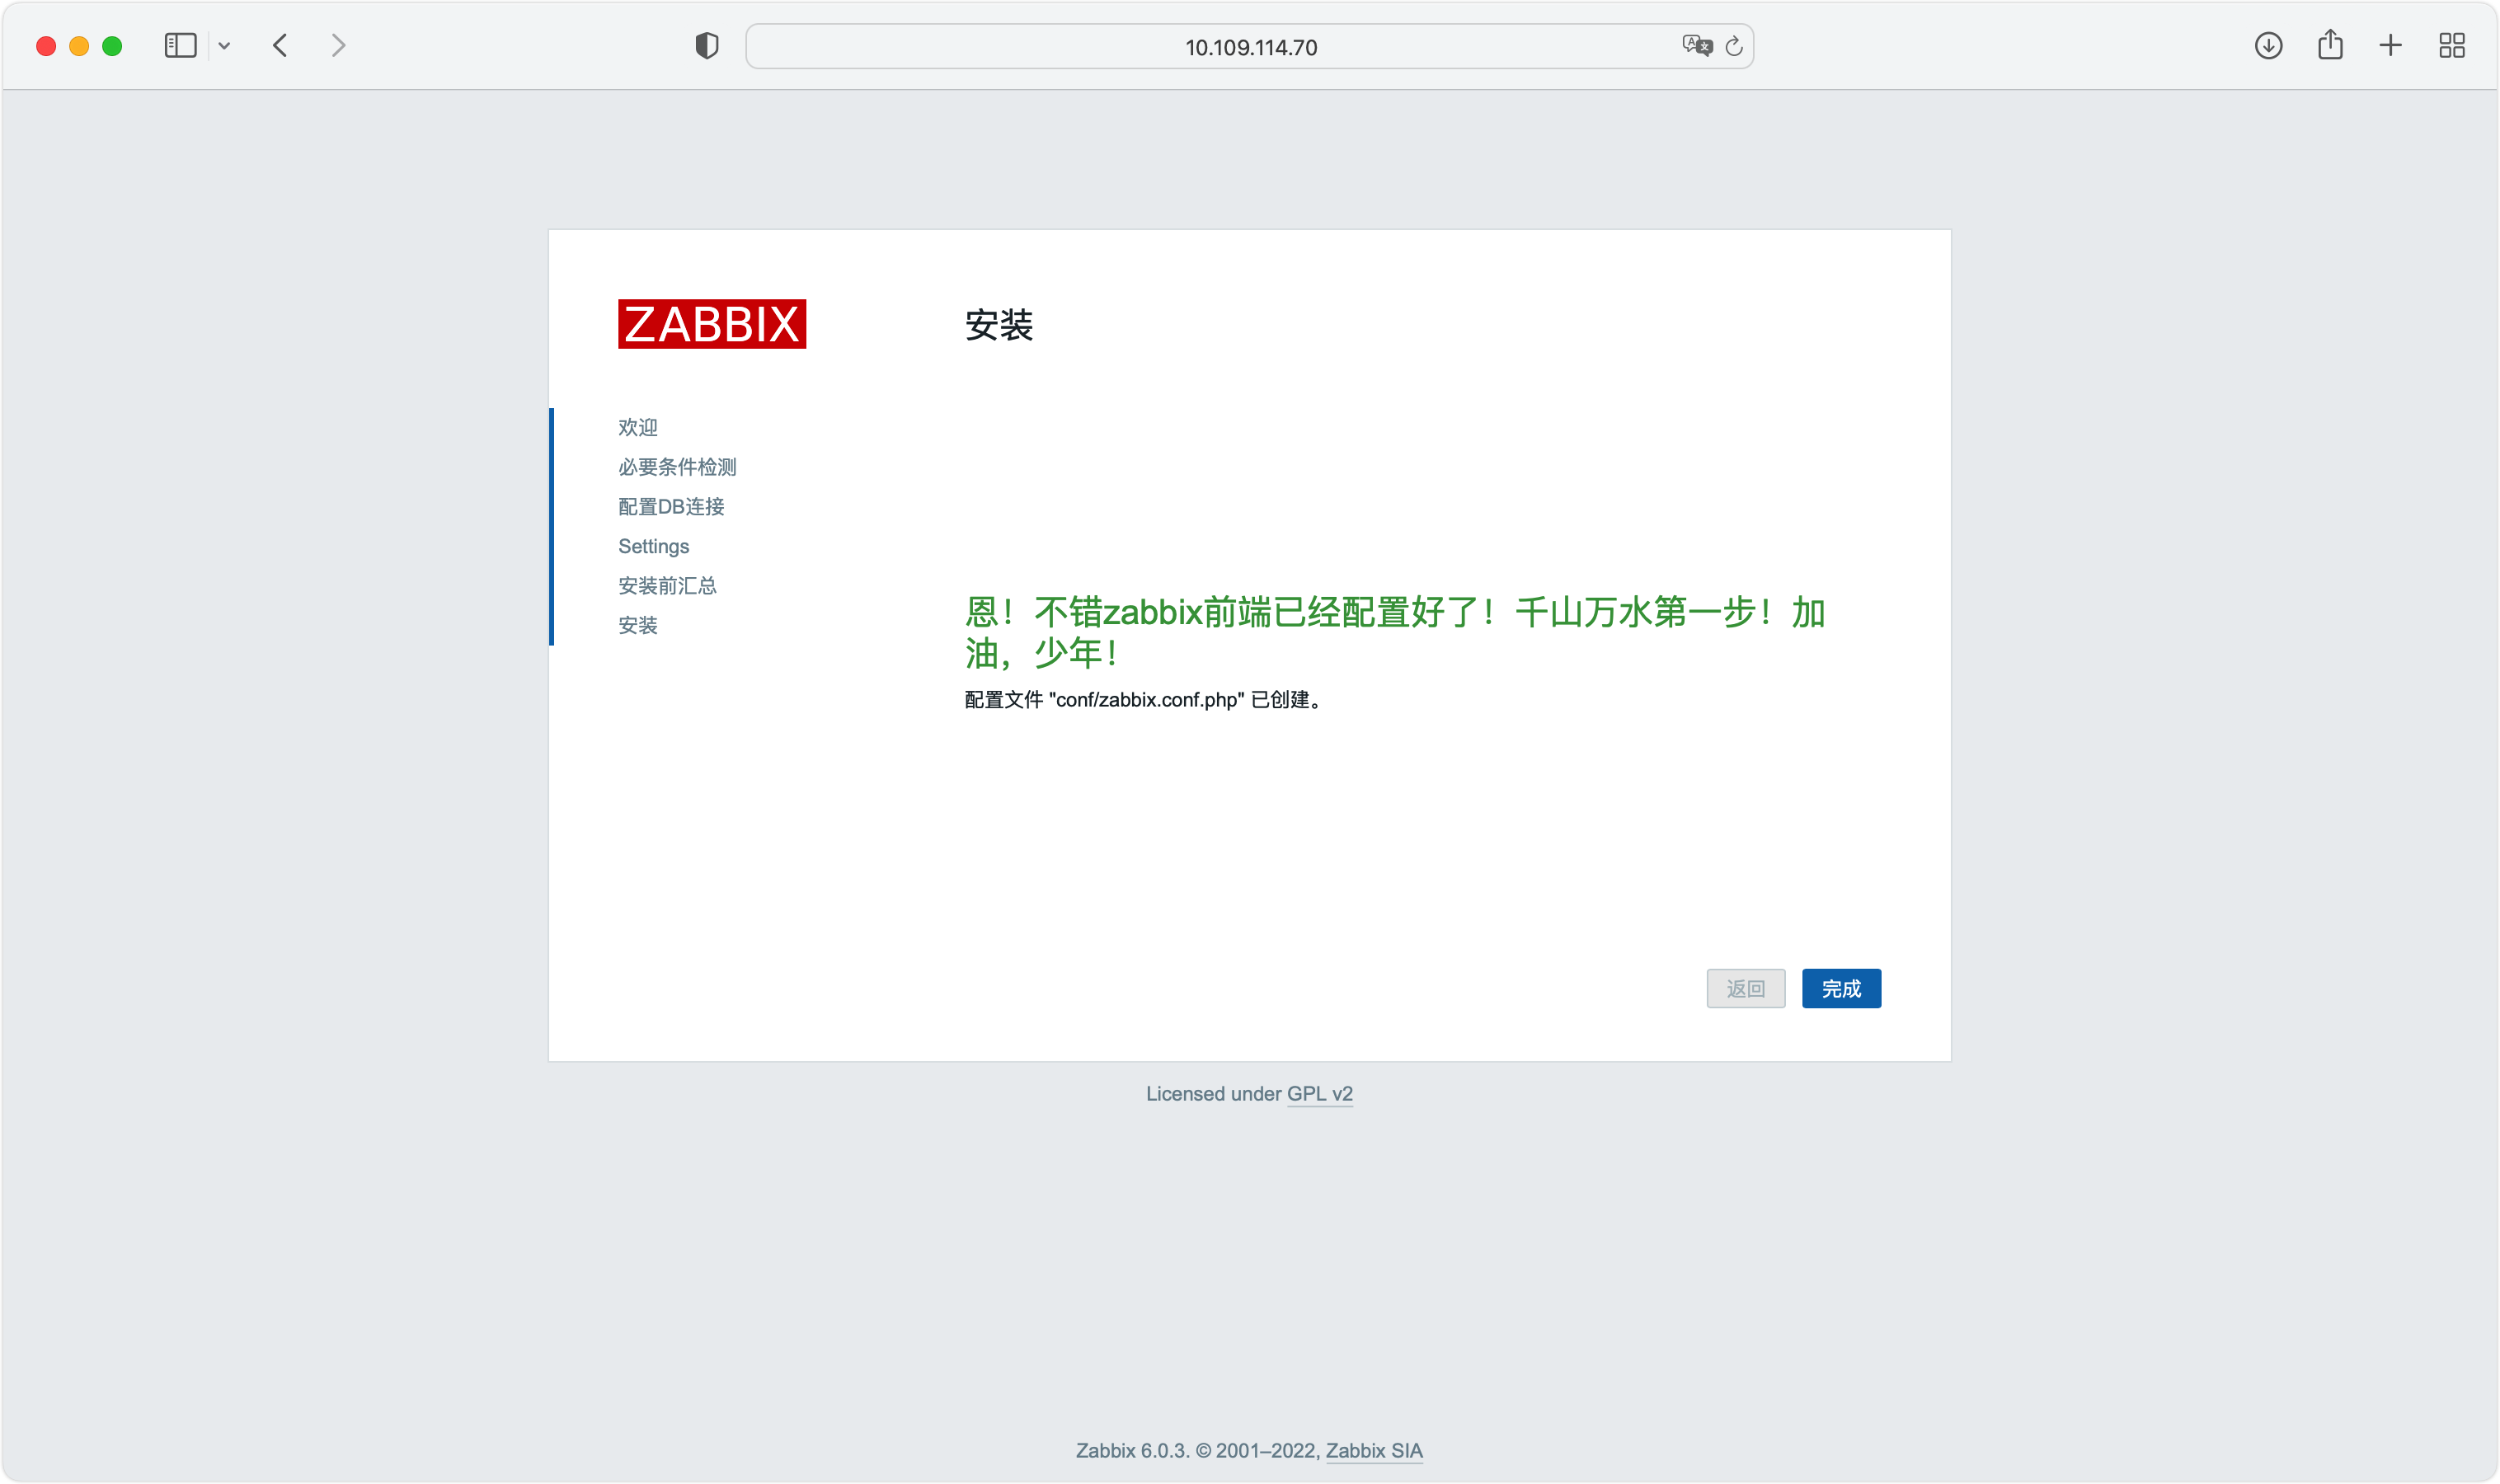

6.7. 進入登陸界面(默認賬號/密碼:Admin/zabbix)


7. 啟用zabbix-agent
rpm -ivh https://mirrors.tuna.tsinghua.edu.cn/zabbix/zabbix/6.0/rhel/7/x86_64/zabbix-release-6.0-4.el7.noarch.rpm
sed -i 's#https://repo.zabbix.com/zabbix#https://mirrors.tuna.tsinghua.edu.cn/zabbix/zabbix/#g' ?/etc/yum.repos.d/zabbix.repo
yum install -y zabbix-agent2
]# egrep '^Server' /etc/zabbix/zabbix_agent2.conf
Server=127.0.0.1
ServerActive=127.0.0.1
systemctl enable zabbix-agent2.service
systemctl start zabbix-agent2.service
systemctl status zabbix-agent2.service
8. 再次檢查狀態(此時可以看到主機列表有機器了)
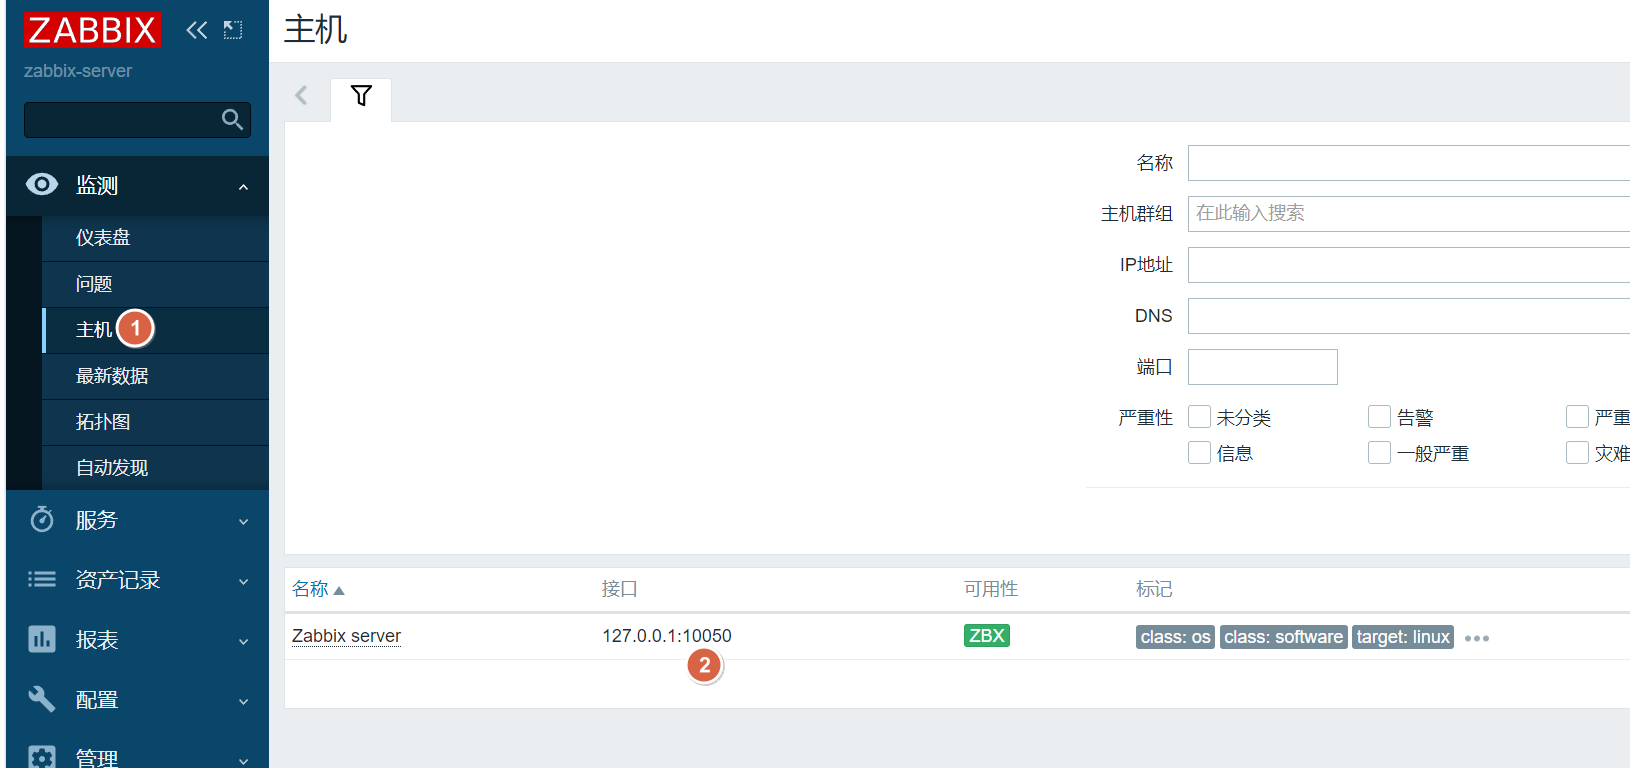


)


(C++))