一、環境準備
- 安裝交叉編譯工具鏈
根據目標ARM架構選擇對應工具鏈(如arm-linux-gnueabihf-):# Ubuntu/Debian系統 sudo apt-get install gcc-arm-linux-gnueabihf g++-arm-linux-gnueabihf# 驗證安裝 arm-linux-gnueabihf-gcc --version
或者手動指定交叉工具鏈
export PATH=$PATH:/home/user/Desktop/output/host/bin

- 創建工作目錄
mkdir x264 && cd x264
二、下載x264源碼
cd x264
git clone https://code.videolan.org/videolan/x264.git
三、配置編譯參數
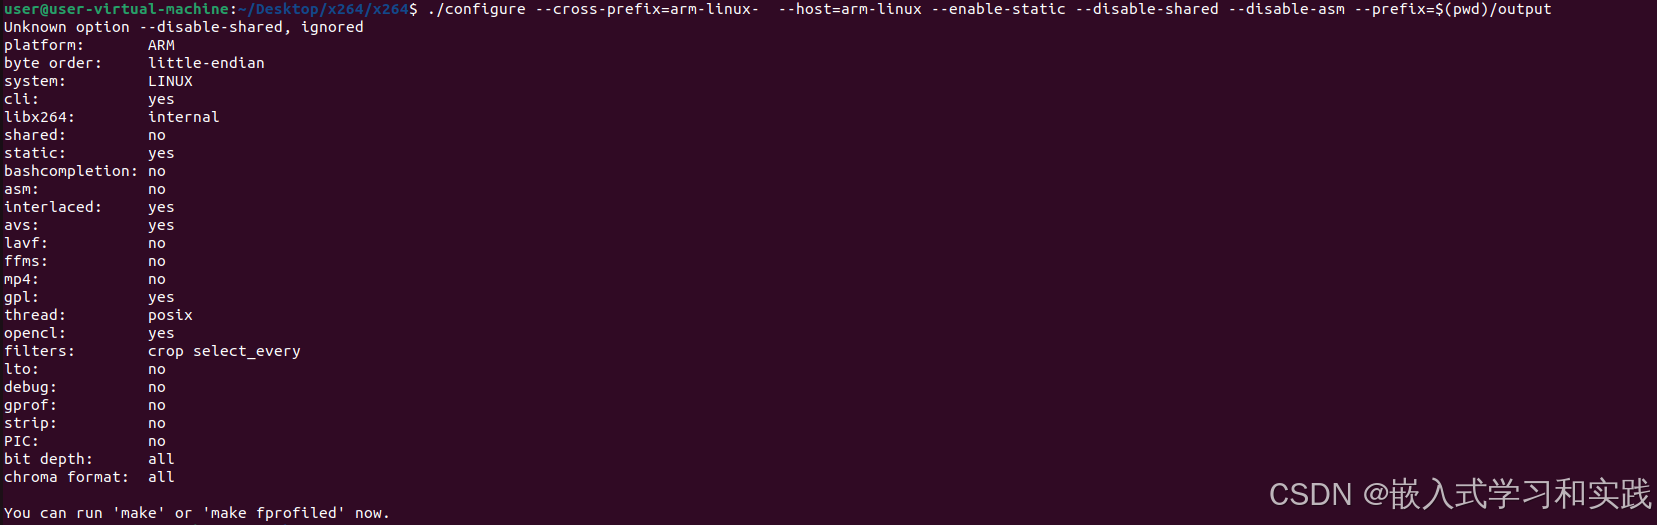
通過./configure指定交叉編譯參數:
# 禁止生成共享動態庫
./configure --cross-prefix=arm-linux-  --host=arm-linux --enable-static --disable-shared --disable-asm --prefix=$(pwd)/output
./configure \--cross-prefix=arm-linux-gnueabihf- \--host=arm-linux \--enable-static \--disable-shared \--disable-asm \--prefix=$(pwd)/output
# 允許生成共享動態庫
./configure \--cross-prefix=arm-linux-gnueabihf- \--host=arm-linux \--enable-static \--enable-shared \--disable-asm \--prefix=$(pwd)/output
參數說明:
--cross-prefix:交叉編譯器前綴--host:目標平臺--disable-asm:禁用ARM匯編優化(部分架構可能不兼容)--prefix:指定安裝路徑
四、編譯與安裝
make -j$(nproc) # 并行編譯

make install # 安裝到output目錄

五、驗證編譯結果
編譯成功后,在output目錄下生成:
bin/x264:可執行文件lib/libx264.a:靜態庫include/x264.h:頭文件

六、編寫測試程序
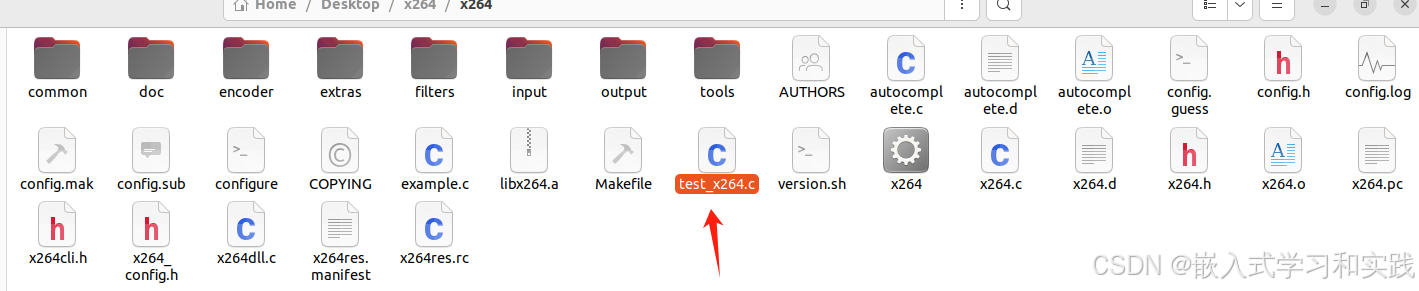
使用 x264 API 將 YUV 視頻幀編碼為 H.264 數據流。
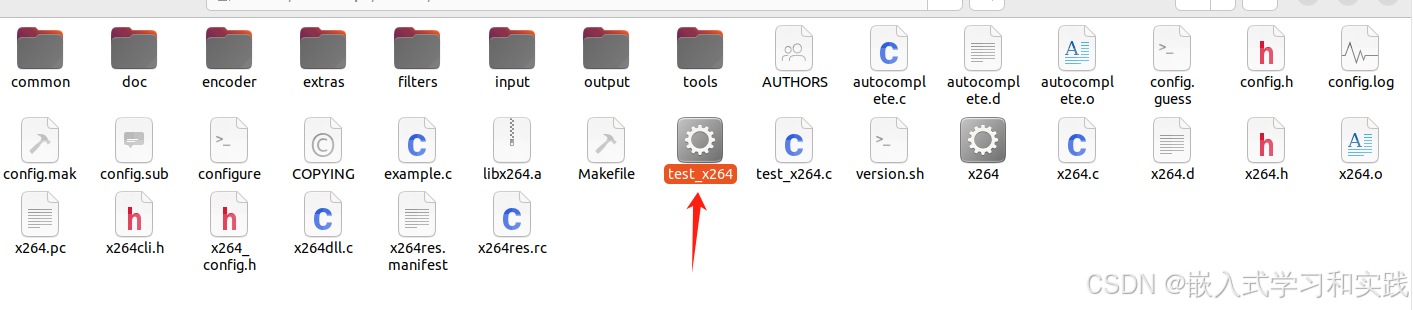
創建test_x264.c測試代碼:
#include <stdio.h>
#include <stdlib.h>
#include <stdint.h>
#include <x264.h>#define WIDTH 320//640
#define HEIGHT 240//480
#define FPS 30
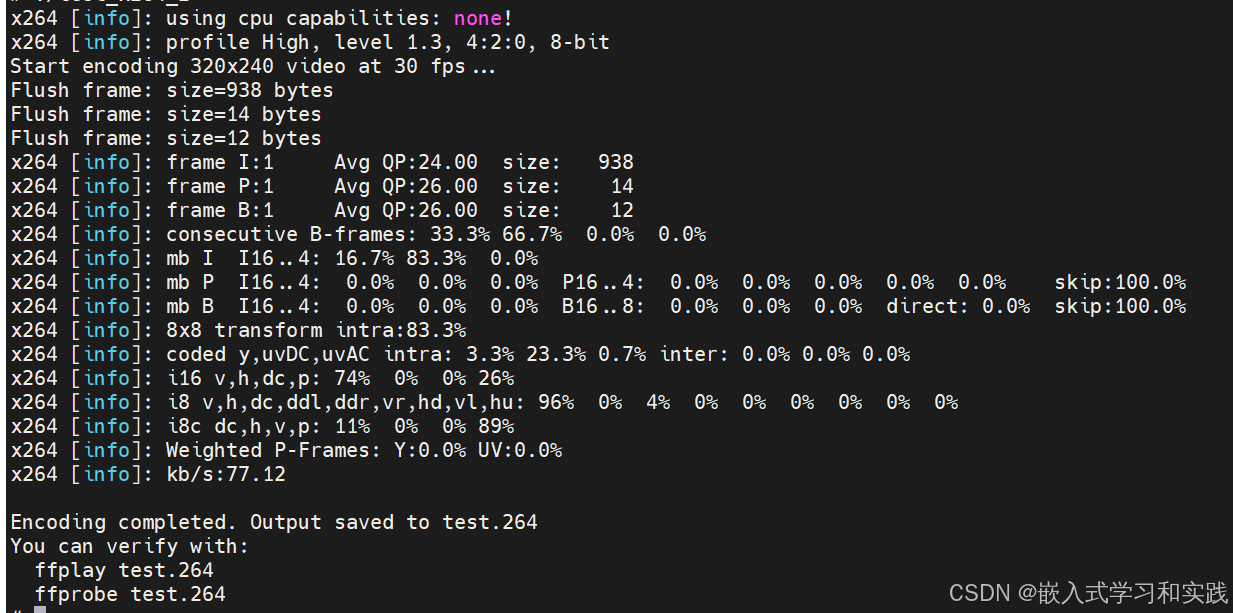
#define TOTAL_FRAMES 10//100 // 編碼幀數int main() {// 1. 初始化參數結構體x264_param_t param;if (x264_param_default_preset(¶m, "medium", NULL) < 0) {fprintf(stderr, "Failed to apply preset\n");return -1;}// 2. 設置編碼參數param.i_width = WIDTH;param.i_height = HEIGHT;param.i_fps_num = FPS;param.i_fps_den = 1;param.i_keyint_max = FPS * 2; // 關鍵幀間隔(2秒)param.b_vfr_input = 0;param.b_repeat_headers = 1; // 在每個關鍵幀前添加SPS/PPSparam.b_annexb = 1; // 輸出annex-b格式// 3. 應用配置if (x264_param_apply_profile(¶m, "high") < 0) {fprintf(stderr, "Failed to apply profile\n");return -1;}// 4. 打開編碼器x264_t *encoder = x264_encoder_open(¶m);if (!encoder) {fprintf(stderr, "Failed to open encoder\n");return -1;}// 5. 創建輸入圖像x264_picture_t pic_in, pic_out;x264_picture_alloc(&pic_in, param.i_csp, param.i_width, param.i_height);x264_picture_init(&pic_out);// 6. 準備輸出文件FILE *outfile = fopen("test.264", "wb");if (!outfile) {perror("Failed to open output file");return -1;}printf("Start encoding %dx%d video at %d fps...\n", WIDTH, HEIGHT, FPS);// 7. 編碼循環for (int i = 0; i < TOTAL_FRAMES; i++) {// 生成測試圖像(漸變彩條)uint8_t *y = pic_in.img.plane[0];uint8_t *u = pic_in.img.plane[1];uint8_t *v = pic_in.img.plane[2];// Y分量(亮度)for (int h = 0; h < HEIGHT; h++) {for (int w = 0; w < WIDTH; w++) {y[h * pic_in.img.i_stride[0] + w] = w * 255 / WIDTH;}}// UV分量(色度)for (int h = 0; h < HEIGHT/2; h++) {for (int w = 0; w < WIDTH/2; w++) {u[h * pic_in.img.i_stride[1] + w] = 128 + (h * 128 / (HEIGHT/2));v[h * pic_in.img.i_stride[2] + w] = 128 + (w * 128 / (WIDTH/2));}}pic_in.i_pts = i; // 設置時間戳// 執行編碼x264_nal_t *nals;int i_nal;int frame_size = x264_encoder_encode(encoder, &nals, &i_nal, &pic_in, &pic_out);if (frame_size < 0) {fprintf(stderr, "Encoding error at frame %d\n", i);break;}// 8. 寫入輸出文件for (int j = 0; j < i_nal; j++) {fwrite(nals[j].p_payload, 1, nals[j].i_payload, outfile);}if (frame_size > 0) {printf("Frame %4d: size=%6d bytes, type=%s, qp=%d\n", i, frame_size,(pic_out.i_type == X264_TYPE_IDR) ? "IDR" :(pic_out.i_type == X264_TYPE_I) ? "I" :(pic_out.i_type == X264_TYPE_P) ? "P" : "B",pic_out.i_qpplus1 - 1);}}// 9. 刷新編碼器(處理延遲幀)while (1) {x264_nal_t *nals;int i_nal;int frame_size = x264_encoder_encode(encoder, &nals, &i_nal, NULL, &pic_out);if (frame_size <= 0) break;for (int j = 0; j < i_nal; j++) {fwrite(nals[j].p_payload, 1, nals[j].i_payload, outfile);}printf("Flush frame: size=%d bytes\n", frame_size);}// 10. 清理資源x264_encoder_close(encoder);x264_picture_clean(&pic_in);fclose(outfile);printf("\nEncoding completed. Output saved to test.264\n");printf("You can verify with:\n");printf(" ffplay test.264\n");printf(" ffprobe test.264\n");return 0;
}
-
參數配置:
x264_param_default_preset():應用預設配置(medium/fast/placebo等)x264_param_apply_profile():設置編碼規格(baseline/main/high)
-
圖像處理:
x264_picture_alloc():分配YUV420P圖像內存- 手動生成漸變彩條測試圖案(實際應用應從文件/攝像頭獲取)
-
編碼核心:
x264_encoder_encode():執行幀編碼- 輸出NAL單元包含:SPS/PPS/IDR幀/P幀等
-
輸出處理:
- 寫入annex-b格式的原始H.264流
- 最后刷新編碼器獲取延遲幀
其它功能
- 從文件讀取YUV:
FILE *yuv_file = fopen("input.yuv", "rb");
fread(pic_in.img.plane[0], 1, WIDTH*HEIGHT, yuv_file);        // Y
fread(pic_in.img.plane[1], 1, WIDTH*HEIGHT/4, yuv_file);     // U
fread(pic_in.img.plane[2], 1, WIDTH*HEIGHT/4, yuv_file);     // V
- 調整編碼參數:
// 提高編碼質量
param.rc.i_rc_method = X264_RC_CRF;
param.rc.f_rf_constant = 22.0;  // 0-51, 值越小質量越好// 啟用B幀
param.i_bframe = 3;// 開啟心理視覺優化
param.analyse.b_psy = 1;
- 實時編碼統計:
x264_stats_t stats;
param.b_stats = 1;
x264_encoder_encode(encoder, &nals, &i_nal, &pic_in, &pic_out);
x264_encoder_get_stats(encoder, &stats, 0);
printf("PSNR: Y=%.2f dB, U=%.2f dB, V=%.2f dB\n", stats.f_psnr_avg[0], stats.f_psnr_avg[1], stats.f_psnr_avg[2]);
七、交叉編譯測試程序
arm-linux-gnueabihf-gcc test_x264.c -o test_x264 \-I$(pwd)/output/include \-L$(pwd)/output/lib \-lx264 -lpthread -lm

八、部署與測試
- 復制文件到ARM設備
scp test_x264 root@192.168.1.100:/tmp/  # 替換為實際IP
scp output/lib/libx264.so.* root@192.168.1.100:/lib/
將輸出的/lib目錄下的庫文件拷貝到開發板的/lib/目錄下
將輸出的/bin目錄下的可執行文件拷貝到開發板的/bin/目錄下
文件需要賦權限
測試指令
-
在ARM設備上運行
# 設置庫路徑 export LD_LIBRARY_PATH=/lib:$LD_LIBRARY_PATH# 執行測試 /tmp/test_x264 -
輸出
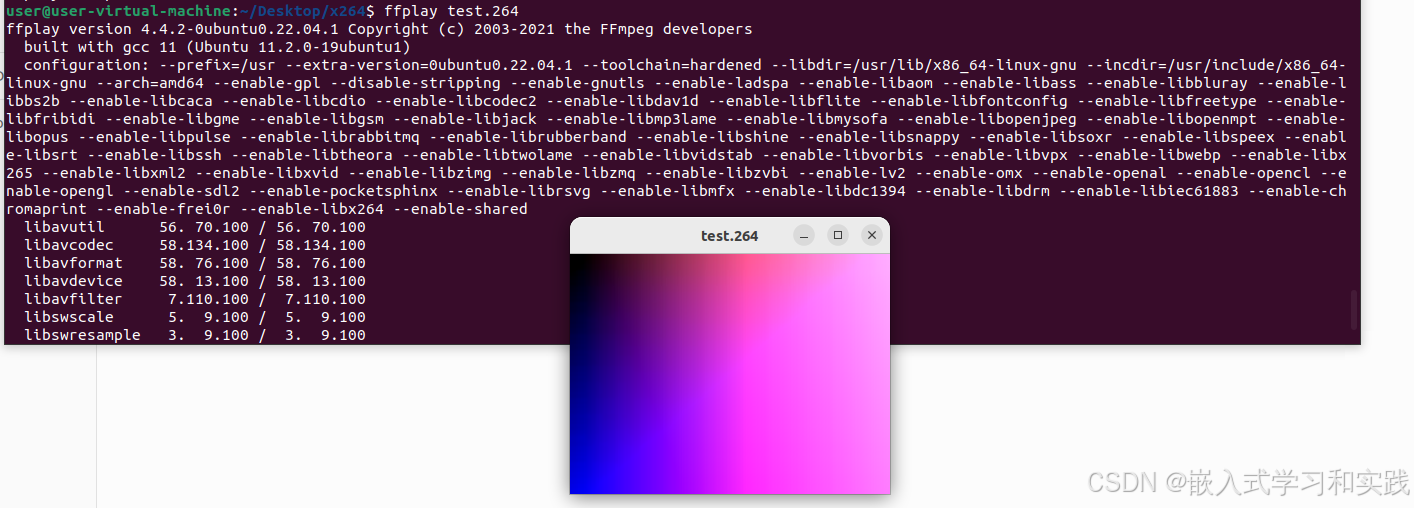
# 使用FFmpeg播放生成的視頻
ffplay test.264
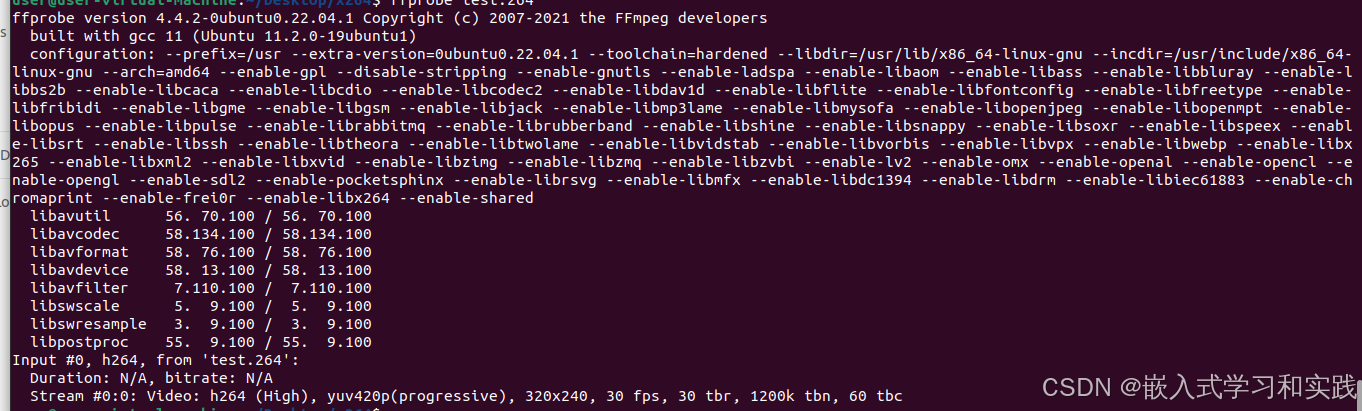
# 查看視頻信息
ffprobe test.264
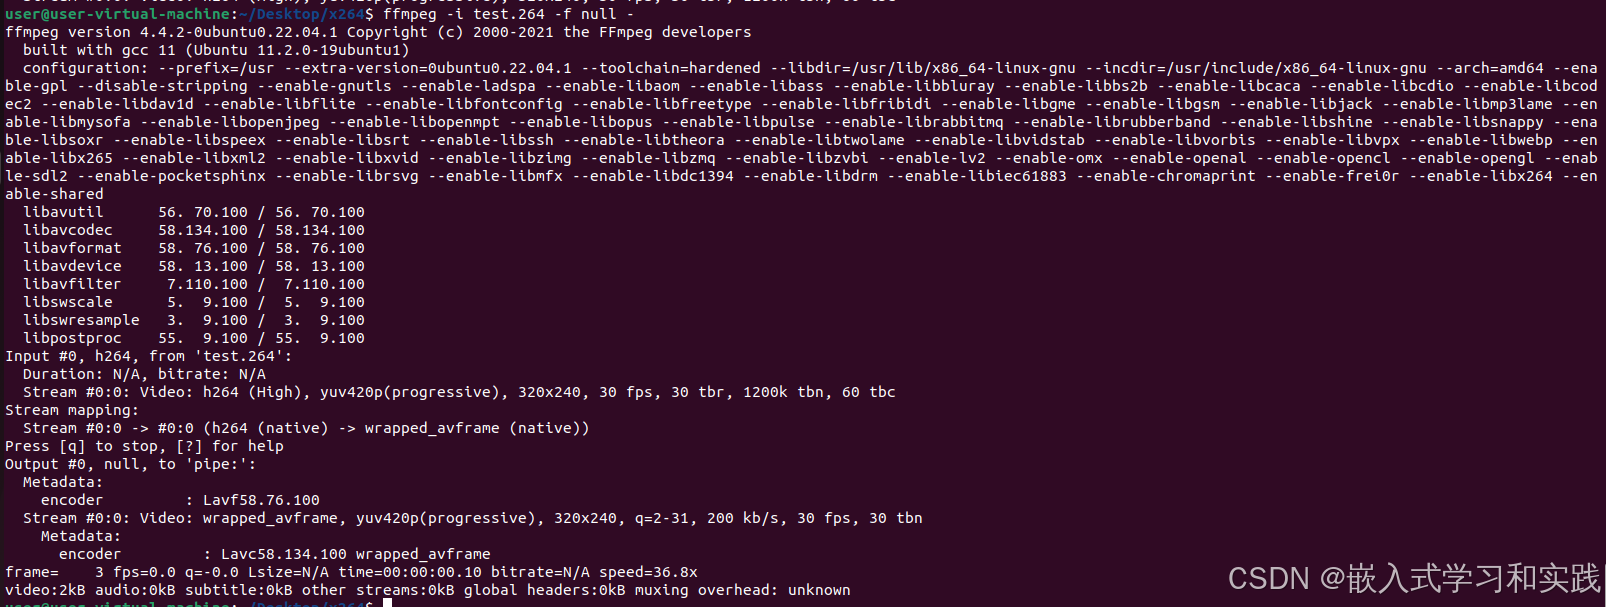
# 檢查編碼統計
ffmpeg -i test.264 -f null -
常見問題及解決方案
-
編譯報錯:
undefined reference to 'sqrt'
解決:在鏈接命令中添加-lm(數學庫)。 -
運行報錯:
libx264.so.x: cannot open shared object file
解決:確保庫文件已復制到ARM設備的/lib目錄,并執行ldconfig刷新緩存。 -
性能優化
-
若ARM設備支持NEON指令集,可啟用匯編優化:
./configure --enable-neon # 根據架構選擇--enable-*選項./configure --enable-shared --prefix=/home/ubuntu/x264_install/ --host=arm-linux-gnueabihf --disable-asm--prefix=/home/ubuntu//x264_install/ :指定編譯后存放路徑--host=arm-linux-gnueabihf :指定交叉編譯鏈,用戶需要修改為自己的交叉編譯器--enable-shared :允許共享--disable-asm:跳過匯編
-
)


HTML零基礎教學)
)


 ? | DoubleClickHeart(雙擊愛心))


