這次我們安裝github.com/yysijie/st-gcn這個作者源碼環境,安裝流程十分復雜這里介紹大體流程。
1.首先編譯openpose的python API接口這個編譯難度較大,具體參考博文:windows編譯openpose及在python中調用_python openpose-CSDN博客
?
這個博文是我參考別人的以及自己實際經驗寫的,流程和博文描述一致,環境要求
- windows 10 64bit
- openpose 1.7.0
- cuda 11.1
- cudnn 8.0.5.39
- visual studio 2019
- >=cmake 3.20.2
溫馨提示:安裝前電腦必須有nvidia顯卡且顯存>=6GB,否則本博文就不用看了,因為就算安裝成功也不能用。
2.?安裝torch和torhvision
pip install torch==1.9.0+cu111 torchvision==0.10.0+cu111 -f https://download.pytorch.org/whl/torch_stable.html
3.安裝環境所需的其他python庫
pip install -r? requirements.txt
4.?安裝ffmpeg
conda install ffmpeg
5.?安裝torchlight
先切換到源碼目錄
cd ./torchlight
python setup.py install
6.?獲取預訓練模型
下載ST-GCN所需模型(.pt文件):
模型鏈接:gitee.com/FIRC/fircfiles/blob/master/st-gcn.md
1). 下載好的st_gcn.kinetics.pt等文件放到 st-gcn/models中。
2). pose_iter_440000.caffemodel(安裝的openpose中的models/pose/coco下有)放到st-gcn/models/pose/coco中。
7.?安裝PyYAML(如果不安裝就會出現如下情況:AttributeError: module 'yaml' has no attribute 'FullLoader'AttributeError: module 'yaml' has no attribute 'FullLoader')
pip install -U PyYAML
9.執行檢測代碼
!python main.py demo --video ./resource/media/ta_chi.mp4 --openpose /content/openpose/build
然后就會出現結果了:
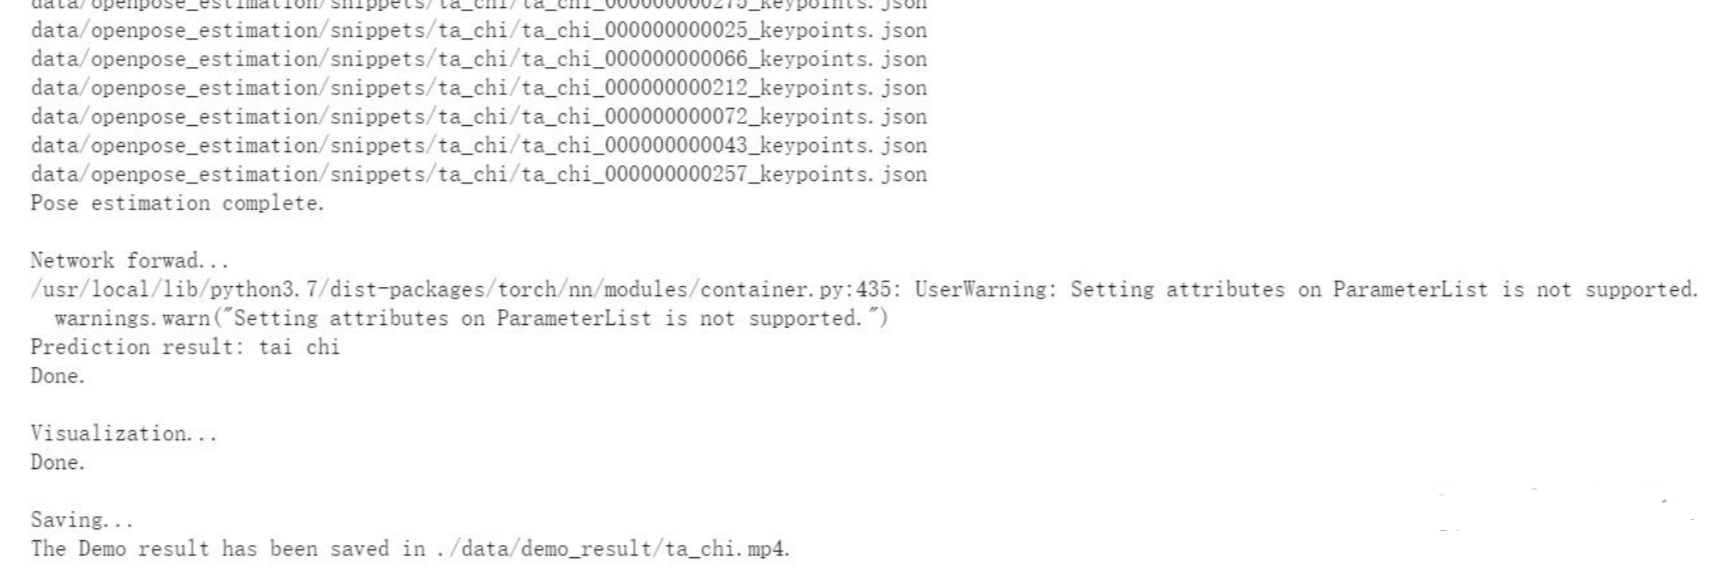
現實預測結果是tai_chi,可視化完成,并且把結果保存在 ./data/demo_result/ta_chi.mp4.
我們把它下載到本地,然后打開。

復現成功!!!
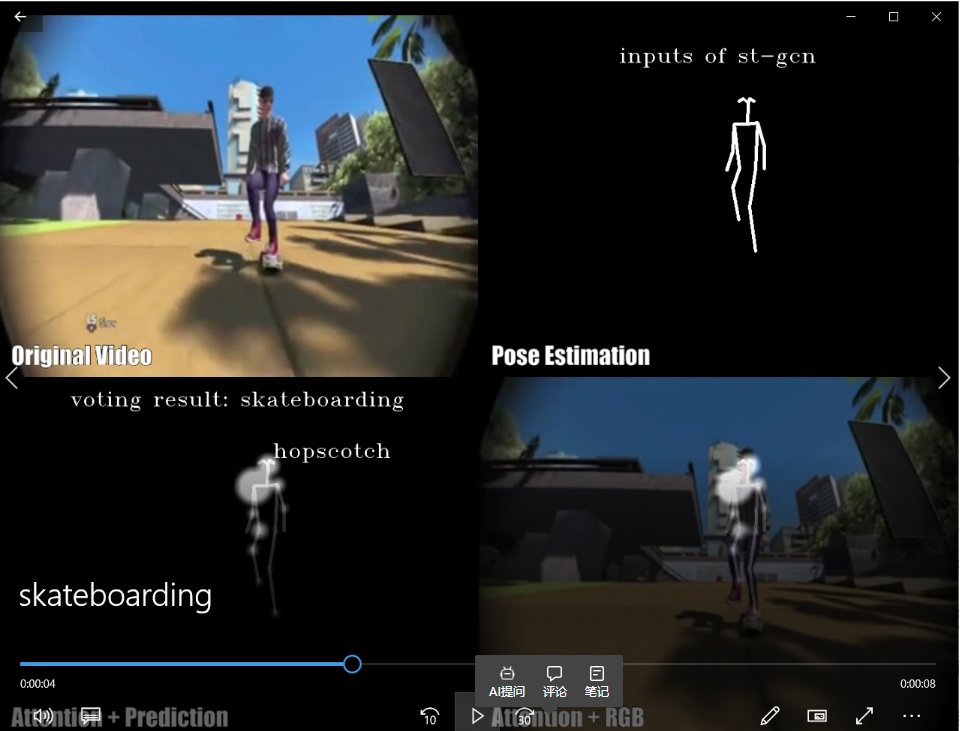
也可以換一個視頻測試一下,比如執行
!python main.py demo --video ./resource/media/skateboarding.mp4 --openpose /content/openpose/build

大功告成。


)


)


no cameras available,完美解決)
)


