在shop頁面選中商品添加到購物車,可選好后,進行確認和支付。具體呈現在shop頁面。
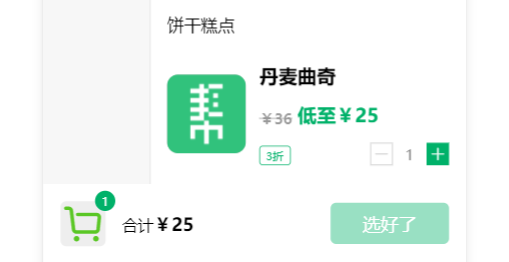
1 購物車欄
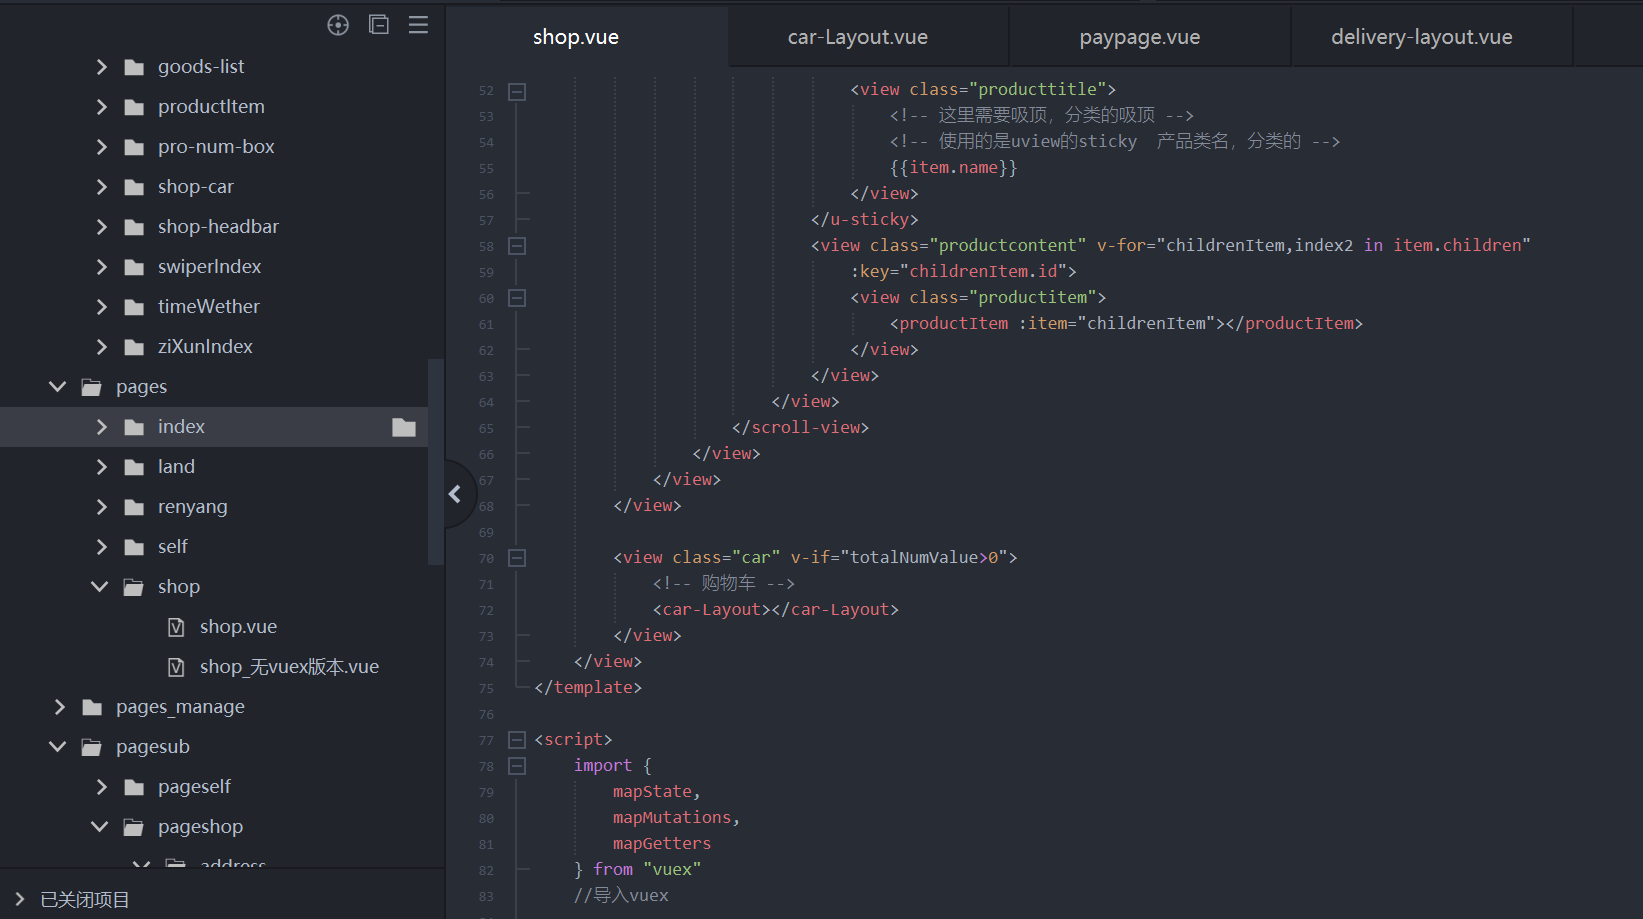
shop頁面代碼:
購物車代碼:
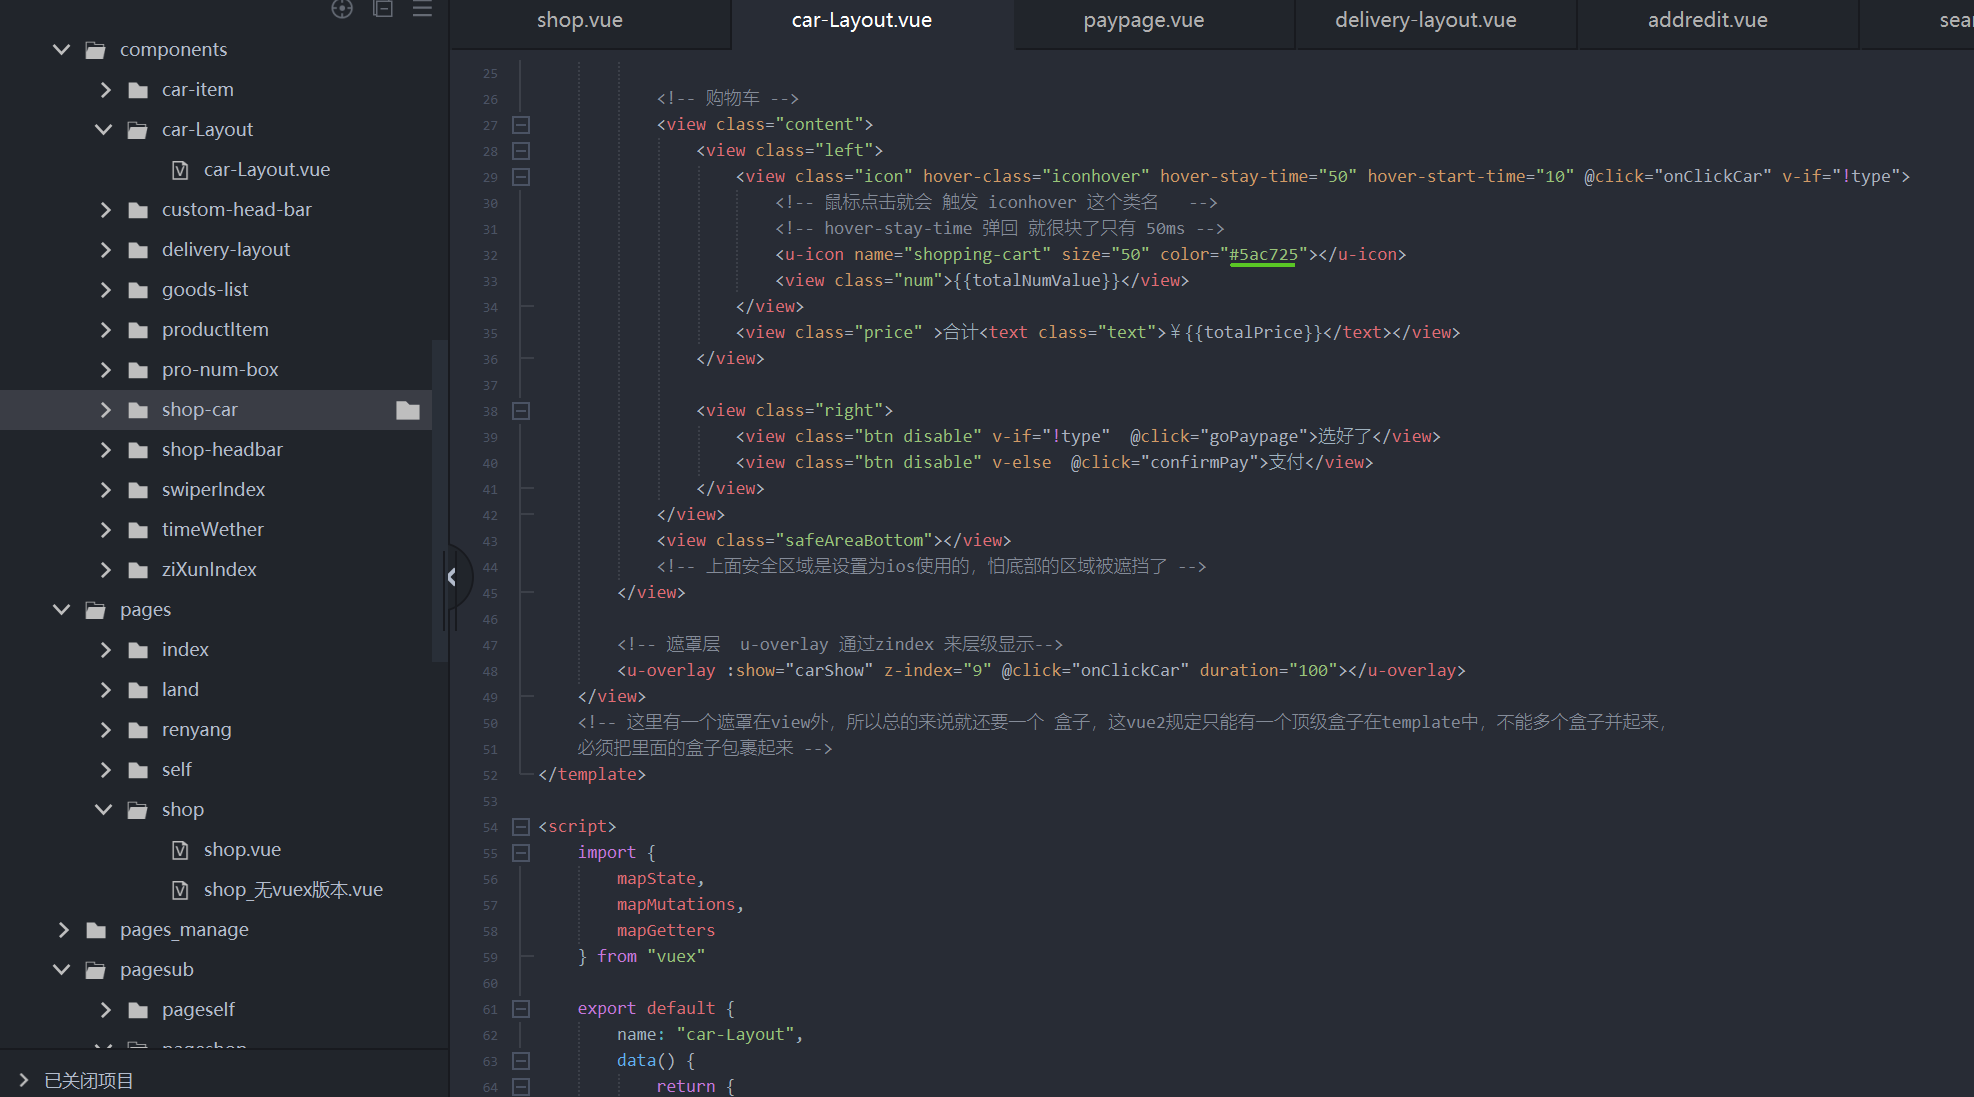
代碼:
<template><view><view class="carlayout"><!-- 車里面 點擊購物車 彈出的內容 --><view class="goods" v-if="carShow"><!-- 彈窗列表 --><view class="head"><view class="text">已選商品</view><view class="empty" @click="clearCar">清空</view></view><scroll-view scroll-y="true" class="body"><view calss="scrollContent"><view class="caritem" v-for="item,index in carsList" :key="index"><car-item :item="item"></car-item></view></view></scroll-view></view><!-- 購物車 --><view class="content"><view class="left"><view class="icon" hover-class="iconhover" hover-stay-time="50" hover-start-time="10" @click="onClickCar" v-if="!type"><!-- 鼠標點擊就會 觸發 iconhover 這個類名   --><!-- hover-stay-time 彈回 就很塊了只有 50ms --><u-icon name="shopping-cart" size="50" color="#5ac725"></u-icon><view class="num">{{totalNumValue}}</view></view><view class="price" >合計<text class="text">¥{{totalPrice}}</text></view></view><view class="right"><view class="btn disable" v-if="!type"  @click="goPaypage">選好了</view><view class="btn disable" v-else  @click="confirmPay">支付</view></view></view><view class="safeAreaBottom"></view><!-- 上面安全區域是設置為ios使用的,怕底部的區域被遮擋了 --></view><!-- 遮罩層  u-overlay 通過zindex 來層級顯示--><u-overlay :show="carShow" z-index="9" @click="onClickCar" duration="100"></u-overlay></view><!-- 這里有一個遮罩在view外,所以總的來說就還要一個 盒子,這vue2規定只能有一個頂級盒子在template中,不能多個盒子并起來,必須把里面的盒子包裹起來 -->
</template><script>import {mapState,mapMutations,mapGetters} from "vuex"export default {name: "car-Layout",data() {return {carShow:false,};},props:{type:{type:String,default:""}},computed:{...mapGetters(["carsList","totalPrice","totalNumValue"])},methods:{...mapMutations(["setCarsList"]),//確認支付confirmPay(){console.log("確認支付");},//清空購物車clearCar(){this.setCarsList(0);},//點擊購物車,改變carShow,進而改變顯示狀態onClickCar(){this.carShow=!this.carShow;},//點擊選好了,跳轉到支付頁面goPaypage(){uni.navigateTo({url:"/pagesub/pageshop/paypage/paypage"})}}}
</script><style lang="scss" scoped>.carlayout {//有這個 content 下面的css始終不生效    太tmd 想爆粗口了   找了好久這個問題,最后發現是 class寫錯了  寫成了 		<view calss="carlayout">position: relative; //相對定位,不脫離文檔流z-index: 10;   //比 u-overlay  遮罩層 高就好.goods {border-bottom: 1rpx solid $border-color-light;padding: 30rpx 30rpx 0;border-radius: 20rpx 20rpx 0 0;background-color: #fff;.head {@include flex-box();color: $text-font-color-3;padding: 25rpx 0;.empty {color: $brand-theme-color-aux;}}.body {height: 500rpx;}}.content {display: flex;justify-content: space-between;align-items: center;padding: 0 30rpx;height: 140rpx;background: #fff;.left {@include flex-box();.iconhover {transform: scale(0.7); //鼠標點擊后就縮小到0.8 然后松開鼠標就彈回 1}.icon {width: 80rpx;height: 80rpx;background-color: #eee;border-radius: 10rpx;@include flex-box-set();position: relative; //這里就是相對定位  就是為后面的num  固定到右上角的絕對定位做鋪墊   num就是子級  這里的icon 就是父級margin-right: 30rpx;.num {width: 36rpx;height: 36rpx;background: $brand-theme-color;border-radius: 50%; //圓形color: #fff;position: absolute; //這里就是絕對定位   固定到icon右上角的絕對定位  num就是子級  icon 就是父級right: -18rpx;top: -18rpx;@include flex-box-set();font-size: 22rpx;}}.price {font-size: 28rpx;.text {font-size: 32rpx;font-weight: bold;}}}.right {.btn {width: 210rpx;height: 75rpx;background: $brand-theme-color;@include flex-box-set();color: #fff;border-radius: 10rpx;&.disable {opacity: 0.4; //表示透明度    變透明意思是disable了}}}}.safeAreaBottom {//這個是 用來設置ios的安全區域的,安卓是不能執行env(safe-area-inset-bottom)  這句話的width: 100%;height: env(safe-area-inset-bottom);background: #fff;}}//有這個  下面的css始終不生效
</style>
2 購物籃代碼解析
2.1、shop就使用了組件
2.2、購物車中,右邊的文字就是支付和選好了
選好了跳轉到確認訂單頁面
支付就是在訂單頁面展現的
實現的是一個組件多個頁面共用
3 確認訂單頁面的代碼
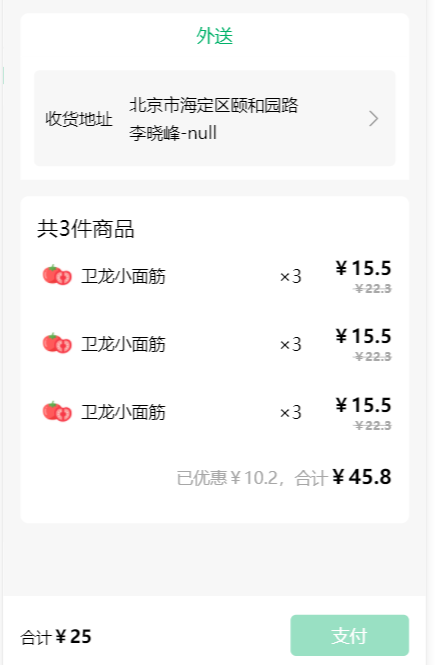
3.1、頁面組成
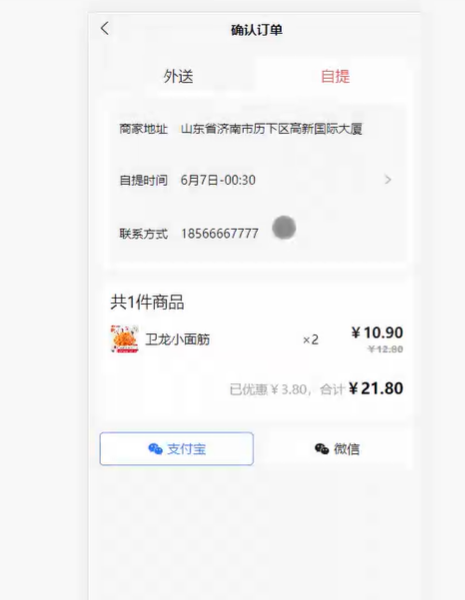
a、確認頁面,存在外送? 自提選項,主要差異:
外送和自提組件:delivery-layout??
自提選項中,需要展示商家地址、 自提時間? 還有商家的聯系方式
外送選項中,主要就是收貨地址 收貨人
b、相同點 為 購物車中商品信息(goods-list組件)
c、另外還存在支付選項
支付寶和微信,默認選項為微信
d、購物車中,右邊 為支付(在shop頁面顯示為選好了)
3.2 確認訂單具體代碼
<template><view class="paypage"><!-- 確認訂單,支付訂單 --><!-- 配送方式 --><delivery-layout></delivery-layout><!-- 購物列表 --><view class="goodsList"><goods-list></goods-list></view><!-- #ifndef MP-WEIXIN --><view class="payType"><view class="box" :class="item.value==payDefValue ? 'active' : ''" v-for="item,index in payType":key="index" @click="clickBtn(item.value)"><u-icon :name="item.icon" size="26" class="icon":color="item.value==payDefValue ? item.color :''"></u-icon><text class="font">{{item.name}}</text><!-- <u-icon name="weixin-fill" size="26" class="font"></u-icon><text class="font">微信</text>--></view></view><!-- #endif --><view class="payTabbar"><car-Layout type="pay"></car-Layout></view><view class="safeAreaBottom"></view><!-- 上面安全區域是設置為ios使用的,怕底部的區域被遮擋了 --></view>
</template><script>export default {data() {return {// #ifdef MP-WEIXINpayDefValue: "wxpay",// #endif// #ifndef MP-WEIXINpayDefValue: "alipy",// #endifpayType: [{name: "支付寶",value: "alipy", //必須寫這個值,后面要用到icon: "zhifubao",color: "#1578ff", //:color="item.value==payDefValue ? item.color :''"},{name: "微  信",value: "wxpay", //必須寫這個值,后面要用到icon: "weixin-fill",color: "#04c15f", //:color="item.value==payDefValue ? item.color :''"},]};},methods: {//切換支付方式clickBtn(type) {this.payDefValue = type}}}
</script><style lang="scss">page {background-color: $page-bg-color;}.paypage {padding: 30rpx;.goodsList {margin-top: 30rpx;}.payType {@include flex-box();.box {//box 就兩個支付方式    width: 45%; //一個支付方式站49 剩下中間的2的空格height: 75rpx;background: #fff;border-radius: 10rpx;@include flex-box-set();// filter: grayscale(100%);   //濾鏡效果  100%把顏色全濾掉      我們已經用了 :color="item.value==payDefValue ? item.color :''"  就不用濾鏡了border: 1rpx solid #fff;.font {padding-left: 10rpx;}}//可以這樣 當用text時,若用view + style  就不用下面的方式.box:first-child.active {border-color: #1578ff; //邊框顏色color: #1578ff;}.box:last-child.active {border-color: #04c15f;color: #04c15f;}}.payTabbar {position: fixed;width: 100%;bottom: 0;left: 0}}
</style>
3.3 配送方式代碼:
<template><view class="delivery"><view class="headNav">外送</view><view class="body"><view class="box" @click="goAddress"><view class="left">收貨地址</view><view class="center"><view v-if="deliveryInfo.address"><view class="detail">{{deliveryInfo.address}}</view><view class="userinfo">{{deliveryInfo.username + "-" + deliveryInfo.mobile}}</view></view><view class="addressTxt" v-else>請添加收貨地址</view></view><view class="right"><u-icon name="arrow-right" color="#999" size="18"></u-icon></view></view></view></view>
</template><script>export default {name:"delivery-layout",data() {return {deliveryInfo:{address:"北京市海定區頤和園路",username:"李曉峰",mobile:null}}},methods:{goAddress(){uni.navigateTo({url:"/pagesub/pageshop/address/addrlist"})}}}
</script><style lang="scss">
.delivery{.headNav{width: 100%;height: 78rpx;background: #fff;@include flex-box-set();color:$brand-theme-color;border-radius: 15rpx 15rpx 0 0;}.body{background: #fff;padding:25rpx;.box{padding:40rpx 20rpx;background: $page-bg-color;border-radius: 10rpx;font-size: 30rpx;@include flex-box();.center{flex:1;padding:0 30rpx;font-size: 30rpx;.userinfo{padding-top:10rpx;}}}}
}
</style>
3.4 收貨地址頁面:
訂單頁面需要添加地址時,需跳轉到這個頁面
<template><view class="selfAddress"><!-- 地址列表 --><view class="headTop"><view class="title">地址簿</view><navigator class="addressBtn" url="/pagesub/pageshop/address/addredit">+ 添加地址</navigator></view><view class="list"><view class="item" v-for="item,index in 3" :key="index"><view class="head"><view class="user">張三,18066668888</view><view class="select"><u-button v-if="false" color="#EC544F" plain size="mini" text="默認地址"></u-button><u-button color="#666" v-else plain size="mini" text="設為默認"></u-button></view></view><view class="more">云南省昆明市高新區XXX樓</view></view></view></view>
</template><script>export default {data() {return {};}}
</script><style lang="scss">
page{background: $page-bg-color;
}
.selfAddress{padding:30rpx;.headTop{@include flex-box();font-size: 30rpx;font-weight: bold;.addressBtn{border:1px solid #000;border-radius: 50rpx;padding:6rpx 15rpx;}}.list{padding-top:30rpx;.item{background: #fff;padding:40rpx 20rpx;margin-bottom: 30rpx;border-radius: 15rpx;.head{@include flex-box();font-weight: bold;}.more{font-size: 28rpx;color:$text-font-color-3;padding-top:10rpx;}}}
}
</style>
3.5 地址頁面修改和添加
<template><view class="addressForm"><!-- 地址編輯 --><u--formlabelPosition="top":model="addressForm":rules="addressRules"labelWidth="100"ref="uForm"			><u-form-itemlabel="姓名"prop="username"					><u--inputv-model="addressForm.username"placeholder="請輸入姓名"></u--input></u-form-item><u-form-itemlabel="聯系電話"prop="mobile"					><u--inputv-model="addressForm.mobile"placeholder="請輸入聯系電話"></u--input></u-form-item><u-form-itemlabel="詳細地址"prop="address"					><u--inputv-model="addressForm.address"placeholder="請輸入街道門牌號"></u--input></u-form-item><u-form-item label="是否默認"><u-switch v-model="addressForm.selected"inactiveColor="#eee"></u-switch></u-form-item><u-form-item></u-form-item><u-form-item><u-button type="primary" @click="onSubmit">提交</u-button></u-form-item></u--form></view>
</template><script>export default {data() {return {addressForm:{username:"",mobile:"",address:"",selected:false},addressRules:{username:[{required: true,message: '姓名是必填的',							trigger: ['blur', 'change']},{min: 2,max: 8,message: '長度在2-8個字符之間',trigger: ['blur', 'change']}],mobile:[{required: true,message: '電話是必填的',							trigger: ['blur', 'change']},{							validator: (rule, value, callback) => {								return uni.$u.test.mobile(value);},message: '手機號碼不正確',							trigger: ['change','blur']}],address:[{required: true,message: '地址是必填的',							trigger: ['blur', 'change']}]}};},methods:{onSubmit(){this.$refs.uForm.validate().then(res => {uni.$u.toast('校驗通過')}).catch(errors => {uni.$u.toast('校驗失敗')})}}}
</script><style lang="scss">
.addressForm{padding:30rpx;
}
</style>


)


—過濾器》)
2022/30)


)


)
)