????????H5? Web網頁實現掃一掃識別解析二維碼,就現在方法的npm包就能實現,在這個過程中使用過html5-qrcode 和 vue3-qr-reader。
1、html5-qrcode的使用
? ? ? ?感覺html5-qrcode有點小坑,在使用的時候識別不成功還總是進入到錯誤回調中出現類似NotFoundException: No MultiFormat Readers were able to detect the ....的錯誤,后面去到官網GitHub上看到有人說是版本問題,降到指定版本之后,一開始沒有問題也可以識別了,奇怪的是,過一個星期直接噶了😭。。。(感覺不是很穩定,如果有不同見解可以交流一下)


html5-qrcode 的具體使用參考html5-qrcode
2、vue3-qr-reader的使用
vue3-qr-reader 是繼 html5-qrcode 找到的第二種方案,這個相對來說比較穩定使用方式簡單:

? ? ? ? 1、vue3項目中下載vue3-qr-reader包
npm install vue3-qr-reader// 或者npm i vue3-qr-reader? ? ? ? ?2、在項目中引用需要使用的組件,在頁面t使用組件
<template><van-button @click="openQrcode" color="rgba(0, 0, 0, 0.3)"style="border-color: rgba(255, 255, 255, 0.4)">掃一掃</van-button><-- 掃碼頁面內容 !--><div class="reader-box" v-if="isScaning"><div class="line"></div><qr-stream @decode="onDecode" class="mb"><div class="frame" style="color: red;"></div></qr-stream><div class="desc">掃描激活二維碼</div><van-button @click="closeQrcode" color="rgba(0, 0, 0, 0.3)"style="border-color: rgba(255, 255, 255, 0.4)">返回</van-button></div>
</template><script setup>
// 引入依賴
import { QrStream } from "vue3-qr-reader"// ...const isScaning = ref(false)// 開啟掃碼
const openQrcode = ()=>{isScaning.value = true
}
// 關閉掃碼
const closeQrcode = ()=> {isScaning.value = false
}// 處理掃碼成功后相關的業務內容
const onDecode = (data)=>{try{// data 為掃碼結果 對data做相關處理進行下一步操作}catch(err){closeQrcode()showNotify({type:'danger',message:'掃碼失敗,請聯系管理員'})}
}
</script>
/* 相關樣式 */
.reader-box {position: fixed;top: 0;bottom: 0;left: 0;right: 0;width: 100vw;height: 100vh;background-color: rgba(0, 0, 0, 0.9);z-index: 999;display: flex;justify-content: center;align-items: center;flex-direction: column;
}
.reader-box .desc {position: fixed;bottom: 140px;font-family: PingFang SC, PingFang SC;font-weight: bold;font-size: 15px;color: #ffffff;margin-top: 16px;
}
.reader-box .van-button {position: absolute;bottom: 70px;width: 90%;border: 1px solid #fff;
}
.line {position: absolute;top: 180px;width: 100%;animation: radar-beam 2s infinite;animation-timing-function: cubic-bezier(0.53, 0, 0.43, 0.99);animation-delay: 1.4s;z-index: 9999;height: 130px;border-bottom: 1px solid #4b66d0;background: linear-gradient(to top, #4b66d0, transparent);
}@keyframes radar-beam {0% {transform: translateY(-100%);}100% {transform: translateY(90%);}
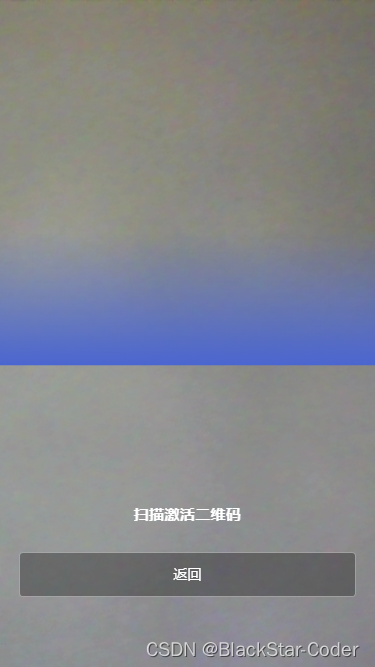
}最終實現效果如下
注意:因為獲取攝像頭權限,需要網頁是https的,所以在本地調試的話要開啟https,開啟https的方式,可以參考這個大佬的方式本地localhost開啟https通過軟件及命令生成證書,并將證書放入到vue項目中,在vite.config.js的配置中加入并保存即可
import vue from '@vitejs/plugin-vue';
import { defineConfig, loadEnv } from 'vite';
import Components from 'unplugin-vue-components/vite';
import { VantResolver } from 'unplugin-vue-components/resolvers';
const fs = require('fs');export default ({ mode }) =>defineConfig({plugins: [vue(),Components({resolvers: [VantResolver()],}),],css: {postcss: {plugins: [require('postcss-pxtorem')({rootValue: 50,propList: ['*'],selectorBlackList: ['.van-'],}),],},},base: './',server: {host: '0.0.0.0',// port: import.meta.VITE_PORT,port: loadEnv(mode, process.cwd()).VITE_PORT,// open: import.meta.VITE_OPEN,proxy: {'/api': {target: 'https://xxx.com/',ws: true,changeOrigin: true,rewrite: (path) => path.replace(/^\/api/, ''),},},https: {key: fs.readFileSync('public/127.0.0.1-key.pem'),cert: fs.readFileSync('public/127.0.0.1.pem'),},},minify: 'esbuild',sourcemap: false,});


)


)
)


