本周基本就是在踩坑,沒什么實質性的進展
下載模型文件
推薦一個網站,可以簡單計算下模型推理需要多大顯存:https://apxml.com/tools/vram-calculator

我的顯卡是RTX 4070,有12GB的顯存,部署一個1.7B的Qwen3應該問題不大。有之前使用LLM Studio的經驗,這次我打算直接使用VLLM運行模型,用Openapi的接口調用。
從huggingface下載的全部文件如下:
----                 -------------         ------ ----
-a---           2025/5/31    10:58            726 config.json
-a---           2025/5/31    10:59            239 generation_config.json
-a---           2025/5/31    10:58           1570 gitattributes
-a---           2025/5/31    10:59        1671853 merges.txt
-a---           2025/5/31    15:00     3441185608 model-00001-of-00002.safetensors
-a---           2025/5/31    17:32      622329984 model-00002-of-00002.safetensors
-a---           2025/5/31    10:59          25605 model.safetensors.index.json
-a---           2025/5/31    10:58          13963 README.md
-a---           2025/5/31    11:00           9732 tokenizer_config.json
-a---           2025/5/31    11:00       11422654 tokenizer.json
-a---           2025/5/31    11:01        2776833 vocab.json
WSL
官方的教程只提到了Linux,那我首選當然是在WSL下部署。不過我的WSL并沒有安裝CUDA,Windows也沒有。我決定先不裝,看看直接安裝VLLm會怎么樣。
安裝一行就夠了:
pip install vllm -i https://mirrors.aliyun.com/pypi/simple
我用的阿里云鏡像(因為之前下載了太多的apt庫被清華源封禁了orz)
然后使用如下命令部署openai接口的llm server(vllm版本為0.9.0.1):
python3 -m vllm.entrypoints.openai.api_server --model Qwen3-1.7B --host 0.0.0.0 --port 8000 --served-model-name qwen3
--model后面需要接本地的模型位置,如果是在線模型會自動下載。--served-model-name可以為你部署的模型起一個別名,這樣方便在post請求中訪問
我也編寫了測試的代碼用于驗證模型是否返回成功
import requests
import json
import time# 服務地址
api_base = "http://127.0.0.1:8000/v1"
api_key = "none"  # vLLM不需要API密鑰,填任意值# 請求頭
headers = {"Content-Type": "application/json","Authorization": f"Bearer {api_key}"
}# 請求參數
payload = {"model": "qwen-3.5b-chat","messages": [{"role": "system", "content": "You are a helpful assistant."},{"role": "user", "content": "請問Python有哪些常用的深度學習框架?"}],"temperature": 0.7,"max_tokens": 1024
}# 發送請求
start_time = time.time()
response = requests.post(f"{api_base}/chat/completions",headers=headers,data=json.dumps(payload)
)
end_time = time.time()# 處理響應
if response.status_code == 200:result = response.json()print(f"生成時間: {end_time - start_time:.2f}秒")print(f"模型: {result['model']}")print(f"回復: {result['choices'][0]['message']['content'].strip()}")
else:print(f"請求失敗: {response.status_code}")print(response.text)
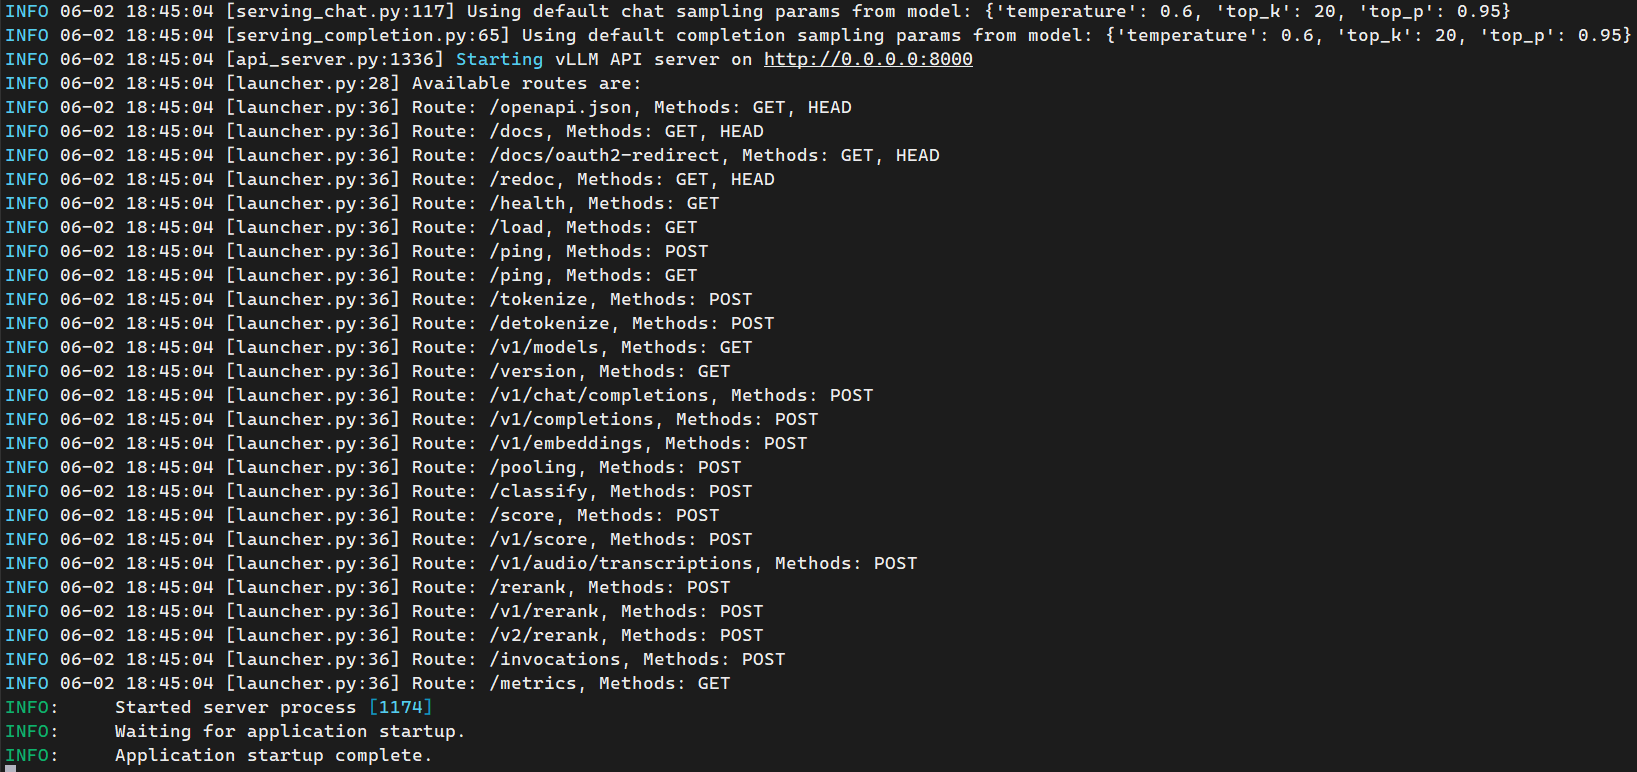
然而事實上是,VLLM運行成功了,而且我能明顯看到顯存占用:
顯存占用如下:
+-----------------------------------------------------------------------------------------+
| NVIDIA-SMI 560.35.02              Driver Version: 560.94         CUDA Version: 12.6     |
|-----------------------------------------+------------------------+----------------------+
| GPU  Name                 Persistence-M | Bus-Id          Disp.A | Volatile Uncorr. ECC |
| Fan  Temp   Perf          Pwr:Usage/Cap |           Memory-Usage | GPU-Util  Compute M. |
|                                         |                        |               MIG M. |
|=========================================+========================+======================|
|   0  NVIDIA GeForce RTX 4070        On  |   00000000:01:00.0  On |                  N/A |
| 30%   36C    P8             10W /  215W |   11772MiB /  12282MiB |     15%      Default |
|                                         |                        |                  N/A |
+-----------------------------------------+------------------------+----------------------++-----------------------------------------------------------------------------------------+
| Processes:                                                                              |
|  GPU   GI   CI        PID   Type   Process name                              GPU Memory |
|        ID   ID                                                               Usage      |
|=========================================================================================|
|    0   N/A  N/A      1216      C   /python3.10                                 N/A      |
+-----------------------------------------------------------------------------------------+
因為我沒有限定token,也沒有指定初始化參數,這個占用幾乎就是貼著顯存上限跑的。不過具體進程的顯存占用就看不到了,因為如下原因:
ProcessesGPU instance ID : N/ACompute instance ID : N/AProcess ID : 1216Type : CName : /python3.10Used GPU Memory : Not available in WDDM driver model我的顯卡當前處于 WDDM 模式,WDDM模式下,nvidia-smi無法獲得每個進程的顯存占用,因為所有進程都是在WDDM這個抽象框架下運行的,nvidia驅動只能獲得使用的進程名,無法準確獲得每個進程所占用的顯存.我可以選擇拔掉顯示器切換到TCC模式,這樣就能看見顯存占用了,但是顯卡也顯示不了圖像了。。。
當然這不是最大的問題,最大的問題是就算在WSL本地,我也無法訪問LLM的地址:
bluebonnet27@bluebonnet27:~$ curl 127.0.0.1:8000
curl: (7) Failed to connect to 127.0.0.1 port 8000 after 0 ms: Connection refused
由于VLLM的server是uvicorn驅動的,因此我懷疑是不是uvicorn的問題,一方面,我先使用python自帶的http-server起一個服務器:
python3 -m http.server 8000
結果curl直接超時。。。
bluebonnet27@bluebonnet27:~$ curl localhost:8000curl: (28) Failed to connect to localhost port 8000 after 133901 ms: Connection timed out
這個網絡問題到現在我也沒解決,如果下周還沒解決,我只能先在代碼里用本地調用的方式起大模型了。
Windows
Windows倒也能裝VLLM,和WSL一個命令。安裝過程會報一個詭異的錯誤:
error: could not create 'build\bdist.win-amd64\wheel\.\vllm\model_executor\layers\fused_moe\configs\E=128,N=384,device_name=AMD_Instinct_MI300X,dtype=fp8_w8a8,block_shape=[128,128].json': No such file ordirectory
這個報錯的原因是Windows默認不支持超過260個字符的文件路徑。去注冊表解除限制即可:
- 按 Win + R 打開運行窗口,輸入
regedit并回車。 - 導航到
HKEY_LOCAL_MACHINE\SYSTEM\CurrentControlSet\Control\FileSystem。 - 找到
LongPathsEnabled項,將其值設置為1。
然后我安裝的VLLM在起模型的時候就報錯了:
PS D:\Codes\models> python -m vllm.entrypoints.openai.api_server --model Qwen3-1.7B --host 0.0.0.0 --port 8000 --served-name qwen3
INFO 06-02 17:18:26 [importing.py:16] Triton not installed or not compatible; certain GPU-related functions will not be available.
WARNING 06-02 17:18:26 [importing.py:28] Triton is not installed. Using dummy decorators. Install it via `pip install triton` to enable kernel compilation.
INFO 06-02 17:18:26 [__init__.py:243] Automatically detected platform cuda.
Traceback (most recent call last):File "<frozen runpy>", line 189, in _run_module_as_mainFile "<frozen runpy>", line 112, in _get_module_detailsFile "C:\privatePrograms\Lib\site-packages\vllm\__init__.py", line 12, in <module>from vllm.engine.arg_utils import AsyncEngineArgs, EngineArgsFile "C:\privatePrograms\Lib\site-packages\vllm\engine\arg_utils.py", line 20, in <module>from vllm.config import (BlockSize, CacheConfig, CacheDType, CompilationConfig,File "C:\privatePrograms\Lib\site-packages\vllm\config.py", line 32, in <module>from vllm.model_executor.layers.quantization import (QUANTIZATION_METHODS,File "C:\privatePrograms\Lib\site-packages\vllm\model_executor\__init__.py", line 3, in <module>from vllm.model_executor.parameter import (BasevLLMParameter,File "C:\privatePrograms\Lib\site-packages\vllm\model_executor\parameter.py", line 9, in <module>from vllm.distributed import get_tensor_model_parallel_rankFile "C:\privatePrograms\Lib\site-packages\vllm\distributed\__init__.py", line 3, in <module>from .communication_op import *File "C:\privatePrograms\Lib\site-packages\vllm\distributed\communication_op.py", line 8, in <module>from .parallel_state import get_tp_groupFile "C:\privatePrograms\Lib\site-packages\vllm\distributed\parallel_state.py", line 149, in <module>from vllm.platforms import current_platformFile "C:\privatePrograms\Lib\site-packages\vllm\platforms\__init__.py", line 275, in __getattr___current_platform = resolve_obj_by_qualname(^^^^^^^^^^^^^^^^^^^^^^^^File "C:\privatePrograms\Lib\site-packages\vllm\utils.py", line 2191, in resolve_obj_by_qualnamemodule = importlib.import_module(module_name)^^^^^^^^^^^^^^^^^^^^^^^^^^^^^^^^^^^^File "C:\privatePrograms\Lib\importlib\__init__.py", line 90, in import_modulereturn _bootstrap._gcd_import(name[level:], package, level)^^^^^^^^^^^^^^^^^^^^^^^^^^^^^^^^^^^^^^^^^^^^^^^^^^^^File "C:\privatePrograms\Lib\site-packages\vllm\platforms\cuda.py", line 14, in <module>import vllm._C  # noqa^^^^^^^^^^^^^^
ModuleNotFoundError: No module named 'vllm._C'
核心在于最后一行,可能是因為我電腦上沒有安裝CUDA Toolkit,所以安裝的VLLM版本不對,應該是CPU版本的
PS D:\Codes\models> pip show vllm
Name: vllm
Version: 0.9.0.1
Summary: A high-throughput and memory-efficient inference and serving engine for LLMs
Home-page:
Author: vLLM Team
Author-email:
License:
Location: C:\privatePrograms\Lib\site-packages
Requires: aiohttp, blake3, cachetools, cloudpickle, compressed-tensors, depyf, einops, fastapi, filelock, gguf, huggingface-hub, lark, lm-format-enforcer, mistral_common, msgspec, ninja, numpy, openai, opencv-python-headless, opentelemetry-api, opentelemetry-exporter-otlp, opentelemetry-sdk, opentelemetry-semantic-conventions-ai, outlines, partial-json-parser, pillow, prometheus-fastapi-instrumentator, prometheus_client, protobuf, psutil, py-cpuinfo, pydantic, python-json-logger, pyyaml, pyzmq, regex, requests, scipy, sentencepiece, setuptools, six, tiktoken, tokenizers, tqdm, transformers, typing_extensions, watchfiles
Required-by:
能看出來少了很多GPU相關的庫,比如torch。鑒于官方沒有對Windows的支持,只能暫時繼續回去折騰WSL。


)


基于Selenium與ScrapyRT構建高并發動態網頁爬蟲架構:原理、實現與性能優化)
