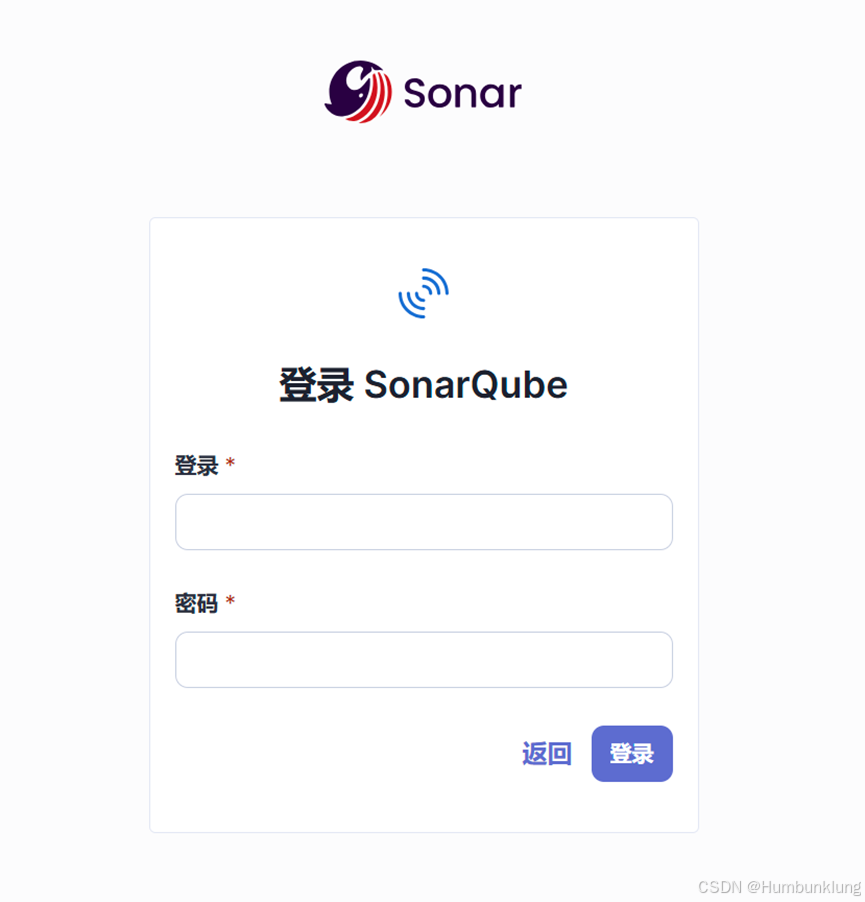
SonarQube部署完成后,在瀏覽器地址欄輸入http://IP:9000可以進入登錄頁面,以本機運行為例,地址為http://127.0.0.1:9000/,默認登錄名:admin,登錄密碼也是admin。登錄后會要求設置密碼:

按要求設置新密碼即可,系統要求如下:
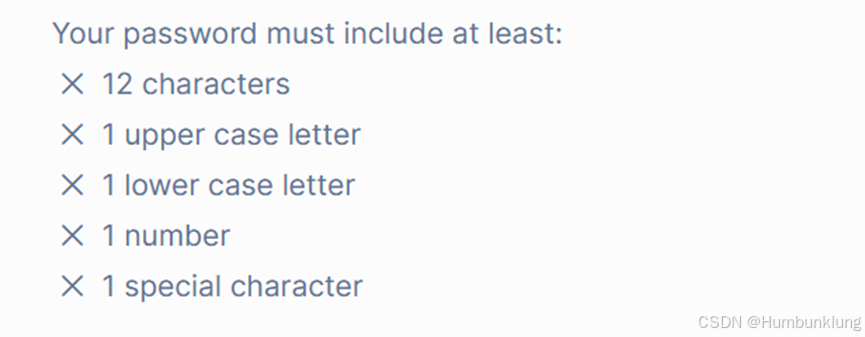
設置后即可登錄系統:

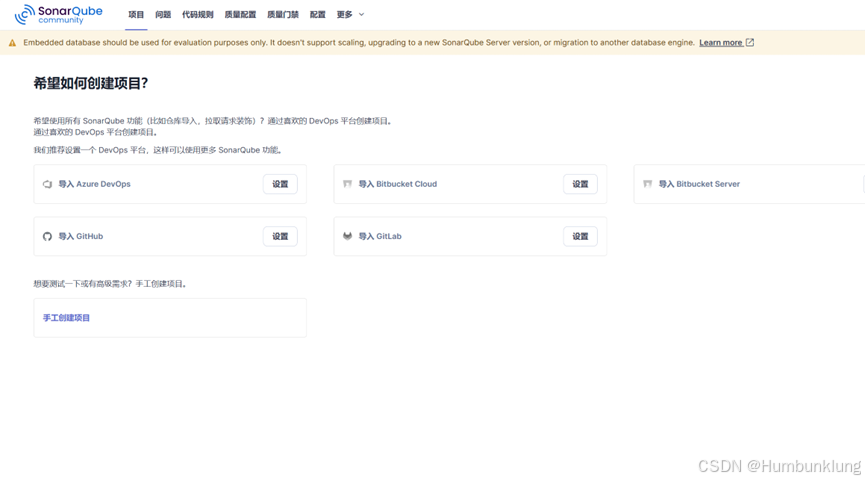
從圖中可見,如果用默認的嵌入式數據庫(H2)的話,會有僅作測試用提示:
Embedded database should be used for evaluation purposes only. It doesn’t support scaling, upgrading to a new SonarQube Server version, or migration to another database engine.
插件安裝
點擊配置、應用市場:“Administration->Marketplace”,可以安裝插件,這里我們以“Chinese Pack”中文語言包為例。

安裝后界面變成了中文。此外應用市場Marketplace還有很多插件可以供我們使用,這個可以在使用過程中逐漸探索。安裝完成后系統會要求重啟(啟用插件)或復原(回退):

點擊重啟按鈕“Restart Server”后,會自動重啟服務:
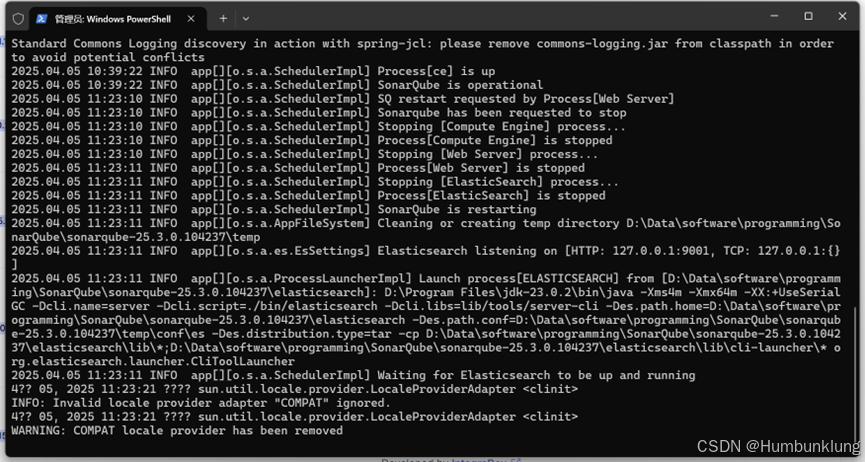
重啟后系統需要重新登錄:
登錄后界面變成中文的了:
數據庫配置
SonarQube默認是H2數據庫,但事實上它支持Oracle,PostgreSQL 和 Microsoft SQLServer,四種數據庫,通過修改config文件夾下sonar.properties的sonar.jdbc.url屬性,可以指向我們要使用的數據庫。
整個sonar.properties文件的數據庫配置部分摘錄如下:
#--------------------------------------------------------------------------------------------------
# DATABASE
#
# IMPORTANT:
# - The embedded H2 database is used by default. It is recommended for tests but not for
#   production use. Supported databases are Oracle, PostgreSQL and Microsoft SQLServer.
# - Changes to database connection URL (sonar.jdbc.url) can affect SonarSource licensed products.# User credentials.
# Permissions to create tables, indices and triggers must be granted to JDBC user.
# The schema must be created first.
#sonar.jdbc.username=
#sonar.jdbc.password=#----- Embedded Database (default)
# H2 embedded database server listening port, defaults to 9092
#sonar.embeddedDatabase.port=9092#----- Oracle 19c/21c
# The Oracle JDBC driver must be copied into the directory extensions/jdbc-driver/oracle/.
# Only the thin client is supported, and we recommend using the latest Oracle JDBC driver. See
# https://jira.sonarsource.com/browse/SONAR-9758 for more details.
# If you need to set the schema, please refer to http://jira.sonarsource.com/browse/SONAR-5000
#sonar.jdbc.url=jdbc:oracle:thin:@localhost:1521/XE#----- PostgreSQL 11 or greater
# By default the schema named "public" is used. It can be overridden with the parameter "currentSchema".
#sonar.jdbc.url=jdbc:postgresql://localhost/sonarqube?currentSchema=my_schema#----- Microsoft SQLServer 2014/2016/2017/2019/2022 and SQL Azure
# A database named sonar must exist and its collation must be case-sensitive (CS) and accent-sensitive (AS)
# Use the following connection string if you want to use integrated security with Microsoft Sql Server
# Do not set sonar.jdbc.username or sonar.jdbc.password property if you are using Integrated Security
# For Integrated Security to work, you have to install the Microsoft SQL JDBC Auth package
# Please refer to the online documentation https://docs.sonarsource.com/sonarqube
# for the exact procedure for this version of SonarQube.
#sonar.jdbc.url=jdbc:sqlserver://localhost;databaseName=sonar;integratedSecurity=true# Use the following connection string if you want to use SQL Auth while connecting to MS Sql Server.
# Set the sonar.jdbc.username and sonar.jdbc.password appropriately.
#sonar.jdbc.url=jdbc:sqlserver://localhost;databaseName=sonar#----- Connection pool settings
# The maximum number of active connections that can be allocated
# at the same time, or negative for no limit.
# The recommended value is 1.2 * max sizes of HTTP pools. For example if HTTP ports are
# enabled with default sizes (50, see property sonar.web.http.maxThreads)
# then sonar.jdbc.maxActive should be 1.2 * 50 = 60.
#sonar.jdbc.maxActive=60# The minimum number of connections that can remain idle in the pool,
# without extra ones being created, or zero to create none.
#sonar.jdbc.minIdle=10# The maximum number of milliseconds that the pool will wait (when there
# are no available connections) for a connection to be returned before
# throwing an exception, or <= 0 to wait indefinitely.
#sonar.jdbc.maxWait=8000
1. 支持的數據庫
參考官方文檔(Database requirements | SonarQube Community Build Documentation)及前述,我們可以看出,SonarQube支持以下數據庫引擎:
| 數據庫引擎 | 安裝要求 |
|---|---|
PostgreSQL | 版本:13-17(官方文檔要求,實際上看配置文件,支持版本11及以上) |
Microsoft SQLServer | 官方文檔版本要求:
配置文件實際版本要求:
注:
|
Oracle | 版本要求: 推薦:最新版本的 注:
|
2. 修改數據庫連接
以Microsoft SQL Server為例,我們嘗試對SonarQube連接的數據庫進行配置。
(1)數據庫創建
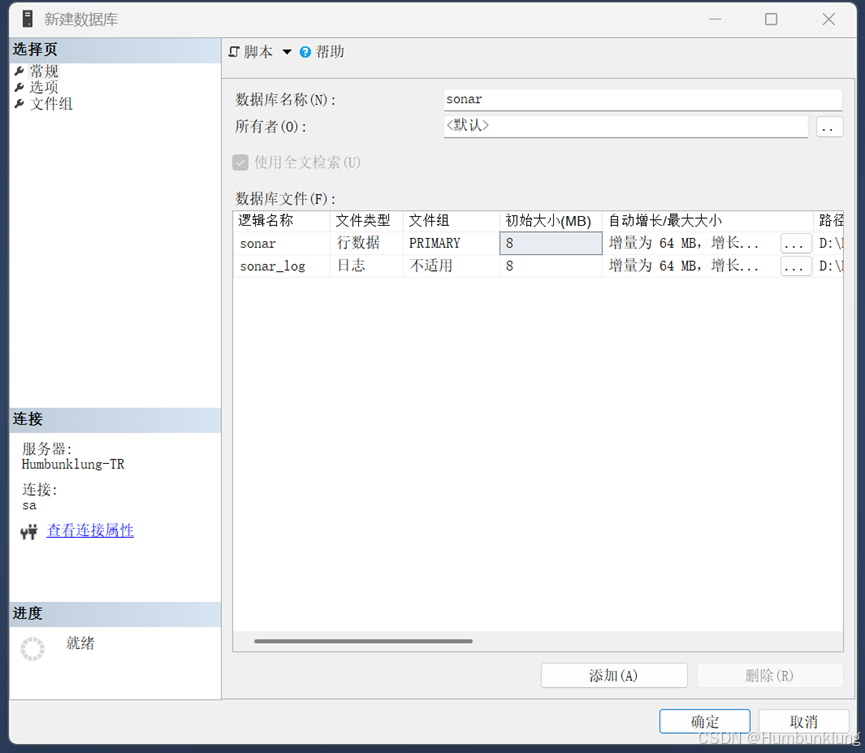
需要注意的是,SonarQube要求大小寫和強調差異(case-sensitive and accent-sensitive)敏感的排序規則,如:Chinese_PRC_CS_AS。
ALTER DATABASE sonar COLLATE Chinese_PRC_CS_AS
(2)數據庫連接修改
根據config/sonar.properties配置文件的說明,修改連接指向后,表結構等內容會自動創建(要求具有相應權限)。
首先,我們設置數據庫的用戶名和密碼:
sonar.jdbc.username=your_db_user
sonar.jdbc.password=your_db_password
接著,我們修改數據庫連接字符串,對于SQL Server,其配置參考如下:
#----- Microsoft SQLServer 2014/2016/2017/2019/2022 and SQL Azure
# A database named sonar must exist and its collation must be case-sensitive (CS) and accent-sensitive (AS)
# Use the following connection string if you want to use integrated security with Microsoft Sql Server
# Do not set sonar.jdbc.username or sonar.jdbc.password property if you are using Integrated Security
# For Integrated Security to work, you have to install the Microsoft SQL JDBC Auth package
# Please refer to the online documentation https://docs.sonarsource.com/sonarqube
# for the exact procedure for this version of SonarQube.
#sonar.jdbc.url=jdbc:sqlserver://localhost;databaseName=sonar;integratedSecurity=true# Use the following connection string if you want to use SQL Auth while connecting to MS Sql Server.
# Set the sonar.jdbc.username and sonar.jdbc.password appropriately.
#sonar.jdbc.url=jdbc:sqlserver://localhost;databaseName=sonar我們可以選擇集成安全模式(需要安裝配套的包),或使用SQL Server自己的鑒權方式,本例為了簡單我們選擇后者,考慮本機連接,Encrypt屬性設置為true且 trustServerCertificate屬性設置為true(信任服務器證書,使用自簽名證書,否則會報錯的):
sonar.jdbc.url=jdbc:sqlserver://localhost;databaseName=sonar;encrypt=true;trustServerCertificate=true
(3)修改后運行效果
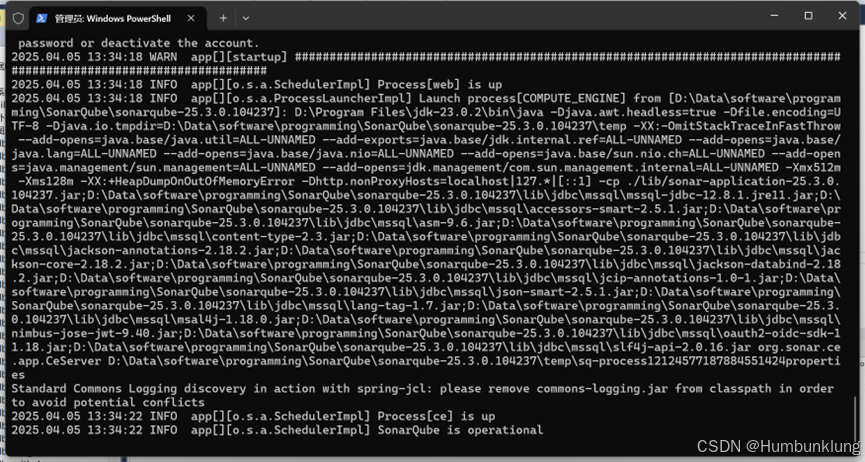
重新啟動SonarQube服務,我們可以觀察到如下變化:
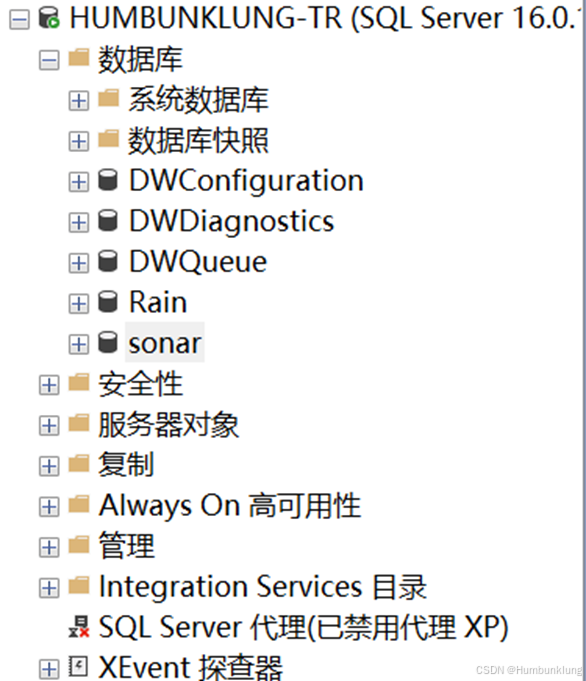
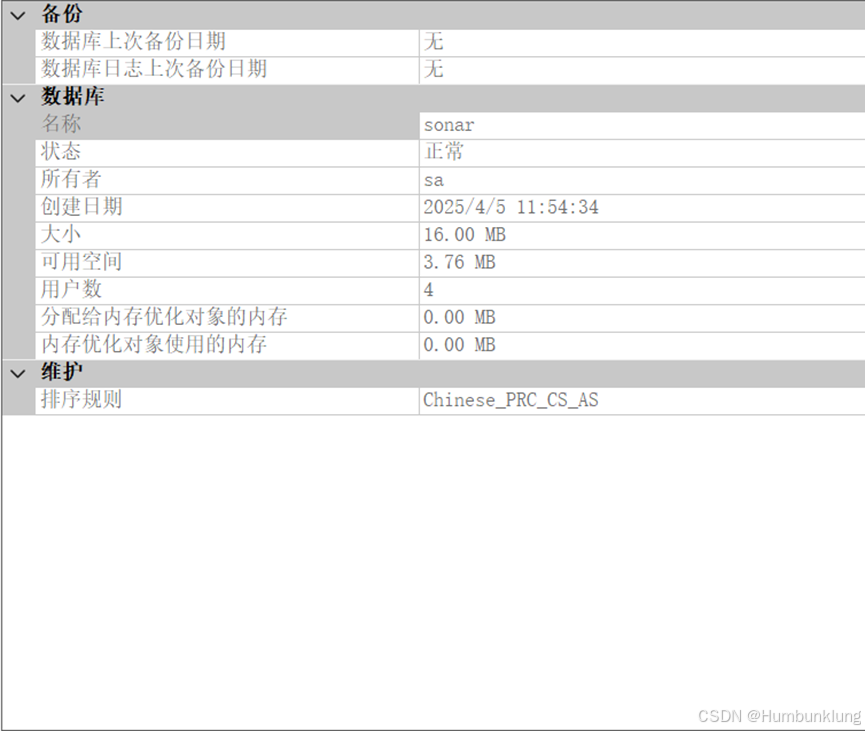
1)數據庫相關對象自動創建了
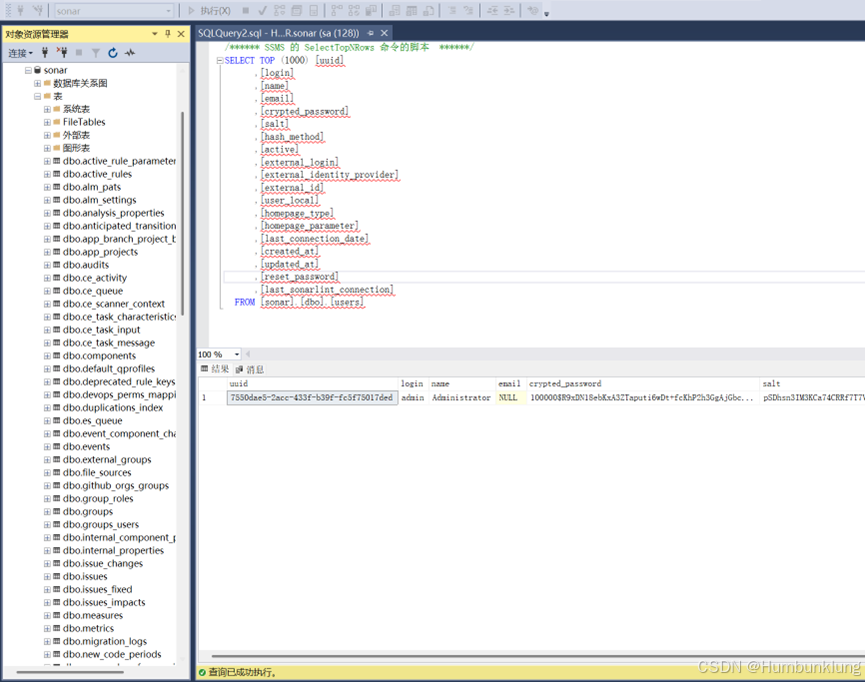
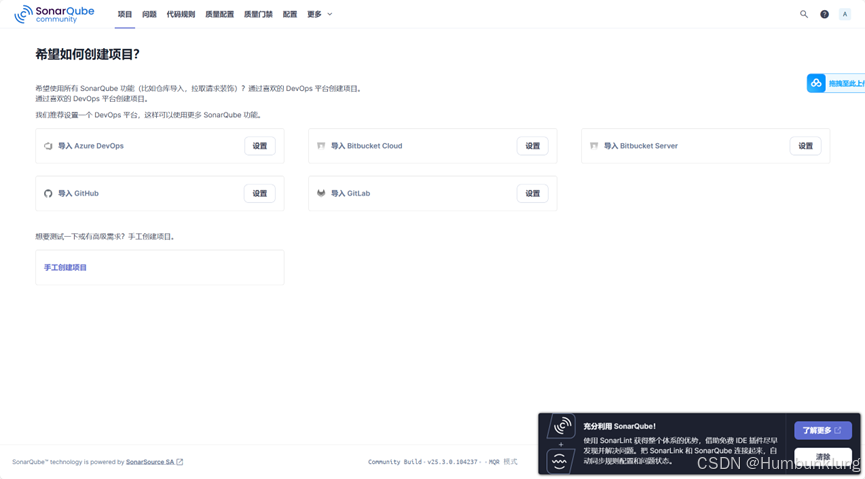
2)密碼需要重新設定登錄
因為換了數據庫,需要重新設置密碼并登錄。
從上圖也可以看出不再提示測試數據庫環境(H2)了。
總結
至此,我本機環境的SonarQube實現了數據庫的更改,當然,在實際的應用中使用Docker容器安裝Sonar會簡便很多,但為了對這個工具有更多了解(踩更多的坑,更改數據庫配置過程也遇到一些問題,參見這里),手工操作也是一個不錯的體驗。
接下來,我將嘗試對這個工具做更多的學習、應用與探索。

)
)

:ADC LTC系列模數轉換器的輸出范圍+滿量程和偏移調整)


)

)


)
