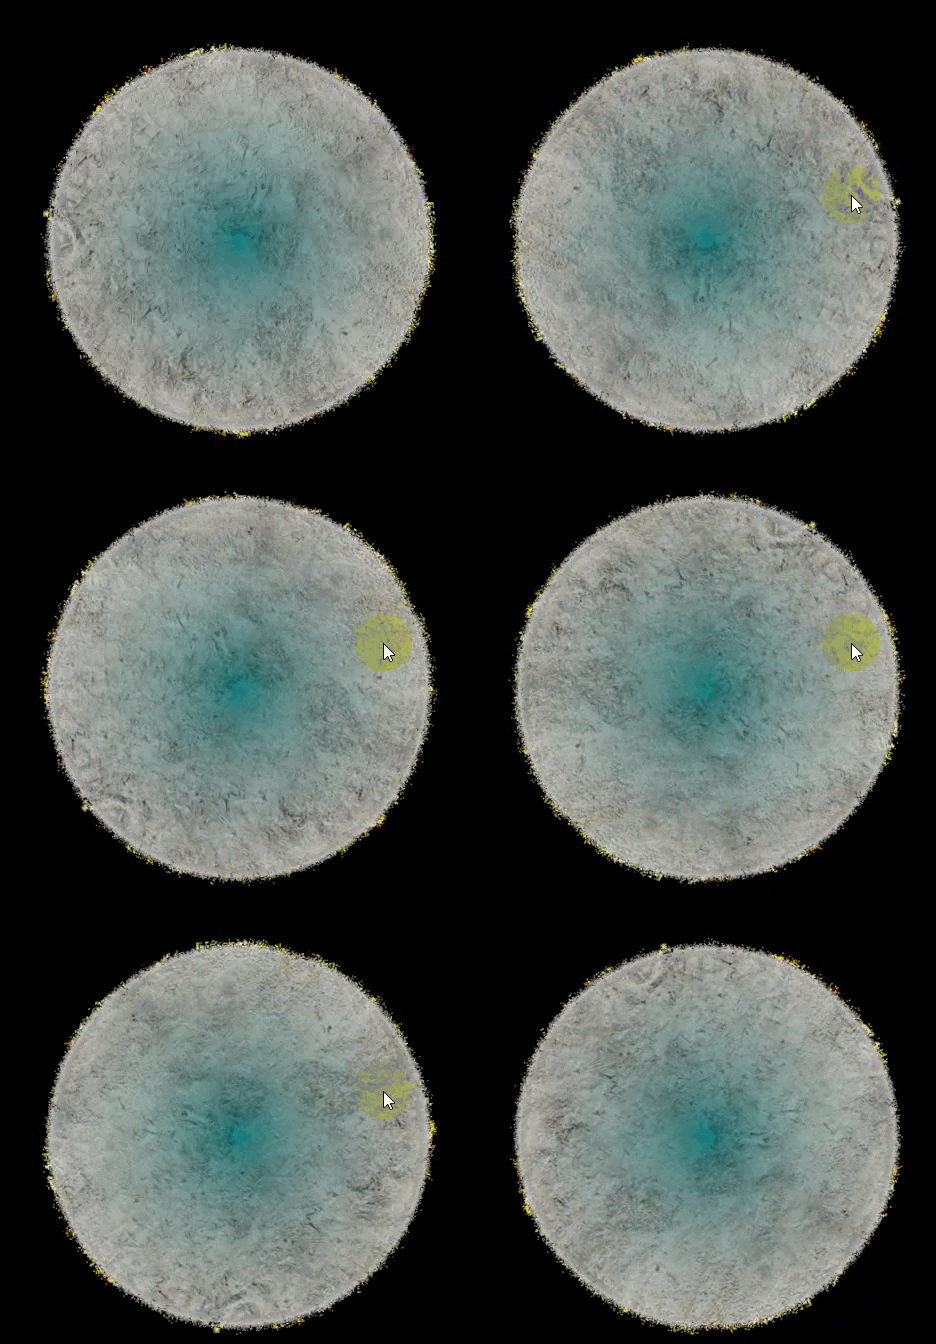
1.實現效果

2. 實現步驟
2.1創建場景
const scene = new THREE.Scene();2.2添加相機
說明:
- fov(視場角):視場角決定了相機的視野范圍,即相機可以看到的角度范圍。較大的視場角表示更廣闊的視野,但可能會導致失真。一般建議設置在 45° 到 90° 之間。
- aspect(縱橫比):縱橫比表示了渲染區域的寬度和高度之比。通常設置為渲染區域的寬度除以高度,以保持圖像不變形。
- near(近裁剪面):近裁剪面決定了相機能夠看到的最近的物體的距離。通常設置為一個正數,表示相機距離近裁剪面的距離。
- far(遠裁剪面):遠裁剪面決定了相機能夠看到的最遠的物體的距離。通常設置為一個正數,表示相機距離遠裁剪面的距離。
const camera = new THREE.PerspectiveCamera(75, window.innerWidth / window.innerHeight, 0.1, 1000);2.3添加網格
說明:創建幾何圖形和圖形的材質(幾何圖形必須要材質)。下面創建了矩陣圖形。
const textureMaterial = new THREE.MeshBasicMaterial({map: texture});
const geometry = new THREE.PlaneGeometry(1, 1);
mesh = new THREE.Mesh(geometry, textureMaterial);
2.4渲染動畫
const renderer = new THREE.WebGLRenderer({antialias: false});
renderer.setSize(width, height);
2.5放入Dom結構
document.querySelector("#renderBox").appendChild(renderer.domElement);3.源代碼
<template><div id="renderBox"></div>
</template><script setup>
import * as THREE from 'three';
import {onMounted} from "vue";
// 瀏覽器可操作的寬度,高度
const width = window.innerWidth, height = window.innerHeight;const camera = new THREE.PerspectiveCamera(75, window.innerWidth / window.innerHeight, 0.1, 1000);camera.position.z = 1;
const scene = new THREE.Scene();
const geometry = new THREE.PlaneGeometry(1, 1);
let mesh;
const textureLoader = new THREE.TextureLoader().load("/data/map/scene-bg2.png",function (texture) {// 紋理加載完成后創建材質,map:texture實際就是貼在上面的const textureMaterial = new THREE.MeshBasicMaterial({map: texture});// 創建一個網格對象mesh = new THREE.Mesh(geometry, textureMaterial);// 將網格對象添加到場景中scene.add(mesh);}
);
const renderer = new THREE.WebGLRenderer({antialias: false});
renderer.setSize(width, height);
renderer.setAnimationLoop(animation);function animation(time) {if (mesh) {// 每一幀增加網格對象的旋轉角度,實現 360 度旋轉效果mesh.rotateOnAxis(new THREE.Vector3(0, 0, 1), 0.02);}// 渲染圖形renderer.render(scene, camera);}const init = () => {document.querySelector("#renderBox").appendChild(renderer.domElement);
}onMounted(() => {init()
})
</script><style></style>
4.素材圖片
?
)


不規則形狀填充顏色)


概念詳解)


)


)

)
)
