【?聲明:版權所有,歡迎轉載,請勿用于商業用途。 聯系信箱:feixiaoxing @163.com】
? ? ? ? 既然lwip已經port到407上面了,接下來其實就可以做一些測試了。本身lwip支持tcp、udp,也支持client和server,既然我們選擇了無os版本,那么功能上可以簡單一點也行,這里我們就以udp server作為范例,看看407怎么和上位機配合進行測試。
1、測試代碼邏輯
? ? ? ? 測試的邏輯不復雜,就是開發板上有兩個按鈕。按鈕1按下去的時候,啟動udp server;按鈕2按下去的時候,結束udp server。其他報文處理邏輯沒有發生改變。
while(1){if(Key_Scan(KEY1_GPIO_PORT,KEY1_PIN)==KEY_ON&&(flag==0)){LED1_ON;if (EthLinkStatus == 0){printf("create udp server\n");/* Initialize the server application */ udp_echoserver_init();flag=1;}}if(Key_Scan(KEY2_GPIO_PORT,KEY2_PIN)==KEY_ON&&(flag==1)){LED1_OFF;udp_echoserver_Stop();flag=0;}/* check if any packet received */if (ETH_CheckFrameReceived()){ /* process received ethernet packet */LwIP_Pkt_Handle();}/* handle periodic timers for LwIP */LwIP_Periodic_Handle(LocalTime);}2、udp server的初始化
? ? ? ? 初始化比較簡單,主要就是創建一個udp_pcb,把這個udp_pcb和對應的ip、port綁定在一起。如果沒有問題,繼續注冊一個報文接收的回調函數。當然,如果出錯的話,就刪除這個udp_pcb。
void udp_echoserver_init(void)
{err_t err;/* Create a new UDP control block  */upcb = udp_new();if (upcb){/* Bind the upcb to the UDP_PORT port *//* Using IP_ADDR_ANY allow the upcb to be used by any local interface */err = udp_bind(upcb, IP_ADDR_ANY, UDP_SERVER_PORT);if(err == ERR_OK){/* Set a receive callback for the upcb */udp_recv(upcb, udp_echoserver_receive_callback, NULL);#ifdef SERIAL_DEBUGprintf("Start the server application\n");#endif}else{udp_remove(upcb);printf("can not bind pcb");}}else{printf("can not create pcb");}
}
3、udp server的報文接收
? ? ? ? 如果有client端給udp server發送報文了,那么這個接收函數就會被調用到。畢竟,它也是在udp_echoserver_init函數中剛剛被注冊上去的。首先,upcb會和client端的addr、port連接在一起,主要是為了發送報文用的。接著,打印一下接收到的內容。然后,把這些內容發送回去。最后,upcb會再次和addr、port分開。最后,收到的報文緩存p也會被釋放掉。
? ? ? ? 原示例代碼中的UDP_CLIENT_PORT要改成port。
void udp_echoserver_receive_callback(void *arg, struct udp_pcb *upcb, struct pbuf *p, struct ip_addr *addr, u16_t port)
{char recdata[100]={0};/* Connect to the remote client *///udp_connect(upcb, addr, UDP_CLIENT_PORT);udp_connect(upcb, addr, port);#ifdef SERIAL_DEBUGmemcpy((char *)recdata,p->payload,p->len);printf("upd_rec:%s\r\n",recdata);#endif	/* Tell the client that we have accepted it */udp_send(upcb, p);/* free the UDP connection, so we can accept new clients */udp_disconnect(upcb);/* Free the p buffer */pbuf_free(p);}
4、udp server的停止
? ? ? ? 相比較前兩個函數,udp server的停止就簡單很多。直接調用udp_remove即可。
void udp_echoserver_Stop(void)
{#ifdef SERIAL_DEBUGprintf("Stop the server application\n");#endif	udp_remove(upcb);
}
5、pc客戶端準備
? ? ? ? 因為407開發板上面是一個udp server端,所以pc這邊也要寫一個udp client端。本著簡單、方便的原則,我們用python寫了一個udp客戶端。
#!/usr/bin/python
import socket
import timedef send_udp_message(host, port, message):sock = socket.socket(socket.AF_INET, socket.SOCK_DGRAM)try:sock.sendto(message.encode(), (host, port))print(f"UDP message sent to {host}:{port}: {message}")except Exception as e:print(f"Error: {e}")time.sleep(0.05)response, server = sock.recvfrom(1024)print(f"Response received from server: {response.decode('utf-8')}")if __name__ == '__main__':host = '192.168.0.122' port = 5000        num = 0message = "Hello, this is a UDP message, "while True:send_udp_message(host, port, message + str(num))time.sleep(0.05) num += 1
6、測試和驗證
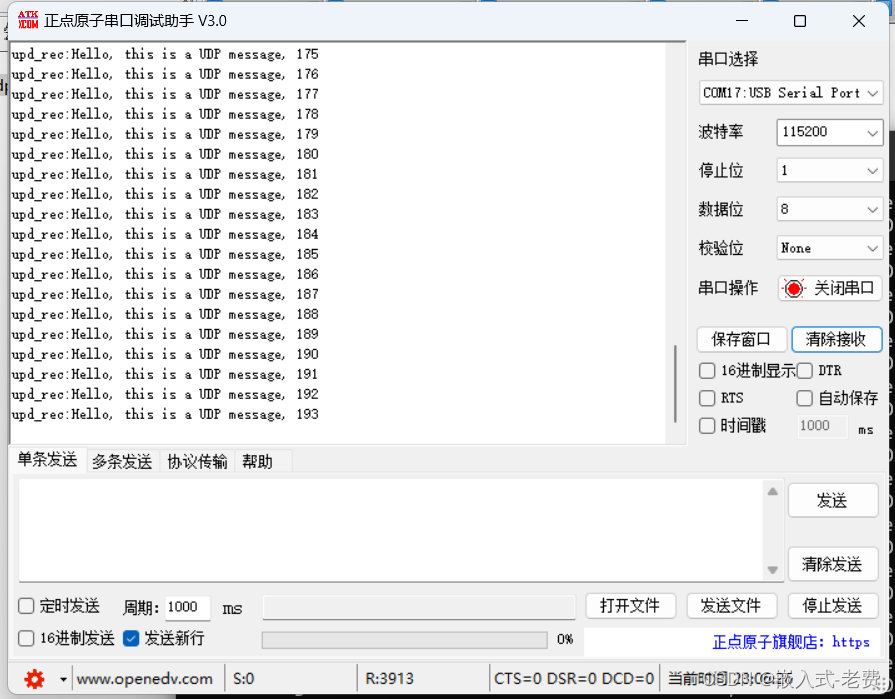
? ? ? ? 按照之前的做法,需要把固件的ip改成192.168.0.122,網關改成192.168.0.1,pc的ip改成192.168.0.240。下面就是常規操作。首先編譯keil代碼,燒錄。接著復位啟動,確認有打印,而且網口燈有閃爍。這個時候,按下按鍵1,在串口上確認udp server開啟。后續的話,就可以用python啟動udp client腳本。這樣,開發板上的打印就是這樣的,
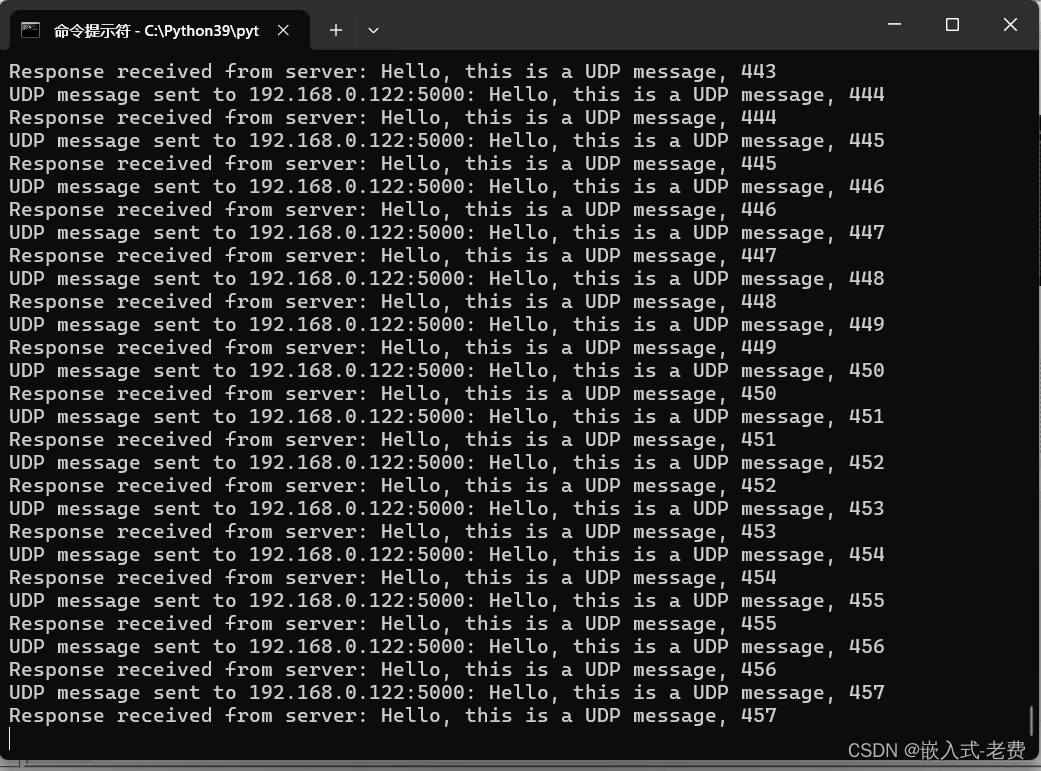
? ? ? ? 而pc側的打印就是這樣的,有興趣的同學可以自己測試下。
? ? ? ? 當然這個時候,大家可以按下2,看看打印會不會停止。
)


】進程程序替換--如何自己實現一個bash解釋器?)


)
